 14 articles
One of the new weapons added to Dying Light 2 via its anniversary update is the Rending Knife, one of the many throwables you can craft with the right blueprint.
These throwing knives excel at applying Bleed to any enemies you hit. Perfect for slowly killing your enemies from a safe distance!
In this short guide, we’ll tell you everything you need to know to get these fancy new throwing knives.
How to Get the New Rending Knife | Blueprint Location
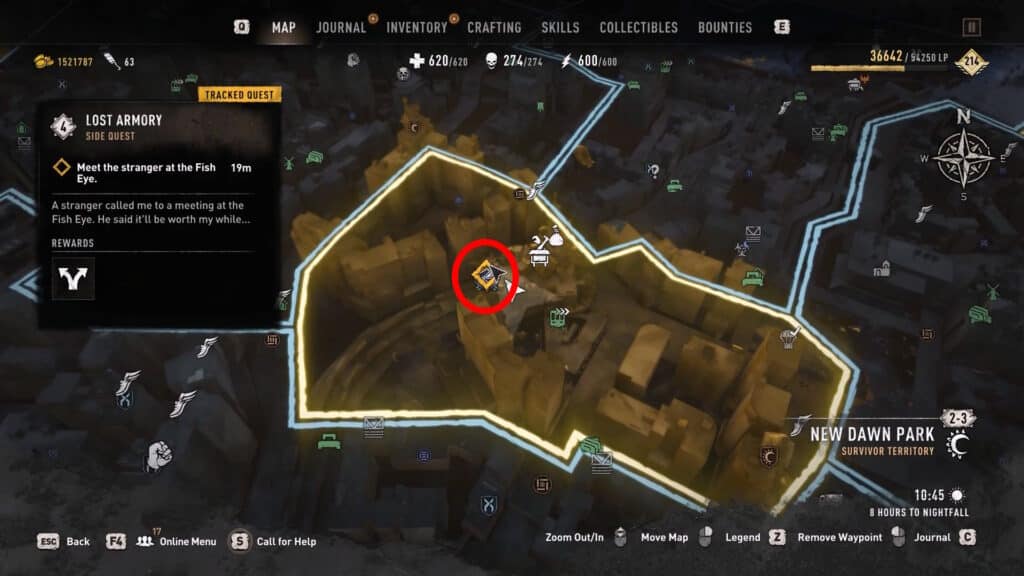
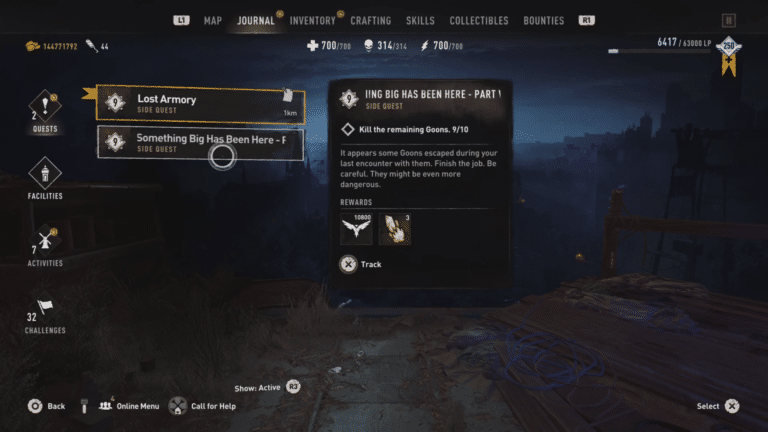
You can get the new Rending Knife throwable weapon blueprint by completing the new side quest, “Limbrandt’s Swansong”. You can get this side-quest from the quest board at the Fish Eye Canteen.
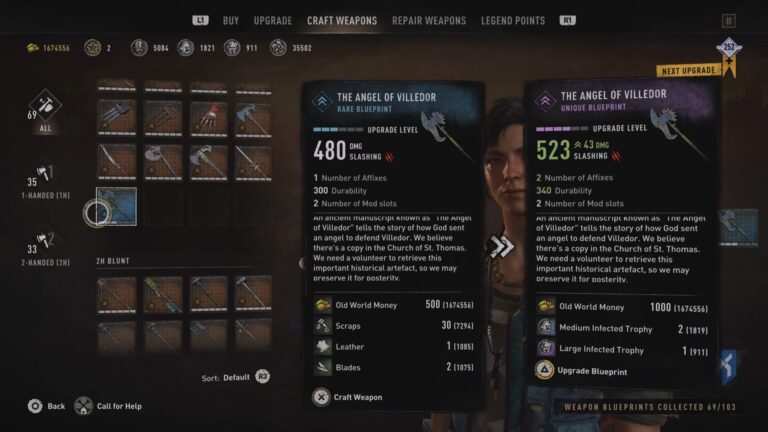
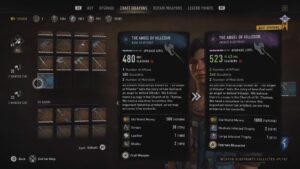 Dying Light 2: Angel of Villedor Blueprint LocationFeb 27, 2024
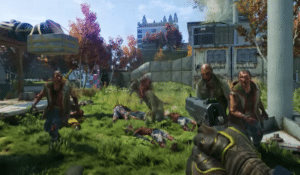 How to Turn Off Auto Aim (Assist) in Dying Light 2 For ControllerFeb 26, 2024
 Dying Light 2: How to Get the Skull GliderFeb 26, 2024
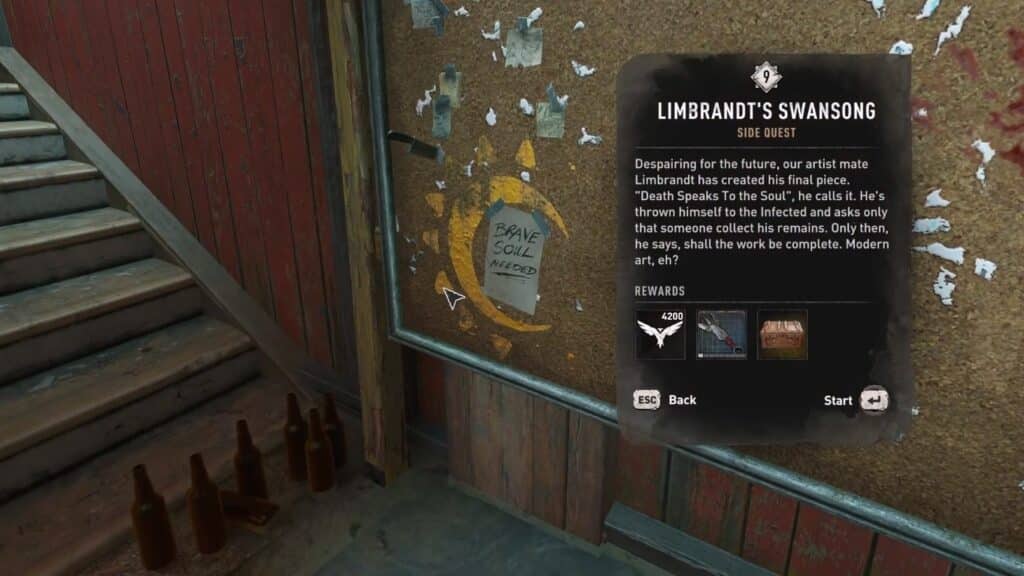
This quest appears randomly on the board. Similar to other new quests, like the one for the Angel of Villador poleaxe, you will need to complete other quests available on the board first.
Just keep completing quests and keeping an eye out for “Limbrandt’s Swansong”. Accept it as soon as it becomes available!
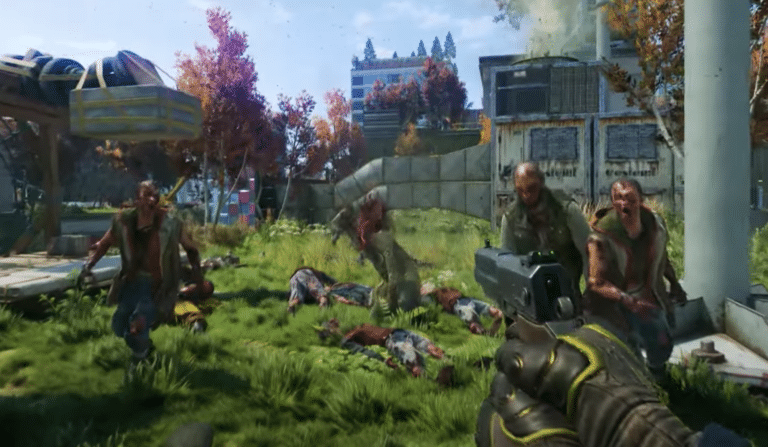
For this quest, your task will be to… pick up Limbrandt’s pieces. Apparently, he strapped himself with explosives and rushed into a horde, asking for someone to pick up his body from the aftermath!
How to Complete Limbrandt’s Swansong for the Rending Knife Blueprint
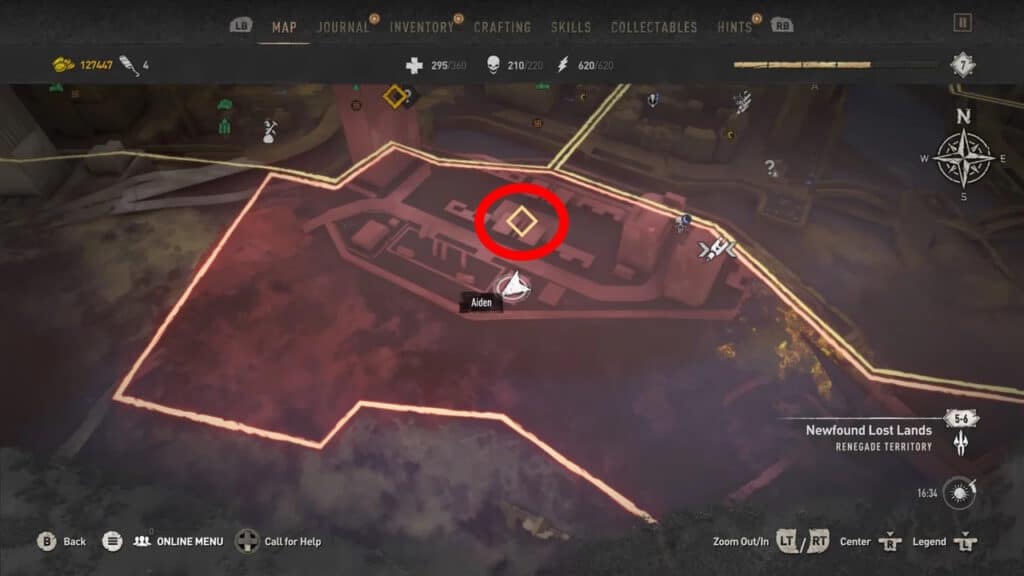
To begin, follow the quest marker to the center of the Newfound Lost Lands region. You’ll find Limbrandt’s torso at the exact position the quest marker leads you to.
After inspecting his torso, you now have to look for his head and limbs on your own!
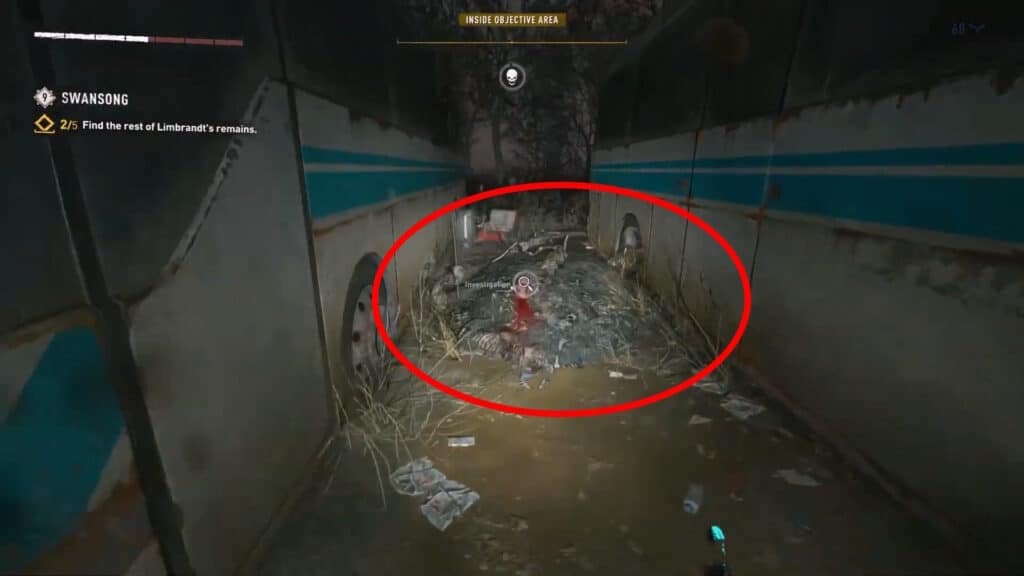
You can find the first two body parts to the west of the torso. Follow the blood trails and you’ll find two large trash piles with some of Limbrandt’s limbs on top, so just pick them up.
Use your Survivor Sense to highlight the piles, making them easier to find.
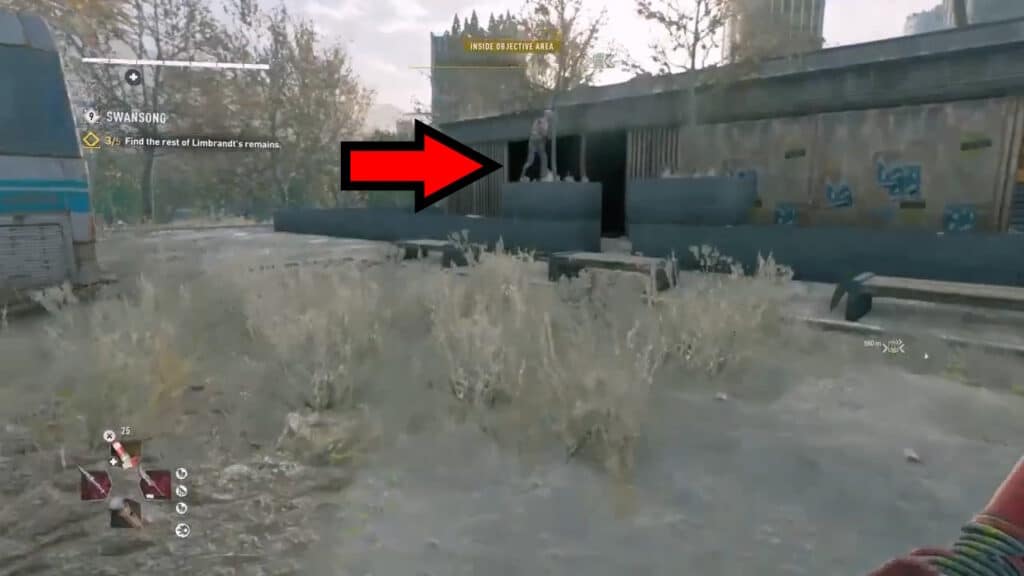
After inspecting both trash piles, you should have both of his legs and his head. To find his arms, check inside the building further to the west of the area.
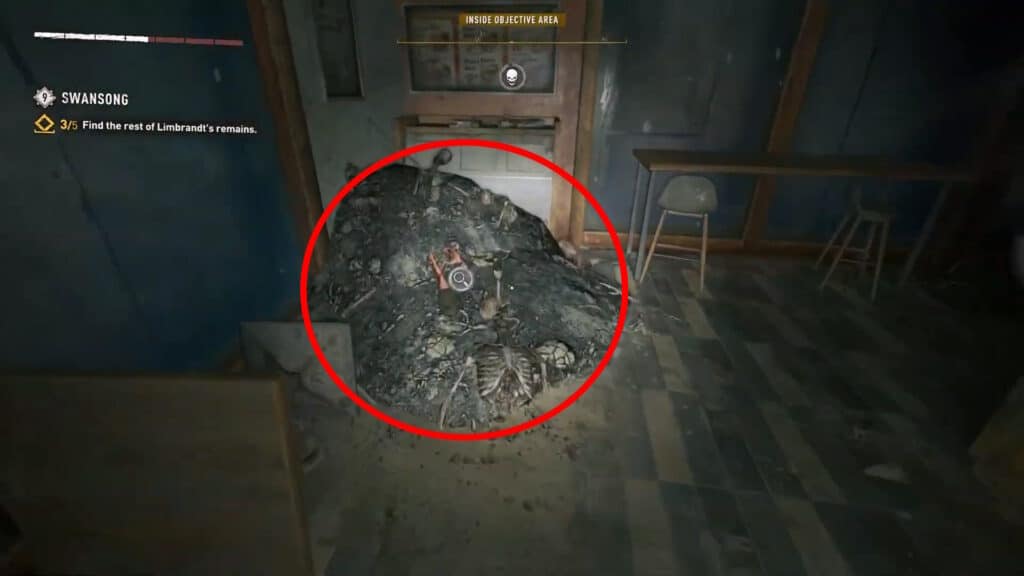
Find the hands in the corner of the building and give them a high five!
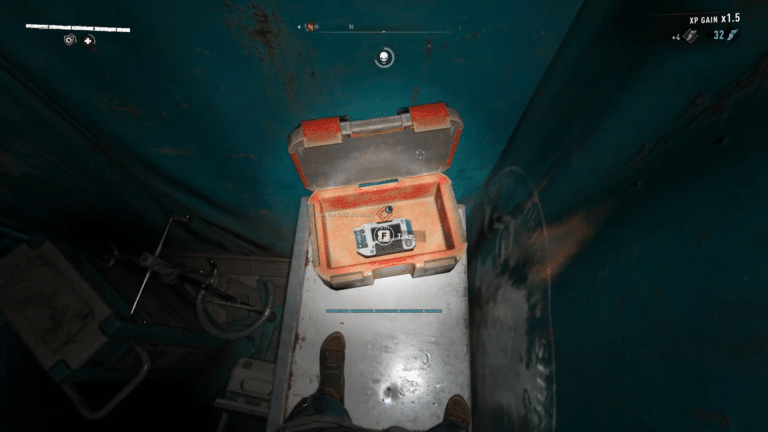
Now you just need to use any Carriers Guild Locker to mail the body parts. These lockers are marked with a mail symbol on your map.
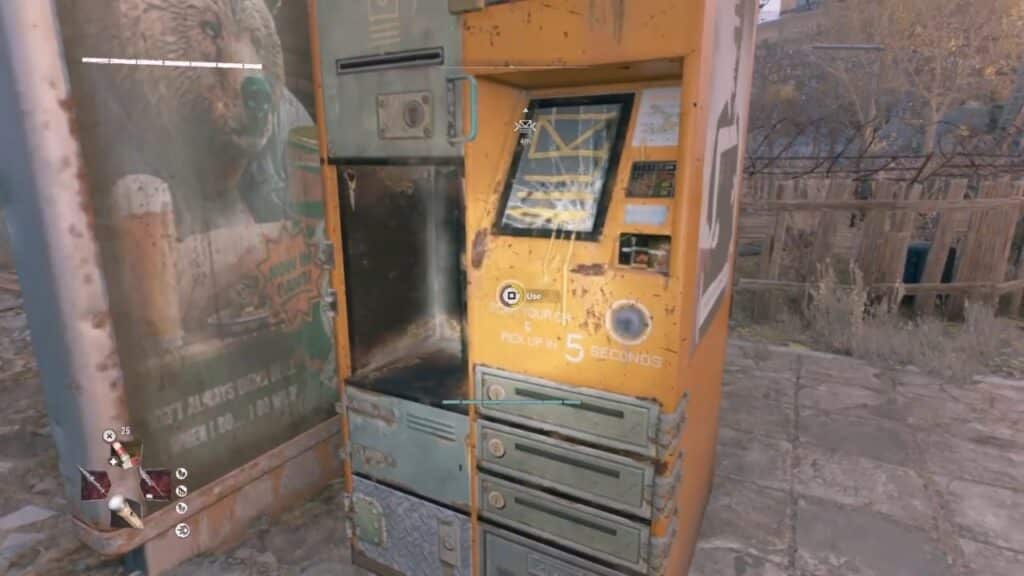
You’ll receive the Rending Knife blueprint as soon as you mail Limbrandt’s remains off! Bring it to a Craftmaster to make these bloody knives.