 16 articles
In Assassin’s Creed Valhalla, there are locations with good loot. When you finish them, you will receive a suit of armor. There were 4 of them initially, then 3 more Tombs were added in-game version 1.6.1. We’ll demonstrate how to solve the challenge in Verica’s Tomb, which was just introduced.
Tomb of the Fallen, Verica’s Tomb Puzzle Guide in Assassin’s Creed Valhalla
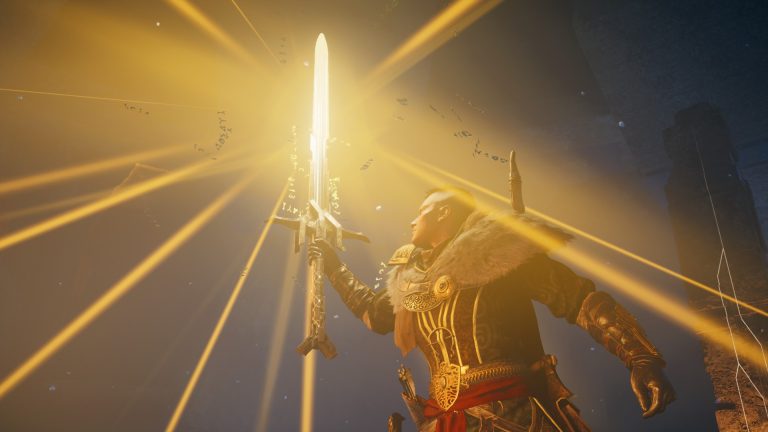
Verica’sis one of the tombs that contains an artifact after completion. The last Tomb, which includes the new weapon, the Blazing Sword, will be unlocked if you have collected all five artifacts from the Tombs of the Fallen.
To access the wealth inside, you must solve puzzles in each Tomb of the Fallen.
Solving the Puzzle in Verica’s Tomb
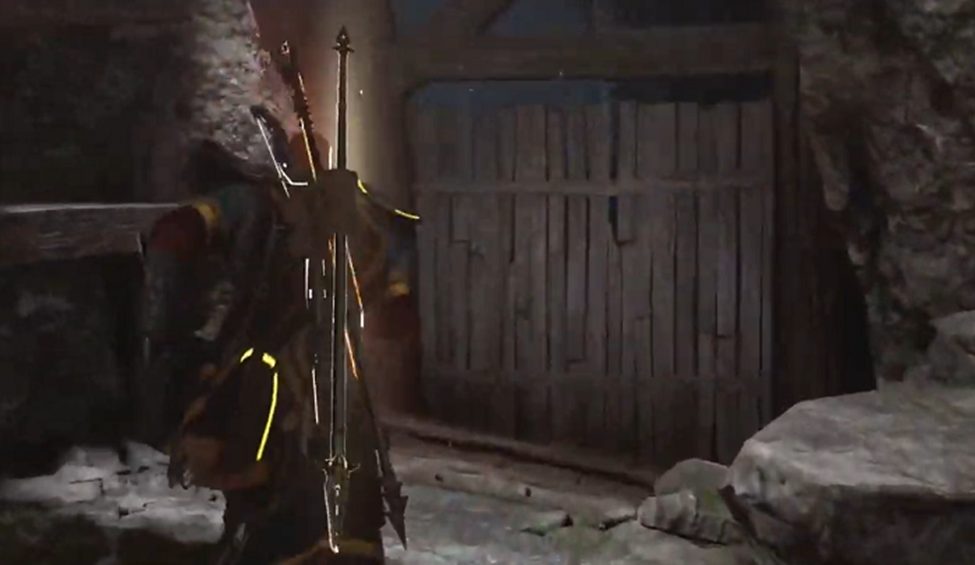
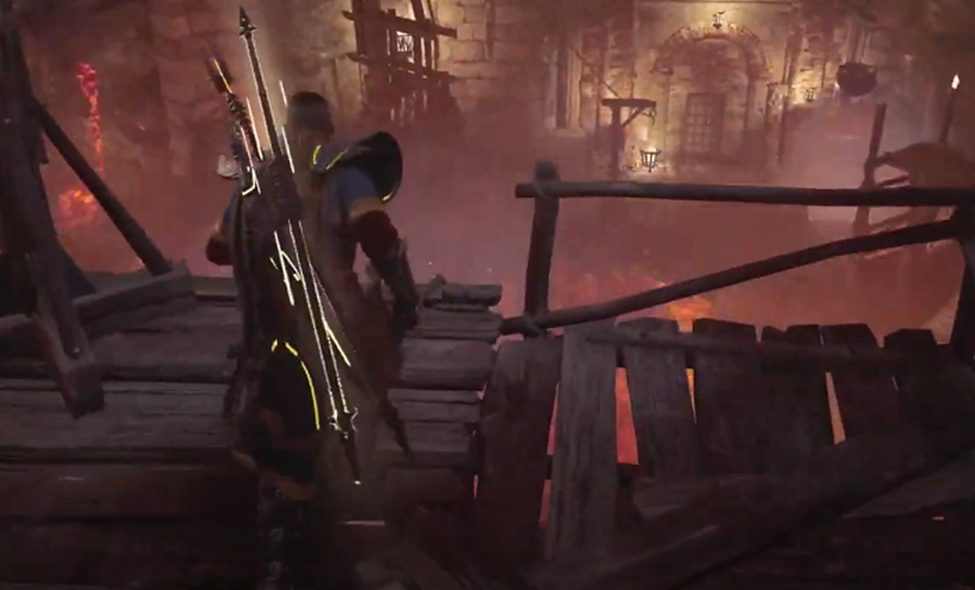
The wooden fence will be destroyed to begin Verica’s Tomb. Slide down the walkway after you. Pay attention to the floors because spikes release when you step on them. To get away from them, you can run or jump. Reverse the slide and stay clear of the lava that is all around the area.
 ACV: The Legacy of Saint George All 2 River Raids Clues GuideMar 14, 2023
 Top 5 Weapons in Assassin’s Creed ValhallaJan 2, 2023
 Assassin’s Creed: Valhalla: How to Craft Runes | Rune Forge Location GuideNov 4, 2022
The First Obelisk
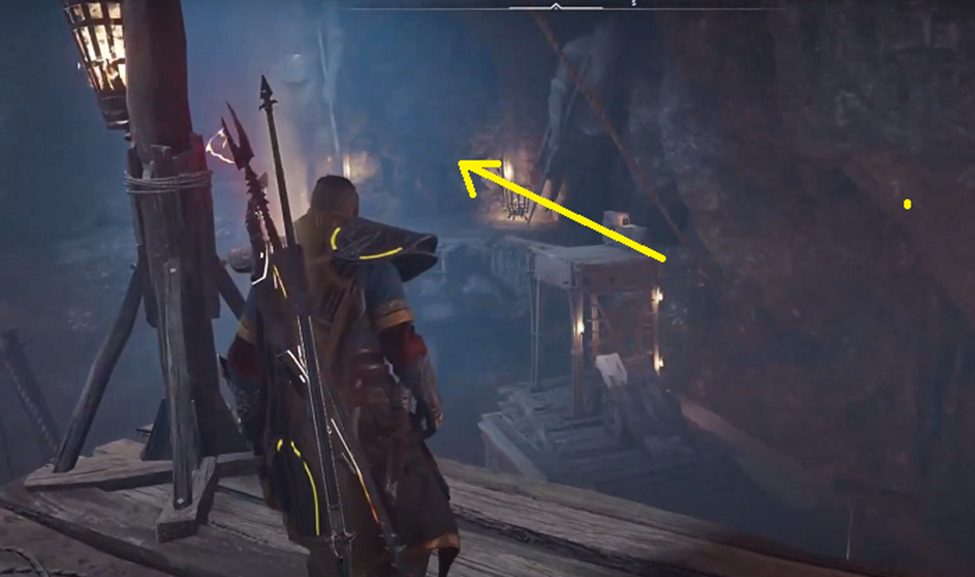
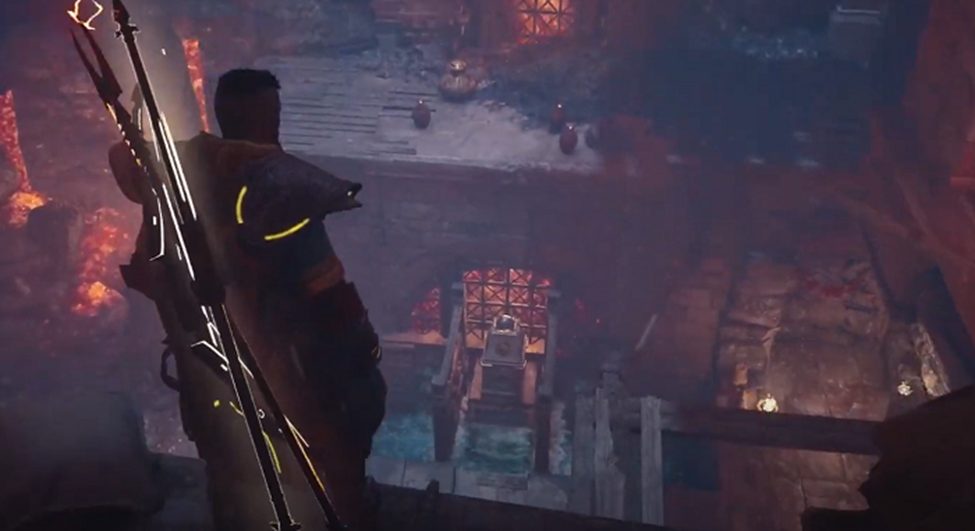
The next area is a vast cavern. To get the obelisk and move it to the square platform behind you, use the zipline to go through the wooden gate to your right. This will start a sequence that displays the two additional platforms found in the cave.
The First Sphere
To go to the next section, use the zipline to descend and then climb up. Avoid the lava by staying inside the path. Continue down the route until you come to a narrow passageway. Slide down and steer clear of the barriers.
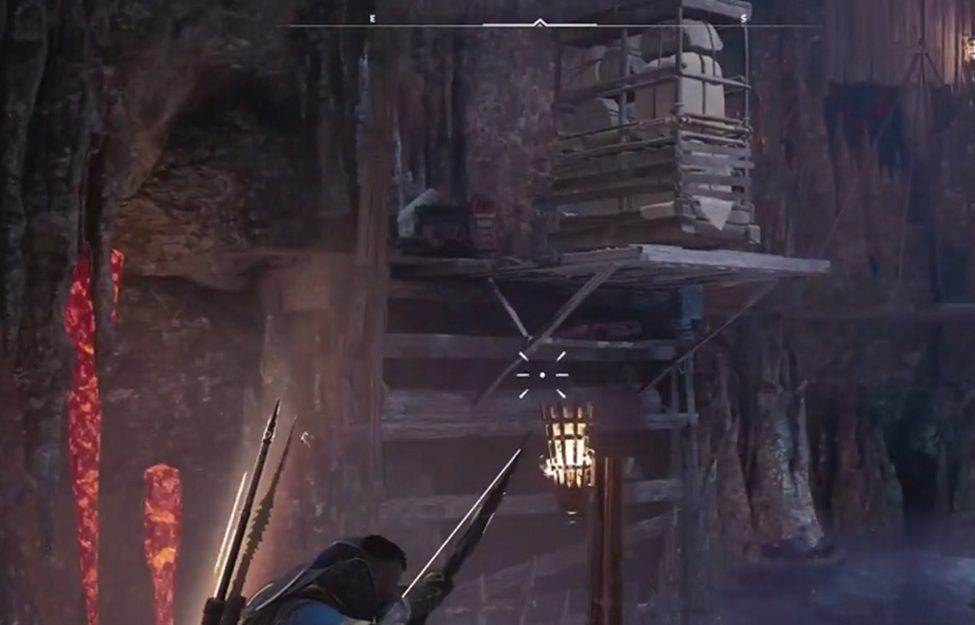
Shoot the building’s supports and utilize them as a barrier between you and the water.
Fire at the other building and the wooden fence. Climb up the path after you. There are two more platforms when you arrive at a wooden platform. On both of these platforms, you must place heavy stone structures.
Fire at the heavy stone structure’s supports on the right. The platform on the left will rise as a result. Drag the massive stone building from the left to the right to raise the platform. If you go to the right platform, you will discover a wooden fence you can knock down to move another heavy stone structure there.
Return to the left platform and climb up the stone structure. When you are above, enter the room and use the elevator to ascend once more. Destroy the wooden fence to the right. You can use the lever to your left to spawn a platform that will let you cross to the opposite side.
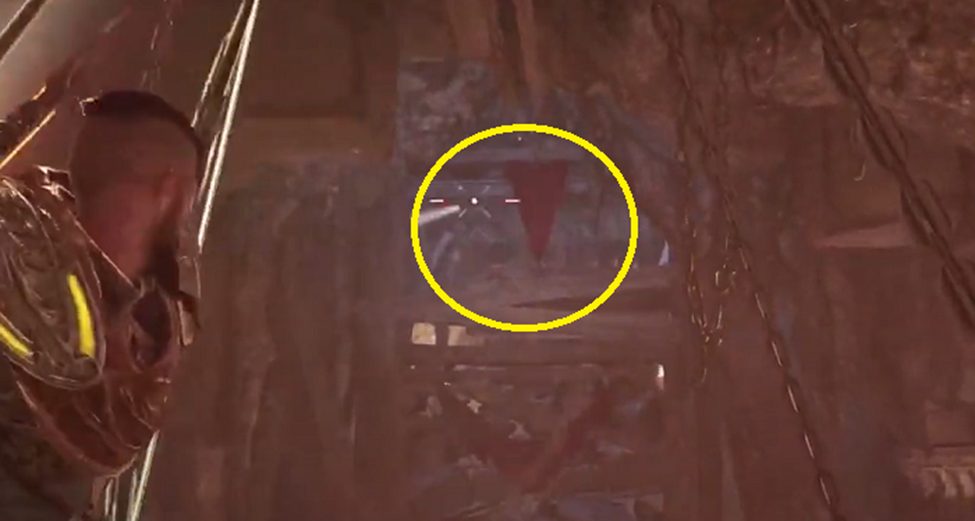
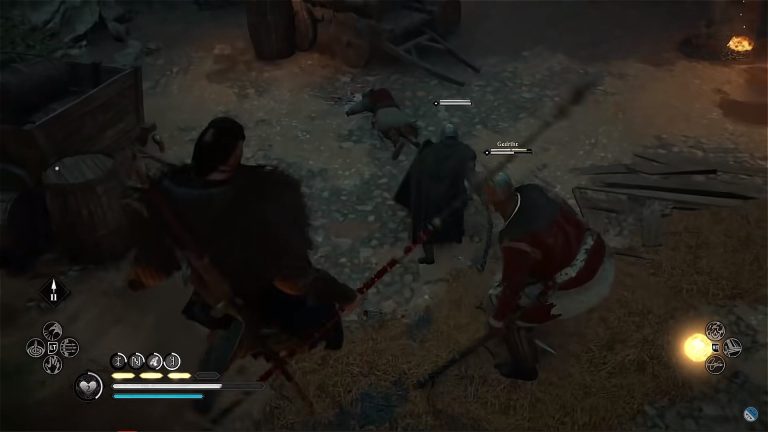
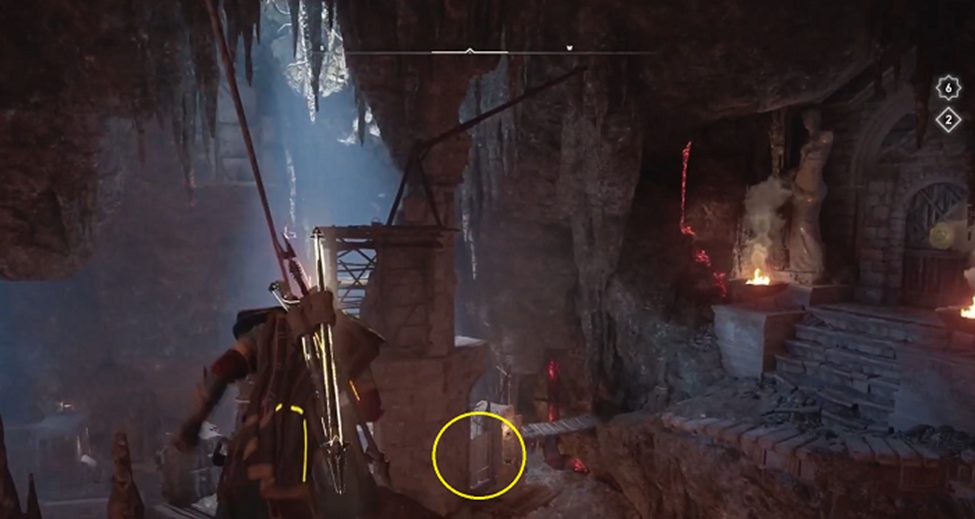
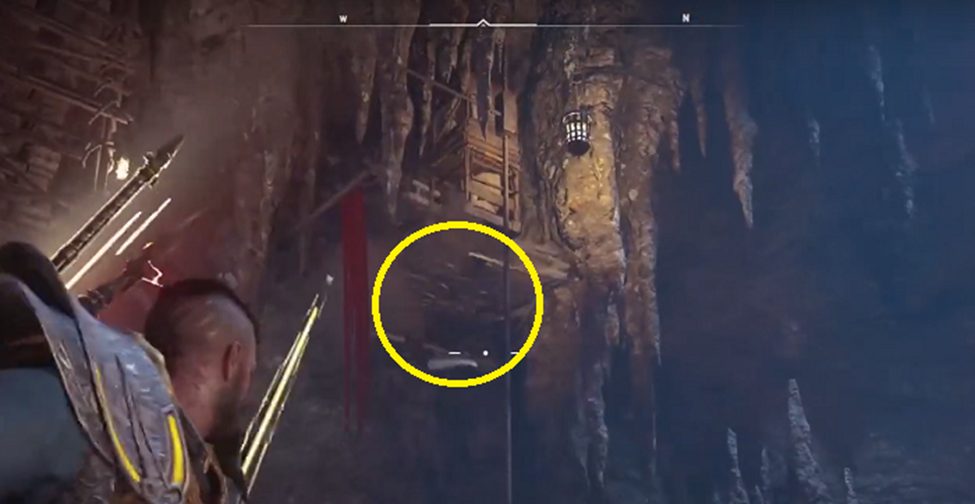
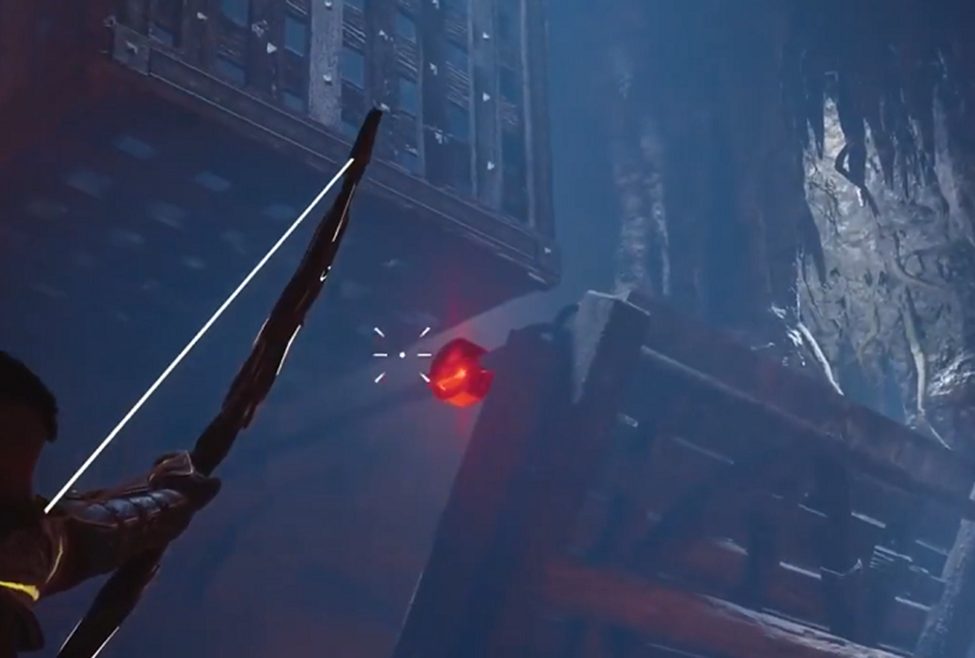
Shoot this to clear the way first, indicated by the yellow circle in the picture above. Face left and shoot the wooden fence above you when you get to the other side.
To get to the lever, climb it and pass through it. A moving platform will appear. Jump onto it, destroy the metal door lock, then shoot the wooden fence to the right.
Carry the fire jar up to the moving platform, land there, then toss it at the barrier. A sphere will appear if you interact with the lever in the next chamber. Carry the sphere as you proceed along the path to the room with the locked door.
You can utilize the three large stone structures you discover after destroying the wooden fence, which contains the door key. Lock the door and carry the sphere with you. Place the sphere on the first platform that appeared when you placed the first obelisk. A cutscene will start as a result.
The Second Obelisk
Take the zipline on the west side and enter through the door. Straighten up and scale the wall. Jump down, grab a Fire Jar, and toss it at the wall to break it. Pass through the tiny gap.
The obelisk in the next chamber needs to be moved to the platform on the left. The breakable wall is to the right of the obelisk, so take the Fire jar from the opposite side and move it there.
Hurl the fire jar against the wall to obtain a large stone structure. To create a path, drag it in front of the obelisk. When you interact with the lever on the left, the obelisk will rise once you pull it to the platform.
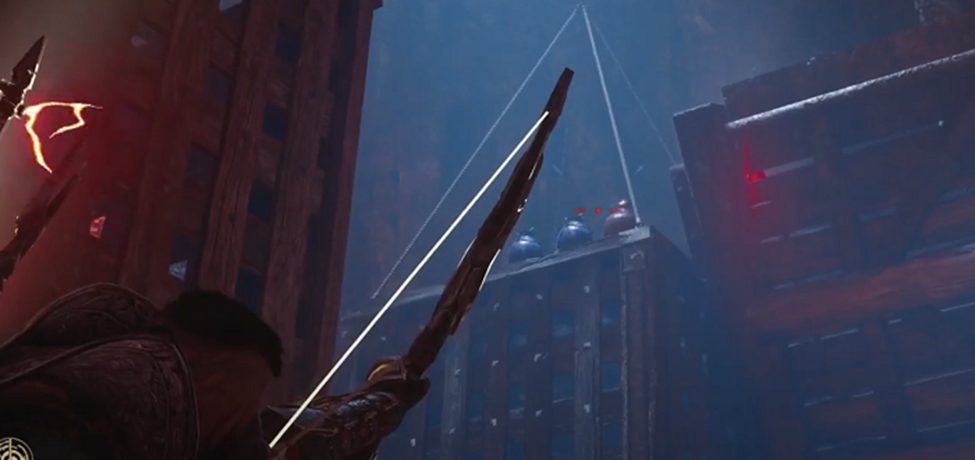
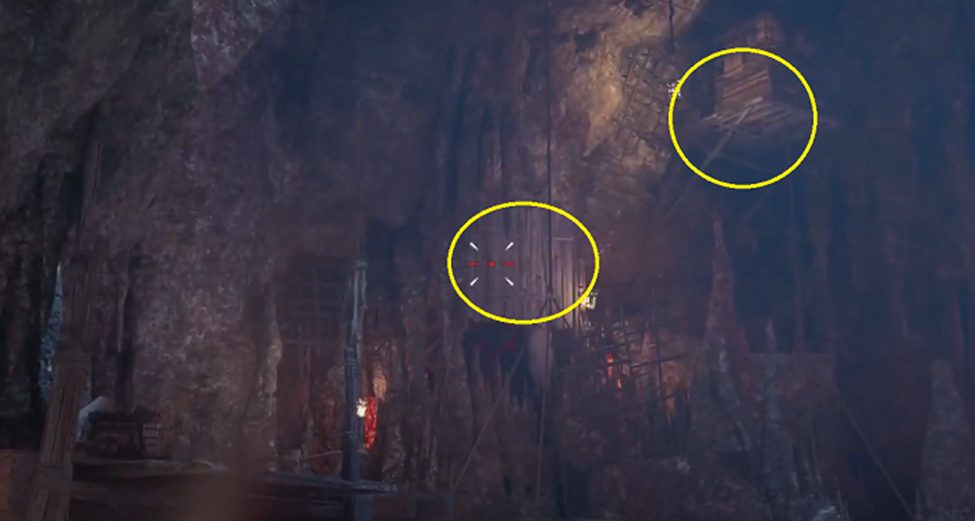
Fire the fire jar at one of the cages from above. Jump to the cage to your left, then launch yourself to the top of a collapsed building.
You must quickly release your arrow as the cage will descend and impede your shot. Standing on the first cage will cause the other cage to rise, allowing you to see the other red circle and hit the other one on the opposite side.
Drop the obelisk into the river after dragging it across to the opposite side. Pull the lever behind you, then use the lava-filled route on the left to travel across.
Once you’ve reached the other side, use the lever to shoot a large stone structure at the wooden platform above. You can cross to the opposite side using the structure as a ladder
Open the door by destroying the lock, dragging the obelisk through it, and lowering it afterward. Place the obelisk on the platform to the left after pulling it outdoors.
The Second Sphere
From the previous site, turn left and ascend. Continue heading north until you get to a little wooden platform with a rope leading to another platform with a lever.
Use the lever to activate a moving platform. To get a fire jar, jump on the left. Return directly to the platform afterward, and hurl the fire jar at the wall to break it. Follow the route.
You must set three large stones on the second platform of the net section, which has two platforms.
Use the first platform to climb after setting the large rocks. A lever that will create the second sphere is located on top.
To get back to the large cavern, carry the sphere and leap onto the moving lever. Bring the sphere up to the platform.
This will unlock Verica’s Tomb, where you can find the Artifact and the new weapon Verica’s Sickle.