 16 articles
Eyeing on getting the Blazing Sword, I must tell you, is a long, dangerous, and tricky journey. The first things you have to deal with are the four different artifacts that you must collect. You can start that by gaining access and unlocking Manius’ Sanctum. But that’s a different story.
In this guide, we will cover the part wherein you have already collected all the artifacts. The next move you should know in your objective of getting the Blazing Sword is unlocking and gaining access to the Eden Ring Station.
Keep reading until the end to know every bit of information that you have to know to get the Blazing Sword.
Tombs of the Fallen: How to Get the Blazing Sword in Assasin’s Creed
Before you can start on this section of your task, you must first know how to unlock the Eden Ring Station. This is where everything will begin.
 ACV: The Legacy of Saint George All 2 River Raids Clues GuideMar 14, 2023
 Top 5 Weapons in Assassin’s Creed ValhallaJan 2, 2023
 Assassin’s Creed: Valhalla: How to Craft Runes | Rune Forge Location GuideNov 4, 2022
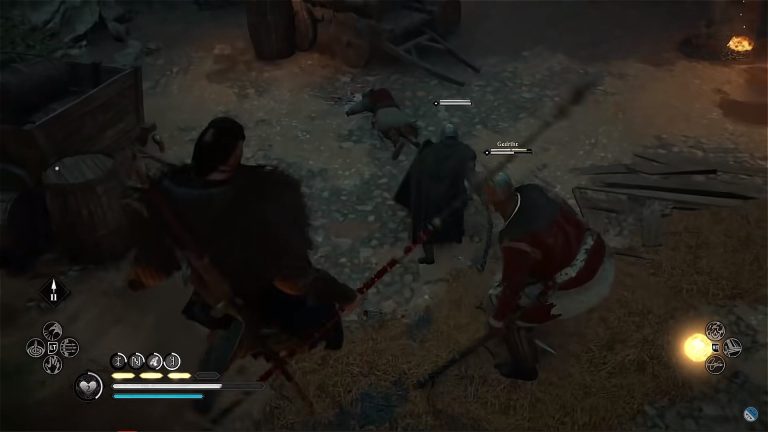
When you have already entered the area with a cobweb covering the entrance, a cinematic will play. It will show that an obelisk will appear from the ground. After the cinematic, you have to interact with it to trigger another cinematic that will open the door on the ground.
Once it fully opens, head down inside and you will find another stone wall with ancient writings carved on it which is the same as the previous obelisk. Interact with it as well. After that, you will be able to face complex puzzles.
To start with the puzzles, interact with the lever found near the elevator at the center of the platform. This will spawn a large orb which you will have to place on the pedestal in front of it.
Once you have already placed the orb, a beam of light will be emitted. Adjust until the beam of light touches the node above the door to open it.
Puzzle No. 1
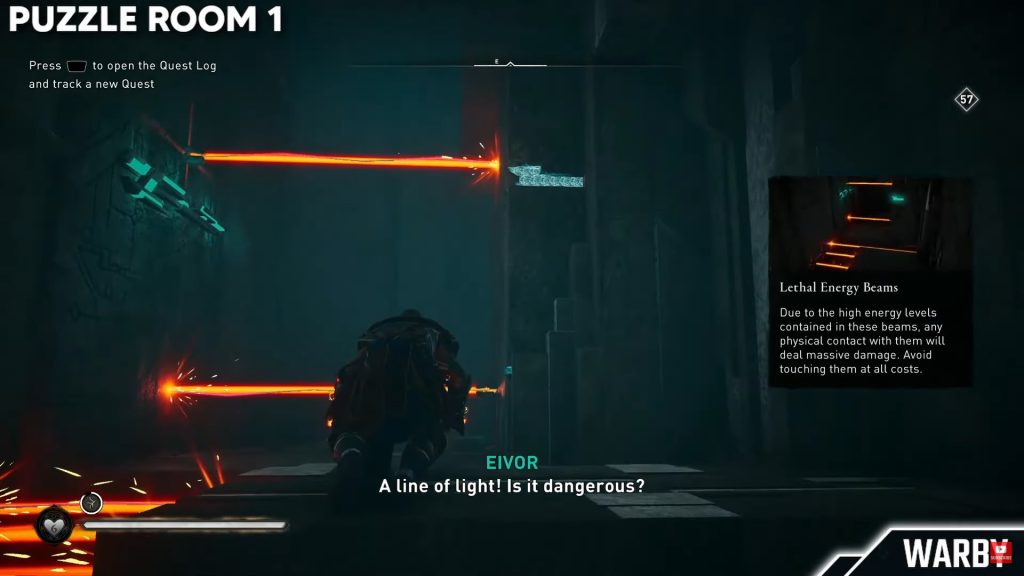
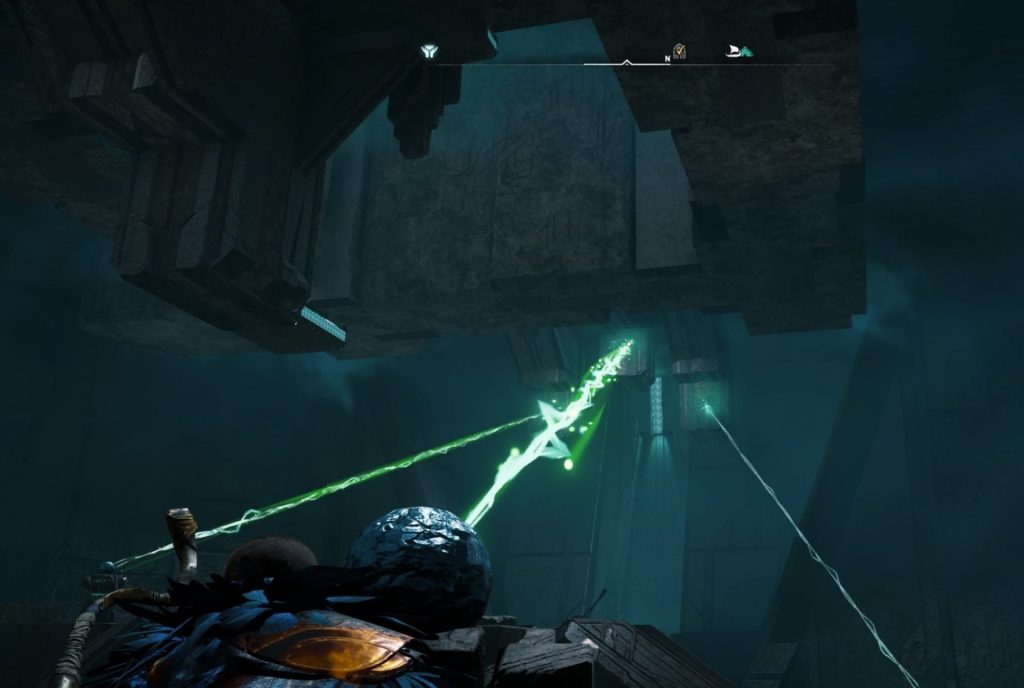
By entering the first area, you will encounter orange beams of light. Try your best not to touch these as they can deal you damage. Go past through here and you will see rooms both from left and right. Each room contains a puzzle that you must solve.
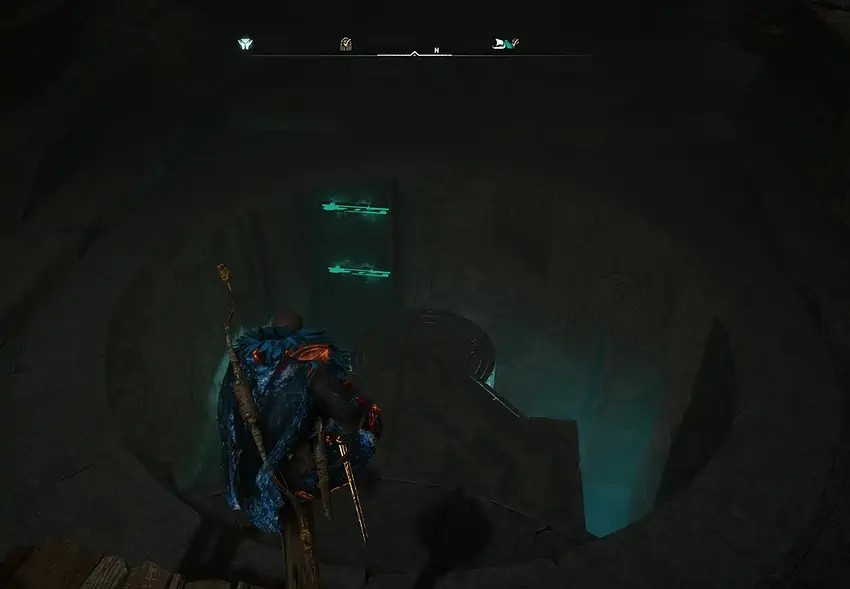
Starting off with the left room. Head straight to the room. You will see an orb emitting a beam of blue light. Interact with it and adjust it to connect with the node in front of it.
On the right side, you will see some loots. Get them and use the arrows to shoot the pads. This will allow the nod to turn. You have to manipulate the orbs and make use of your ammo to connect this correctly. To finish this part, this should be how it looks like.
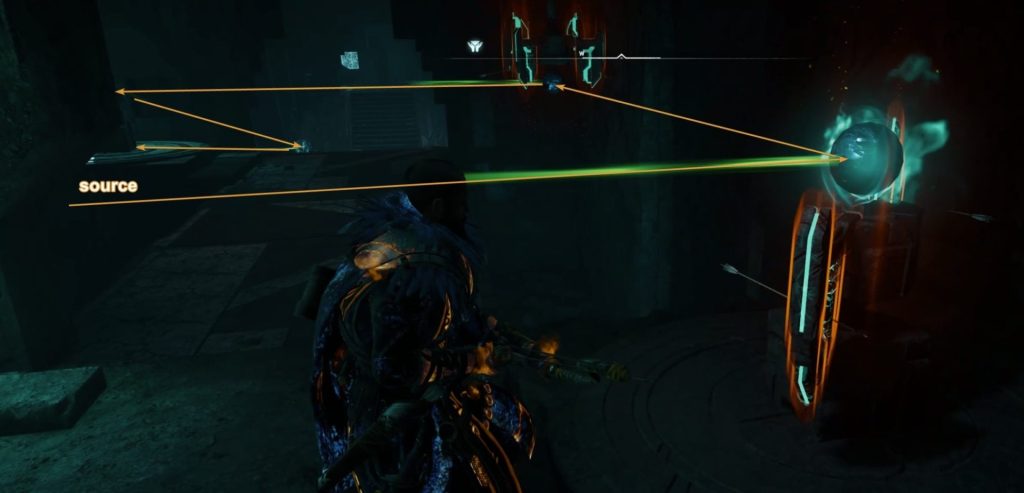
After this, you can now head over to the room located on the right side. The same mechanics of the puzzles. However, for this side, you have to manipulate the orbs by repositioning them. Watch out for the rails on the ground where the orbs are attached to move them correctly.
The light beams should look like this.
If you go down there, you still have several orbs to move and reposition. All four light beams must be pointing to the object in the middle to power it up.
After you successfully directed all four beams to the center, a level will be unlocked. Pull it down to release the second orb. Get it and return to the main room. Look for the next pedestal near the first area’s entrance.
The same thing will happen once you place the next orb on the pedestal. Adjust the light beam again to the next node. Readjust the first orb too and direct it to the door with two nodes to open the next area.
Puzzle No. 2
In this area, you must be careful with all the platform jumpings since the overall area is very tall. Take note also that some of the platforms are moving so you must be very cautious in jumping.
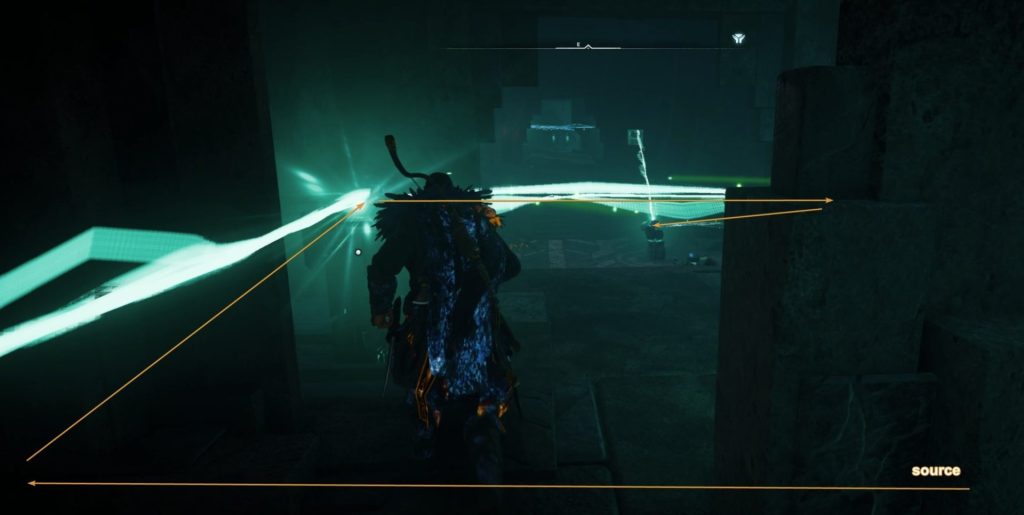
The same mechanics from the first room: connect all the nodes, adjust the pads by shooting them, and reposition everything. Remember that the light beam doesn’t just always go straight across their positions. You can always tilt them over.
After you have connected the light beams, a new lever will appear. Pull it to spawn the third orb.
Puzzle No. 3
To open the third area, bring the third orb o the main area again and readjust the light beams going to the door with three nodes above.
As you enter the room, you will be welcomed with just one orb. You might wonder where to connect this. On the northwest from your direction, you can see a wooden fence. Shoot it and it will reveal the next orb.
Go to the location of the next orb and shoot the floor to break it. Rotate the second orb to point it downwards. For the next orb, shoot the wooden fence on its left to connect them. After that, move the next orb by pulling it. By the time it connects, you will fall into a new area.
The location below will also require a lot of arrow shooting to explode and break things so make sure to always collect the ammo. Plus, remember to just follow the light trail and rotate them if necessary.
Once you see the lever, pull it to release the last orb and take it back to the main area for the last location.
Puzzle No. 4
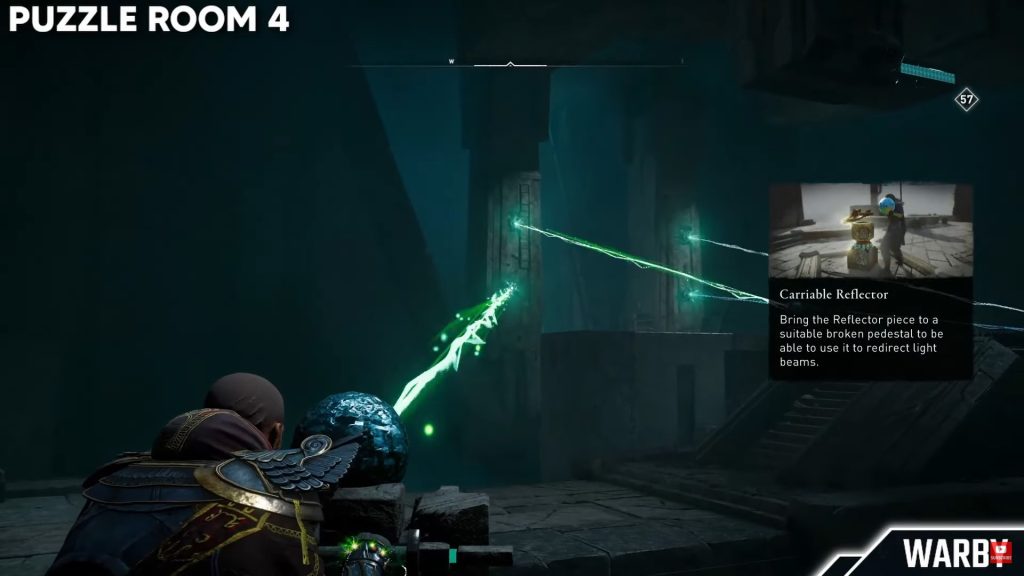
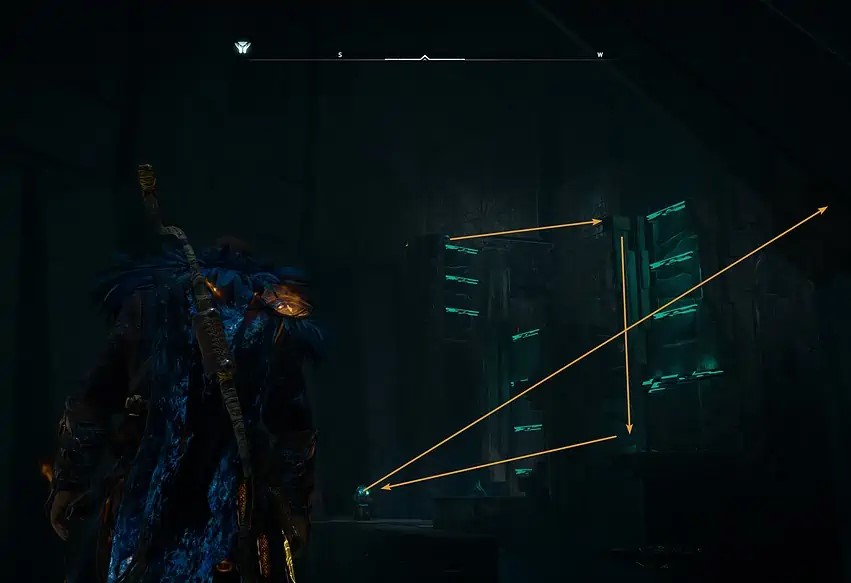
The last area will involve a lot of jumping again. When you reach the inside, you see a large spherical object. All you have to do is traverse over the moving platforms and point all the beams to the spherical object at the center. Be careful with the orange beam lights.
In the end, this should be how it looks from the location of the spherical object in the middle.
After you finish the last puzzle, it will be revealed that the Blazing Sword is located in the middle of the spherical object in the middle. From there, get your new weapon.