18 articles
Playing Dwarf Fortress will require you to unleash your creative engineering skills. From strategically choosing where to place the taverns, the meeting rooms, and even the tiny structures, for example, a well.
Aside from the whole fortress’s format, you also need to understand how you can provide enough water supply for your dwarves. And no, it’s not just about making a pit and building a well on top of it. Dwarf Fortress also has its concept of water pressure.
To know more about this, we made this brief guide for you.
Using Water & Water Pressure Guide in Dwarf Fortress
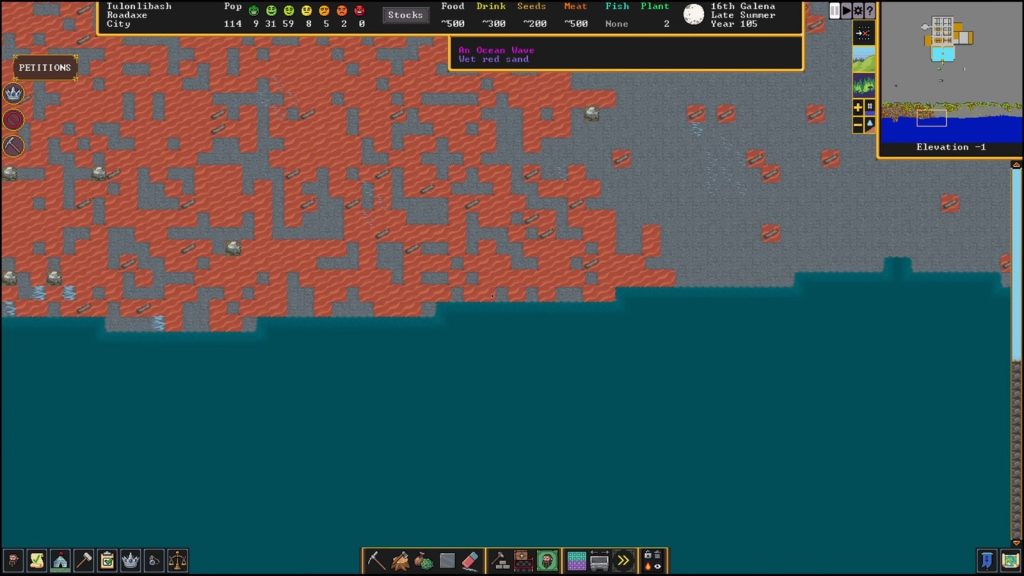
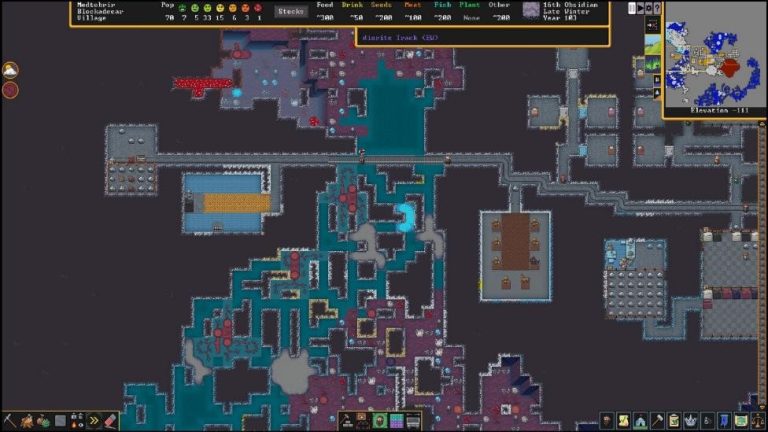
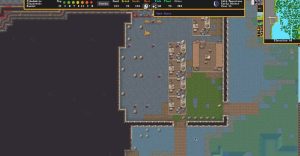
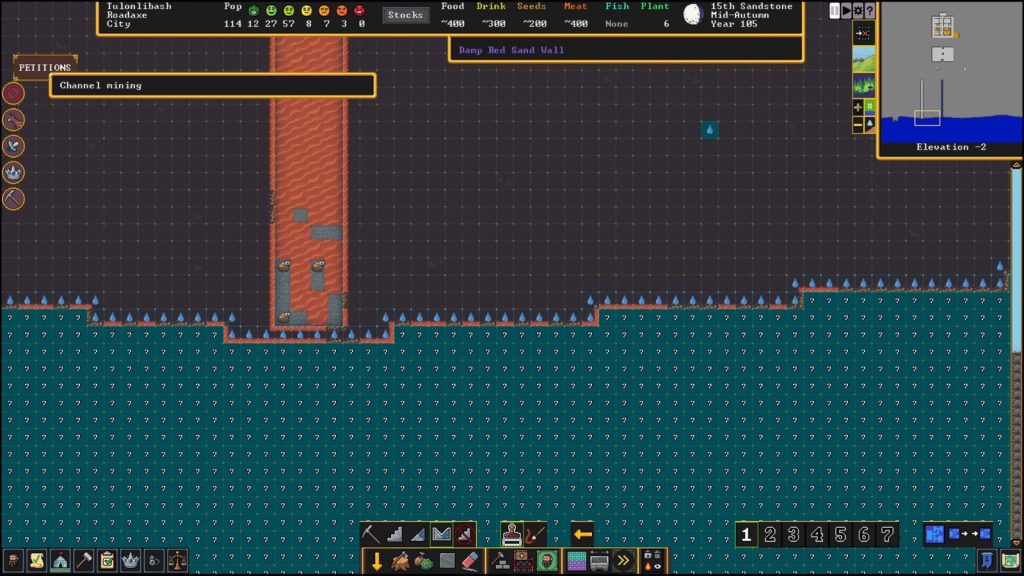
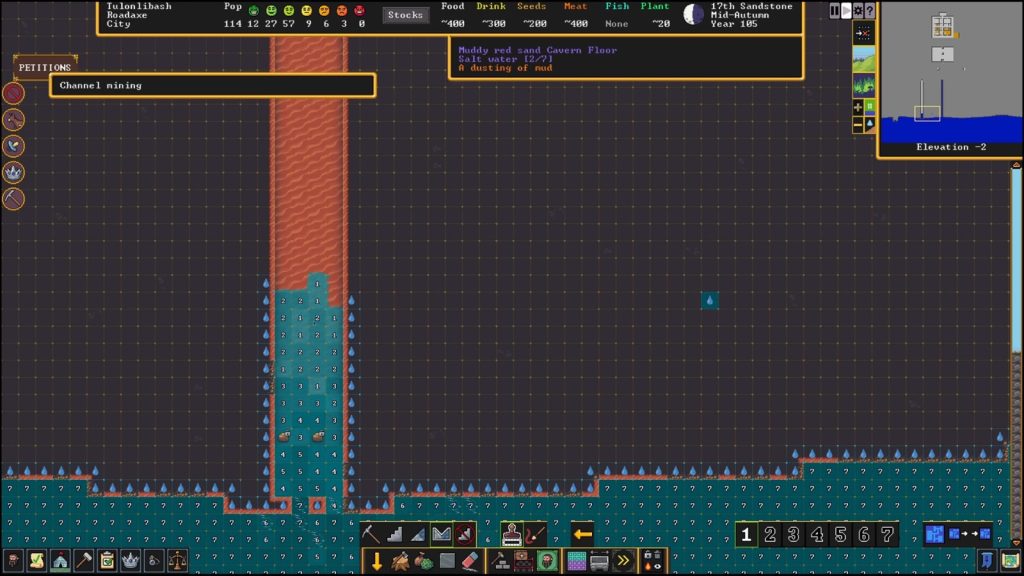
First things first. You must first locate a body of water that you can find outside of your fortress. Once you already found one, go to the upper right side of the screen next to the mini-map and look for this button that says Display water and magma depth numerically (1 to 7.) or you can simply press f.
 How to Remove Stairs and Walls in Dwarf FortressFeb 3, 2026
 Dwarf Fortress Classic Mode vs Premium – What is the Difference?Mar 7, 2023
 Dwarf Fortress – How To Feed Your DwarvesMar 22, 2023
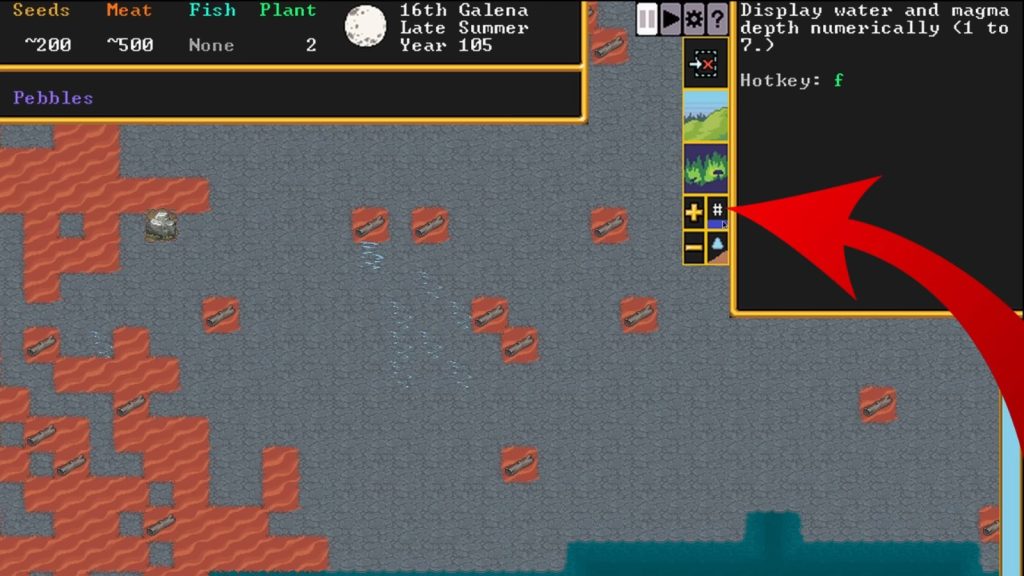
After that, the screen will show numbers from 1 to 7 in each water pixel. These numbers indicate the fullness of the body of water with 7 being the fullest from roof to ceiling. Take note that the only water level dwarves can walk to is 1/7 and 2/7 water. Anything above this will require the dwarves to swim.
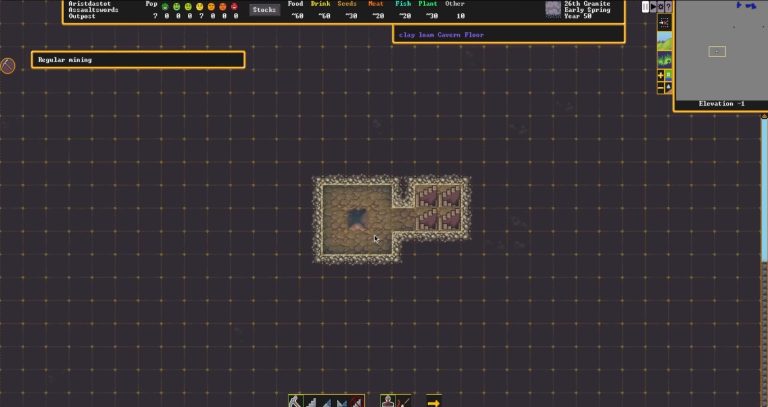
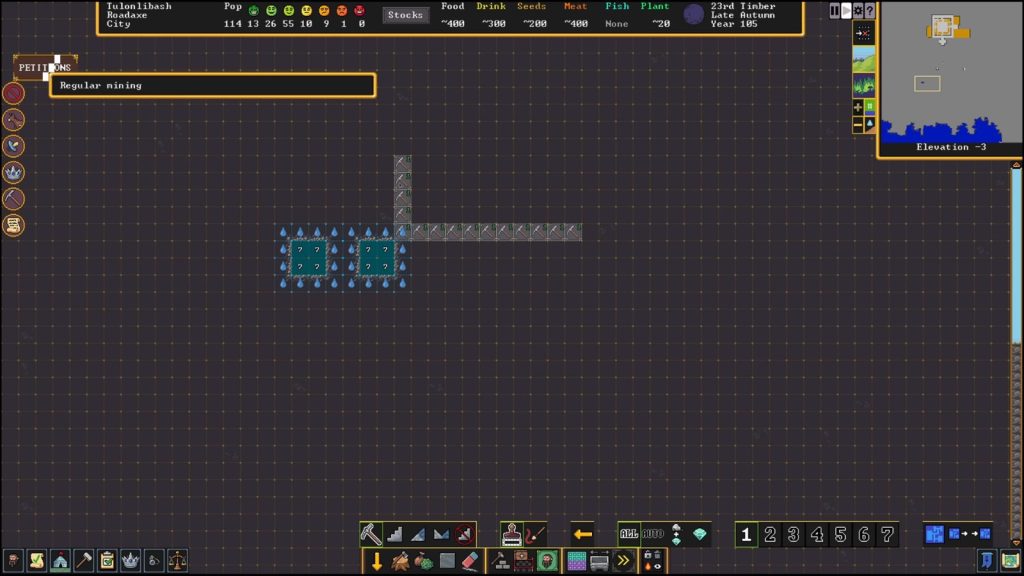
Now, pan halfway from the water to your fortress, and there, you will dig a stairwell down.
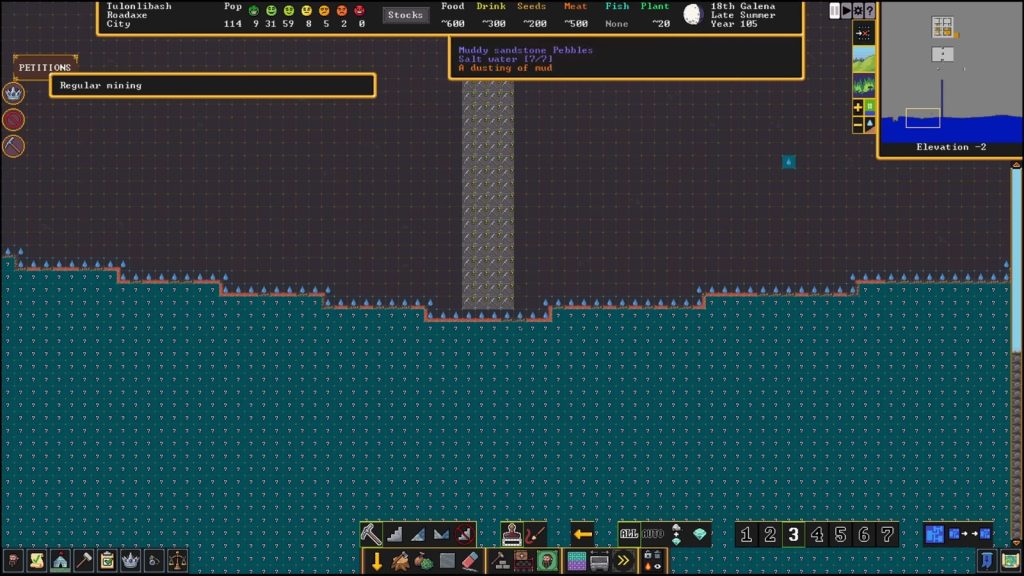
From that location, mine 4-tiles wide going to the water. This will be the main passage of seawater into your fortress.
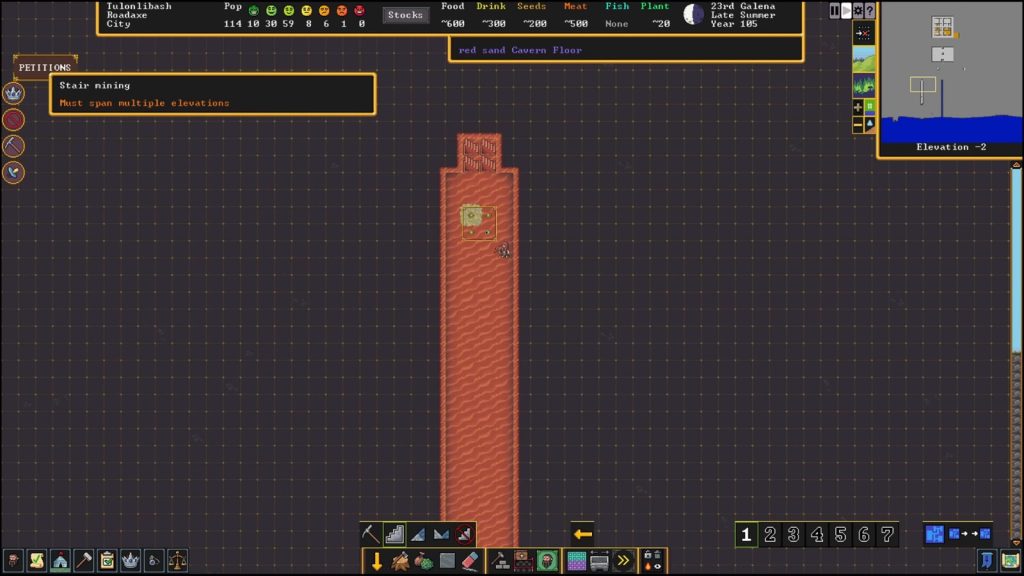
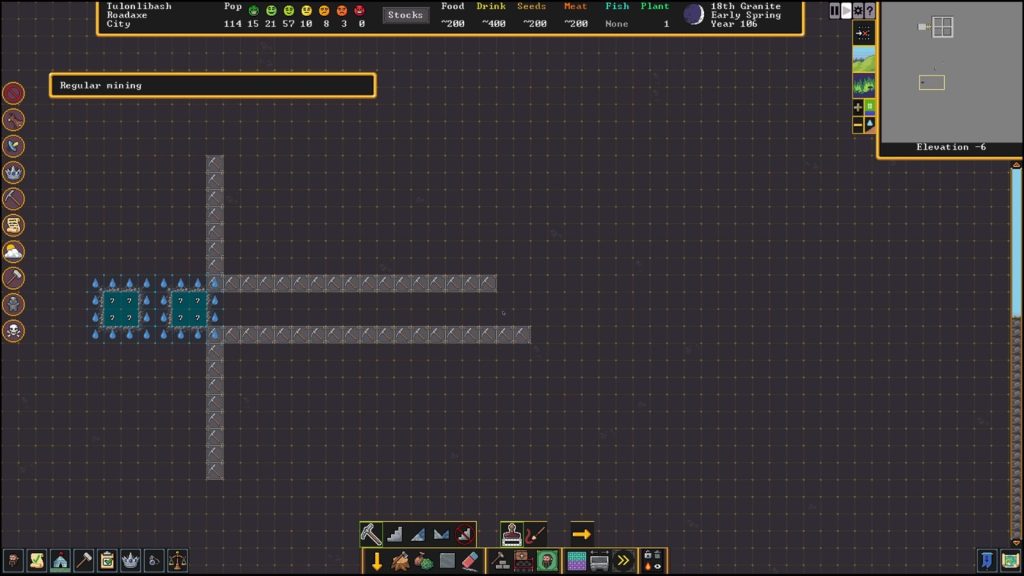
The next step is to dig another stairwell that is five or six levels on the same path you created earlier. Once done, mine on any side you want. The next thing is actually doing the same thing again from creating a staircase going up until you reach the surface.
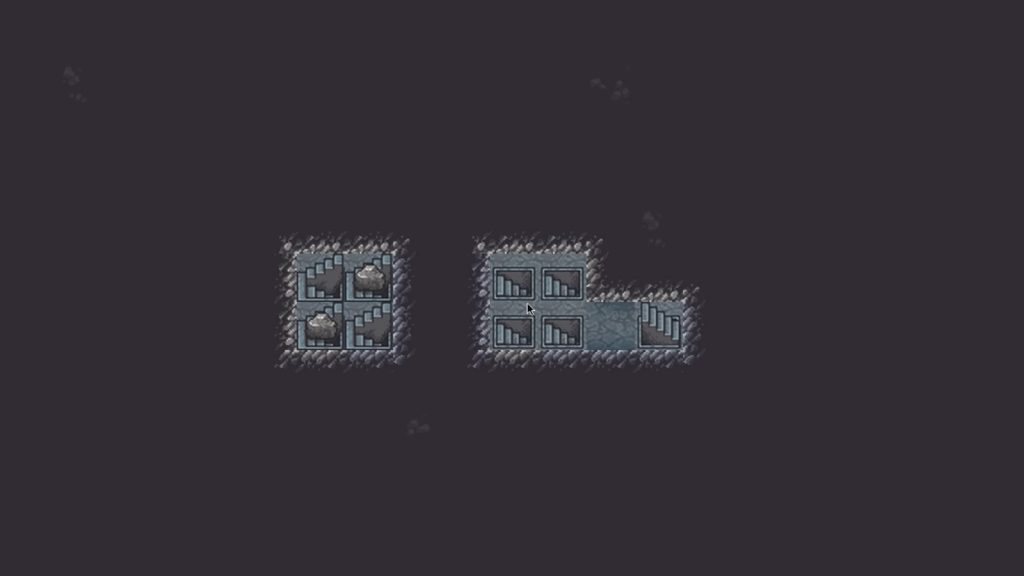
However, monsters and beasts can use this passage to enter your fortress. So, what you have to do is go to the layer of stairwells before you reach the surface and remove the stairs going up.
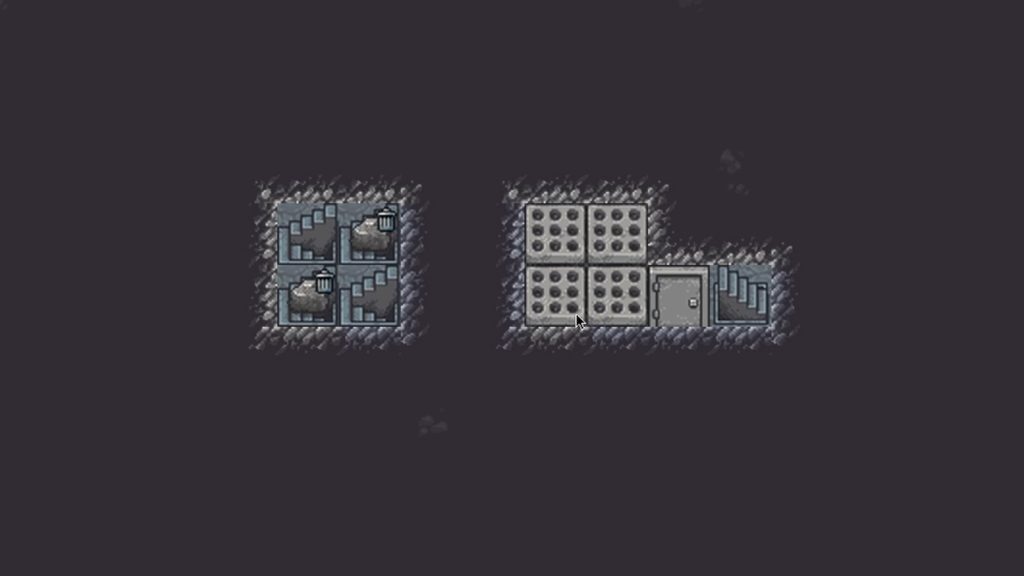
The next thing you have to do is go to the Stoneworker’s Workshop, Add a New Task, and choose to Make a rock grate. These rock grates will be placed on top of the stairs and will serve as filters for the bad guys.
After all the grates are set, go back to the water source.
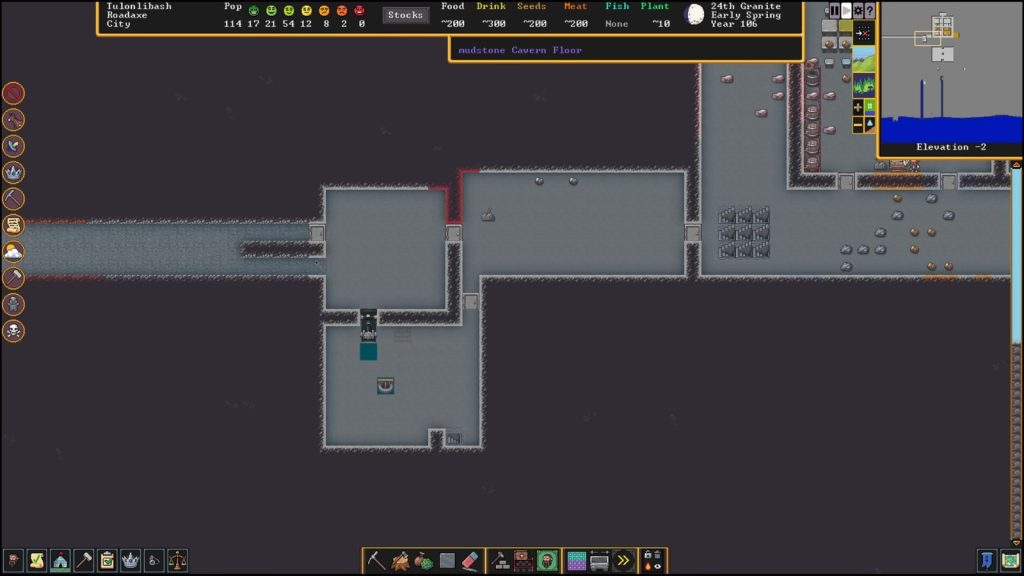
We will now start here on how to make an entry point for the water without drowning the dwarves. What you have to do now is go to Designations, and go to Channel. Then, go up one level, and channel out the four tiles nearest to the water.
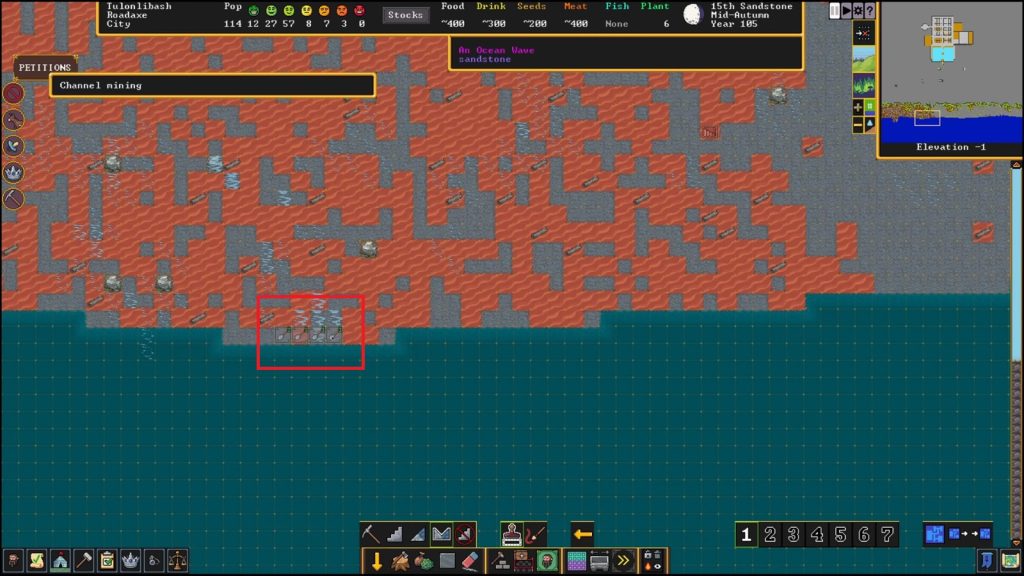
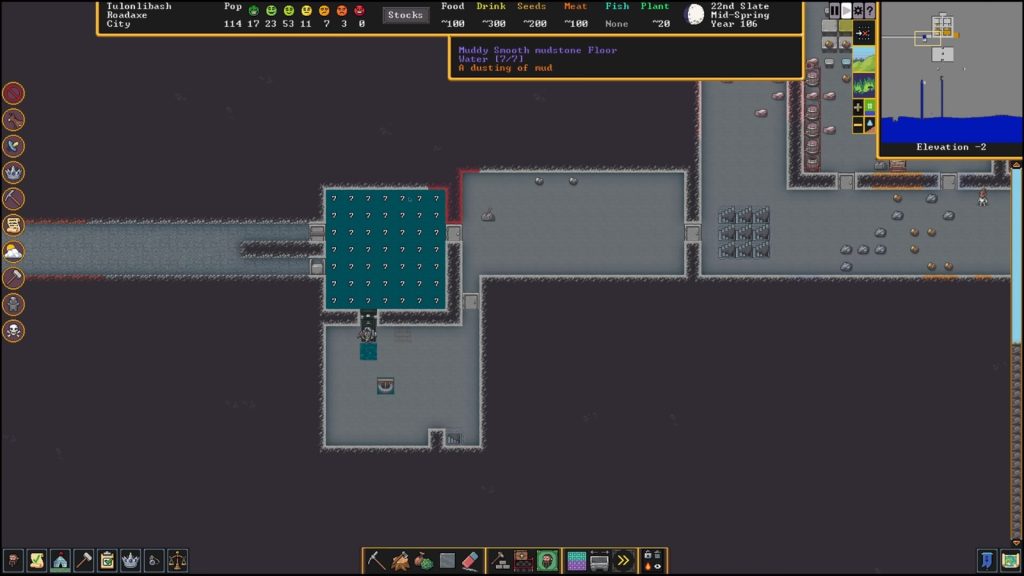
Once there is already an entry point of water, you will notice that the water will slowly come up.
Once you have observed that the u-pipes have filled up, you can make other branches to reset the pressure.
Using that information, you can always do this to reset the water pressure as well as create water tunnels going to all parts of the fortress that will need a water supply.
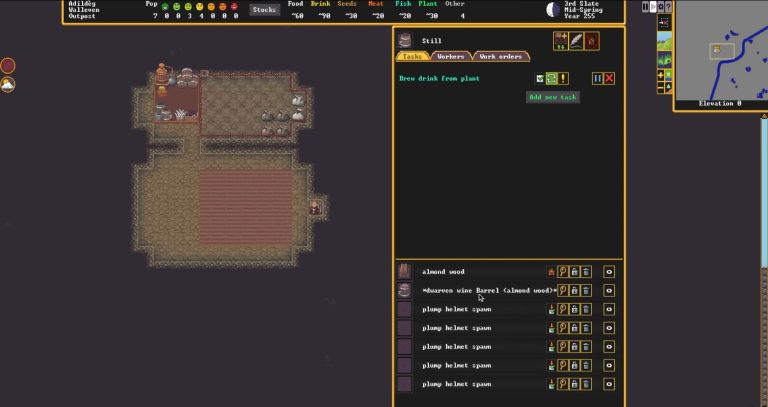
After a while, you will notice that the reservoir that you have built inside your fortress will slowly fill up with water.
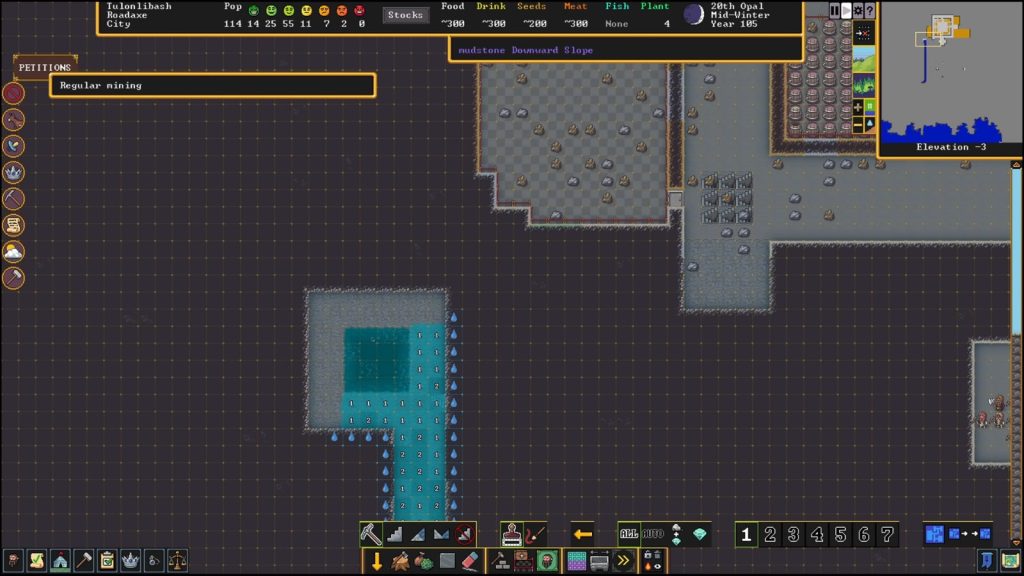
Up one level above the location of your reservoir, dig a channel. Then, one level above that, dig another channel.
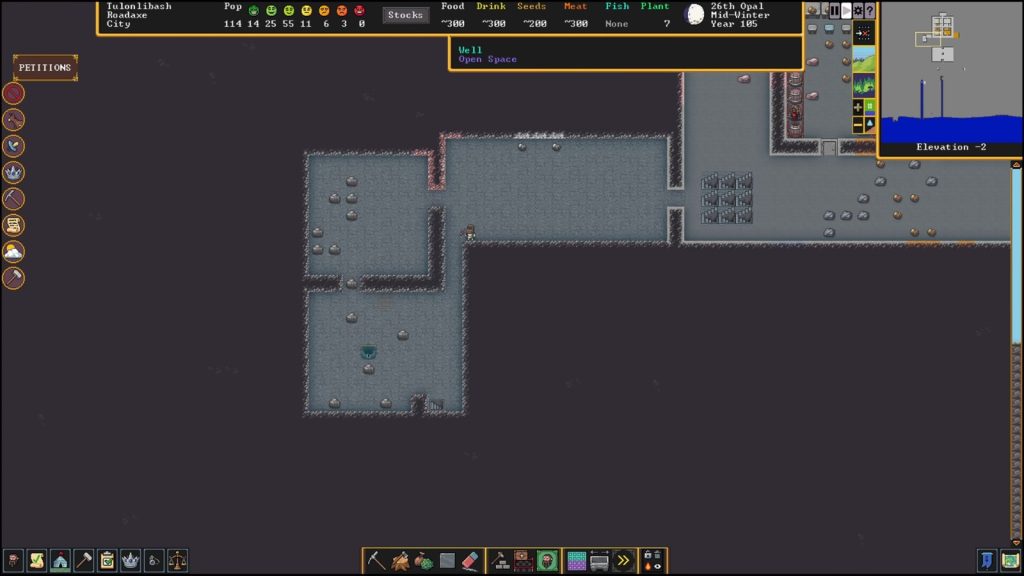
Now, if you are already seeing a tile of water from the uppermost level that you have dug a channel, go to Build > Machines/fluids > Well. Build a well on top of the water tile that you can see.
Once the dwarves are done building it, highlight the whole area and assign it a zone of water supply. Do the same thing on the area directly one level above it, and build another well since they can draw water from each other.
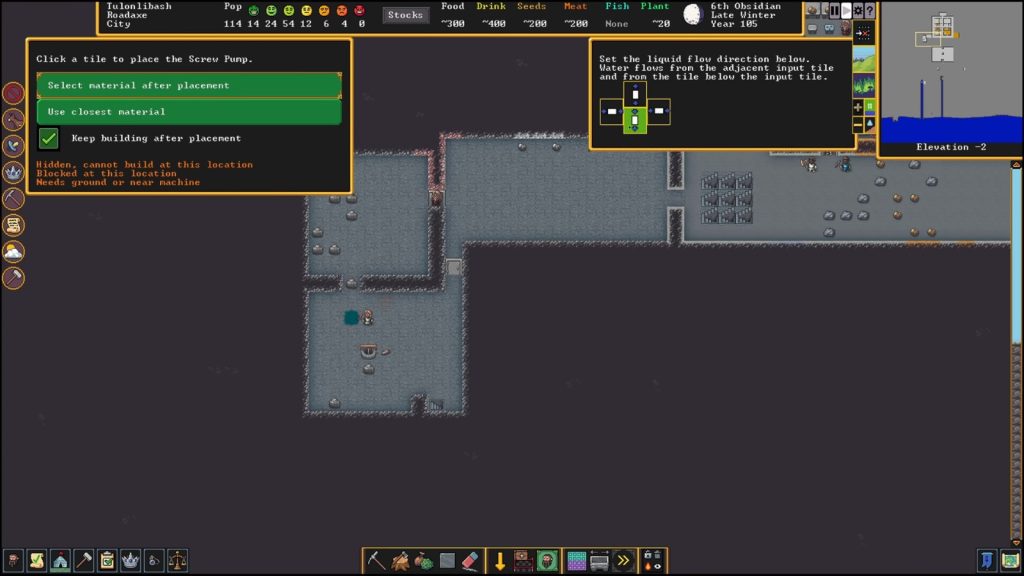
Going back to the first well you build, click one tile and dig another channel. Go to the build menu and choose the Screw Pump. Put the pump next to the channel and pick the direction you want the water to flow.
RELATED: Dwarf Fortress: Trading Guide
The next thing you would want to do is water drainage. The first thing you have to do is dig a path going to the edge of the map. Once you reach the edge, you have to smooth the wall. When the smoothing is done, you have to carve a gap into it.

Now, head to the room where the path going to the map edge is connected.
Here, you have to build a floodgate in one of the entries. After that, look for a lever and build one. Make sure to place it in an accessible room. After the lever is built, click it and click the floodgate to link them.
When everything is set, click the screw pump and select Start Pump Manually to immediately fill the room with water.
After it is filled, pull the lever to open the door and the floodgate. This will allow the water to flow through the path that you dug earlier going to the drain.