28 articles
Chapter 2 of Final Fantasy 7 Rebirth starts in The Grasslands, which is the first true open-world section of the game and is full of things to do before you go to Chapter 3.
It’s important that you make sure to get everything you can during this chapter, too. It will give you a head start for the rest of the game, and you won’t get to visit The Grasslands again until way later.
In this guide, we’ll tell you all the things you should do during Chapter 2 before you start Chapter 3.
Everything You Should Do in The Grasslands Before Chapter 3
Get New Weapons

Our first tip is for you to gear up and get some sweet new weapons for Cloud, Aerith, and Barret. But avoid buying them, because all of them can be found as loot in the open world!
 Final Fantasy 7 Rebirth: All Weapons LocationsMar 3, 2024
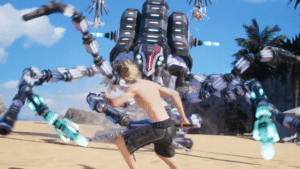 Final Fantasy 7 Rebirth: How to Defeat Grasptropod Mar 2, 2024
 Final Fantasy 7 Rebirth: How to Get All SummonsMar 1, 2024
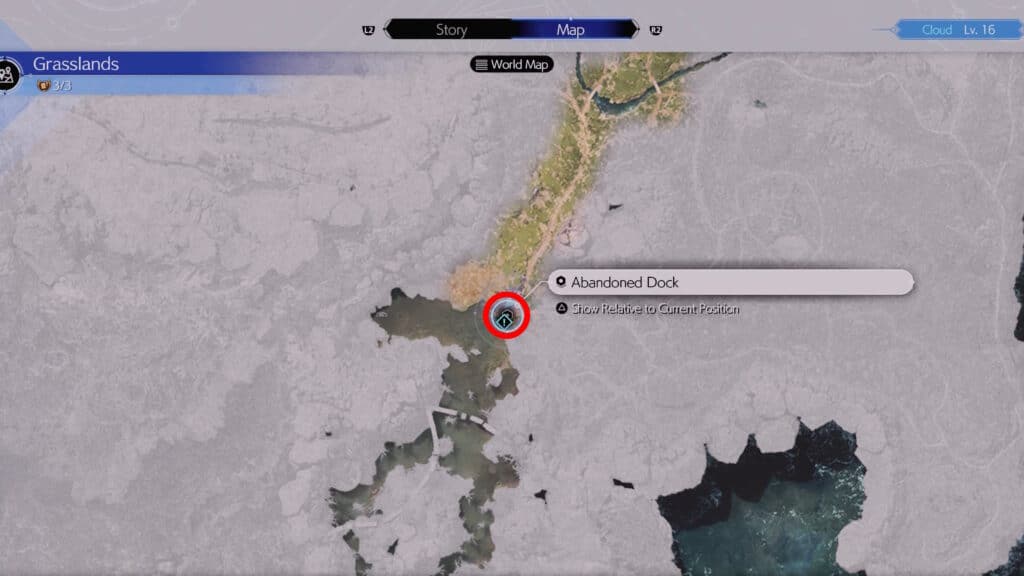
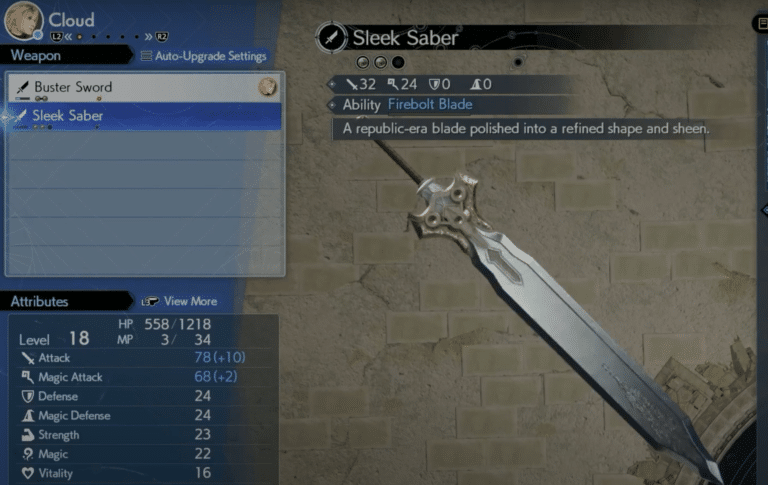
The first one you can pick up is the Sleek Saber for Cloud, which you can find in the Abandoned Dock south of Kalm.
It’s almost impossible to miss this one, as its purple glowing chest really stands out.
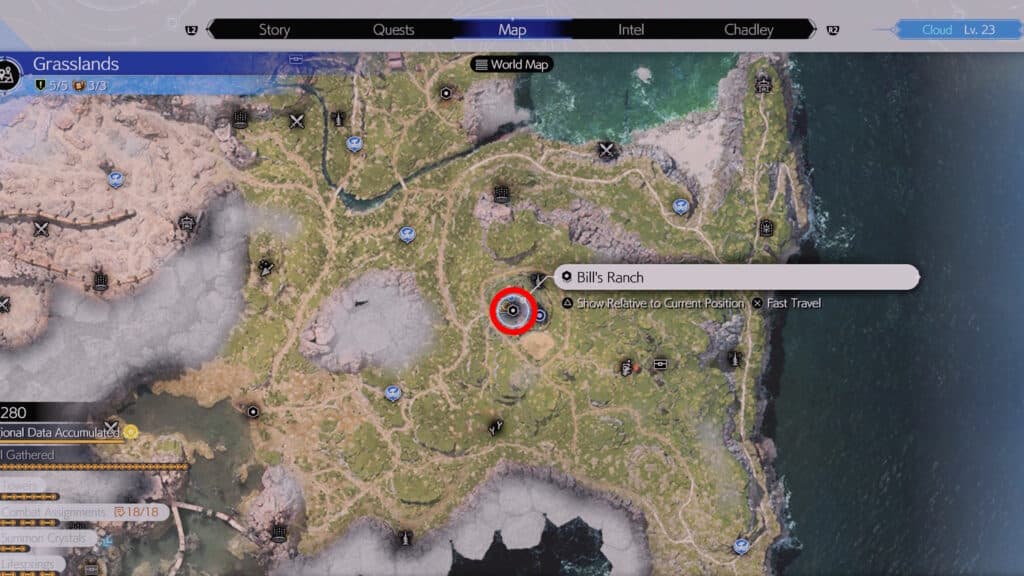
For Aerith, you want to get the Timeless Rod from Bill’s Ranch. This handy weapon has a Linked Materia Slot, which will come in handy later on.
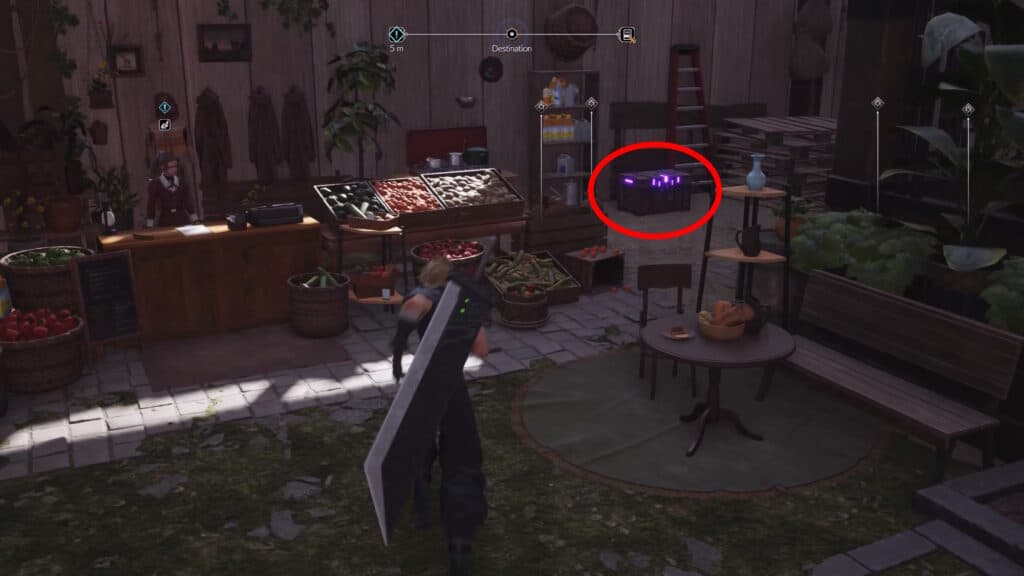
Just go inside the central red building and check the corner to the right of the corner to find the chest.
Last but not least, pick up the Hi-Caliber Rifle for Barret. You can only get this one once you progress the story and reach the Chocobo Ranch, however. You’ll need to ride a Chocobo to reach it!
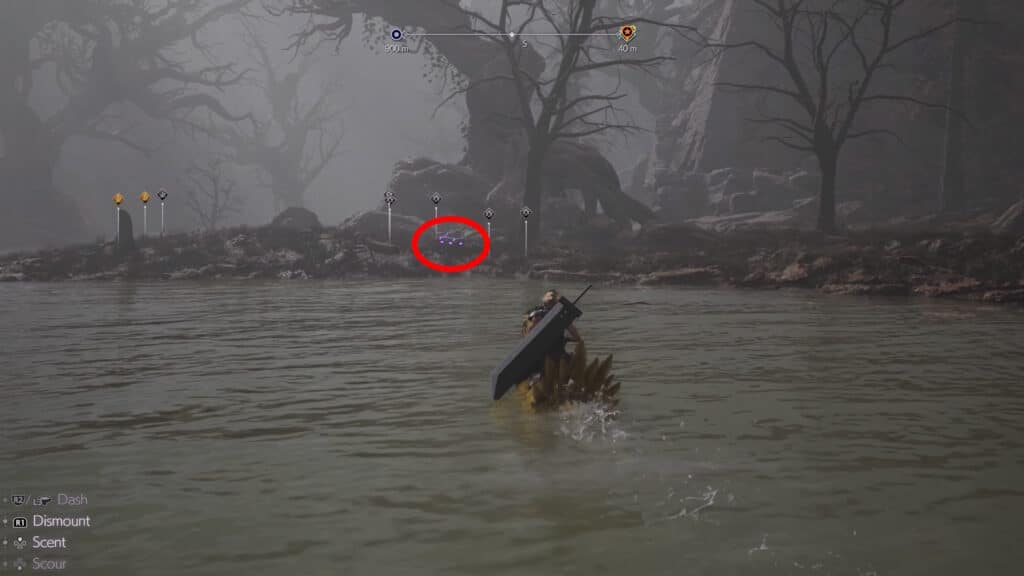
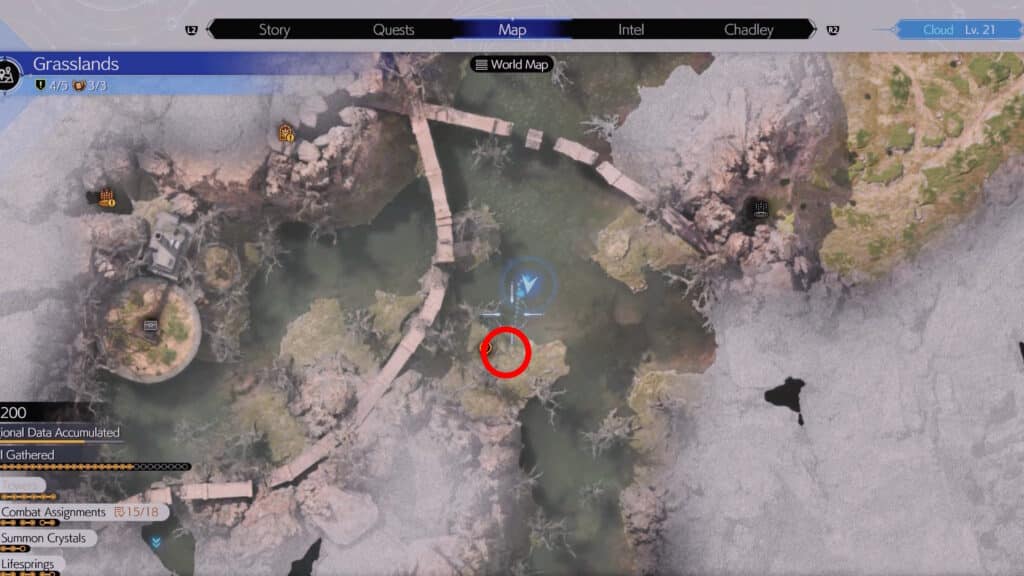
Once you’ve got a Chocobo, go back to the Abandoned Dock where you found Cloud’s Sleek Saber. Except this time, you just ride the Chocobo across the swamp while heading southwest.
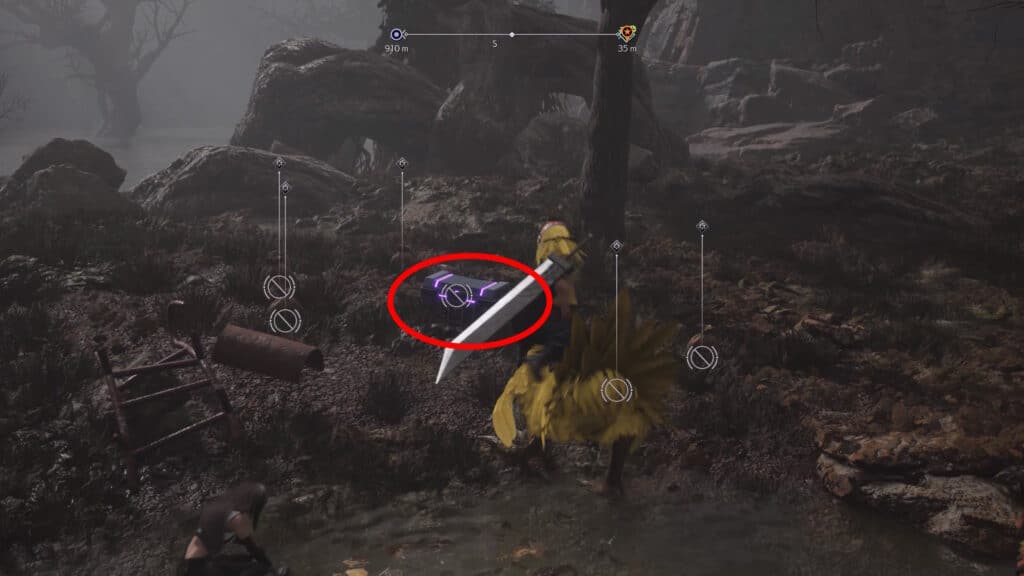
You’ll eventually reach a bit of land with a purple chest on it, open it up for the Hi-Caliber Rifle.
Must-Have Materia: Auto-Cast
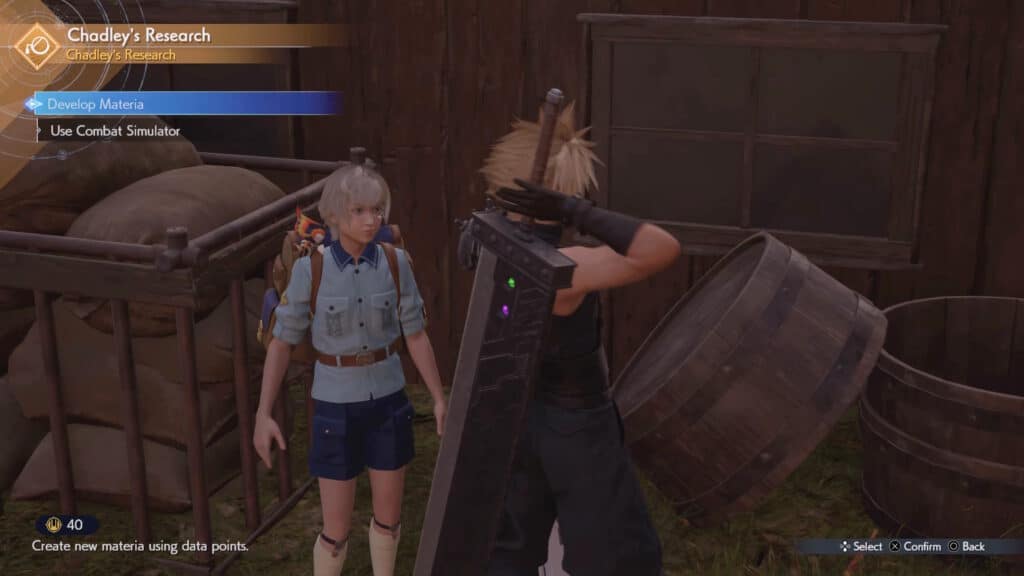
As you progress the story, you’ll be reunited with a nice little fella named Chadley. He returns after first appearing in the Final Fantasy 7 Remake, and is now in charge of collecting intel about the world!
What’s most important about him, though, is that he is a fantastic source of Materia. We’ve discussed this in our ultimate Materia guide, as well.
But, basically, you’ll get Data Points as you complete the various World Intel quests around the region. You can find those on your map after speaking with Chadley.

Then, you can spend those Data Points at Chadley’s Materia Research “shop”. It works the same as a regular shop, except your currency is knowledge instead of Gil.
Now, to get to our main point here, make absolutely sure that you get the Auto-Cast Materia first and foremost. Ideally, get a few of them so that you can equip it on multiple allies.
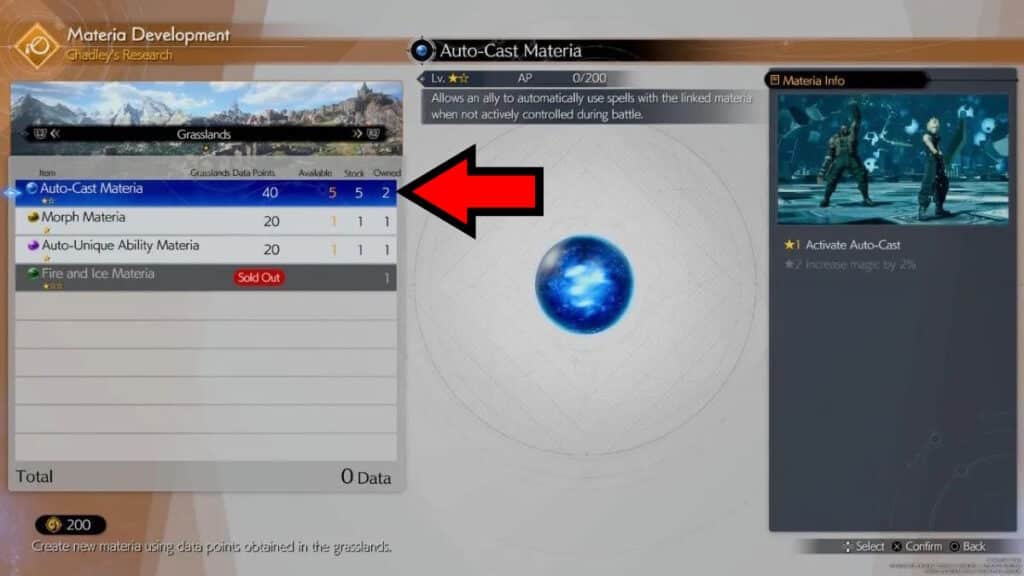
Auto-Cast is a Support Materia that can be set to any Linked Materia Slot.
It will enable AI-controlled party members to cast magic even when you’re not controlling them, which is an absolute game-changer.
This is especially important if you didn’t pick it up as a collectible during Chapter 1!

Its best use right now is for Aerith. Equip Aerith with the Timeless Rod you picked up before, then put Healing Materia and Auto-Cast Materia in the Linked Materia Slot.
Aerith will now heal your party even without you having to take control of her, making combat much more bearable!
Command Titan’s Power
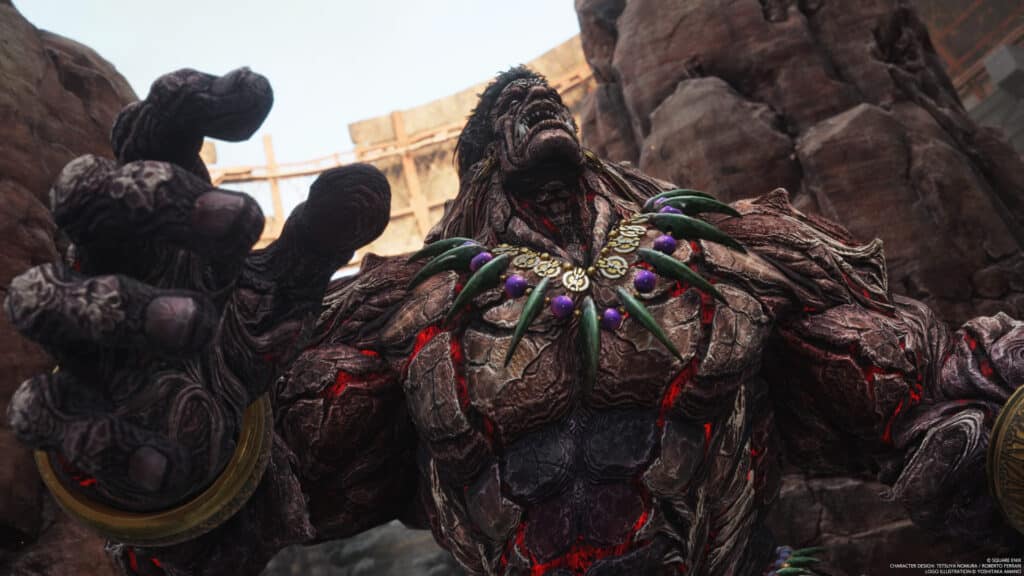
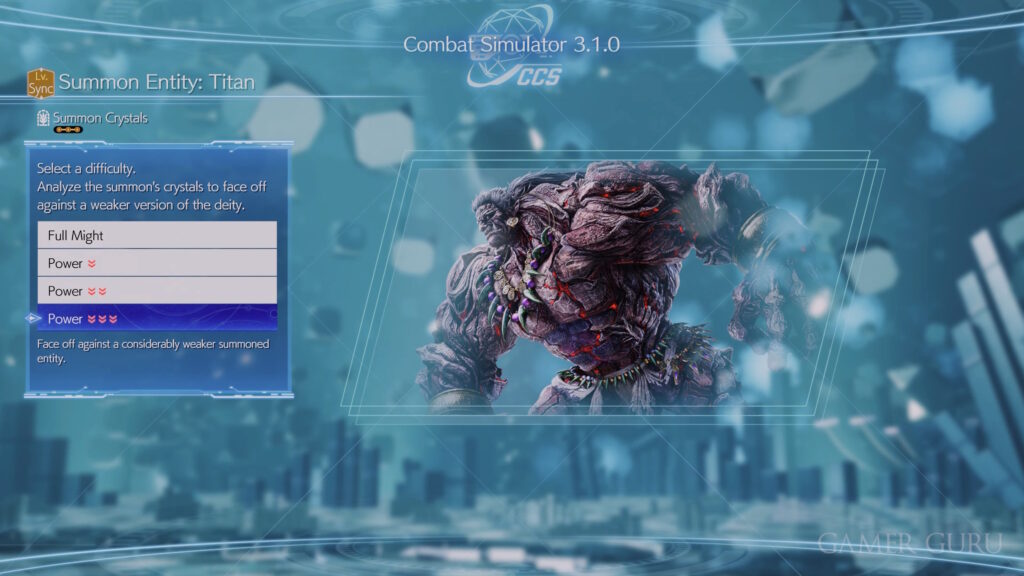
While we’re still speaking about Chadley, though, you should try to get the Titan Summon Materia.
You obtain it by completing Chadley’s first Combat Simulator task, titled “Summon Entity: Titan.” Beating this brutal opponent is easier said than done, though!
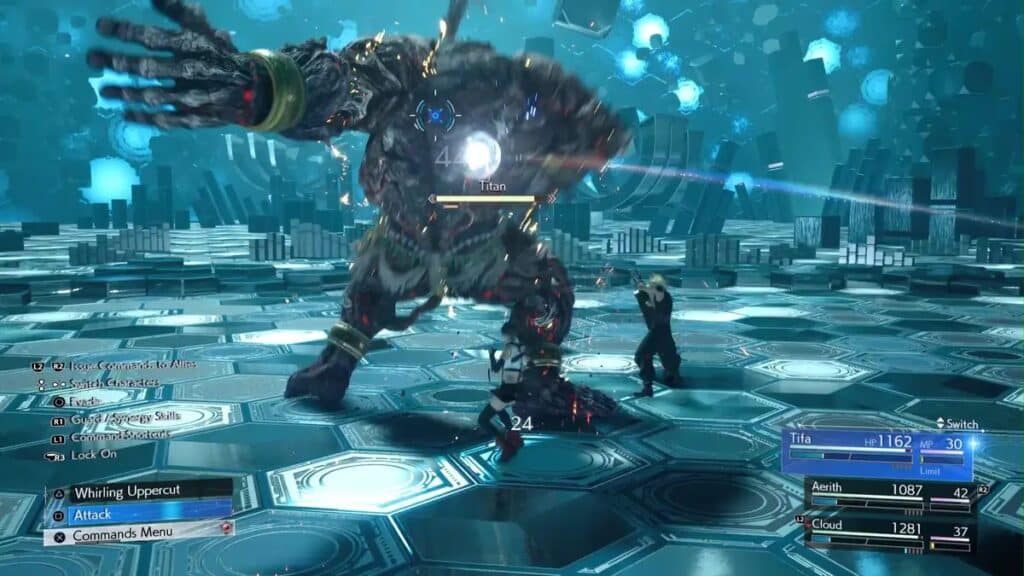
Titan is extremely challenging, and his powerful attacks can wipe out your party quickly.
However, you can make things a tad easier for you by picking up three different Divine Intel across The Grasslands. Each one you pick up will unlock a weaker version of the Titan fight, maxing out at three.
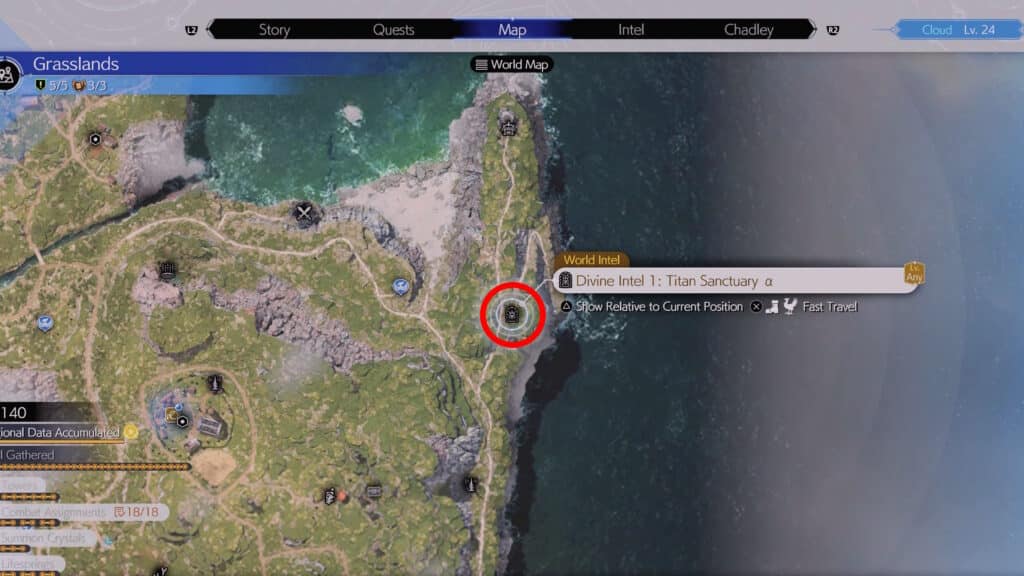
The first Divine Intel, Titan Sanctuary Alpha, is in the eastern part of the region.
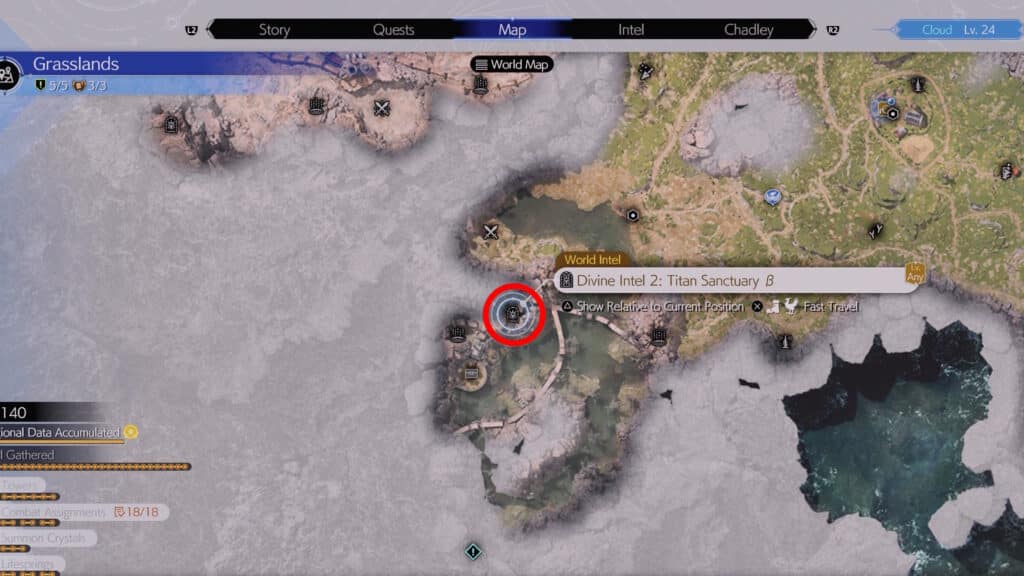
The second, Titan Sanctuary Beta, is to the south of Kalm. It’s close to the Abandoned Dock from before.
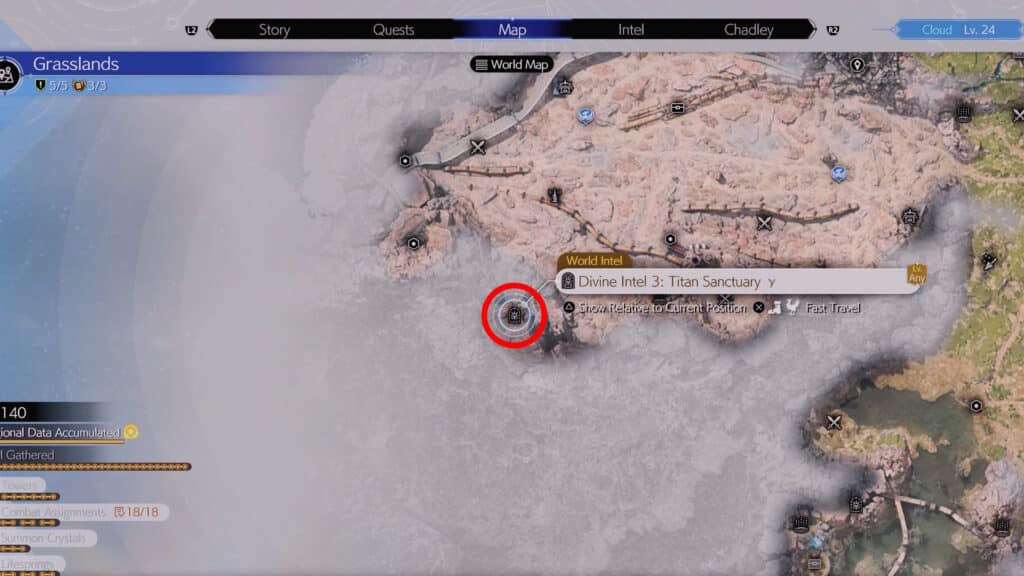
Lastly, you can find Titan Sanctuary Gamma in the western part of The Grasslands.
Collect all three Divine Intels for Titan then go back to Chadley. Fight the weakest variant of Titan to get his Summon Materia with ease!
Don’t Ignore Intel!
Speaking of Intel, you should make sure to get all the World Intel you can in The Grasslands before you go to Chapter 3. After all, you won’t be able to come back in a while, and Intel is region-specific.
Thankfully, it’s pretty easy to complete the World Intel events and quests.
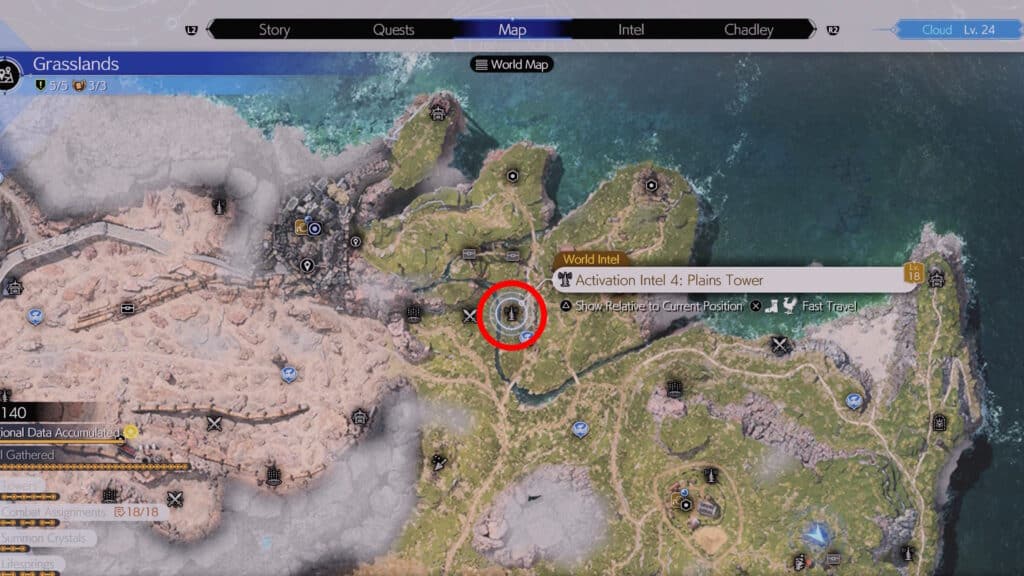
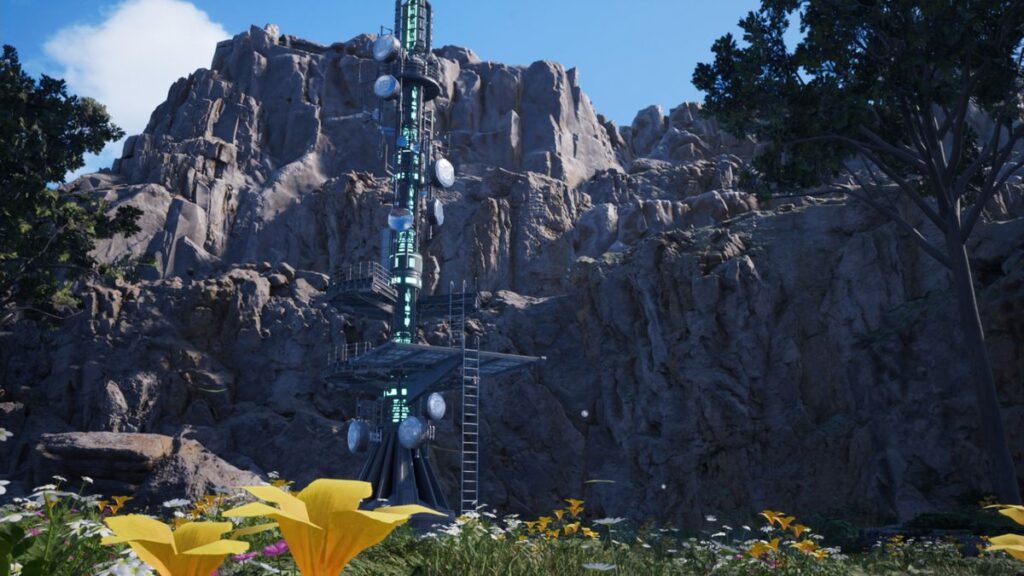
You should first look for any Towers out in the region, then activate them. These Towers are marked as “Activation Intel” points on your map, and they will reveal all other World Intel points around them.
Thanks to these Towers, it’s basically impossible to miss out on World Intel as long as you keep checking your map.
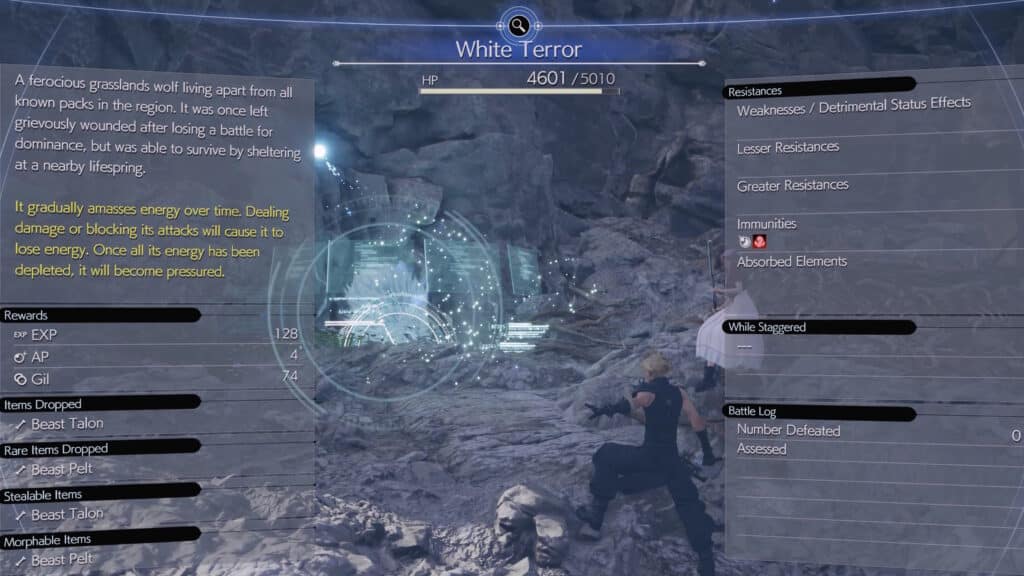
Speaking of Intel, though, make sure to use the Assess Command whenever you fight enemies.
This will give you Enemy Intel, which will let you know the weaknesses and strengths of your foes. But, more importantly, it will also unlock new rewarding challenges at Chadley’s Combat Simulator!
Restore Chocobo Stops

Since you will be doing a lot of exploring as you gather up all the World Intel in The Grasslands, you should also restore Chocobo Stops.
These Chocobo Stops look similar to what bus stops look like in real-life.
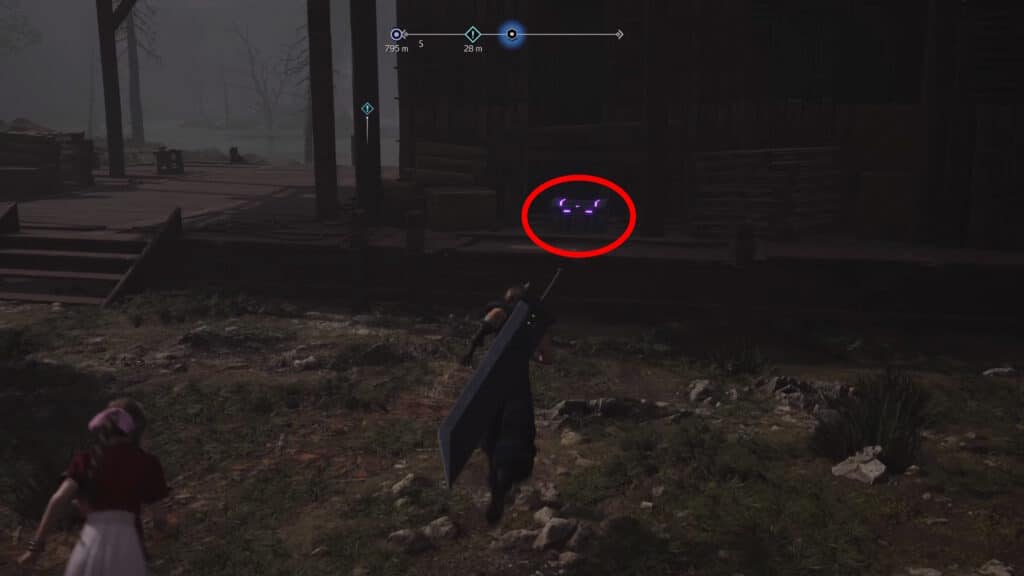
You’ll often be signaled toward these Chocobo Stops by adorable chubby Chocobo babies. If you spot any of them as you explore, don’t ignore their pleas for help!
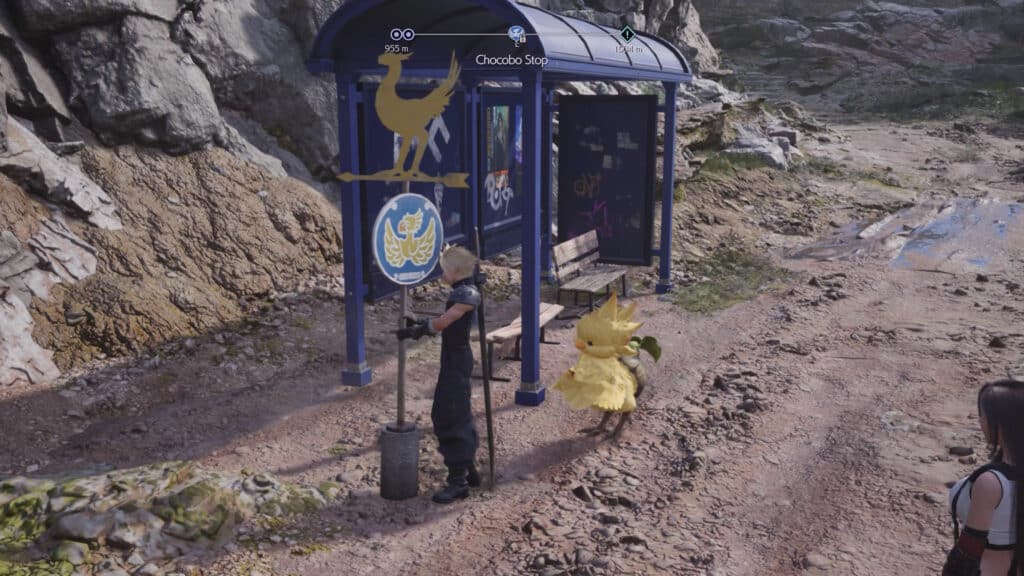
Once you’re at the Chocobo Stop proper, though, you just need to interact with the stop sign next to them. Pick it up to open up the Chocobo Stop for use, giving you more fast travel spots.
More importantly, opening up Chocobo Stops will also give you Golden Plumes. You can use these later on to purchase accessories for your Chocobos, which can grant them special abilites in Chocobo Races
In short, don’t ignore the fledgling Chocobos you find as you explore. Help them restore the Chocobo Stops!
Pick Up Some New Cards

If you’re eager to dive into the new Queen’s Blood card minigame, you should make sure to get some of the powerful cards early on.
As soon as you get a Chocobo as part of the main story, the “A Rare Card Lost” side-quest will become available in Kalm.

Just head to the Rusty Arrow tavern in the northern part of Kalm and speak to the bartender there to start.
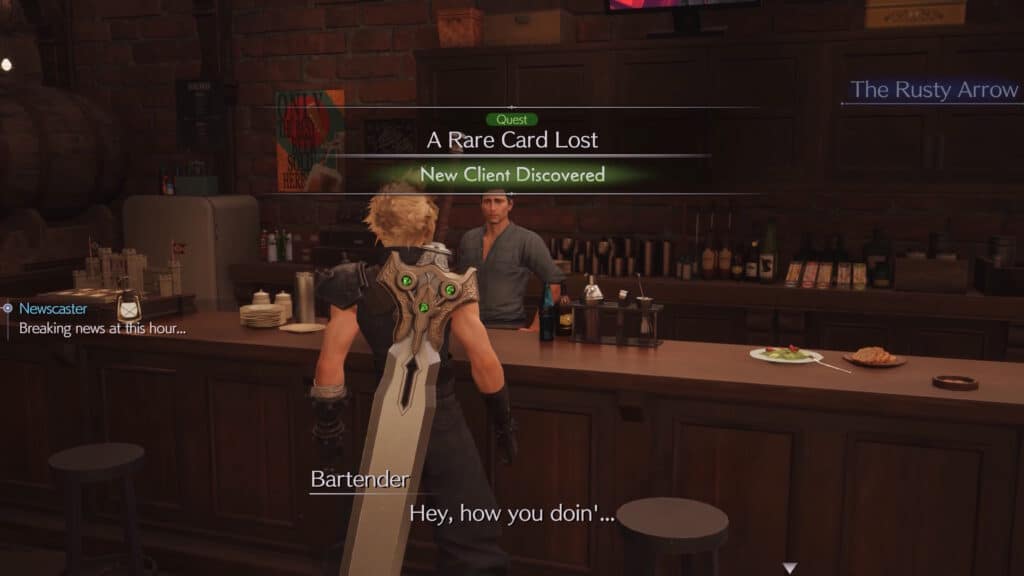
This quest is relatively simple, as you are just tasked with defeating three specific opponents at the Queen’s Blood minigame. Once you defeat them, speak to the bartender again!
If your cards are a bit lacking right now, check the item vendors in Kalm to purchase Queen’s Blood Booster Packs.
He will reward you with Card 107: Chocobo & Moogle, which is a pretty rare one. It’ll come in handy as you challenge stronger foes when you go to Chapter 3 and beyond.
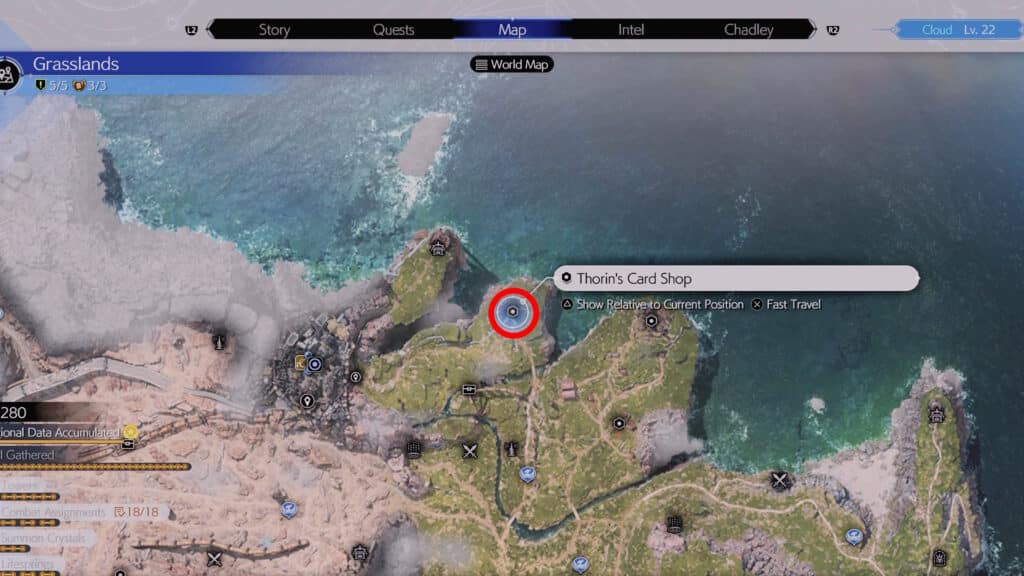
Additionally, you’ll get access to Thorin’s Card Shop to the northeast of Kalm.
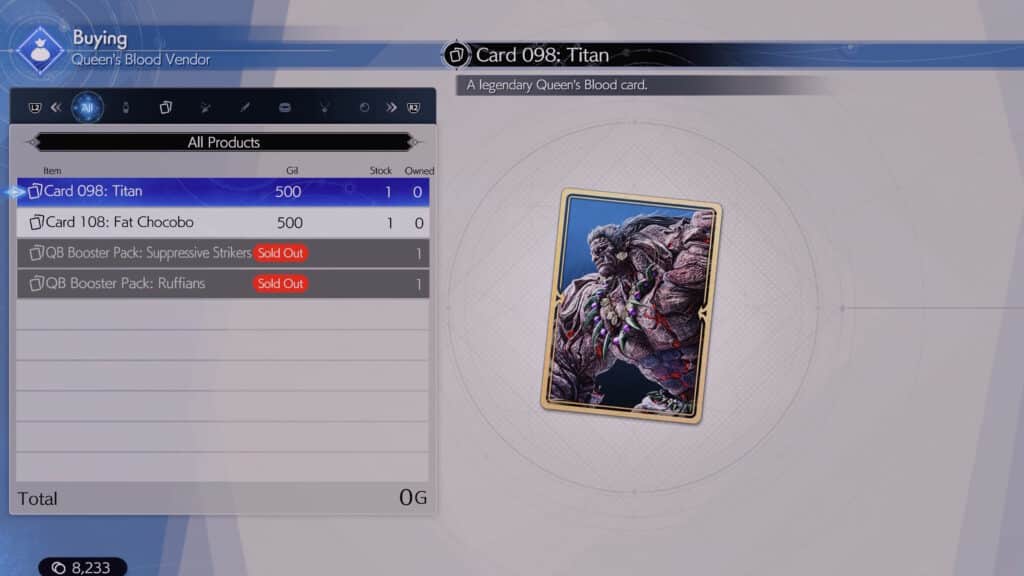
You can buy Card 098: Titan and Card 108: Fat Chocobo there, which are also pretty rare!
Check Out the Moogle Emporium
Our final thing to do in The Grasslands is to check out the Moogle Emporium. This unique shop becomes available once you complete the Moogle Intel events in The Grasslands.
Once again, though, this shop won’t take your Gil. Instead, you’ll need to get Moogle Medals.
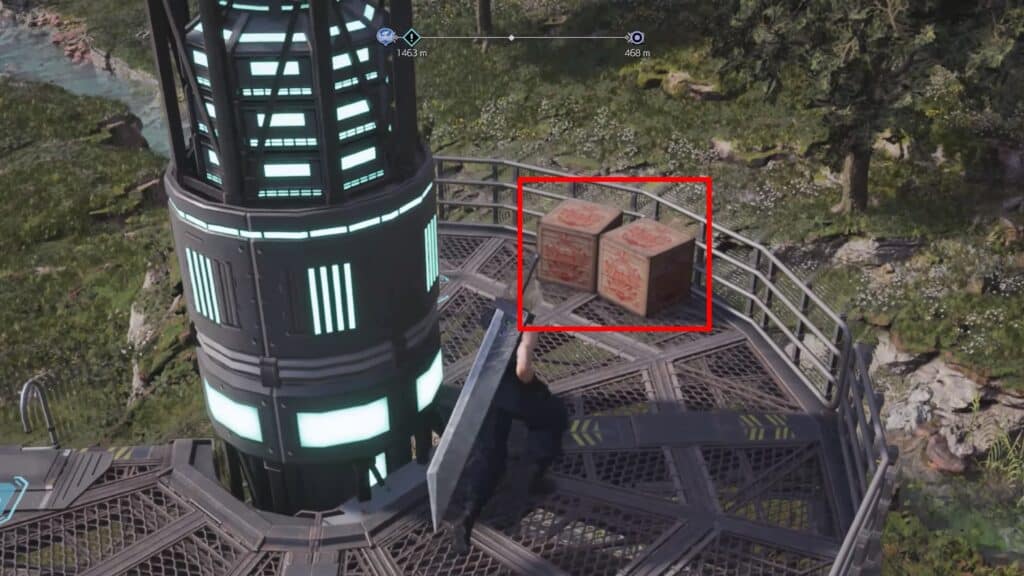
Thankfully, it’s pretty easy to farm Moogle Medals quickly. They can be commonly obtained by breaking marked boxes in Cache Locations and Towers.
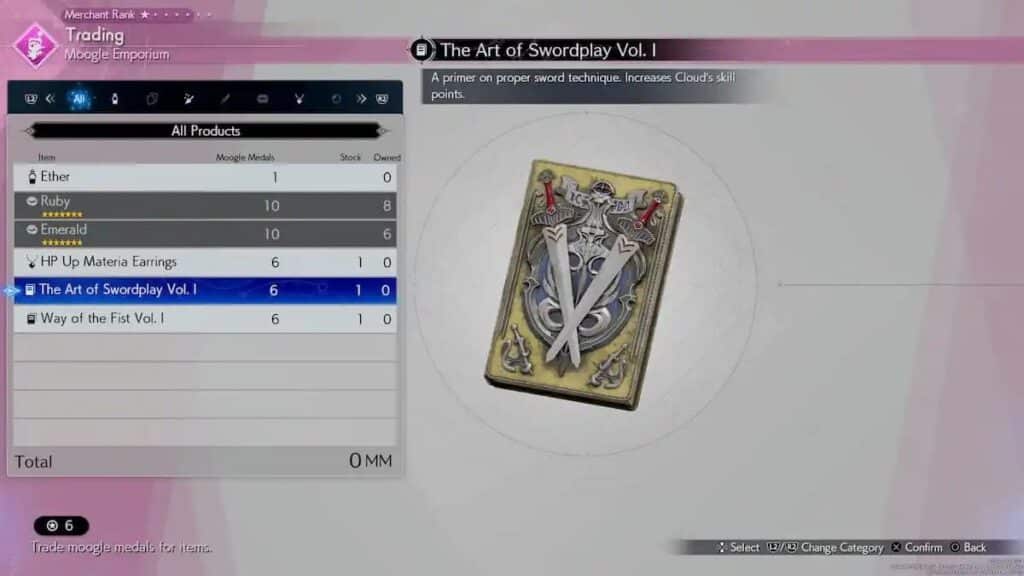
It’s definitely worth getting these Moogle Medals, though, as this Moogle Emporium has some very worthwhile exclusive items to get early on:
- HP Up Materia Earrings – An accessory that allows you equip the highest level of HP Up Materia.
- The Arts of Swordplay Vol. I – A Manuscript for Cloud. Increases his Skill Points.
- Way of the Fist Vol. I – A Manuscript for Tifa. Increases her Skill Points.
Make sure you get these three items before you finish The Grasslands and go to Chapter 3!