 1 articles
Sekiro: Shadows Die Twice follows the Demon’s Souls formula that became such a phenomenon in the gaming industry. Part of what attracts the fans is, of course, the difficulty in overcoming enemies and the obstacles they present. But once in a while, we could all use some help! So, if the Corrupted Monk boss is giving you trouble, follow this guide to learn the best strategies to defeat her!
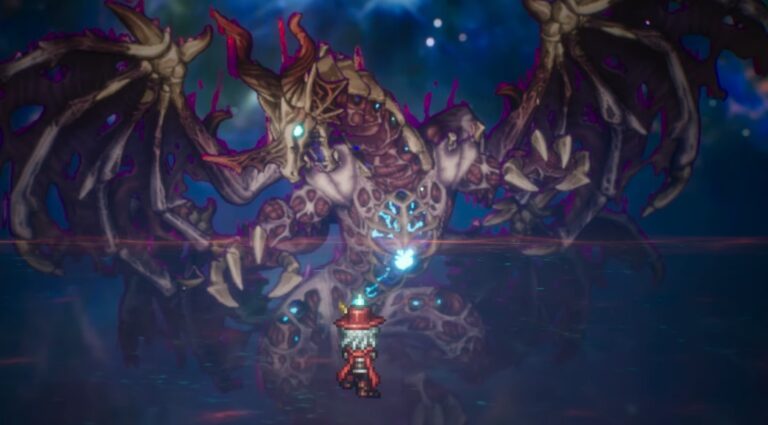
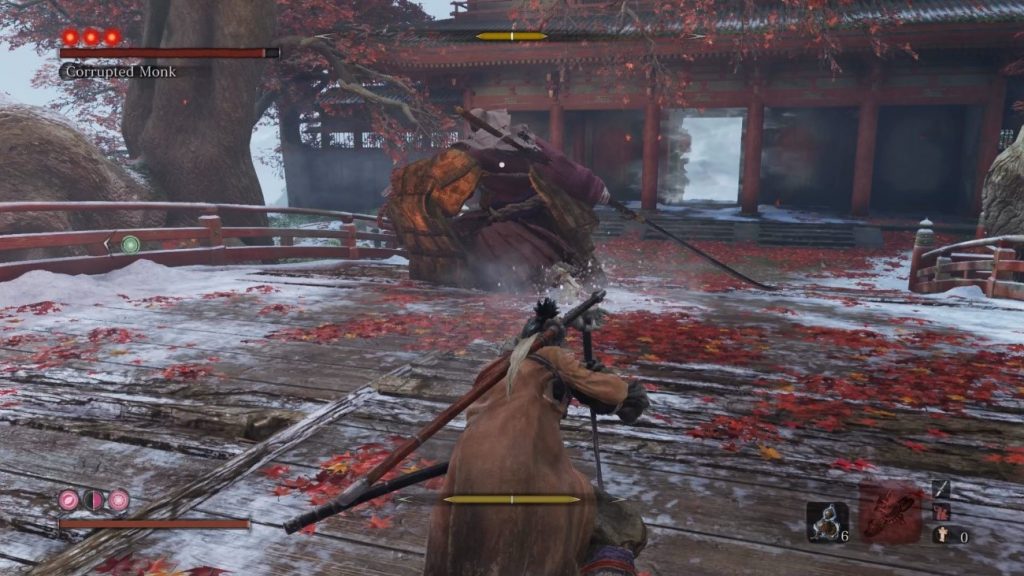
Sekiro: Shadows Die Twice – True Corrupted Monk Guide
The map is Fountainhead Palace. You’ve fought the Corrupted Monk before, but that one was just an aperitif. Don’t make the mistake of rushing the boss head-on, thinking it’s going to be as easy as before!
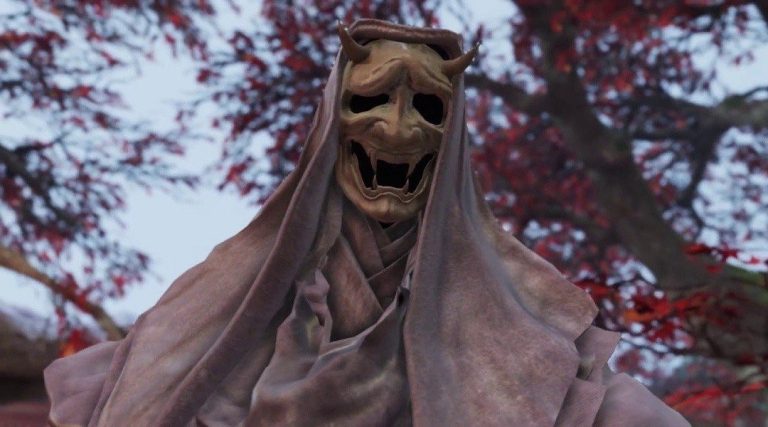
After all, this is the true Corrupted Monk, corporeal body and a giant insect arm included!

Before you join the battle, there are two items that you should take along: Shinobi Firecracker and Fistful of Ash (which works as a Quick Item version of the Firecracker, both quite useful).
And here’s a valuable item: you can deal the first of the three Deathblows before the fight begins!
Here’s how: as soon as you walk through the boss gate, use your grapple to the nearest branch to your right. Grapple forward, then grapple to the branch on the other side of the bridge.
While you were doing those acrobatics, the Corrupted Monk was emerging. Rotate your camera to the path you came from and then down.
Lock on the boss, waiting until she finishes her power-up animation (indicated by blowing leaves), then perform a drop attack to destroy one point of her HP!
Phase 1
In case you miss the chance at this first Deathblow, don’t worry! Her first phase is similar to the version you fought in Mibu Village.
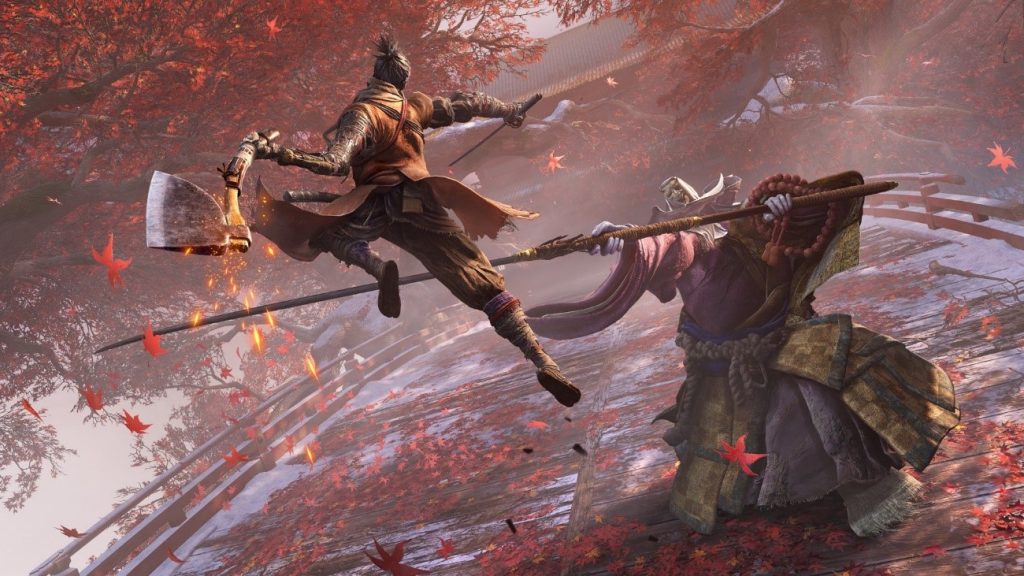
The strategy here is to keep close to the Monk, using a combination of dodges and counterattacks. Staying close will force her to use her swing attack, which you can avoid by dodging to the left—the same side as the attack—, then punishing her with your own strikes.
Once in a while, the Monk might get frustrated and attempt other attacks: an underhand attack, a spin, or a leap.
It’s very easy to see the leap coming and evade it. The underhand sweep can be dodged in the same way as her swing attack. For the spin, you can block when you see her pirouette and wait until she finishes the animation.
Phase 2
After you deal the Deathblow, the Monk will disappear in a swirl of black leaves and attempt to summon doppelgangers.
Instead of fighting them, your goal here is to grapple to the highest branch (the same from where you tried that easy first Deathblow), wait for the Monk to reappear below you, then strike her with a plunging attack!
If you miss the Deathblow, you’ll basically have to replay phase 1 and try again.
Phase 3
Phase 3 is where the real fun begins!

She has new attacks, which include dangerous sweeping and spinning as well as a centipede that spews gross substances at you to inflict Terror.
It’s not always easy to see when the Monk will begin her spinning attack, but when you notice her raising her halberd, stay as far away as possible. Or, if you’re feeling bold, you can try to stay on her back to land a few strikes.
For the swing attack, your best bet is blocking. But if you time it right, you can punish her with a Jump Kick counter.
This is a good time to use your Shinobi Firecracker. By timing it right, you can pretty much stun-lock the Monk, varying between the Firecracker and your attacks until her HP is down to zero.
In either case, the item can help you interrupt some of the Monk’s deadliest moves. If you run out of Spirit Emblems, you can switch to the Fistful of Ash for the same effect.
Defeating the True Corrupted Monk rewards Memory: True Monk and a Dragon’s Tally Board, the latter making merchants carry endless supplies of consumables e.g. Divine Confetti, Snap Seeds.