21 articles
Inventory expansion ugprade are one of the most important things you can get in Subnautica 2, but you’ll need to know their locations to find them.
Spread all over the sea, there are bunkers and wrecks where you can find Biobeds. These are special Biobeds that don’t set your respawn point! Instead, they either upgrade your Endurance for more inventory slots or your Dexterity for more hotbar slots.
In this guide, I’ll tell you where to find all of the Endurance and Dexterity upgrades in the current version of the game.
Endurance Upgrades
Unauthorized NoA Modification
For this upgrade, you’ll need to go about 220m south of the Lifepod. Dive around 85m down once you’re far enough and you should see the hatch that serves as the bunker’s entrance. The video below shows the route here.
 Subnautica 2: Ending Guide (Alien Ruins)May 20, 2026
 Best Base Locations in Subnautica 2May 17, 2026
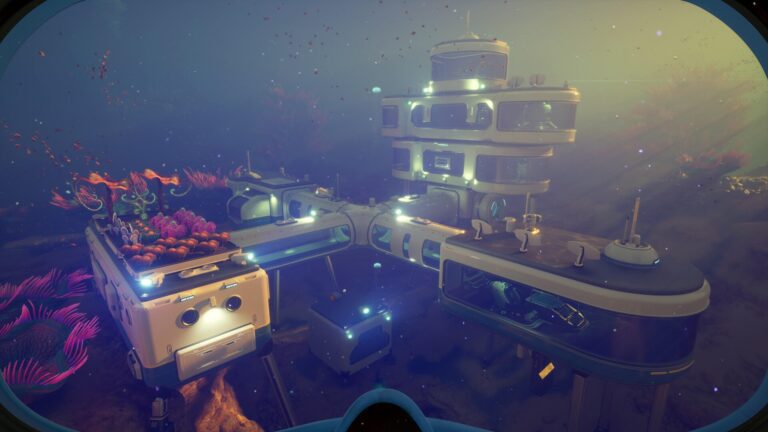
 Subnautica 2: Best Gold Locations and All Tools You’ll NeedMay 17, 2026
For further reference, this is one of the locations where you can find Tadpole Fragments, as well. So, get those as well while you’re at it.
Quaker’s Meetinghouse
To find this one, go about 240m southeast of the Lifepod. You should see a massive pillar once you’re far enough. Dive into the cave below the pillar to find the bunker’s entrance, as shown in the next clip.
Anita’s Garden
This time, go northeast from the Lifepod, at about 60º or so. You’ll find the entrance to a cave system at 30m deep once you’re about 225m away from the Lifepod.
Enter the cave system and follow the blue lights inside, as they’ll lead you to the bunker’s entrance. As always, the next video shows how to easily reach this spot.
It’s also worth noting that one of the Wakemaker Fragments is nearby! Make sure to look out for it while you’re in the area.
Hot Cicada Wreck
The next Endurance Upgrade Biobed isn’t in a bunker. Instead, it’s inside of the massive Cicada Wreck in the hot biome. As such, you’ll need to have the Heat Tolerance Adaptation to reach it.
Either way, you can find this one by going straight east from the Lifepod. You should see the wreckage once you’re about 470m away from the Lifepod, at around 70m deep.
Maneuver inside the wreckage by getting in through one of the holes in the northwestern side of the hull and then go to the last room to your left to find the Biobed. The video below shows this route, for your convenience.
Sophie’s Retreat
To find this one, go straight north of the Lifepod for about 380m. If you already have the Old Habitat marked, you’ll need to go just a little bit past the Old Habitat itself.
After you go past the Old Habitat, turn around to face southeast and you should spot an entrance into a cave system. Go straight in and you’ll see the hatch that serves as the bunker’s entrance, as shown in the next video.
Video showing how to find Sophie’s Retreat.
Dexterity Upgrades
Salvage
You can find this upgrade pretty early by going about 180m north of the Lifepod, at about 20º on your compass. If you have it already, go straight toward the Camp One signal until you’re at 70m away from Camp One.
Then, turn straight northwest to find a platform underwater. Look behind it to find a path of flowers leading into a cave, which is where you can find the bunker. The video below shows how to easily reach it.
Nahema’s Lab
Like one of the Endurance Upgrades before, this upgrade is in the hot biome so you’ll need the Heat Tolerance Adaptation. To find this one, go straight southeast of the Lifepod for about 350m.
Once you’re far enough, dive about 80m and then face northeast. You should see a gap in the cliff there, which you can enter to reach the Nahema’s Lab bunker and its Biobed. The next video shows how to find this easily.
So, there you have it! That’s all of the inventory expansion upgrade locations I know of in Subnautica 2. As of this writing, there are 5 Endurance upgrades and 2 Dexterity upgrades for you to find.