21 articles
If you want to glide across the ocean like you could using the Seaglide in the previous game, you’ll need to get the Wakemaker in Subnautica 2.
The Wakemakers serve basically the same function as the Seaglide in the first game. It’s a tool that you bring out to swim much faster. Not only does this allow you to do more things in less time, it also makes oxygen management easier!
In this guide, I’ll tell you everything you need to get the Wakemakers, starting with their Fragments!
Where to Find Wakemaker Fragments | The First Fragment
First of all, you’ll need to find 3 Wakemaker Fragments and scan them using a Scanner. There are many locations for those, but I’ll tell you of the ones that I found closest to the starting Lifepod.
 Subnautica 2: Ending Guide (Alien Ruins)May 20, 2026
 Best Base Locations in Subnautica 2May 17, 2026
 Subnautica 2: All Inventory Expansion Upgrade LocationsMay 17, 2026
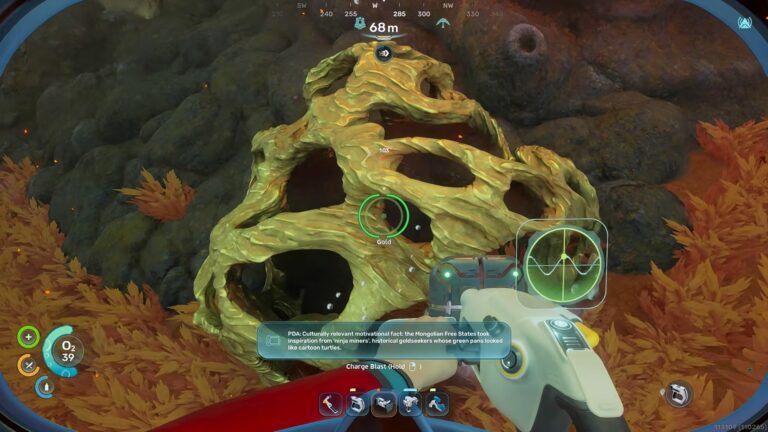
So, to begin, get out of your Lifepod and face northeast at about 60º. Swim straight in that direction and you’ll find a coral reef that has a strong current at about 85m away from the Lifepod.
Follow the current into the cave system where the coral reef is and turn to your left as soon as you head in. The first Wakemaker Fragment is inside of the box there, as shown in the video below. Scan it once you see it.
The Second Fragment
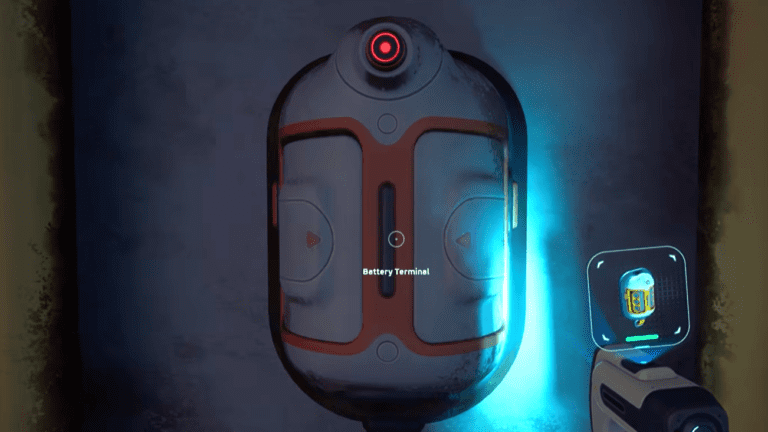
With that first fragment scanned, look east and you’ll find a cave pathway lit up by a blue flare. Follow it and it’ll lead you to a red hatch for a habitat.
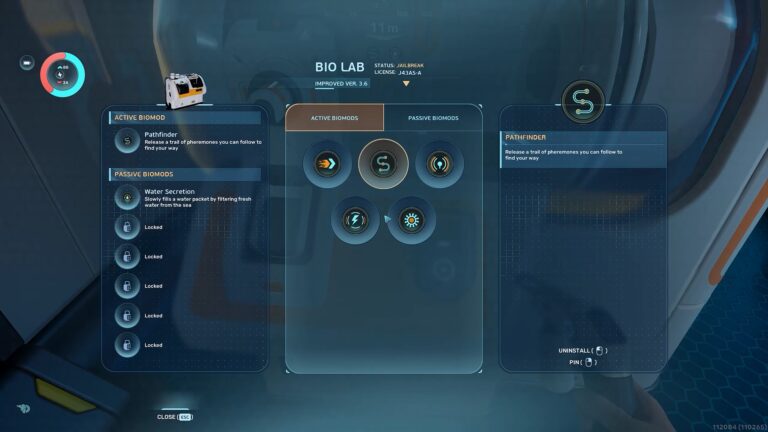
The Wakemaker Fragment isn’t inside the habitat, but I do recommend checking it out once you find it. You can find some other goodies within, such as a Biomod!
Either way, go past the habitat to reach an exit out of the cave system. Then, turn north at about 345º and swim straight forward to another wreck.
The Wakemaker Fragment here is inside of a cube box, next to the wreck’s platform. The video below shows its exact location. The coordinates are roughly -320807, 420961, -1846.
The Third Fragment
For the third and last Wakemaker Fragment, go east of the wreck where you found the second fragment. You just need to face around 165º and swim straight ahead for about 60m.
Once again, you’ll find another wreckage there. The Wakemaker Fragment is inside the cube box near the center of the wreckage, as shown in the next clip.
How to Build the Wakemaker

Now that you’ve collected all 3 Wakemaker Fragments, you can make the Wakemakers using any fully functional Fabricator. That means, you’ll need one placed within a base of your own making, as you can’t make the Wakemakers at the Lifepod.
With that said, you’ll need the following materials to create the Wakemakers at the Fabricator:
- Silver x1 – Typically found near cliff edges and cave systems, most easily found by using a Scanner Station in a base. Check out our guide on the best locations for Silver, if you need help.
- Wiring Kit x1 – Craft it using 1 Silver and 1 Copper Wire.
- Grease x1 – Craft it using 1 Lucifer Rotsac.
- Basic Battery x1 – Craft it using 2 Copper and 1 Acidic Raion Pouch.
Thankfully, the materials are all fairly easy to find around the Lifepod, with only the Silver requiring a bit more work than the others. So, you likely have enough or close to enough by the time you’ve collected the Fragments!
With that said, you now know everything you need to know to get the Wakemaker in Subnautica 2. For an even better way to get around, though, check out our guide on how to get the Tadpole!