21 articles
Silver is the resource that will block your progress right when you need it most in Subnautica 2. Early on, you will want it for the Standard Air Tank, the Wakemaker, and a bunch of other essential gear. Unlike Titanium and Copper, it is not scattered around the Lifepod. It hides in caves and deeper biomes, and the game does not point you in the right direction.
The good news is that once you know where to look, Silver is actually quite easy to farm. In this guide, I will show you the best early game spot and also a way to locate more silver nodes on your own.
How to get Silver
Right from the location of your Lifepod, you want to head north. To be specific, you are looking for about 345 meters on the radar at the top of your screen. Around 200 meters from the Lifepod, you will spot some blue lights and a cave entrance.
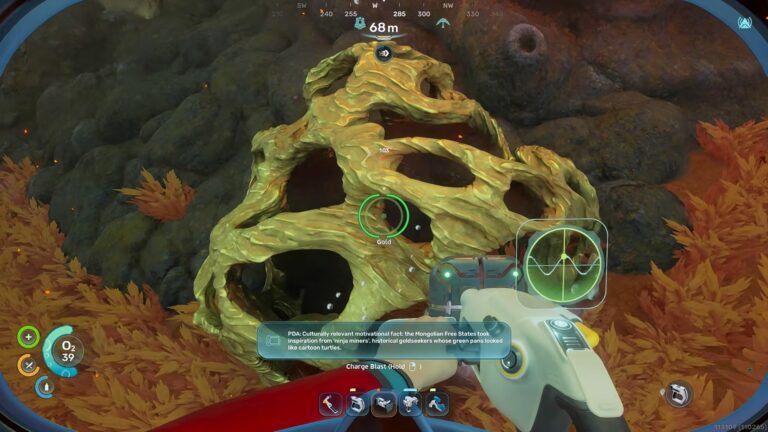
Head inside that cave, and you will immediately see a bunch of silver deposits all around you. They are on the ceiling and the walls of the cave. If you keep going further into the cave, you will find even more silver. This spot alone should set you up for a good while.
 Subnautica 2: Ending Guide (Alien Ruins)May 20, 2026
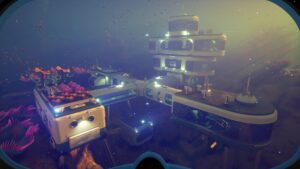 Best Base Locations in Subnautica 2May 17, 2026
 Subnautica 2: All Inventory Expansion Upgrade LocationsMay 17, 2026
How to Find More Silver Spots
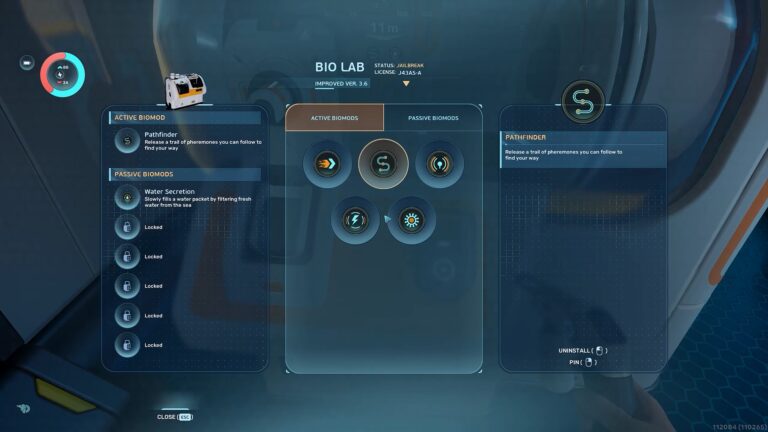
You can also build a Scanner Station to detect Silver and other minerals in the area. To build one, go into the Interior Facilities tab and find the Scanner Station under the Habitat System category. It costs 1 System Chip, 1 Wiring Kit, and 3 Titanium to build.
Once you have it built and placed in your base, interact with it and it will open up a menu. You can then search for various minerals, including Silver, within a 300 meter radius. Just select Silver from the list, and the station will ping back a few possible locations. You can then click on any of those locations and it will mark them on your map for you to swim out to.

That’s It
That north cave should give you more than enough silver to get through the early game. A single trip there will stock you up for the Wakemaker, the air tank, and whatever else you need. Once you have the Scanner Station built, tracking down even more deposits becomes easier.
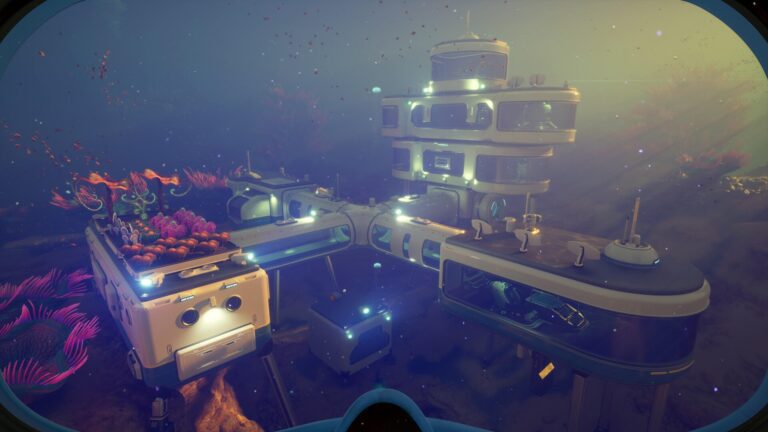
You will eventually run into a giant alien structure to the east. If you need help getting it back on, then check out my dedicated guide on the Giant Alien Power Plant.