
 8 articles
The Black Door inside the Dreadnaught is the ultimate endgame loot piñata in Sand: Raiders of Sophie. Behind it waits a stash of Experimental weapons, Very Rare crates, and gear that can completely change your run. The catch? You cannot just walk up and open it. You need a Black Key, and that key takes some serious work to get your hands on.
The whole process is a chain of key upgrades that starts with a Green Key and forces you to visit four specific locations across the map. You will trade that key up through Blue, Red, White, and finally Black. In this guide, I will walk you through the whole thing so you can skip the trial and error and get straight to the good stuff.
How to Open the Black Door Inside the Dreadnaught
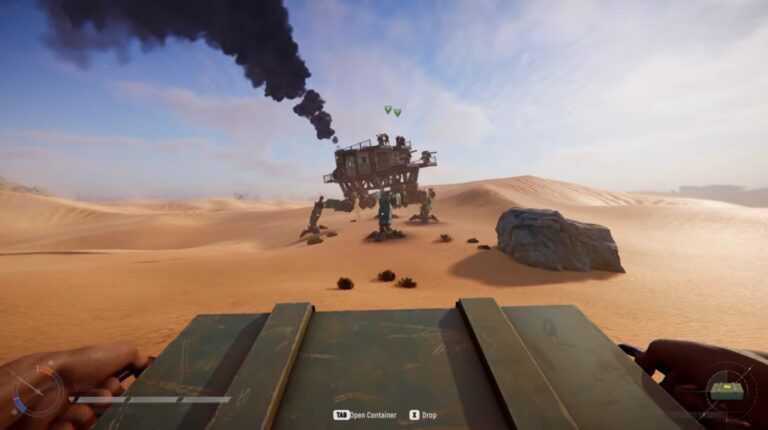
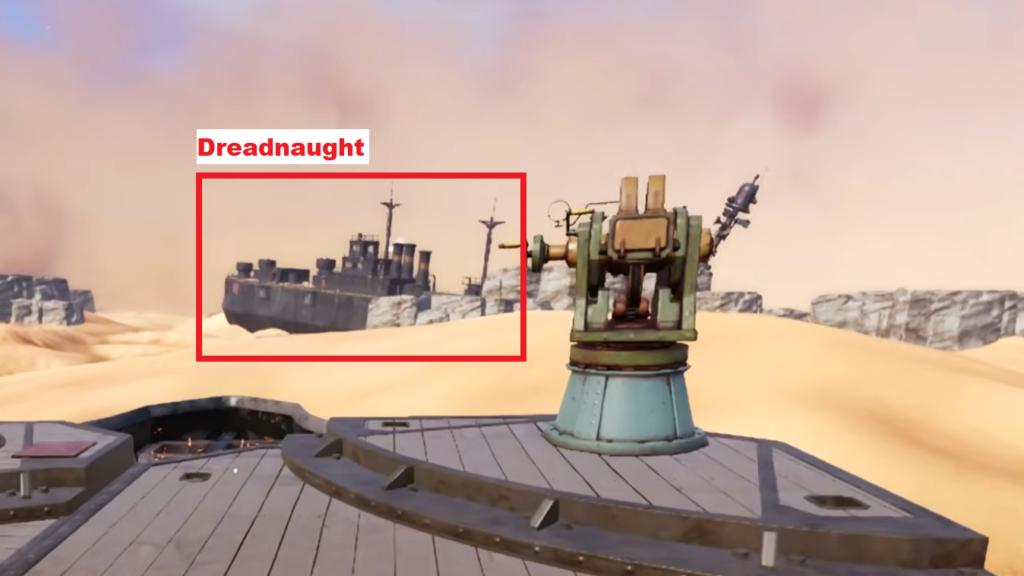
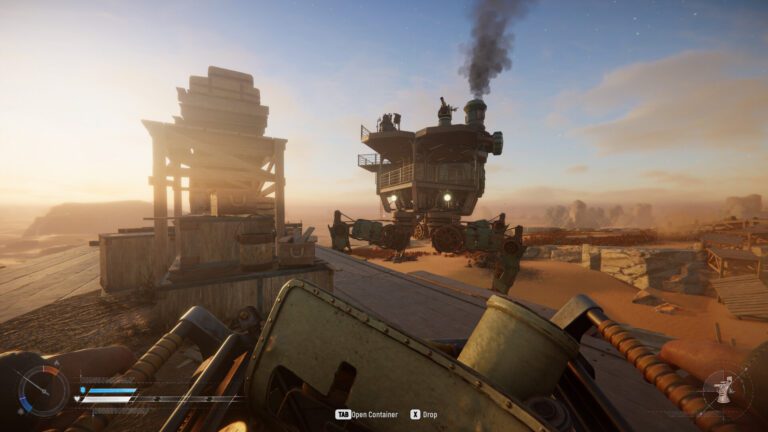
If you do not know what the Dreadnaught is, it is basically a wrecked ship that can sometimes appear in Storm Dive as the final extraction location. Unlike regular extractions, the Dreadnaught is one of the most valuable events you can get because it contains some of the best loot available in the entire game.
However, most of the high-value loot is not freely accessible. A large portion of it is locked behind the Black Door, which means you will need to progress through multiple keys before you can reach the most rewarding areas.
 SAND: Raiders of Sophie Looting GuideJul 2, 2026
 Best Trampler Build Guide in Sand: Raiders of SophieJul 1, 2026
 Best Ways to Earn Crowns in Sand: Raiders of SophieJul 1, 2026
Green Key
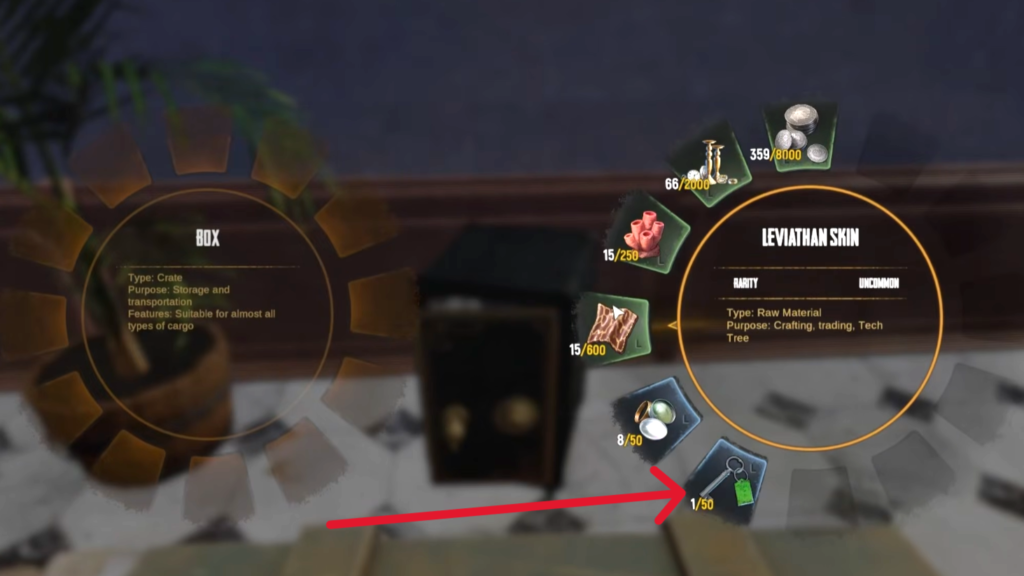
The first step is obtaining the Green Key. This key can be found inside one of the Valuables Safes scattered throughout the map. These safes are most commonly located in named locations and major points of interest, so it is worth checking these areas whenever you come across them. Since the key spawn is not guaranteed, you may need to search multiple safes before finding one.
Green Door
Once you have the Green Key, head over to Kaiserplatz, which I have marked on the map below.
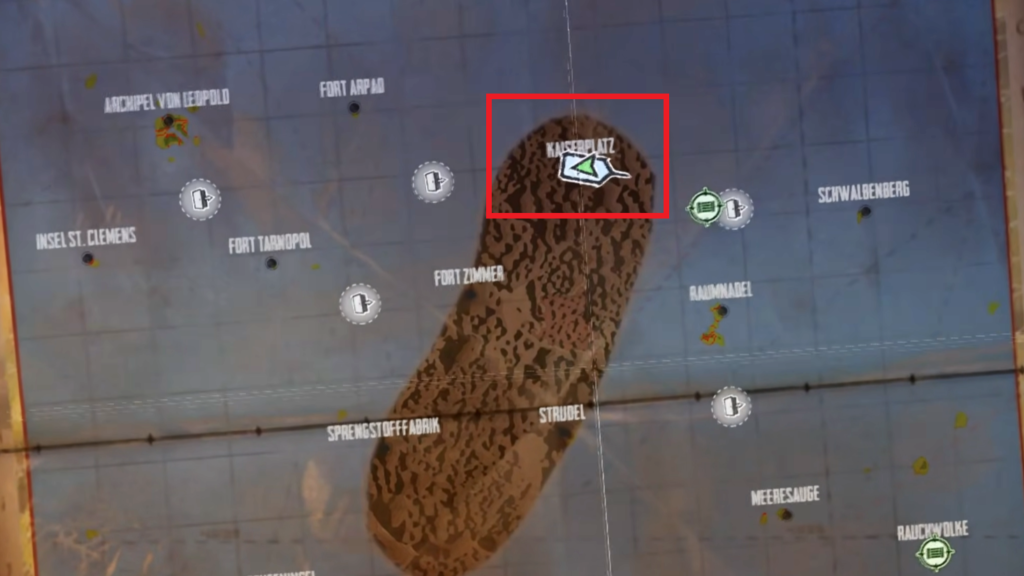
After arriving, enter the large red mansion located there. Inside the building, you will find the Green Door. Use your Green Key to unlock it. Inside this room, you will find the Blue Key.
Blue Door
Now that you have obtained the Blue Key, it is time to move on to the next location and continue the key chain. Head over to Meeresauge, which I have marked on the map below so it is easier to find.
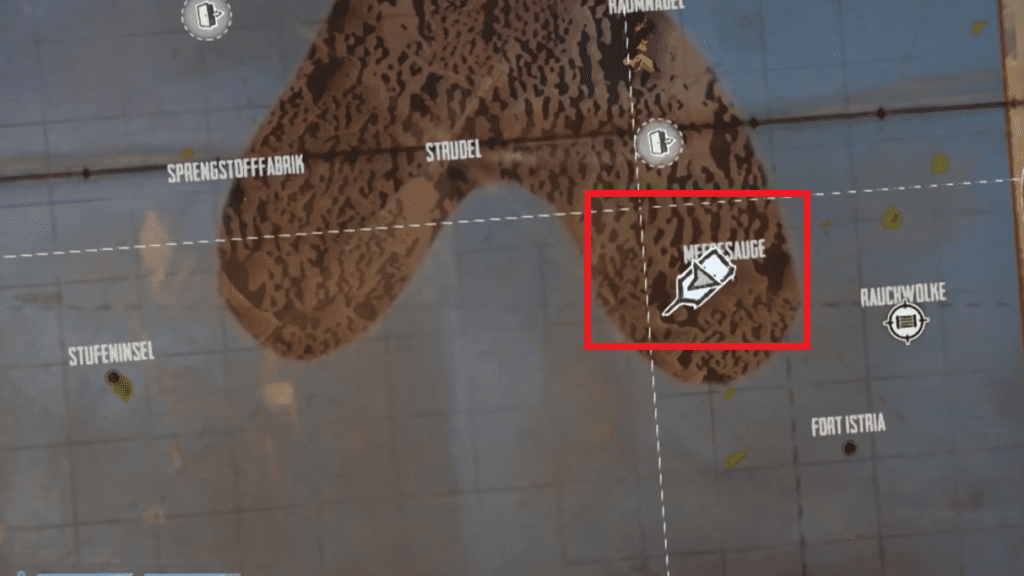
Once you arrive at the location, look for the Blue Door hidden within the area. Use your Blue Key to unlock and open the door. Inside, you will find the Red Key, which is the next key required to continue progressing toward the final reward.
Red Door
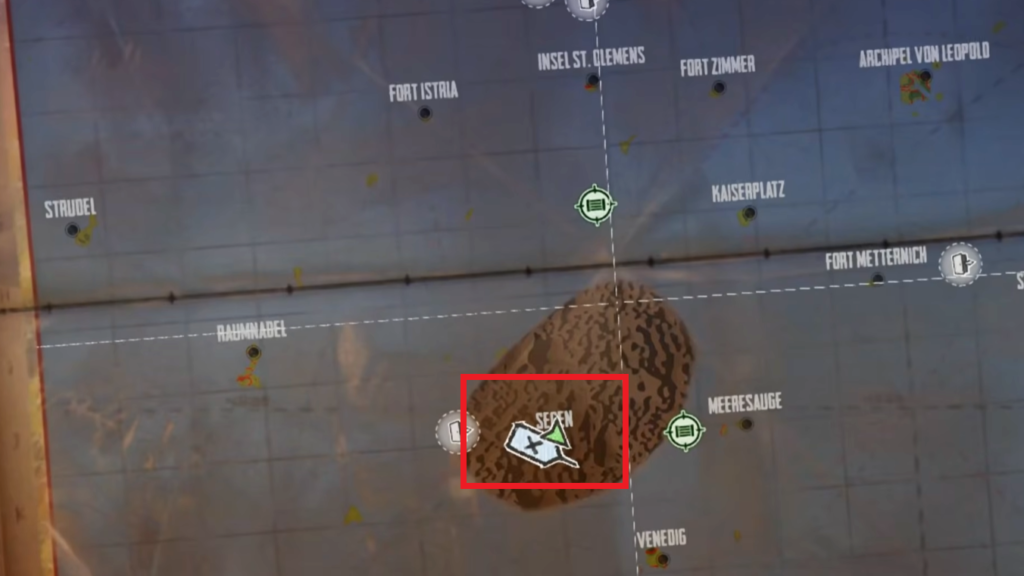
Now with the Red Key in hand, you have probably already guessed the next step, you need to make your way to the Red Door. The Red Door is located in Segen, which I have marked on the map below.
Once you reach the area, head inside the bank building and start making your way upstairs. Continue up to the third floor, and you will find the Red Door on your left side. Use your Red Key to unlock the door and enter the room. Inside, you will find the White Key which is needed for the next step.
White Door
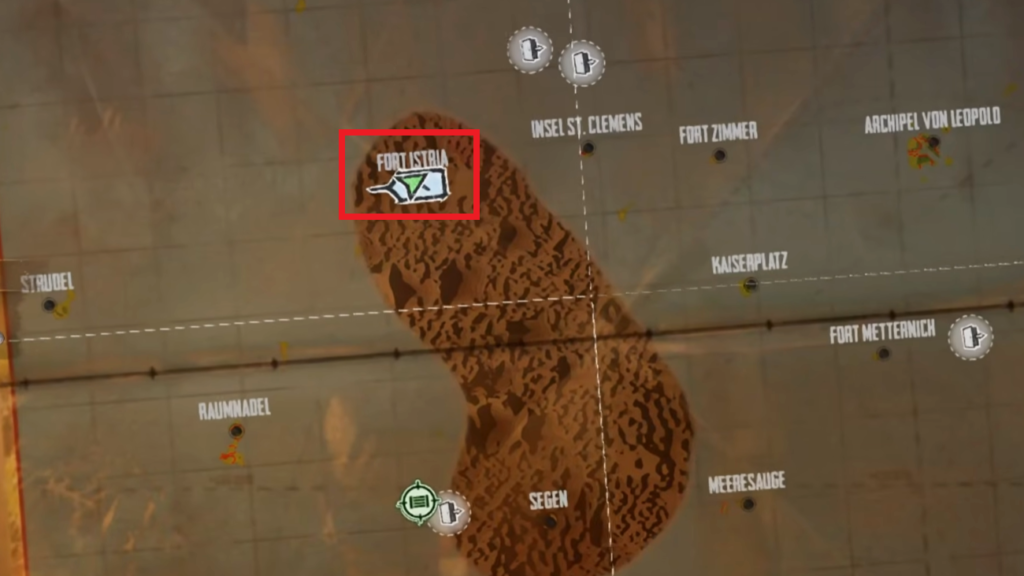
Finally, it is time for the last step before reaching the Dreadnaught loot. With the White Key in your inventory, head over to the White Door, which is located in Fort Istria. I have marked its exact location in the image below so you can find it more easily.
Once you arrive at the fort, you will first need to make your way inside. To do that, destroy the two red doors blocking the entrance. You can use any explosives you have available, so bring enough before making the trip.
After getting inside the fort, turn to the right side and continue through until you spot another red door. Blow this one open as well to continue deeper into the area. Once the path is open, look for the ladder leading underground and climb down.
In the underground section, you will finally reach the White Door. Select your White Key, unlock the door, and head inside. Inside this room, you will obtain the Black Key, which is the final key in the entire chain and the one used to access the best loot on the Dreadnaught.
On top of that, the room itself also contains some additional valuable loot, making the trip worth it even before reaching the final destination.
Black Door
Now that you finally have the Black Key, the only thing left to do is wait for and search for the Dreadnaught during the final extraction zones.
The Dreadnaught does not appear every run, so keep an eye on the available extraction locations and be ready to move once it shows up. If you are carrying the Black Key, reaching the Dreadnaught safely becomes the priority since this is where all the previous steps finally pay off.
Once inside the Dreadnaught, make your way through the wreck until you find the Black Door. Use the Black Key you obtained earlier to unlock and open it. Behind the Black Door is the reason this entire key route exists.
Inside, you will find a massive amount of loot, including some of the best and highest-value rewards available in the game. This is one of the most rewarding loot runs in SAND and can easily make the entire key hunt worth the effort.
Final Advice
One final tip before you head in: there is a huge amount of loot inside the Dreadnaught, and properly clearing and looting everything can take a decent amount of time. Because of that, it usually pays off to deal with any remaining players in the lobby first before committing to the loot run. The last thing you want is to spend time collecting high-value loot only to get pushed while overloaded and lose everything.
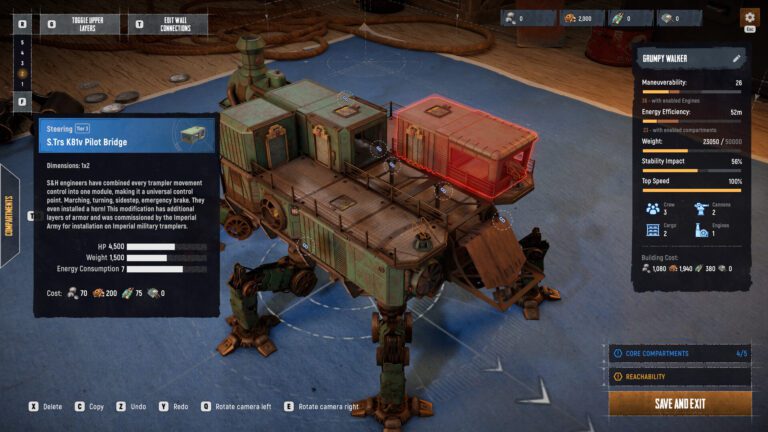
If you are planning to upgrade your Trampler next, check out our best late game Trampler build guide and build something ready for endgame runs.

Found another tip?
Share your extra strategy, correction, or question below. Helpful comments can make this guide better for everyone.