
 8 articles
Building the right Trampler early in SAND: Raiders of Sophie makes a bigger difference than most new players realize. The desert of planet Sophie does not ease you in gently and heading out with an underpowered or poorly configured machine means losing your loot, your supplies and potentially your entire mobile base in a single bad encounter.
The good news is that you do not need rare resources or hours of grinding to put together a solid early game setup. In this guide, I will walk you through the best Trampler build for the early game including your cannon setup, personal weapons and the Tech Tree setup required.
Best Early Game Trampler Build
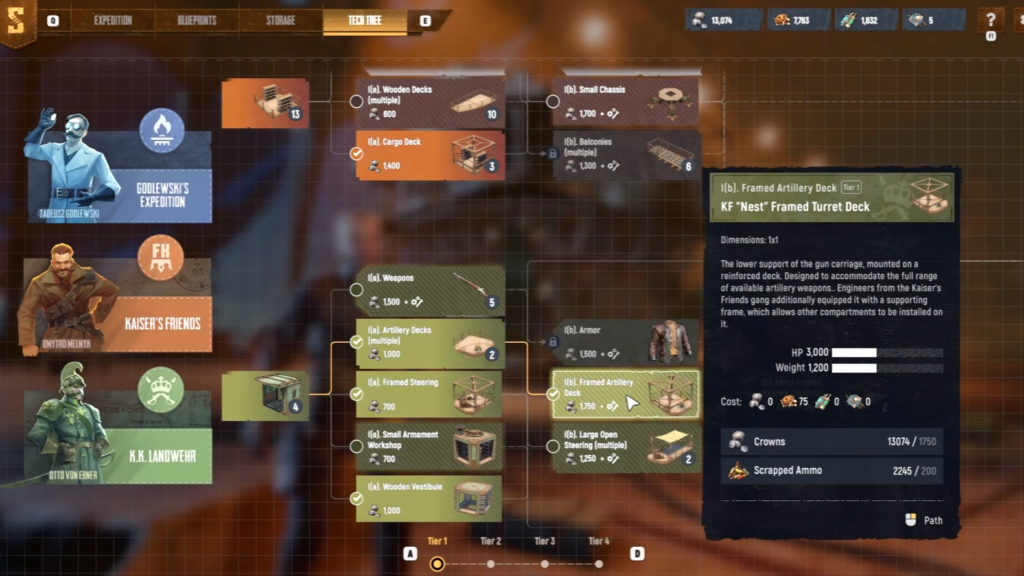
Before getting into the actual build, there are a few things you need to unlock in the Tech Tree first. The Tech Tree is split across three engineering factions and progressing through it gives you access to better components, stronger weapons and more advanced modules. For this early game build, focus on unlocking the following nodes before anything else:
- Godlewski’s Expedition
- 1(a). Crew Room
- 1(a). Motor-Reactor, 1(b). Motor-Reactor
- 1(a). Small Chassis, 2(a). Middling Chassis
- Kaiser’s Friends
- 1(a). Cargo Deck, 2(a). Cargo Hold
- K.K. Landwehr
- 1(a). Artillery Decks (multiple), 1(b). Framed Artillery Deck
- 1(a). Framed Steering
- 1(a). Wooden Vestibule
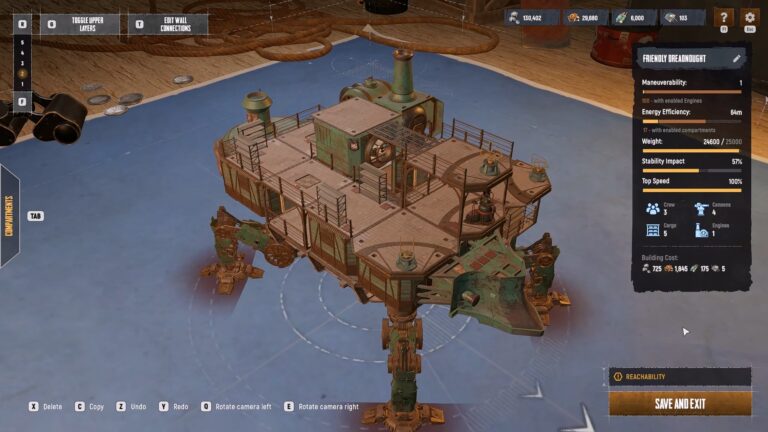
Building the Trampler
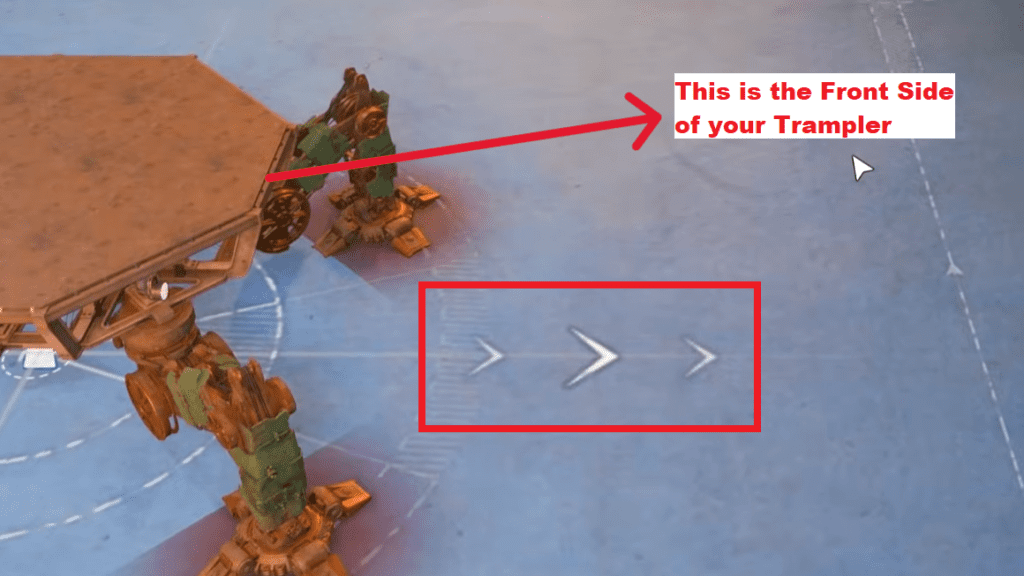
The arrows shown on one side of the chassis indicate the front of your Trampler and the direction it moves forward. Since the chassis looks identical from both sides, this marker makes it easier to identify the correct orientation during assembly.
 SAND: Raiders of Sophie Looting GuideJul 2, 2026
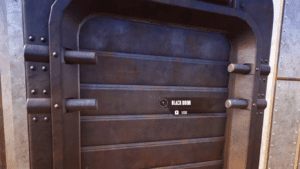 Sand: How to Open the Black Door Inside the Dreadnaught (Best Loot)Jul 1, 2026
 Best Ways to Earn Crowns in Sand: Raiders of SophieJul 1, 2026
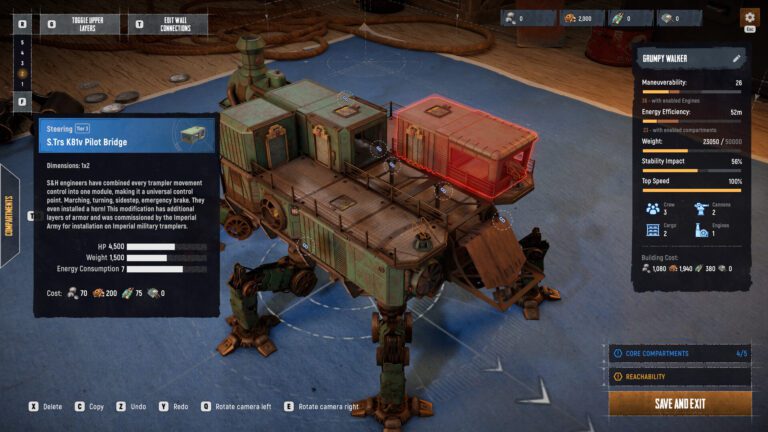
This is important because building the Trampler facing the wrong direction can lead to placement mistakes later in the process. To avoid that, make sure your build is aligned with the arrow exactly as shown. You can refer to the image below where I have highlighted the arrow for clarity.
The building process itself is straightforward. Follow the video provided below step by step to assemble your Trampler correctly.
Why This Build Works
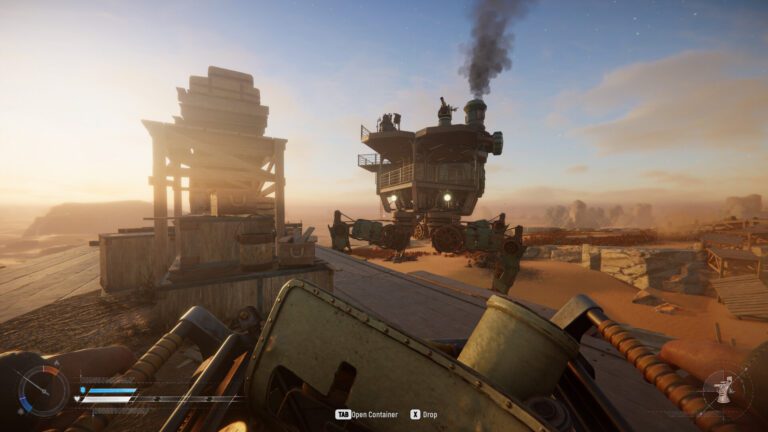
One of the biggest advantages of this build is that it is extremely difficult for enemies to board and take control of your Trampler. Even after successfully climbing aboard, attackers still have to move through multiple doors and internal sections, as shown in the image below, before they can reach the Captain’s Cabin and gain control of the vehicle.
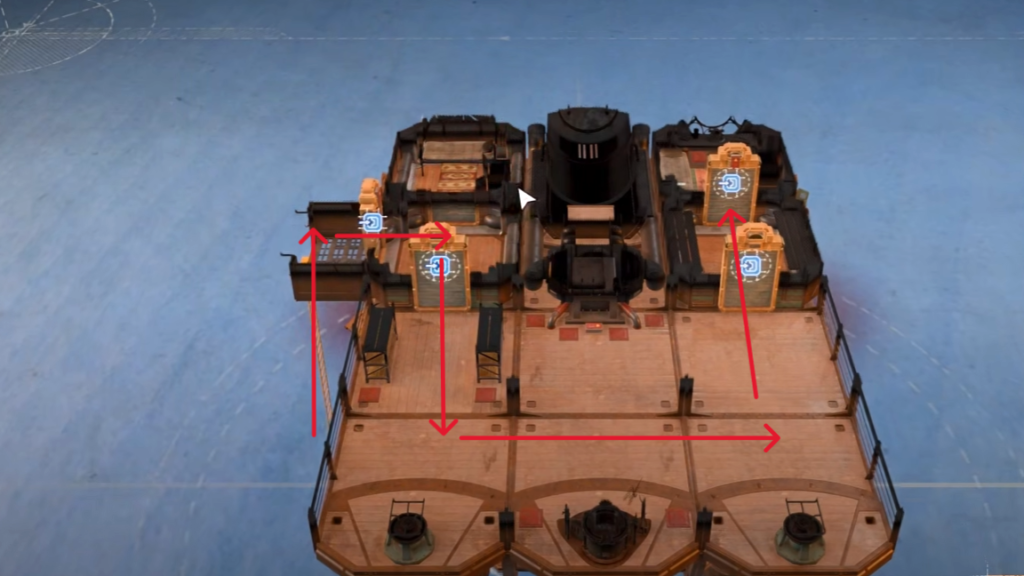
This layered layout creates a strong defensive advantage by slowing enemy movement, buying your crew more time to react, defend key areas and eliminate attackers before they reach critical controls.
For operating this build efficiently, it is recommended to keep two players stationed in the lower room at all times. One player should focus on steering and controlling the Trampler, while the second player manages the cannons and provides supporting fire when needed.
This setup also makes maintenance much easier during combat. Since the reactor is quickly accessible from the lower section, the crew can respond to damage and perform repairs without needing to move across multiple compartments, helping keep the Trampler operational even during extended fights.
That’s It
Overall, this setup is focused on being practical, hard to board, easy to maintain during combat, and comfortable for a small crew to operate efficiently. Hopefully this guide helped you get your Trampler up and running without mistakes and gave you a solid base to improve or customize further depending on your playstyle.
Now that your Trampler is ready, you’ll probably want a good way to fund repairs, upgrades, and future builds. Check out my next guide where I go over some of the best ways to make Crowns in SAND.

Found another tip?
Share your extra strategy, correction, or question below. Helpful comments can make this guide better for everyone.