20 articles
“The Final Puzzle” is one of the last Challenges most players are likely to complete in Resident Evil Requiem. This esoteric challenge only has one clue in its description: “Let the sweet pair hear the voice.”
What that means, is that you need to go through a multiple-playthrough secret hunt to complete it! Frankly, it’s something that would take forever to figure out on your own. Good thing these things are solved quickly thanks to the internet nowadays, huh?
In this guide, I’ll tell you how to complete the so-called “Final Puzzle” as efficiently as possible.
Step 1: Care Center – Processing Pool
The first step for this puzzle is when you go to the Processing Pool in the Care Center when looking for the third Joint Plug. As soon as you enter the Processing Pool, use the nearby typewriter to make a manual save.
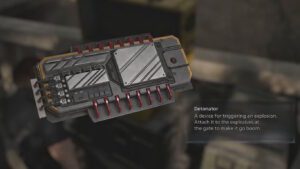 Collect All Detonator Parts in Resident Evil RequiemMar 3, 2026
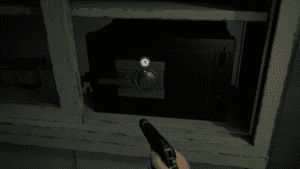 Resident Evil Requiem: Examination Room Safe Code Location & Safe OpenMar 3, 2026
 Resident Evil Requiem: Bar & Lounge Safe Code Location / Safe PuzzleMar 3, 2026
Now, before you do anything else, you should wait at least 15 minutes. Just leave the game on with Grace watching the bodies drop down into the pool of blood while you do something else.
After at least 15 minutes have passed, use the valve to drain the pool and then go down the ladder into the now-drained pool yourself. This will start a sequence where you have to run away from a grinder as zombies attack you.
The trick here is that you have to avoid killing any of the zombies yourself. Instead, they must be killed by the grinder. If you’re in danger, try to only shoot zombies to stun and push them into the grinder. Do not land the killing blow, as shown in this video:
Once you’re done with this section, continue as normal until you land in a pool of blood and need to use a lever to drain it. Then, drop into the drain and interact with it to get a message.
If you did everything right, the message will say “a ton of blood flowed out.” In that case, you can just continue playing as normal until the next step! It should look like the video below:
If you failed by not grinding enough zombies, it will instead say “a lot of blood flowed out.” You’ll need to reload the manual save from before draining the Processing Pool, waiting out the 15 minutes to try again.
Step 2: Save After the Basement
Next up, you’ll need to play up until you complete the Basement section of the Care Center as Grace and enter the Courtyard. As soon as you enter this section, turn around and grab the Severed Hand.
Then, go into the Guard Office and make a manual save, as shown in the video below.
Now, you want to make sure not to overwrite this save. Keep in mind which save this is, too, as you’ll need to return to it later to finish the puzzle.
Step 3: The Eight Toilet Flushes
Yes, that title’s not a joke! Your next step is to go to the restroom in the West Wing of the Care Center and enter one of the stalls there.
It seems to not matter which one you use, but you can use 1F (first on the left) if you wish to follow my exact instructions.
Either way, just go into the stall and flush the toilet at least 8 times. You can flush it more than 8 times if you wish, it will still work. But you need to flush at least 8 times. The video below shows this entire process.
Now, if you’re wondering how anyone was supposed to figure this one out… well, it was actually hinted on the 4th page of the Investigation Report file! It’s one of the files Graces has from the start.
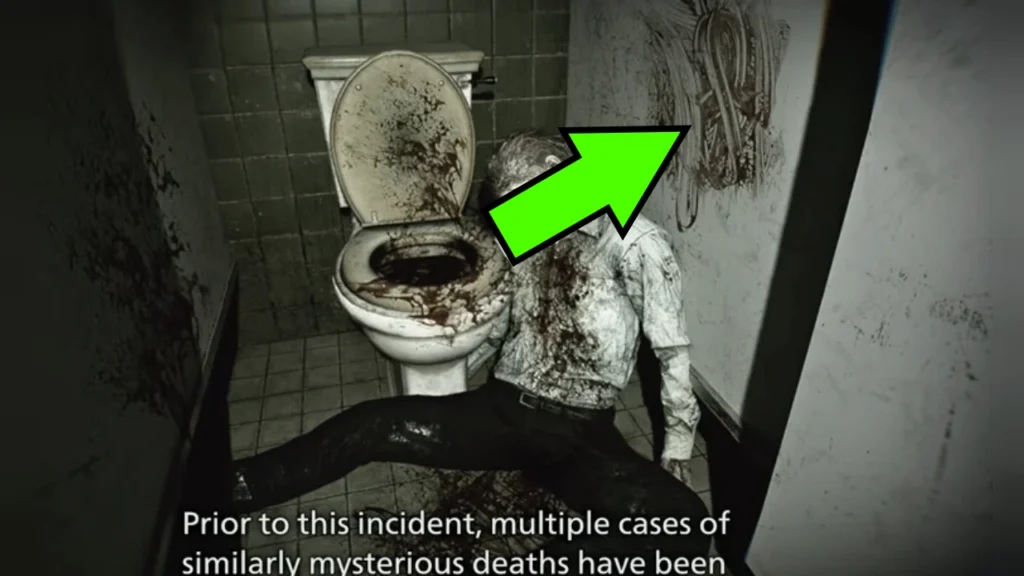
As you can see in the screenshot above, the picture shows a corpse by a toilet with an 8 drawn in blood next to it. Quite a cryptic clue, but it was hiding in plain sight all along.
Step 4: Grab and Keep Marie’s Doll
Next up, you’ll need to continue playing as normal until you reach the giant blood container in the Research Facility past the Care Center Courtyard. Make sure you have at least 2 empty inventory slots at this point.
As soon as the blood container bursts, you’ll need to start escaping from the Research Facility. After the cutscene, go to the bottom of the stairs to your left and you’ll see Marie’s Doll lying on the pool of blood there. Pick it up before continuing.
This next video will show you the exact moment and location for picking up the doll.
Once you’ve picked up Marie’s Doll, just continue as normal to finish this section. You’re now free to put the doll in an Item Box, if you wish.
Either way, you’ll now need to finish the game. Doing this will make Marie’s Doll permanently appear in Item Boxes for Graces. This works retroactively, too, so it’ll appear in your older saves!
Step 5: Let’s Play
Now that you have the permanent Marie’s Doll, you’ll need to reload the save you made during Step 2 of this guide.
Once you load the save, pick up Emily and make sure you have the Severed Hand and Marie’s Doll in your inventory. Then, make your way to the Laser Microscope in the Blood Lab on the East Wing.
Of course, you can feel free to clear out the zombies on the way first, before making the route with Emily.
Either way, place the Severed Hand on the Laser Microscope. Then solve the puzzle by clicking on the top-right, central, and bottom-left cubes.
This will show you a screen with the “Let’s Play” message, as you can see in the next video.
As you should’ve noticed, you’ll also get the following code from solving this puzzle: GGC AAG AUA ACG UGU CAU. We’re getting close to the end now!
Step 6: Figuring out the Code (Optional)
The code you got seems a bit like gibberish at first, but you basically just need to translate it into something usable. To do that, you’d need to find 3 different clues across your playthrough.
Now, for the sake of just solving the puzzle, you do not actually need to do this on your playthrough. It’s not mandatory, as just having the finished code is enough.
But, if you’re curious, here are the 3 clues and where to find them:
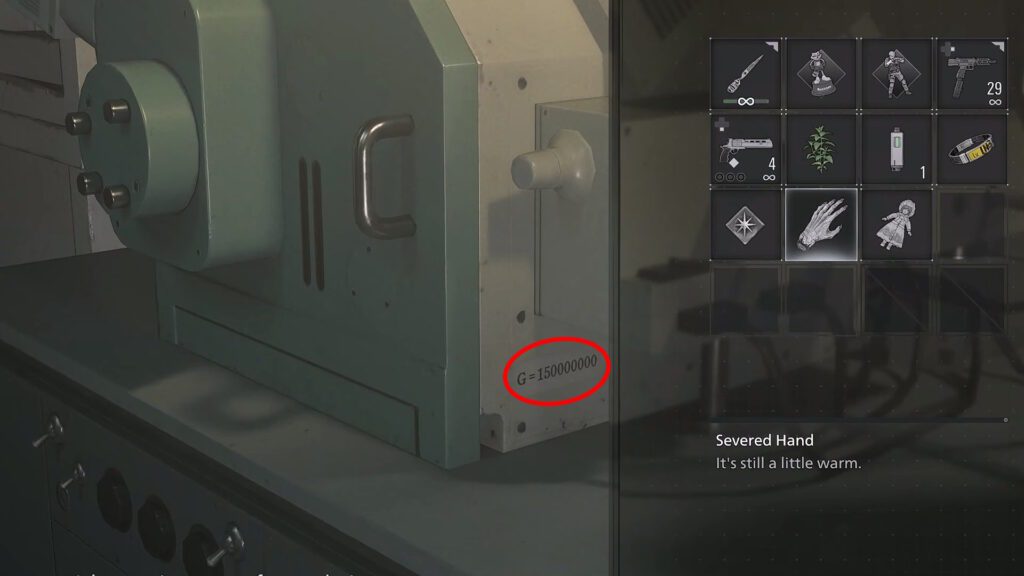
G = 150000000 – On the side of the Laser Microscope. Refers to the Sun, which is roughly 150 million km away from Earth.
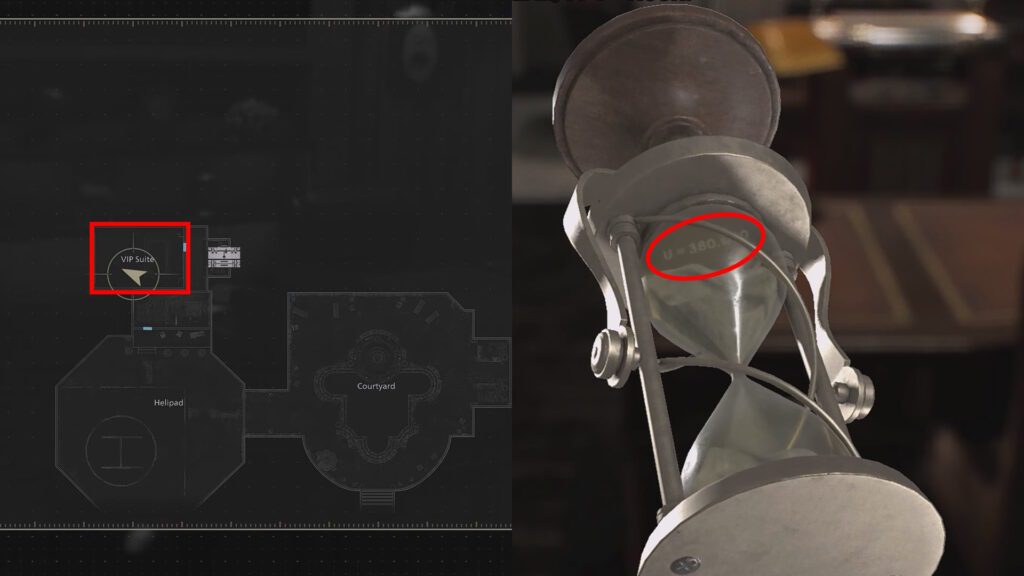
U = 380,000 – On the base of the hourglass in the VIP Room of the Care Center Courtyard. Refers to the Moon, which is roughly 380,000km away from Earth.
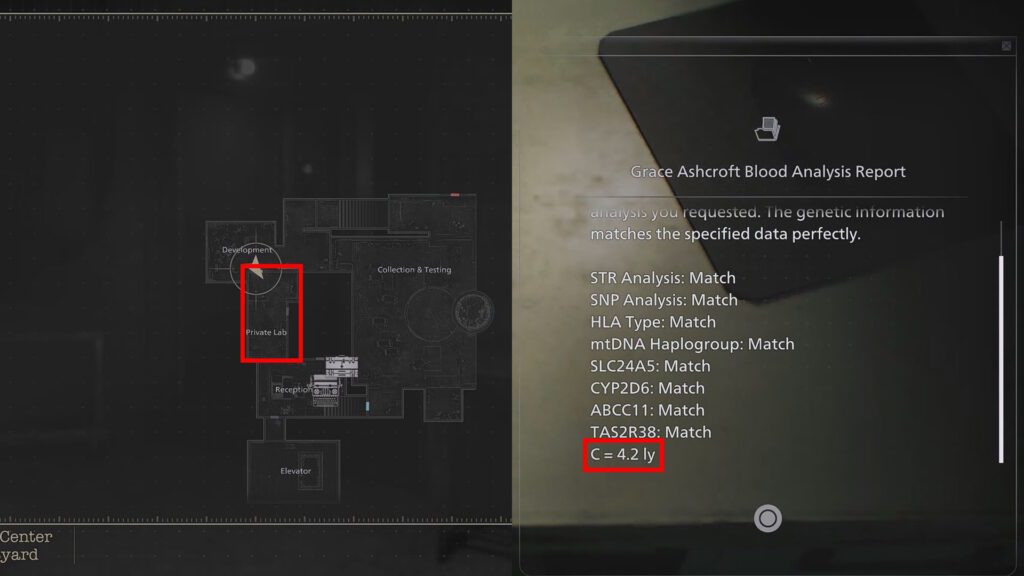
C = 4.2 ly – On the “Grace Ashcroft Blood Analysis Report” file, which you can pick up in the Private Lab. “Ly” means light years, so it refers to the Star. Proxima Centauri is roughly 4.2 light years away from Earth, while being the closest star after the Sun.
Just ignore the A – Check the Toy Uncle Bobblehead torso near the Basketball Court in Raccoon City after kicking its head through the broken hoop. Remove all As from the code.
Using all of these clues, the final code ends up being as follows: Sun Sun Star — Sun Moon Star — Sun Moon Sun — Moon Star Moon. That’s what you need!
Step 7: Let the Sweet Pair Hear the Voice
With all of the steps and prerequisites dealt with, there’s only one thing left to do. Go to the Lead Researcher’s Room in the southeastern corner of the Care Center’s upper floor.
Make sure to bring both Emily and Marie’s Doll, as well. They are both required for this to work.
Interact with the Sun, Moon, Star puzzle box in the room again and input the deciphered code. That is, again, as follows: Sun Sun Star — Sun Moon Star — Sun Moon Sun — Moon Star Moon.
You should hear a child’s laughter as soon as you input that code, as well as receiving a congratulations message. The video below, as always, shows this entire process.
With that, “The Final Puzzle” is complete, also checking off one of the most esoteric Challenges in Resident Evil Requiem. This will reward you with a total of 20,000 Completion Points (CP)!
Now that you’ve obtained quite a lot of CP, I highly recommend unlocking the RPG-7 and its infinite ammo. Having it will make the Insanity playthrough a lot easier if you’re going for 100%.