20 articles
One of your very first tasks as Leon in Resident Evil Requiem is to collect all 3 parts for a Detonator.
After all, the gate to the center of Raccoon City is blocked off. The solution? Blow it up! But, in classic Resident Evil fashion, the parts you need are spread all over the city… time to do some collecting.
In this guide, I’ll tell you where all of the 3 Detonator parts are and how to reach them.
How to Get the Distributor at the Logistics Warehouse
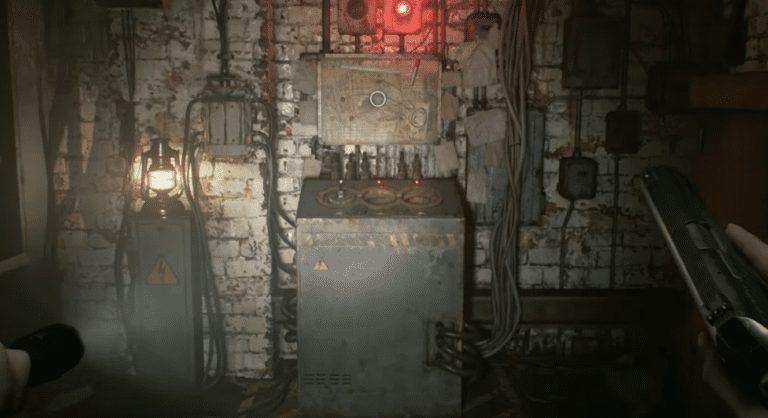
For the first part, the Distributor, you can get it after powering up the generator at the BSAA Central Camp. From there, go south and open the gate to the Logistics Warehouse.
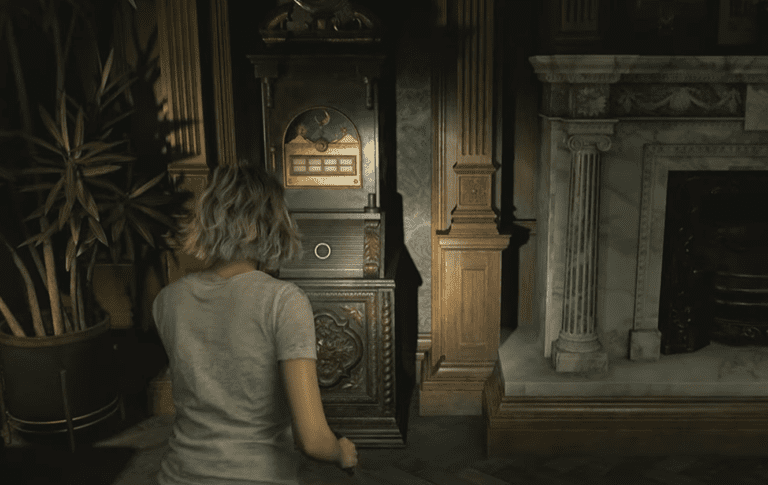
 Resident Evil Requiem: The Final Puzzle Complete GuideMar 4, 2026
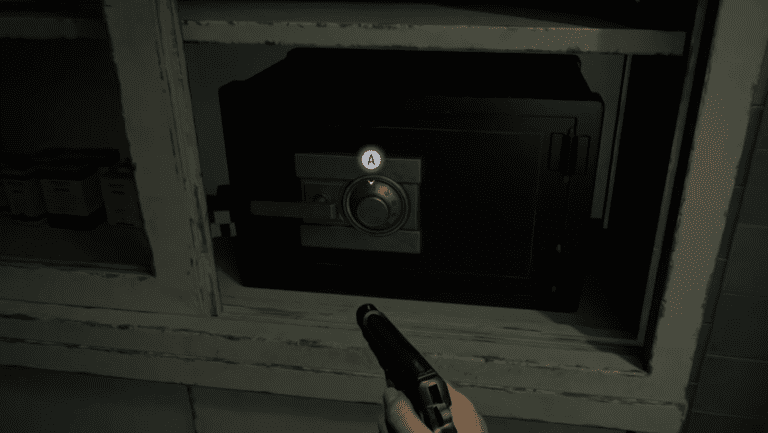
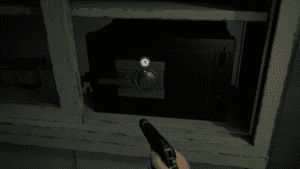 Resident Evil Requiem: Examination Room Safe Code Location & Safe OpenMar 3, 2026
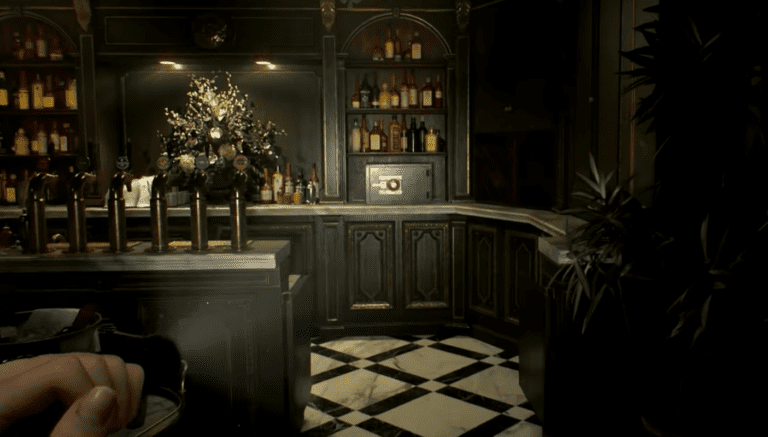
 Resident Evil Requiem: Bar & Lounge Safe Code Location / Safe PuzzleMar 3, 2026
Enter the warehouse and fight your way up to the second floor. You’ll need to shoot the chains off some of the containers on the way to create a path.
As you get into the office on the second floor, make sure to check the key box for the Cedarbrooks Apartments Key. You’ll need it later!
Then, use the ladders to make your way up to the roof of the building. The Detonator’s Distributor is there, inside a yellow box. The video below shows this full route.
How to Get the Signal Receiver at Cedarbrooks Apartments
Next up, you’ll need to go east of the Central Camp to the Cedarbrooks Apartments building. Go through the Underground Parking Garage until you emerge back out onto the streets, automatically obtaining the BSAA Container Key in the process.
Then, enter Cedarbrooks Apartments through the main door. Go up and follow the path all the way to the right until you reach a locked door with an empty hole for a Crank.
Drop down from the balcony into the floor below and you’ll see another door you need to open with a Crank. Deal with the nearby zombies, then open the door. You’ll get a Rusty Crank.
You’re back in the main lobby of the building now, so go back up to the locked door from before and use the Rusty Crank to open it.
At this point, you just need to keep going up through the rooftop of the building until you reach the yellow crate with the Signal Receiver. It’s at the highest point of the rooftop, past the (extremely annoying) zombies.
Make good use of cover on your way up to the top of the rooftop here, since the zombies will be using mortars. How did they even learn that trick? Well, either way, the video below shows the route to get this Detonator part.
How to Repair the Broken Signal Receiver
As you might’ve noticed, the Signal Receiver is actually broken! You’ll need a Repair Kit to fix it up so you can use it.
For that, you’ll just need to head back to Central Camp. You can find BSAA Container 02 right next to the camp tent, and you should already have the BSAA Container Key by this point. Use it to open the container.
Then, just enter the container and grab the Repair Kit from the table at the back. You’ll get the prompt to instantly use it to fix the Broken Signal Receiver. The video below shows how to get it and use it.
How to Get the Gas Can
If you don’t have the Gas Can yet, you’ll also need to go pick that up. It’s at the Gas Station, north of the Central Camp. The empty Gas Can is on the southeastern corner of the Gas Station, in the exterior.
Take that empty Gas Can to the Fuel Tank north of the Gas Station proper. Fill it all the way up there and you’ll be able to use it to fuel the many Gas Powered Generators in Raccoon City. The video below shows how to do all of this.
How to Get the Relay at the Grimstone Building
Head back to the Central Camp and use the elevator to go back up to the rooftop of the Logistics Warehouse. Power up the Generator there with the Gas Can to open the nearby door and reach a zipline.
Take the zipline over to Wilis Tower, then go all the way up the stairs. Go to your left as soon as you’re up the stairs, though there are some optional goodies in the room to the right as well.
Vault over the debris at the end of the path and break the marked planks to clear a path. Then, walk across the beam to the other part of the building. Break the planks on your right to continue across a gap.
Go to your left after crossing the gap, and shoot the two planks above you and the one below you. Jump across, open the elevator shaft, and jump down into it.
Continue going up (is it even up anymore?) while avoiding the elevators until you reach the glass panels. Turn to your left, break the barricade, and continue past the glass panels, dealing with the zombies on the way.
In the final glass panel section, shoot the glass panel below the orange beam to make a piece of debris fall. Go up the slanted debris and you’ll see some red lights. Make your way to them, dealing with the zombies along the way.
After killing the zombies, drop down to the rooftop of Grimstone Building and open the door in front of you to finally reach the yellow crate with the Relay! The video below shows this entire process for you to follow along.
Wrapping Up
As you can see, it’s quite a quest to collect all of the Detonator parts in Resident Evil Requiem. You’d think Leon’s getting too old for all this by now, but he still manages somehow! I’m sure this guide will help you help him, too, right?
If you want more help with Resident Evil Requiem, how about collecting some Charms to get an edge in combat? Check out our guide for all Charm locations.