



 183 articles
Raid Bosses are some of the hardest challenges you can encounter in Palworld 1.0. And with the full release of the game, these encounters are much less forgiving than before. For example, you can no longer throw a random team of high-level Pals and expect to win.
Now, you have to prepare properly, take note of elemental matchups, and make sure you have a well-built team.
But then again, you don’t really need perfect Pals to beat them in the first place. In this guide, we’ll talk about how to defeat all Raid Bosses easily and which are the best Pals to use.
How to Defeat All Raid Bosses Easily in Palworld 1.0
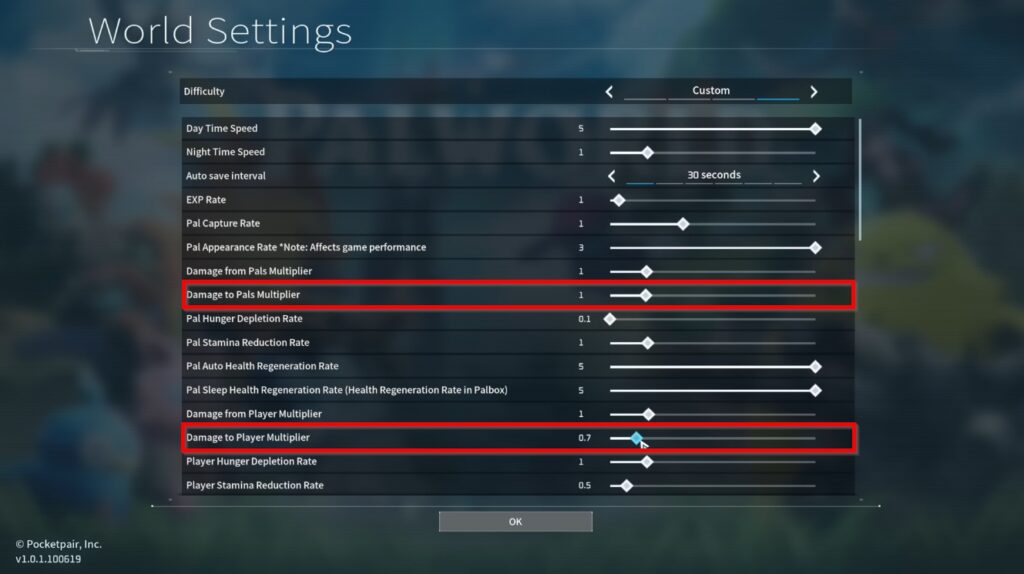
If you play in singleplayer and don’t mind tweaking some settings, then you can adjust certain settings in the World Settings menu.
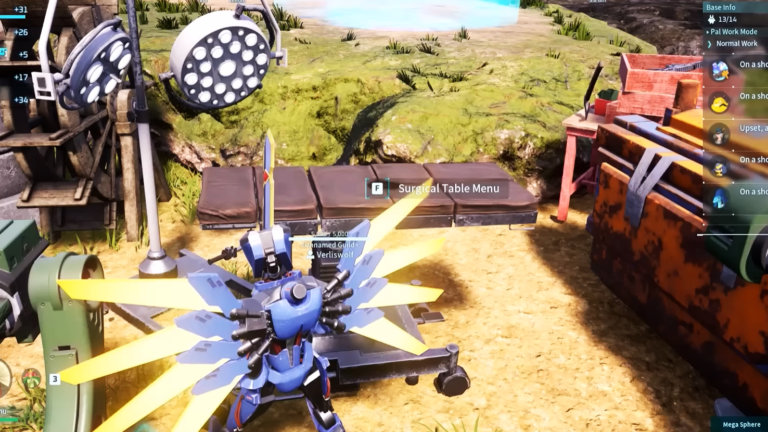
 Palworld 1.0: Surgery Table Guide (Pal Passive Skills)Jul 21, 2026
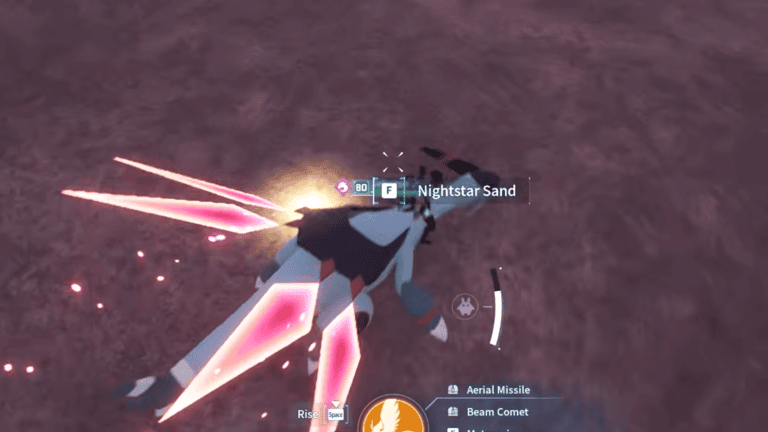
 Palworld 1.0: Where to Farm Nightstar SandJul 21, 2026
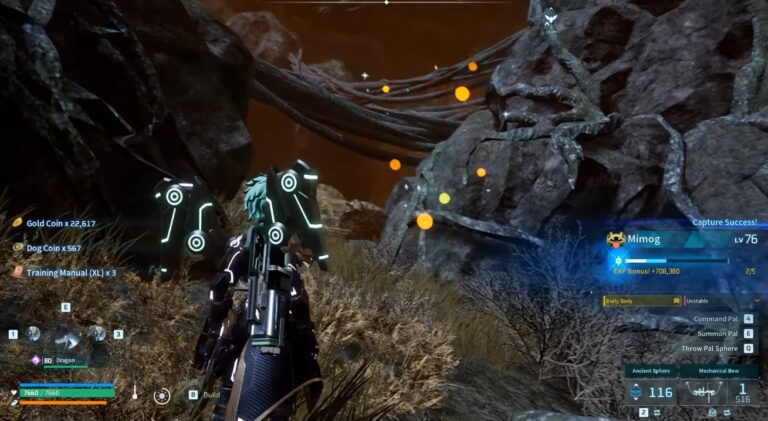
 Dog Coin Farming Guide and Locations After Palworld 1.0Jul 21, 2026
For example, you can adjust things like Damage to Pals Multiplier and Damage to Player Multiplier to values you’re comfortable with. Higher values will cause you to deal more damage and take less damage, respectively.
You can also adjust the values for the “Maximum number of work pals at the base” setting to whichever value you like. Since you’re fighting raid bosses at your base, adjusting this setting allows you to have more Pals to fight with.
That said, before you even think about challenging any Raid Boss, make sure you’ve done the following:
- Level your raid team to at least the boss’ level. If you’re struggling, coming back 5-10 levels later is usually much easier than breeding perfect Pals.
- Upgrade your own gear. Assault Rifles, Rocket Launchers, and high-tier armor contribute a surprising amount of damage throughout every fight.
Do keep in mind that your own character matters just as much as your Pals. Getting yourself properly equipped will allow you to shave off a huge portion of the boss’ health while your team keeps it occupied.
With that out of the way, let’s talk about how you can defeat each Raid Boss effortlessly.
Bellanoir

Bellanoir is the first Raid Boss you’ll likely encounter. Since she’s a Dark-type Pal, that means she’s weak to Dragon attacks and is considerably easier than the later raids.
For this fight, you want to bring Pals like Azurobe, Elphidran, Jormuntide, Relaxaurus, and Dinossom. If you don’t have any of them, any strong Dragon-type around Level 35+ will suffice.
There’s really no need to breed perfect Dragon Pals for this fight. All you have to do is catch several naturally strong Dragon-types and level them to match Bellanoir.
Better yet, if you can level them up higher than Bellanoir herself, the encounter would be pretty much manageable.
Do keep in mind that Bellanoir tends to teleport around the arena while launching ranged attacks. Instead of chasing her constantly, let your Pals stay aggressive while you focus on avoiding damage and supporting them with your own weapons.
If you have a good Assault Rifle or Pump-Action Shotgun, you can remove a significant portion of her health throughout the battle.
Bellanoir Libero

Bellanoir Libero is essentially the stronger version of Bellanoir, and it also happens to be the first Raid Boss that truly tests whether your team is prepared. She has increased health pool, stronger attacks, and a phase transition which make the encounter considerably harder than the original Bellanoir.
The fight begins similarly, with Bellanoir Libero remaining weak to Dragon attacks. However, once she reaches low health, she transforms into an Ice-type boss, restoring part of her HP while becoming much more aggressive.
At this point, you want to switch to Fire-type Pals to counter her element. Also, Dragon-type Pals are weak to Ice, so they could end up dying quickly if you let them fight the boss in this phase.
However, if building two separate teams sounds like too much work, you can just level up your Dragon-type Pals to around level 50-55.
The additional stats they get can be enough to compensate for the elemental disadvantage during the final phase.
Moon Lord

Up next is Moon Lord, who will reward you with Terraria-themed equipment and crafting materials upon defeat.
While he does look intimidating, Moon Lord is actually one of the more straightforward raid bosses once you understand his mechanics. It’s also worth noting that Moon Lord has no element, which simply means there’s no elemental weakness to exploit.
That said, some of the best Pals for this encounter include Moldron Cryst, Frostallion, and Bastigor. Any high-level Ice attackers work as well.
The fight revolves around destroying Moon Lord’s weak points. You must first destroy both hands and his forehead eye before his heart becomes vulnerable.
You can also mount a flying Pal throughout the encounter. Since many of Moon Lord’s attacks target the player directly, you’ll be able to kite his attacks as you allow your combat Pals to continue attacking uninterrupted.
As always, overleveling your team will make the fight a lot easier.
Blazamut Ryu
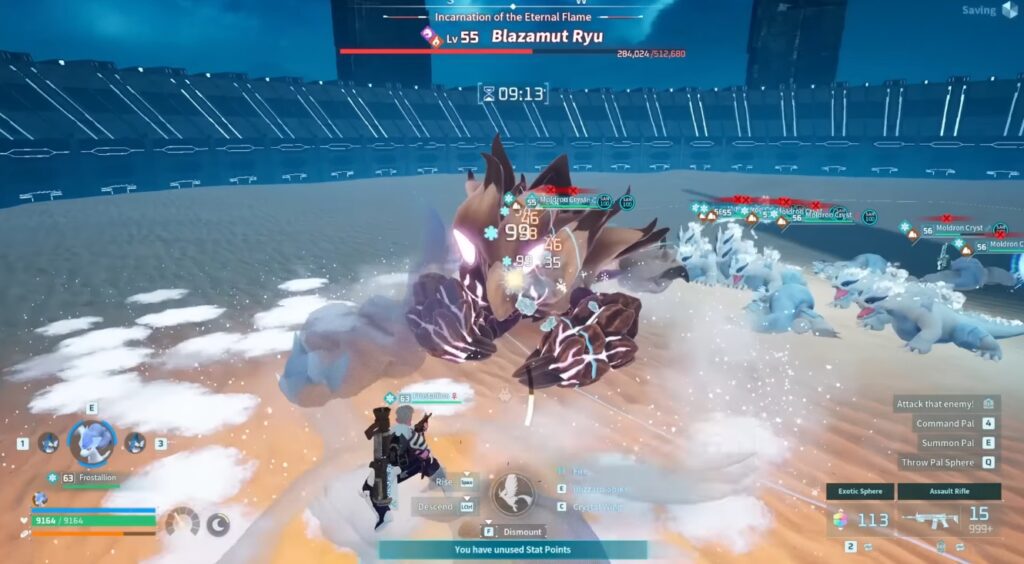
Blazamut Ryu is where the difficulty starts ramping up significantly. Unlike the earlier bosses, you’ll need to dish out consistent damage throughout the battle while surviving several devastating area attacks.
If your team isn’t properly leveled or built around the boss’ weakness, you’ll likely run out of time before defeating it.
Since Blazamut Ryu is a Fire-element Pal, bringing powerful Ice attackers such as the ones mentioned in the Moon Lord fight is ideal.
I highly recommend Moldron Crysts for this as their attacks can keep Blazamut Ryu frozen for large portions of the fight. However, if you don’t have a Moldron Cryst yet, you can have Frostallion as a solid alternative.
During the fight, try to keep yourself positioned away from your Pal army as you kite Blazamut Ryu’s attacks. Since most of his attacks are in a frontal cone shape, doing so will allow your combat Pals to survive.
Xenolord

Xenolord is one of the toughest Raid Bosses in Palworld, thanks to his enormous health pool, hard-hitting attacks, and ability to summon additional enemies throughout the fight.
However, since he’s a Dark-type Pal, this makes him extremely vulnerable to Ice damage and Freeze.
And as you might have guessed, Moldron Cryst is perfect for this fight. Its exclusive Ice attacks continuously apply Freeze buildup while dealing impressive damage, allowing multiple Moldron Crysts to keep Xenolord locked down far more often than other Ice Pals can.
When Xenolord summons additional enemies, don’t let your Pals deal with them. Instead, eliminate the smaller enemies yourself so your combat Pals can focus on taking down the boss.
Hartalis
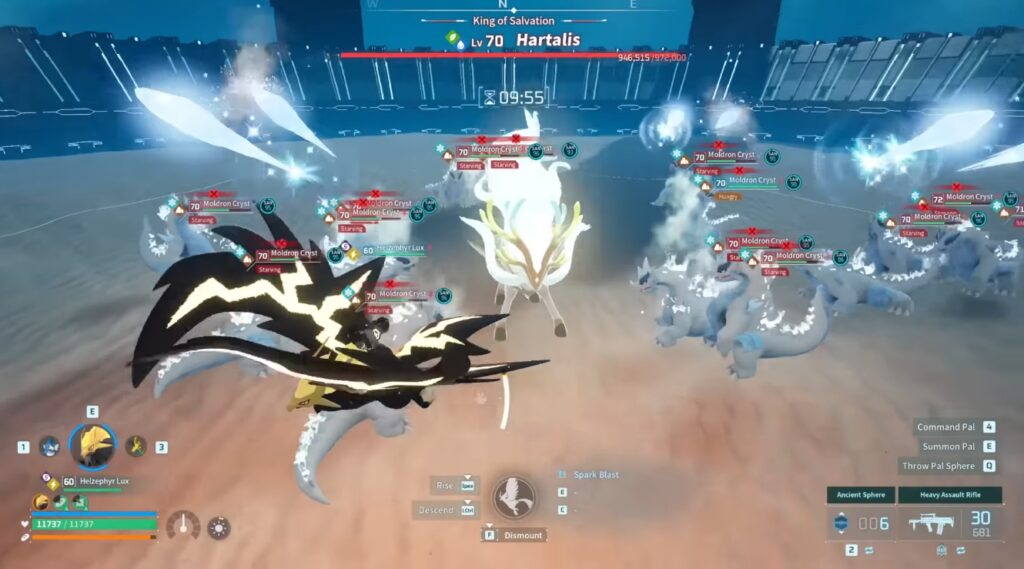
Hartalis is no doubt the most complex Raid Boss in Palworld, thanks to it having two phases and certain mechanics. Unlike the other bosses in this list, the Hartalis encounter introduces several mechanics that force you to adapt your strategy throughout both phases.
During the first phase, she is weak to Electric attacks. Make sure you’re riding Helzephyr Lux to convert your own attacks into Electric damage.
Once she reaches 50% health, Hartalis will create a protective barrier that you can be destroyed quickly using a specific element before you can continue damaging the boss. The barrier’s element will be random, and this might require you to change Pals depending on the barrier.

Once she reaches zero health for the first time, she will regenerate her health back to full and enter phase two. At this point, her elemental switches to Neutral which makes her weak to Dark-type attacks.
You can still continue using Moldron Crysts for this fight, but you can also use Dark-type Pals and overlevel them to make the fight a lot easier.
After reaching zero health for the second time, Hartalis will charge one final attack that will engulf the entire arena.

You will also notice large rocks appearing in the arena. What you’re going to do is take cover behind any of those rocks to survive the attack.
This is not an attack you can dodge nor tank. Failing to hide in one of those rocks only results in defeat regardless of whether you’ve already brought Hartalis’s health down to zero.
Final Thoughts
Raid Bosses have become much more challenging in Palworld 1.0 than they were in earlier versions. But at the same time, they become far more manageable once you build teams around each boss’ elemental weakness.
As you can see, most of the fights make use of Moldron Crysts which is honestly quite a powerful Pal for taking down the bosses. But then again, you don’t need perfectly bred Pals to start clearing them.



Found another tip?
Share your extra strategy, correction, or question below. Helpful comments can make this guide better for everyone.