 15 articles
Are you trying to collect all of the documents in Silent Hill f to get trophies? Use this guide to find the 36 documents that help you reach your goals. But be warned, it is no easy task.
Achievements (Trophies)
There are over 60 documents in the new addition to the Silent Hill franchise. However, only a specific 36 are needed for the following achievements:
- Good Intentions
- Fires of Jealousy
- Fate of the Apostate
- A Mike Possessed
- The Truth about the Tsuneki Family
It will take at least three playthroughs to complete all five achievements. The remaining documents are for additional lore and do not contribute to any missions.
Check out each document that counts and where to find them:
 Silent Hill f Scarecrow Field Puzzle Solution (All Difficulties)Sep 28, 2025
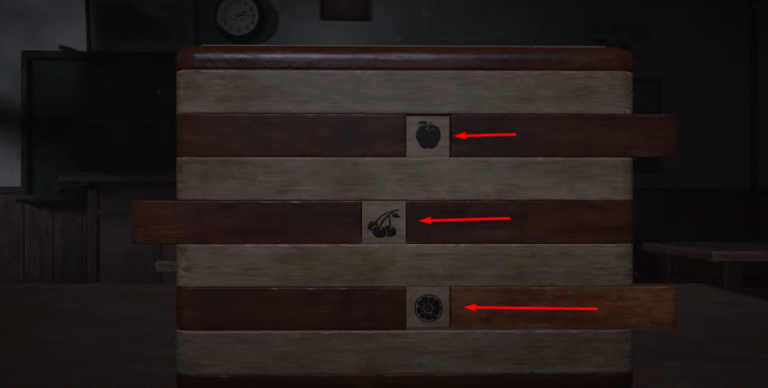
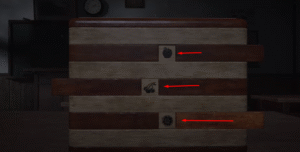 Silent Hill f – Secret Box Classroom Puzzle Solution (All Difficulties)Sep 28, 2025
 Silent Hill f: All Ema Locations (Character Upgrades)Sep 28, 2025
First Playthrough
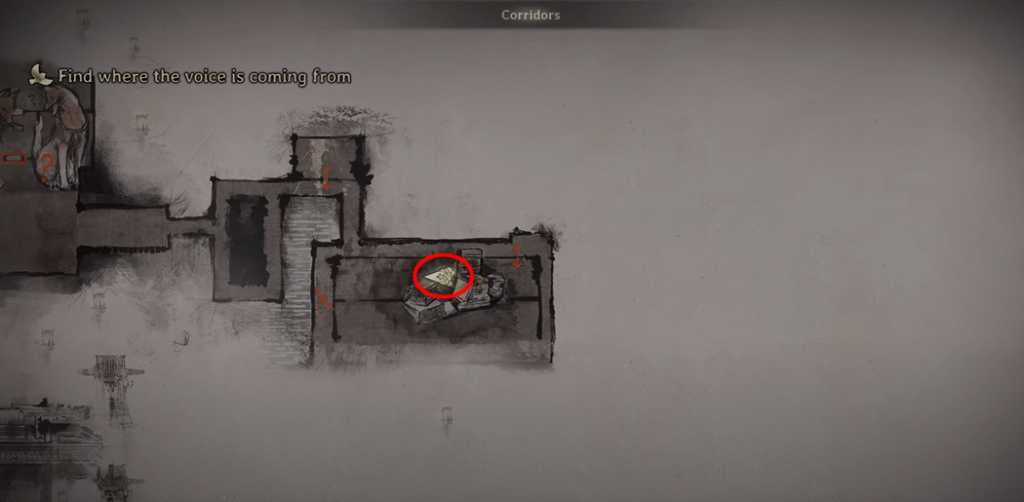
Corridors
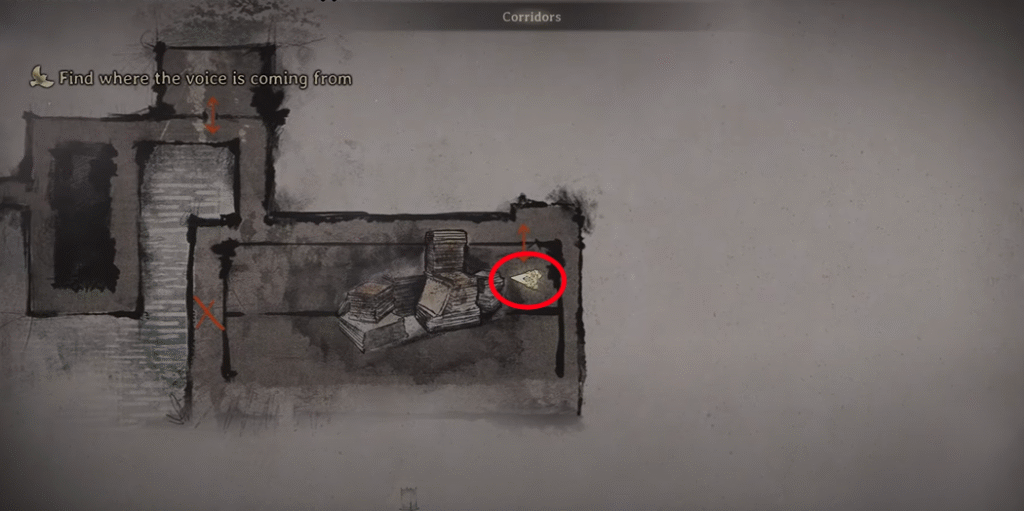
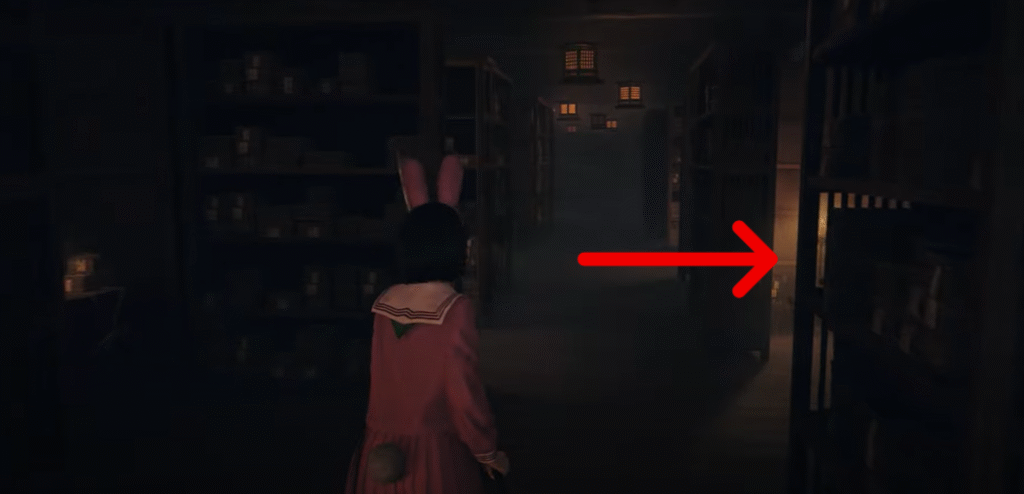
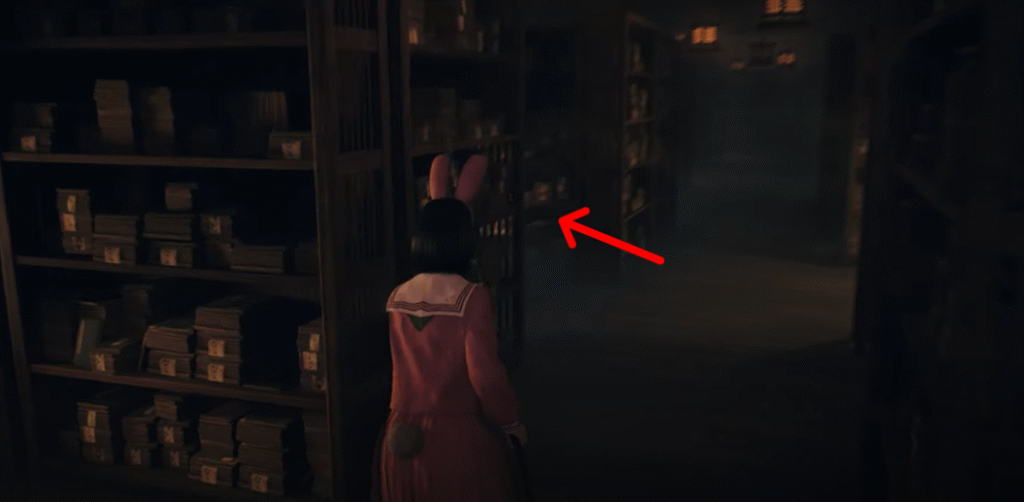
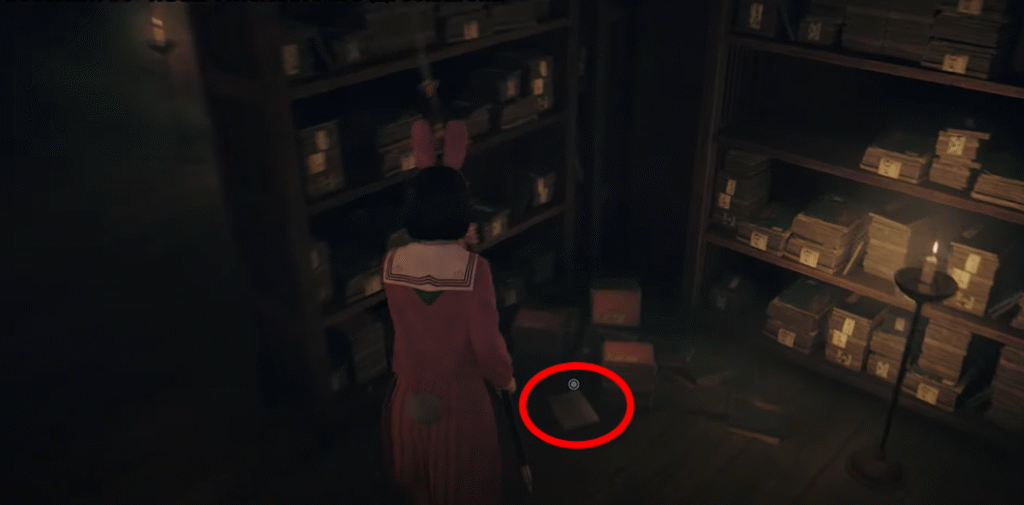
Document #1 – Housemaid’s Note (1)
This first document is located in one of the library’s nooks on the floor.

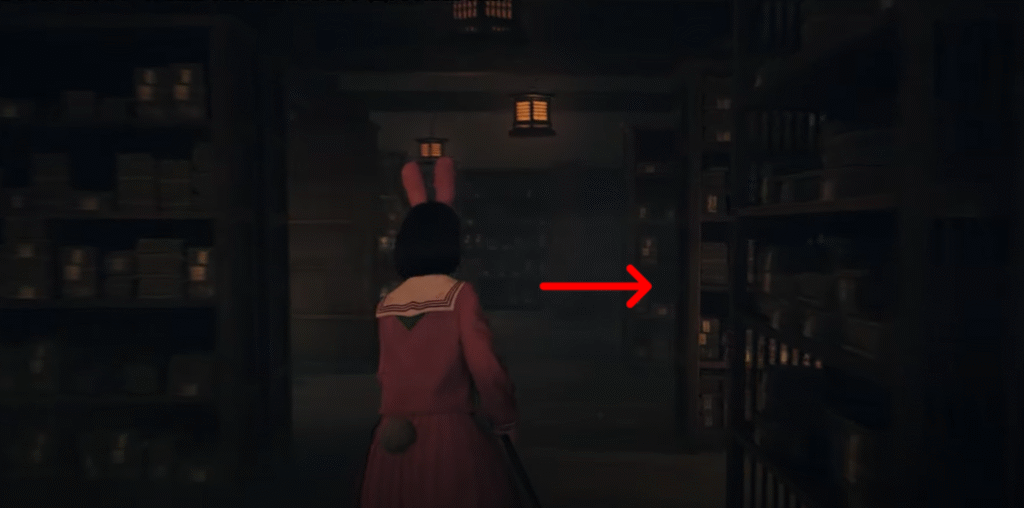
Document #2 – Family Physician’s Log (1)
You will go back into that same hallway, and it’s in the room to the left of the one you were just in, on a table.


Document #3 – Family Physician’s Log (2)
Go back down the hall a bit, and on your right, you will see this document lying on the floor.
Worship Hall
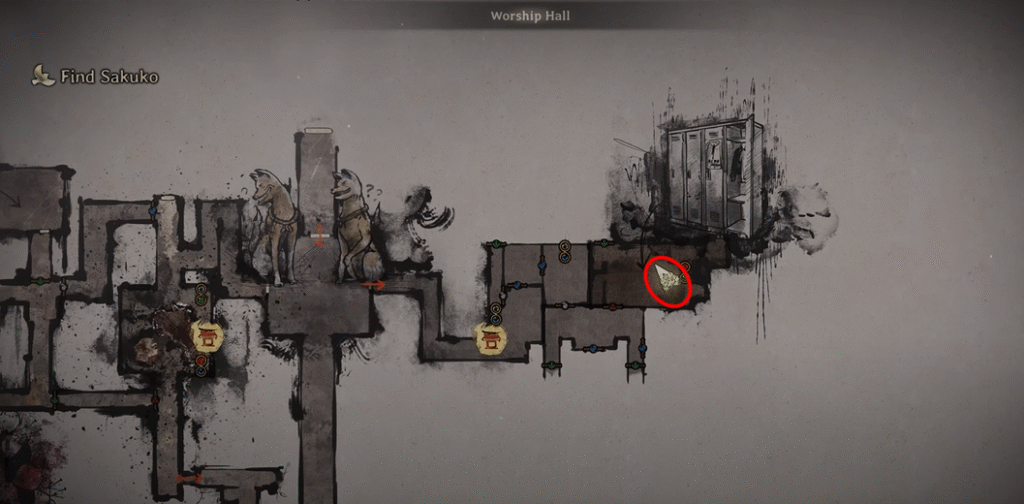
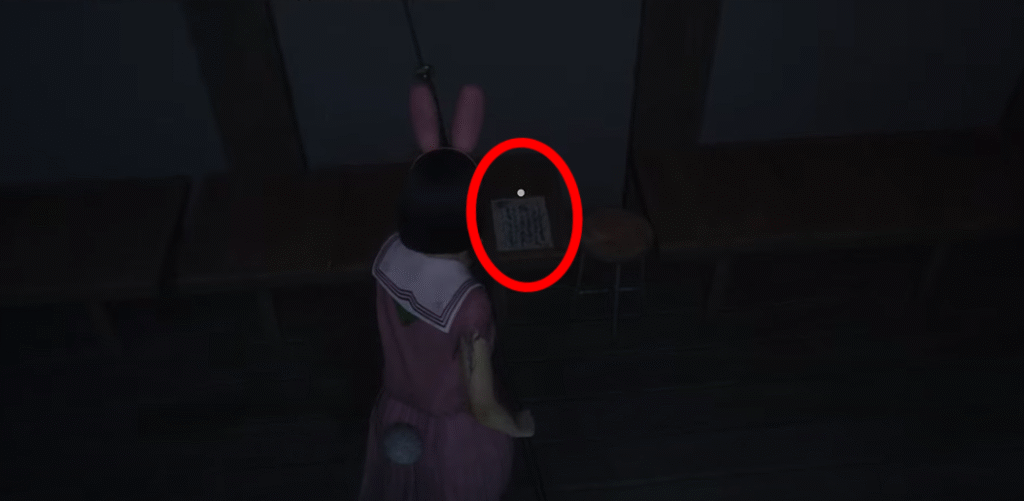
Document #4 – Sakuko’s Diary (1)
This document is in the most eastern part of the Worship Hall area. To get here, you have to go into the Hokora Shrine room and flip the lever. You will then go through the set of blue doors and flip the lever in there to open up the white door.
It’s through the white door that you will find the document on the northernmost part of the wall, on top of a table.
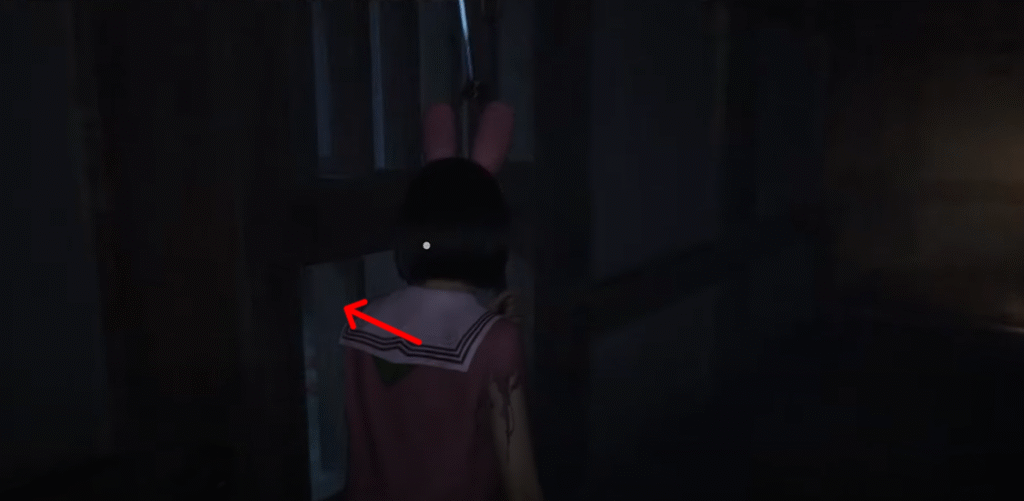
Document #5 – Sakuko’s Diary (2)
Still staying in the eastern area, you’re going to want to go to the northernmost area of it. In order to get here, you have to flip more levers. Go into the locker room and flip the lever. This will open the green door.
You will then crawl through a tiny space to get to this room. It is on the right when you get through the crawl space, sitting on a shelf.

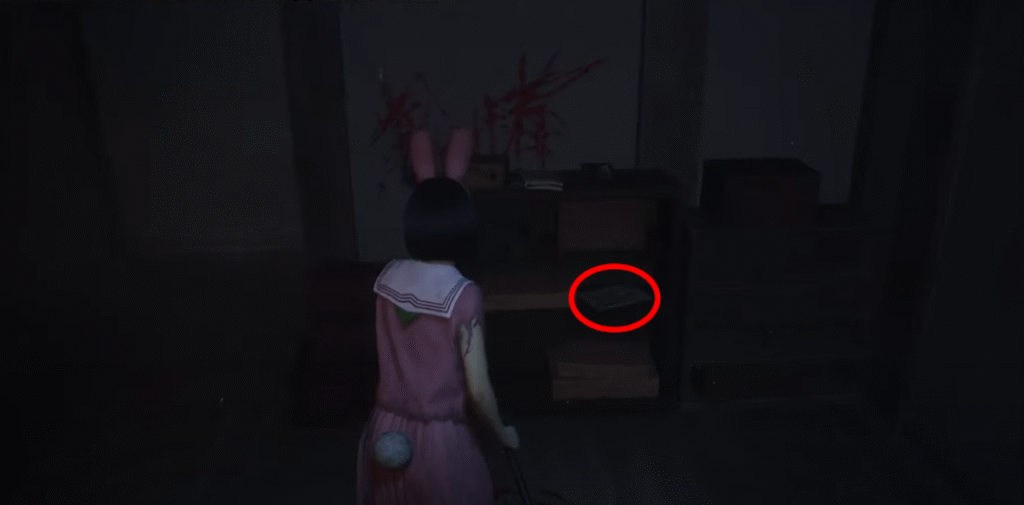
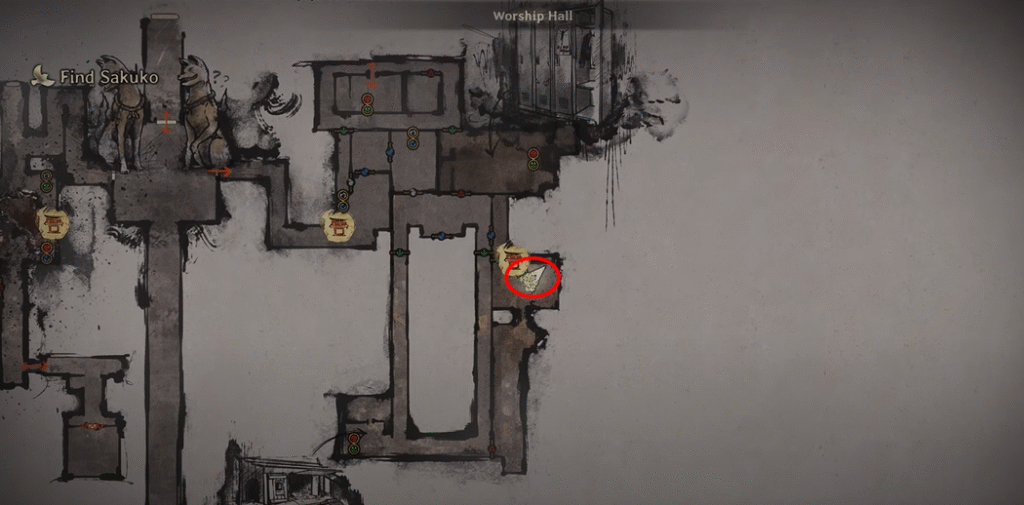
Document #6 – Sakuko’s Diary (3)
Go south and head towards the room with the second Hokora Shrine. Once arriving in the room, it’s in a corner, sitting on a small table.
Main Hall
Document #7 – Family Physician’s Log (3)
You have to open the first door, and then you will find this document on a desk to your left.
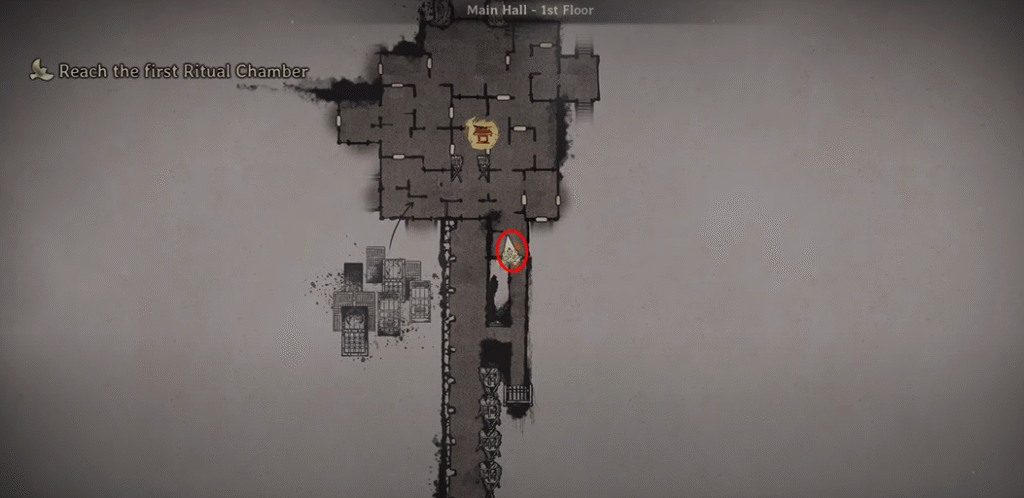
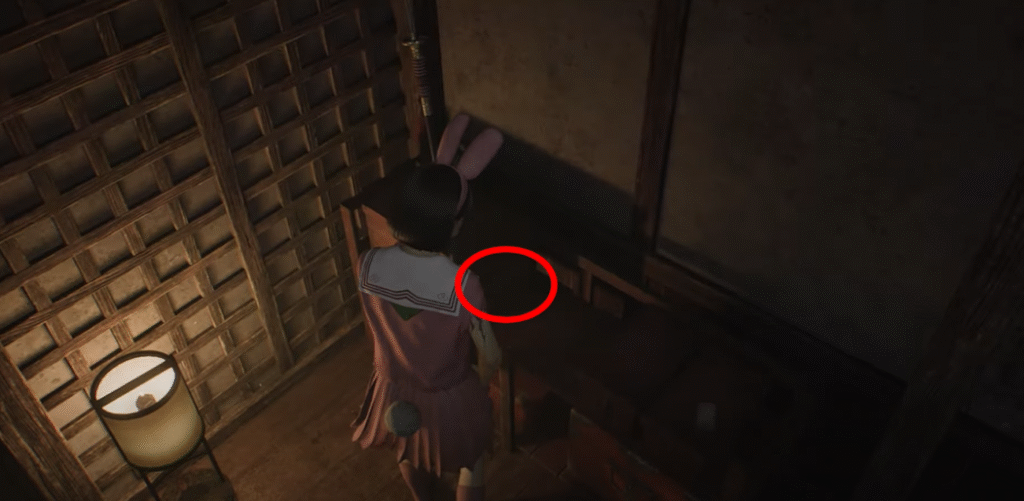
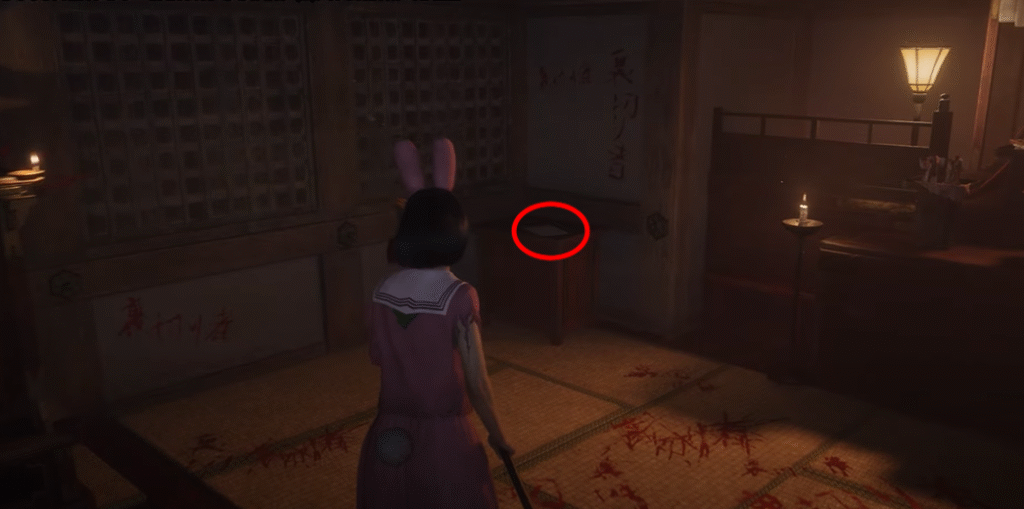
Document #8 – Housemaid’s Note (2)
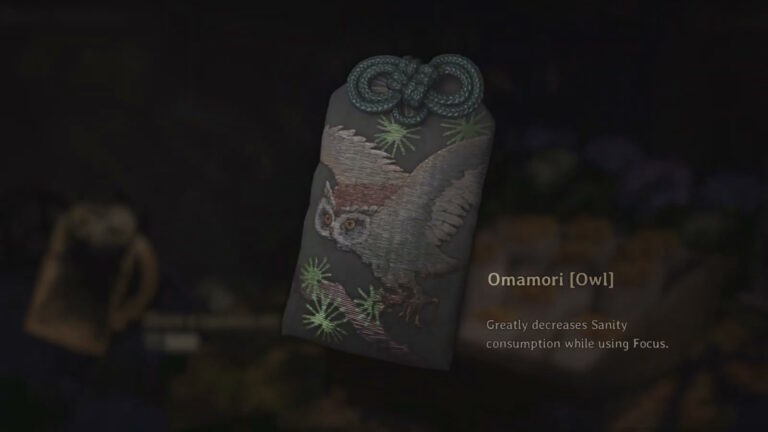
For Housemaid’s Note (2), you will have to complete the first ritual. Once that is done and you are on the first floor, move down one room and open a metal door. At the complete end of the room, there will be a table with the document lying on it, with an Omamori (Crow) item next to it.

Document #9 – Family Physician’s Log (4)
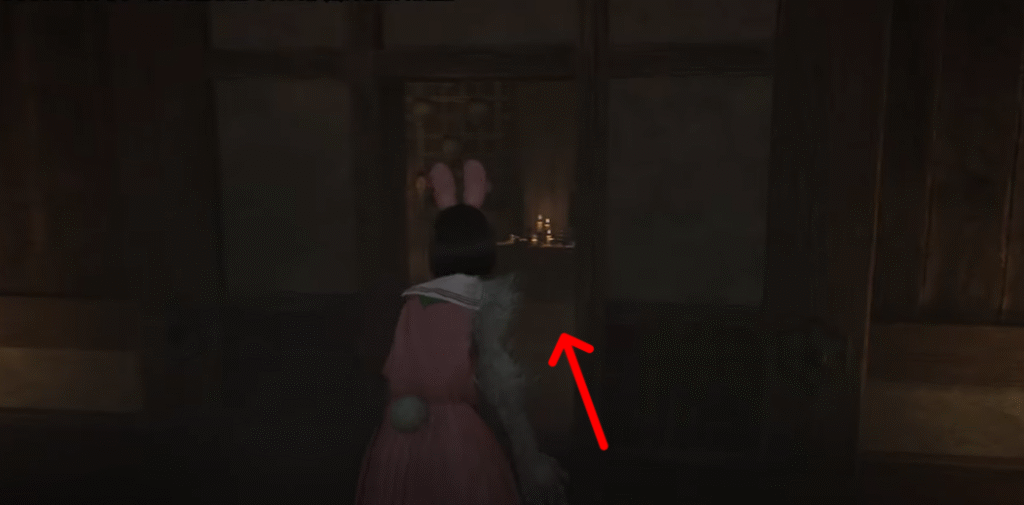
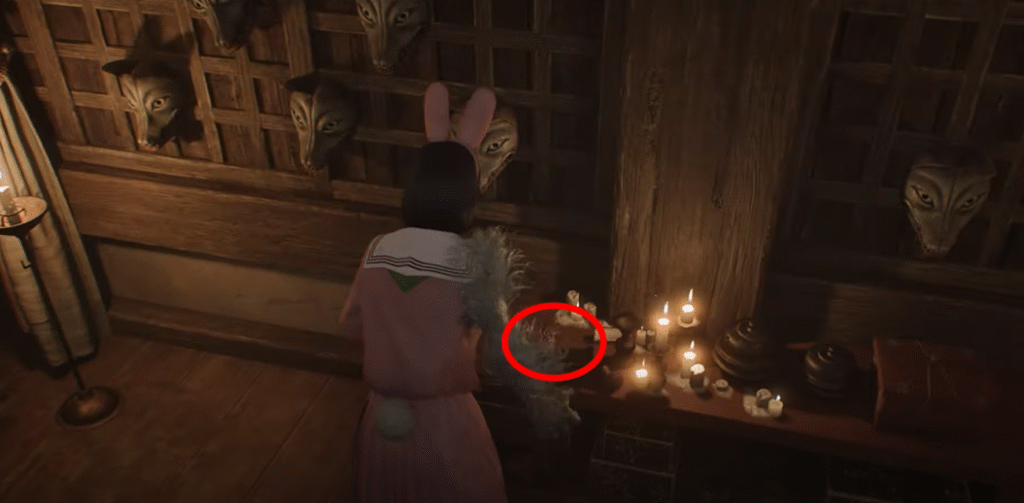
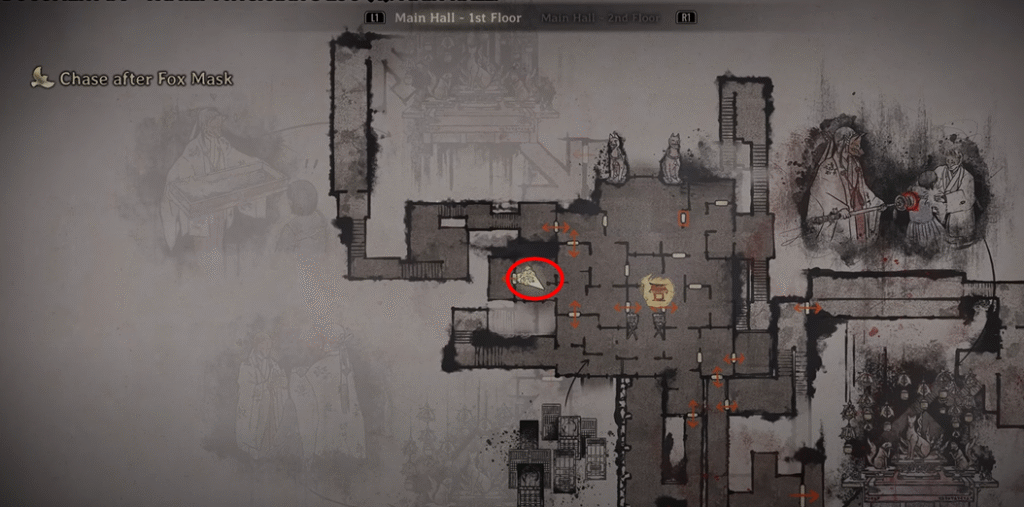
You’ll have to complete the third ritual to get this document. The third ritual allows you to reveal hidden rooms by holding your L2. These areas are identifiable by blood and fox art.
In the same room, before you go through the metal door, you will find a hidden room to the left. Reveal the room and walk through. On the left, sitting on a desk, is the Family Physician Log (4).
Ebisugaoka Fifth Visit
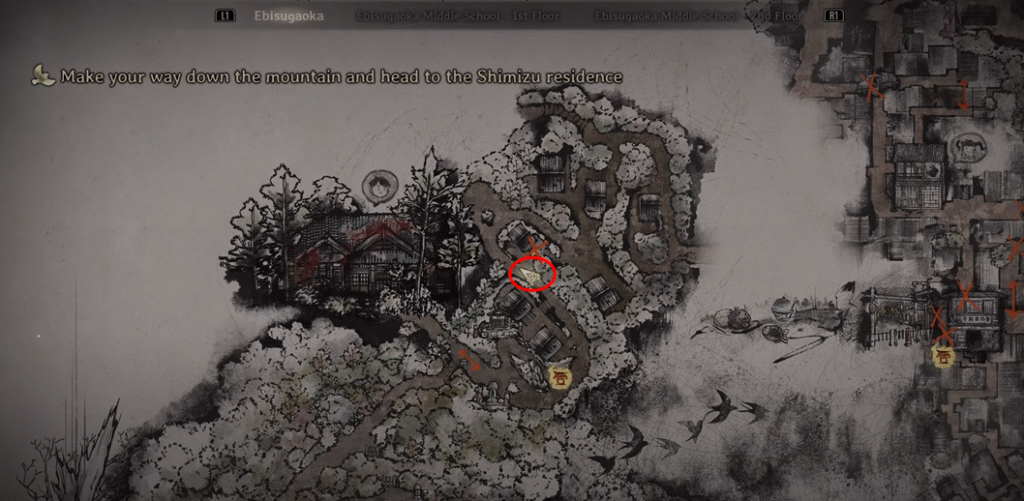
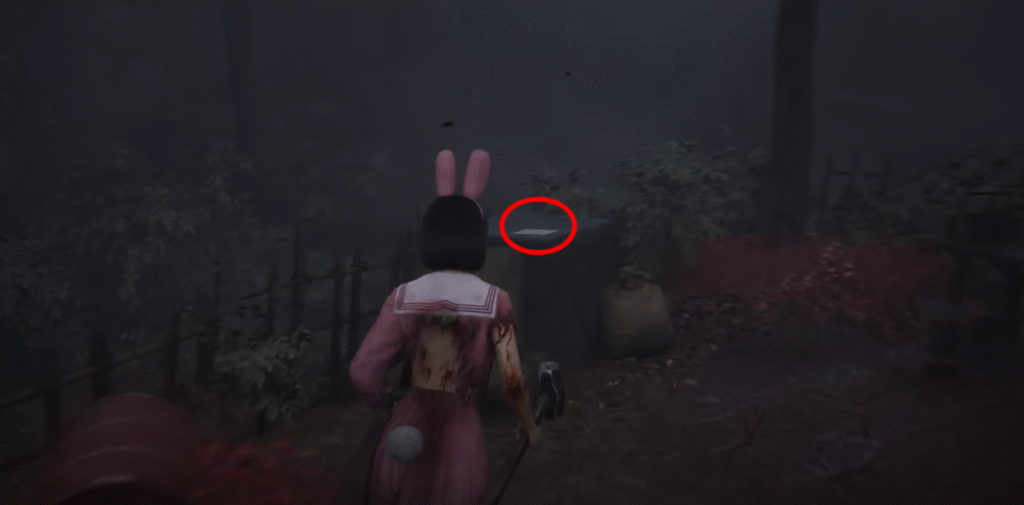
Document #10 – Clinical Trial (1)
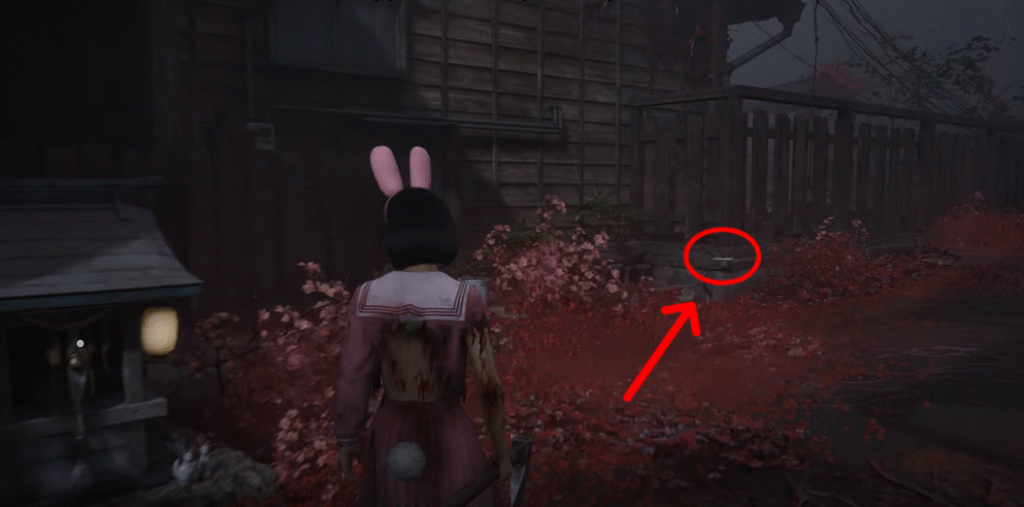
Continue walking through the mountain clearing. You will face an enemy who spawns from a flesh clump. Go past this and to the right, there’s a yard next to a house. The Clinical Trial (1) document will be on a crate in the yard, with a burlap sack leaning against it.
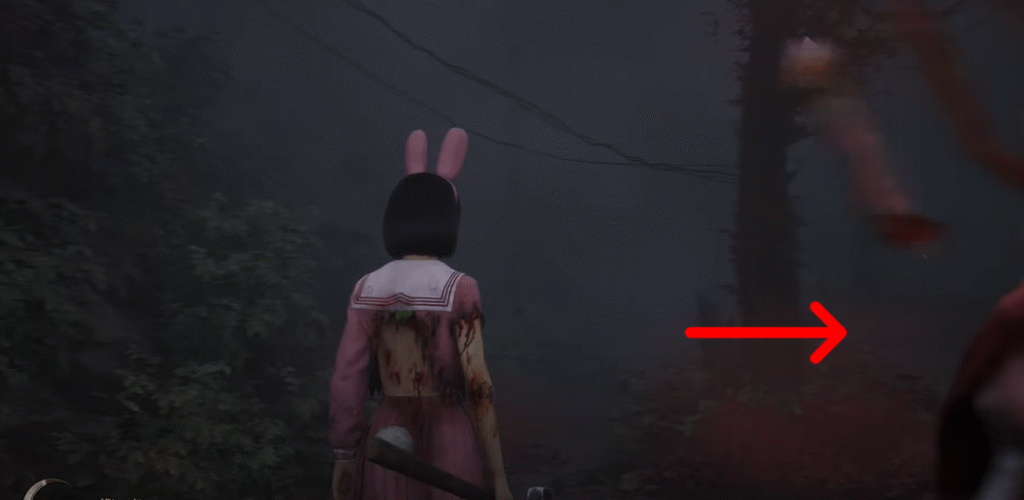
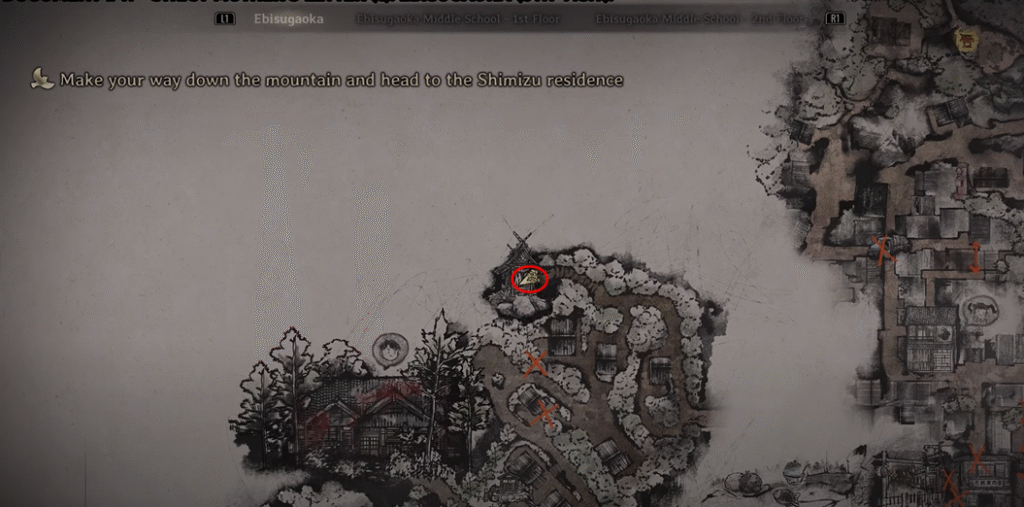
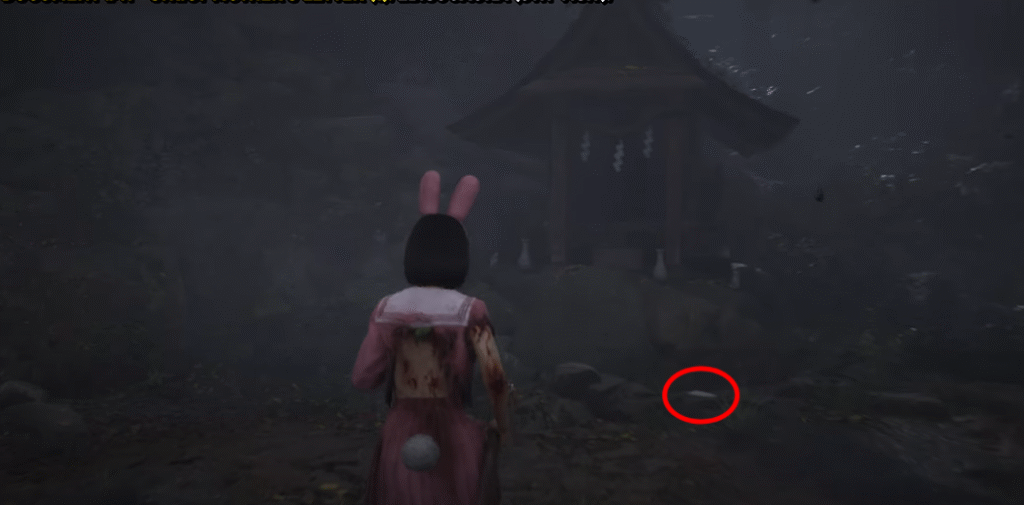
Document #11 – Strict Mother’s Letter (1)
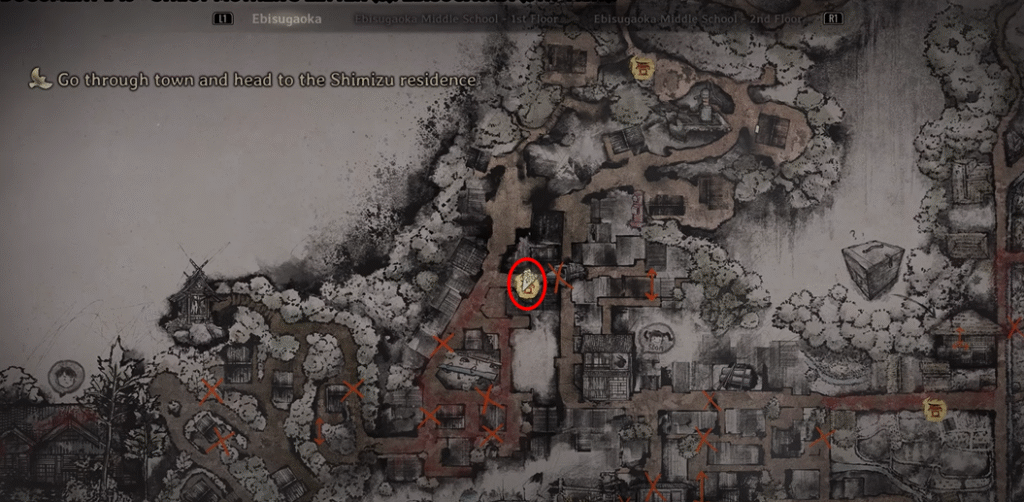
You are going to arrive at a split path. Choose the left and walk until you find an Inari-sama Shrine. The document will be in front of it, on the ground.
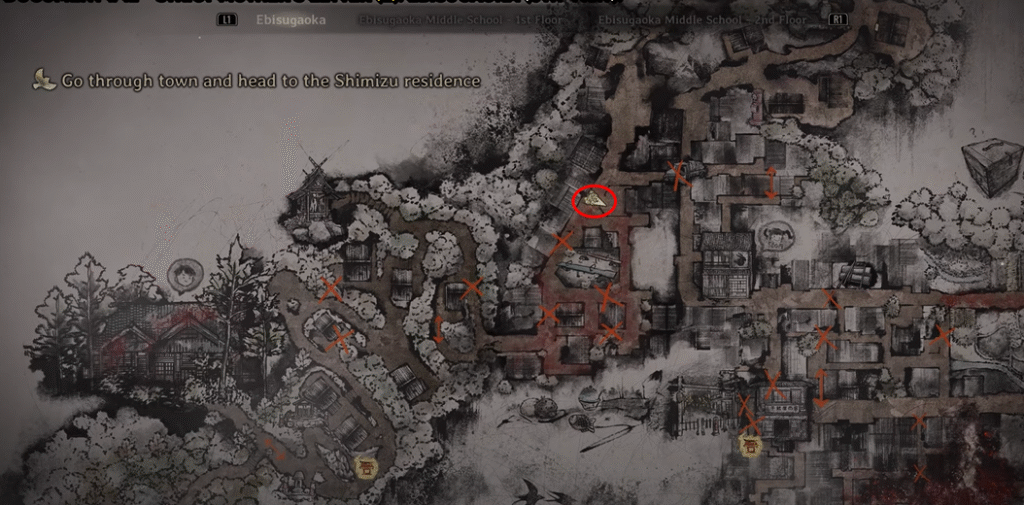
Document #12 – Strict Mother’s Letter (2)
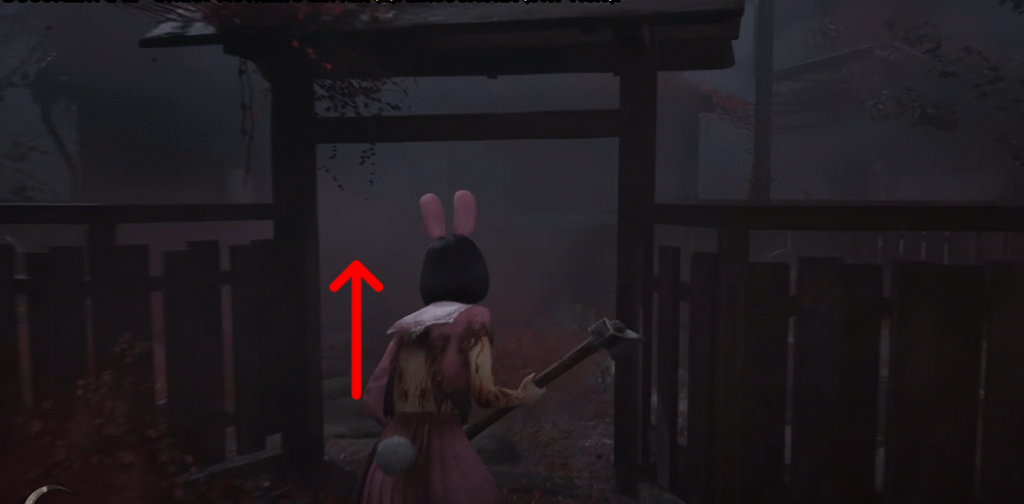
Walk through the entrance that has a wooden gate around it. Continue walking straight until you see a porch. It’s on the ground of the porch where this document is placed.
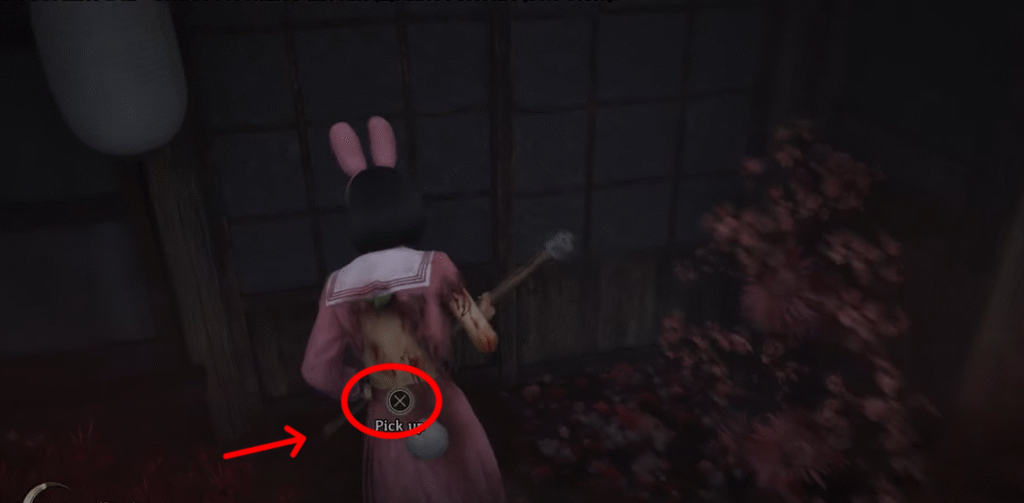
Document #13 – Strict Mother’s Letter (3)
This document lies right next to the fence that surrounds the house. It’s just around the corner when you exit through the front entrance. It is next to a Hokora Shrine.
Treasure Hall
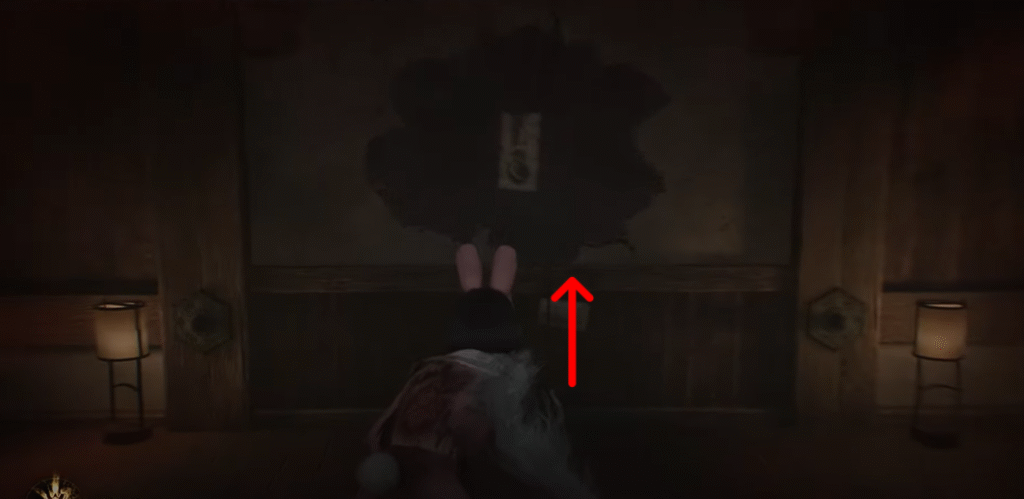
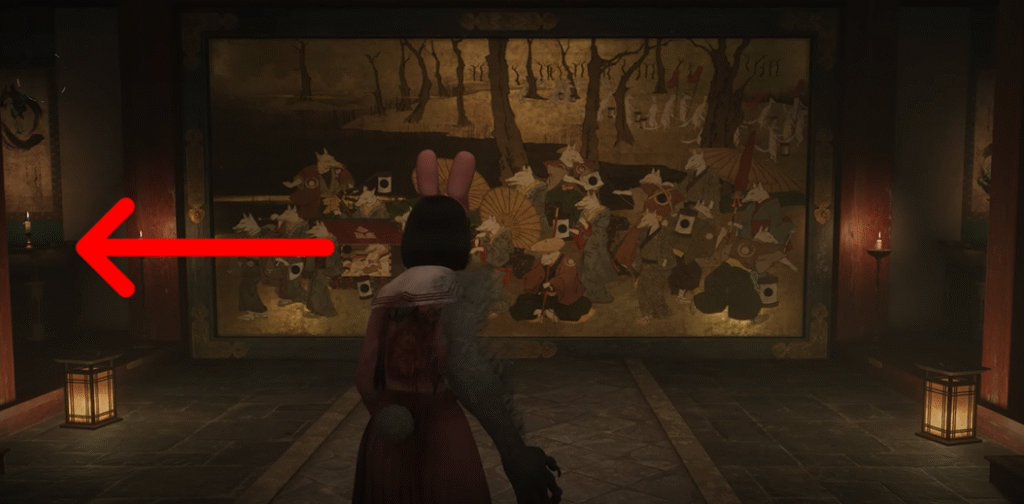
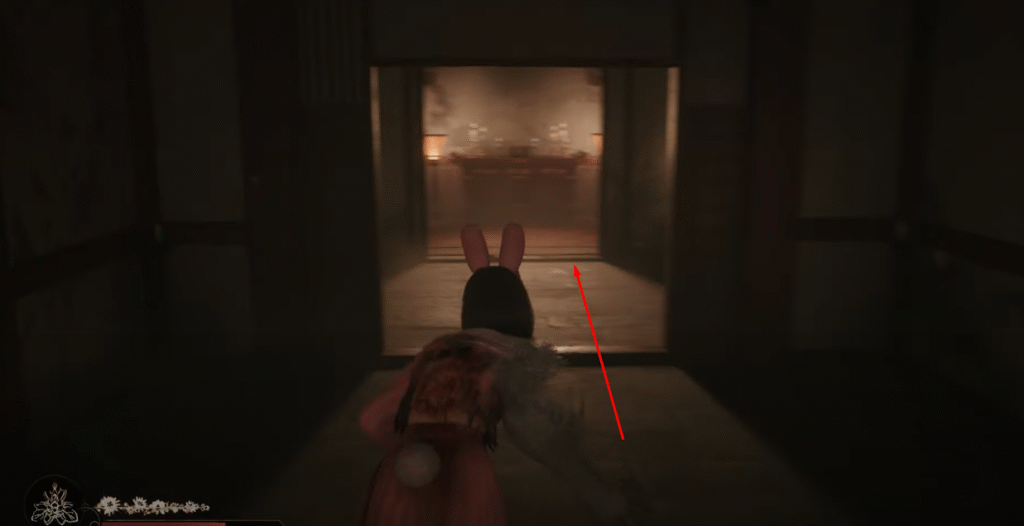
Document #14 – Family Physician’s Log (5)
Starting in the main room, staring at the large painting, turn right, and there will be a door you can open. After opening that door, the Family Physician’s Log (5) will be straight ahead, lying on an elevated platform.
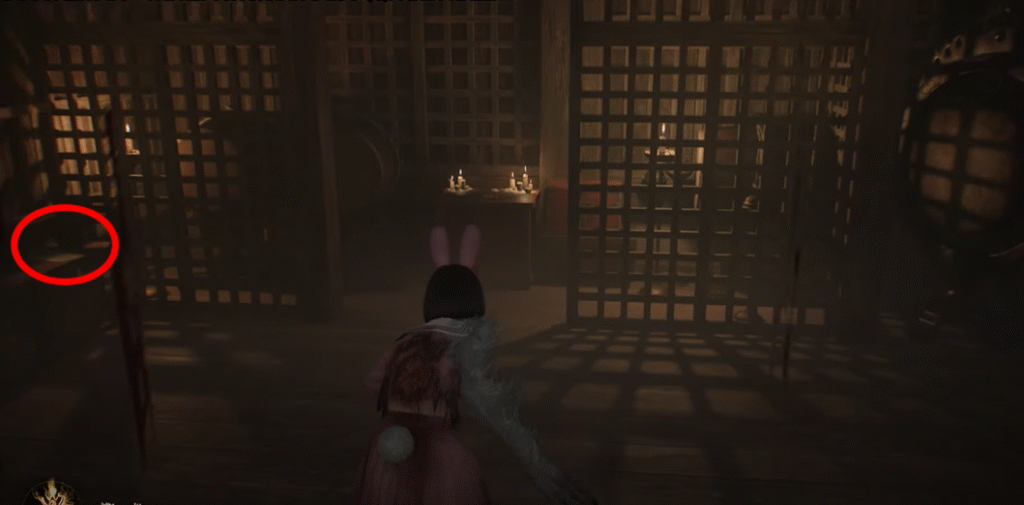
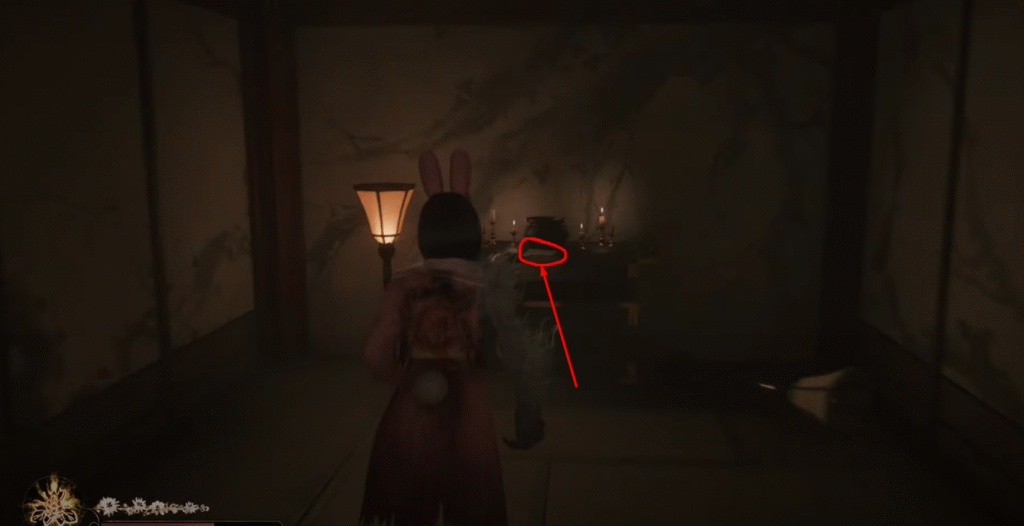
Document #15 – Housemaid’s Note (3)
Go straight down the hallway until you reach the room with a red platform and illuminated by candles. But be careful, there is an enemy to your right before you walk into this room. Now, turn left, and the document will be on a table at the far end of the room.
There is a collectible straight ahead on the red platform with candles. You will open a box that will give you a Black Sparrow Crest.
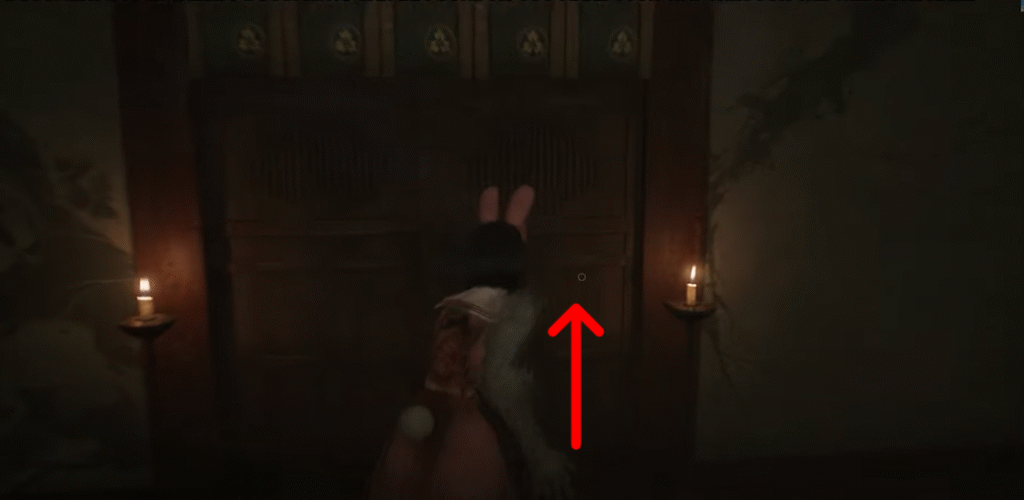
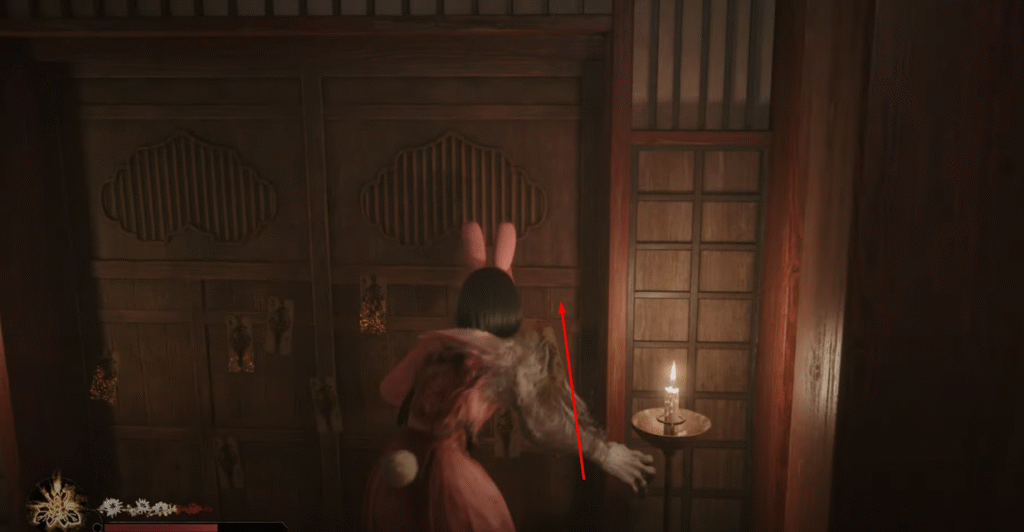
Document #16 – Housemaid’s Note (4)
Now, you will leave both rooms and turn into the room where the monster was. This is on the left if you are still in the red platform room. You will see that the wall on the left is hidden. Reveal it and go to the double set of doors on the right.
This will take you back to the main room. Go to the set of doors on the left, and the document is at the end on a wooden platform.


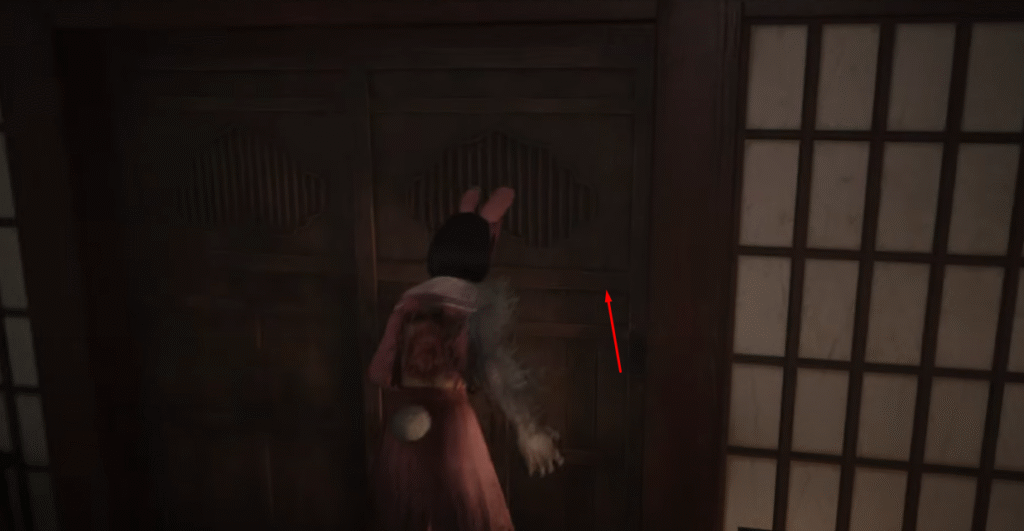
Document #17 – Strict Mother’s Letter (4)
You will now go to the door on your right. The document is lying on the floor of the mat as soon as you open the door.

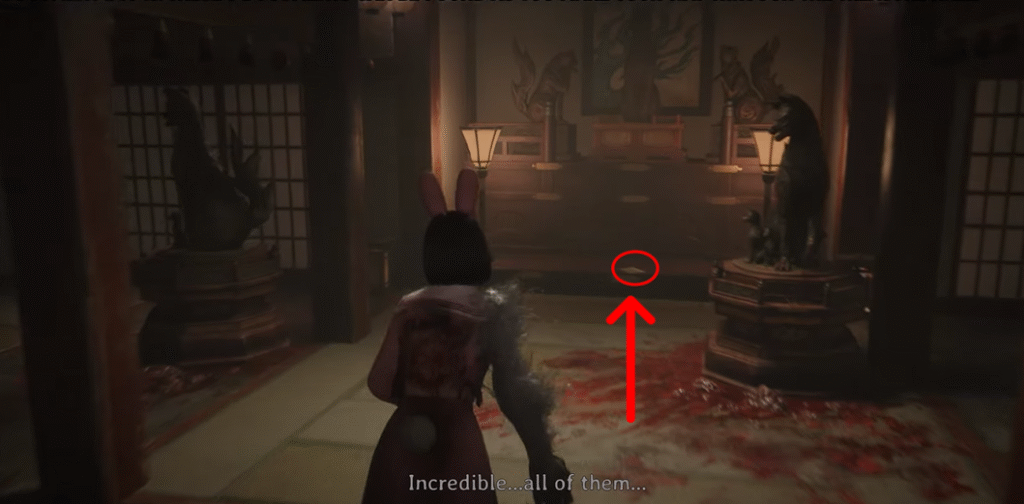
Document #18 – Strict Mother’s Letter (5)
Once you pick up the previous document, you will go through the doors straight ahead. You will see a large enemy where you need to go next.
Once you fight them, you will see another red altar with a black box. Open this, and it will give you a White Sparrow Crest. Go to the set of doors to the left of the box to return to the main room.
You will now walk into the room straight ahead. You should see various animal statues and blood on the floor. Go to the right, and on the far wall, there are thin tables where you will find this document.


This should unlock The Truth about the Tsuneki Family if you have gathered all of the documents: Family Physician Logs, Strick Mother’s Letters, and Housemaid’s Notes.
Second Playthrough
On your second playthrough, you can open Doors and Inari-sama Boxes with the Brooch. This allows you to find documents you didn’t have access to on the first playthrough.
Trying to get all the collectables in Silent Hill f? Check out our guide on Inari-Sama Door and Inari-Sama Box locations, as these pair well with the objectives you have on your second playthrough.
Ebisugaoka First Visit
Document #19 – Diary of Revenge (1)
This document is after the first Hokora Shrine. You will go down a set of stairs and turn right into a cubby corner. There is a box you can open on the ground that will give you the Diary of Revenge (1).


Ebisugaoka Second Visit
Document #20 – Diary of Revenge (2)
There is a Hokora Shrine on the east of your map, on a long road. Right past this shrine, you will turn left into a small garden to find a box you can open that holds the document.


Ebisugaoka Middle School
Document #21 – Diary of Revenge (3)
When you are outside of the Ebisugaoka Middle School, you want to go to the most western part. Go up the set of stairs that are on your right and then turn left, following the outside wall until you see a window you can jump through. There is a box slightly to your northeast. You will then collect the Diary of Revenge (3).


Worship Hall
Document #22 – Sakuko’s Diary (4)
In the most eastern side of the Worship Hall, this document is in the very first room where the Hokora Shrine is. It’s on a shelf in the corner of the room.


Document #23 – Sakuko’s Diary (5)
Sakuko’s Diary (5) is pretty straightforward. It is on a bench within the locker room.


Document #24 – Sakuko’s Diary (6)
Still on the east wing, you will go to the room with the third Hokora Shrine. And on a table in the corner, you will find this document.


Ebisugaoka Fourth Visit
Document #25 – Diary of Revenge (4)
You will go up a set of stairs until you see a gazebo. If you walk to the left of it, you will find the box surrounded by some stone décor.


Ebisugaoka Fifth Visit
Document #26 – Clinical Trial (2)
There will be a forced fight. After that fight, you will continue down the hill until you see a house with some stairs on your left. Go up the stairs all the way to the top, where you will find this document next to the fifth Jizo Statue.


Document #27 – Diary of Revenge (5)
Once you pass through the park, you will come upon that same house from your first playthrough. It is right before a Hokora Shrine. This will be sitting in the yard, left side.


Shimizu Residence
Document #28 – Diary of Revenge (6)
You will have to navigate through the house a bit before getting this document.
Starting in the first area, you will walk west through a hallway. Once you see a door, you will then go straight (or north) by two rooms. The box is sitting on a pile of other boxes and blends in quite well.


You will now get the Fate of the Apostate achievement if you have collected the rest of the Diary of Revenge documents.
Third Playthrough
Just like in the second playthrough, there is only some stuff you can get by playing the game multiple times. The next eight are no exception:
Worship Hall
Document #29 – Rinko’s Diary (1)
This document is on the northwest side of the Worship Hall. In Rinko’s room, on a shelf, below where a doll sits, you will find Rinko’s Diary (1).


Document #30 – Rinko’s Diary (2)
Staying in the west area, continue west until you find the Classroom. It is on one of the students’ desks that you will find this second entry to Rinko’s Diary.


Document #31 – Rinko’s Diary (3)
Staying in the classroom, go to the front of it where the desk lamp sits, flickering. Interact with the lamp, and this will turn the Classroom red. Along the wall on the left, you will find this document on some shelves.


Document #32 – Rinko’s Diary (4)
Still in the classroom, and after you interact with the lamp, this document will also be found on some shelves in the back of the room.


Document #33 – Rinko’s Diary (5)
Move south to the Chizuruya General Store. You will interact with a desk lamp in here to turn the room red. The document will be on display on the right wall.


You should now unlock the Fires of Jealousy trophy, as long as you collected all five of Rinko’s Diary entries.
Document #34 – Sakuko’s Diary (7)
Going to the locker room in the east area, you will find this document on a bench.


Document #35 – Sakuko’s Diary (8)
Staying on the east side of the Worship Hall, travel south until you find a shrine room. This should be near a Hokora Shrine. The document is in the corner of the room, on a small table.


You should now have unlocked A Miko Possessed, as long as you collected all eight of Sakuko’s Diary documents.
Ebisugaoka Fifth Visit
Document #36 – Clinical Trial (3)
After the Hokora Shrine, you will follow a path that leads to a house on your left. Go to the left and you will find this document on a long table, outside.


This will unlock the Good Intentions trophy if you have collected all three Clinical Trial documents.
These are all thirty-six documents you need to collect if you are trophy hunting. It is a daunting task, but only true survivors will see this one through.