 15 articles
If you want to get the “Omamori Collector” trophy in Silent Hill f, you’ll need to find and collect all 40 Omamori. These are a special type of equipment in this game. Put them on and Hinako will get various passive buffs. They range from basic things like extra Health to some more special ones, such as automatic Counters! Read on, we’ll tell you where to find all 40 of these amulets.
All 40 Omamori Locations Guide (Omamori Collector Trophy) | Silent Hill f
Whale
You can find this one when you go through a house during your first time in Ebisugaoka. Go upstairs and get the Bloody Key to open a room with the Back Door Key. Then go back downstairs and use the Back Door Key to reach the spot with the Omamori.
Effect: When using a restorative item, you will not be interrupted by normal attacks.
Cat
You can find this on your first visit to the Dark Shrine, during the Shrine Vault Ema puzzle. Interact with the unique cat ema on the westernmost part of the area to get it.
 Silent Hill f Scarecrow Field Puzzle Solution (All Difficulties)Sep 28, 2025
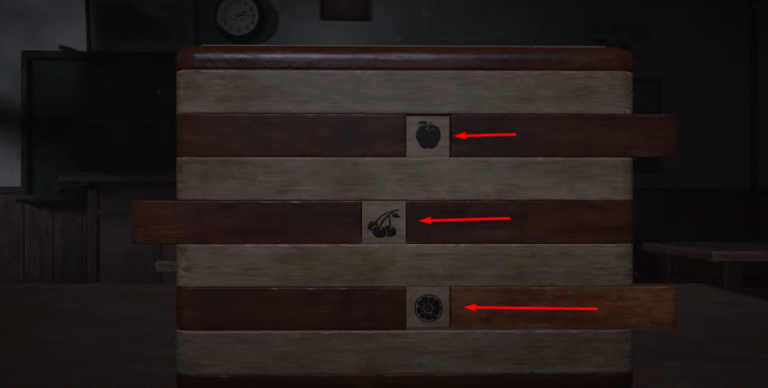
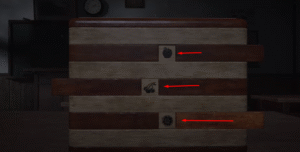 Silent Hill f – Secret Box Classroom Puzzle Solution (All Difficulties)Sep 28, 2025
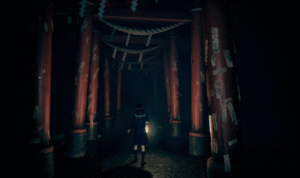 Silent Hill f: All Ema Locations (Character Upgrades)Sep 28, 2025
Effect: Greatly decreases the damage taken while dodging.
Pine
Inside the doctor’s house near the fields on your second visit to Ebisugaoka. You can enter the house by using the ladder in the back. You’ll need to get the Drawer Key from a chest downstairs, then use it to open the drawers upstairs.
Effect: Increases Max Health.
Spider
You can get this during your second visit to Ebisugaoka. Go north from the fields to reach Sennensugi Shrine. You can find the key to Sakuko’s Mailbox there, outside of the shrine. Once you have that key, backtrack to Sakuko’s house and open the mailbox to get the omamori.
Effect: Greatly decreases weapon durability consumption from performing Light Attacks.
Hawk
This one is available on your second visit to the Otherworld, when you have to go through the Corridors area. It’s at the top of a chest in a room with an enemy, east of the Sacred Door you need to open for the story.
Effect: Greatly decreased Focus charging time.
Blessed Hand Mirror
Close to the Hokora after you open the Sacred Door, right before the next encounter.
This isn’t the only location for this special Omamori, however. It also appears before other boss fights in Story Action difficulty. Furthermore, you can also find this later on in the Shimizu Residence, even on Hard Action difficulty.
However, no instance of this Omamori is required for the “Omamori Collector” trophy. So, don’t worry too much if you happen to miss this particular one.
Effect: When taking fatal damage from normal attacks, this mirror will break instead. Health, Sanity, and Stamina will be fully restored.
Wolf
Inside Tsuchiya Taiko’s locker at Ebisugaoka Middle School, in the northeastern room of the first floor. The code for this locker is 377. Speaking of, we also have a guide with all the other locker codes, if you need them!
Effect: Deals additional damage when using weapons with high durability. Effective only for weapons with durability.
Bull
In the eastern puzzle area of the Dark Shrine Worship Hall, on the third visit to the Otherworld. Continue through the story as normal until you get the key from the Light Puzzle. Then, backtrack to the locker room and you’ll be able to enter a room that was previously locked. The Omamori is inside that room.
Effect: Greatly decreases Stamina consumed by Heavy and Charged Attacks.
Horse
Found on your fourth visit to Ebisugaoka, on the way to Shu’s House. Go through the area with the pond and you’ll reach a wooden bridge. Cross that bridge and follow the path to the right to find a shrine with this Omamori.
Effect: Greatly decreases the amount of Stamina consumed when sprinting in fights.
Crow
You can get this after completing the first ritual in the Dark Shrine. After the ritual, go back to the first floor and open the metal door on the southwestern corner of the hall.
Effect: Slightly restores Health after defeating an enemy.
Suzuran
You can find this during your fifth visit to Ebisugaoka. Complete the forced fight after going northwest from Shu’s House, then enter the house to your left of the main path. An enemy will attack you, defeat it and check the place where it came from. There will be a crate with this Omamori there.
Effect: Perfect Dodges become easier to perform.
Cuckoo
You can get this after completing the Ominous Photo puzzle in the Shimizu Residence. At that point, use the doors with the calendars to go back to Shimizu Residence III. As shown in the clip above, a new section will open up on the eastern part of the residence. Follow that hall to a room with a bloodied desk. The Omamori is on that desk.
Effect: Greatly increases damage inflicted while in a near-death state.
Hound
You can find this while going for the first crest in the Treasure Hall in the Dark Shrine. Open the first door to your right after following the fox statues into a large hallway.
Effect: Slightly restores current Max Sanity after defeating enemies.
New Game+ Exclusive Omamori
Aside from all of the regular hidden Omamori in a regular playthrough, there are also 4 Omamori exclusive to New Game+. They are mostly found behind Inari-sama’s doors and inside Inari-sama’s boxes, which require the brooch to open. Here’s all of their locations!
Shrew Mole
The next box is in the Shrine Path on your first visit to the Otherworld. It’s by the twisted tree in the southeastern part of the area. It’s a new section that wasn’t accessible during the first playthrough.
Effect: Dodging does not consume Stamina while in a near-death state.
Rabbit
Inside the westernmost classroom. You can reach it once you’re outside of the middle school itself. Approach it from the south to enter it through a window. The box itself is on a school desk in front of you as you enter the classroom.
Effect: Press Heavy Attack immediately after performing a Perfect Dodge to deal a powerful Counter. This Counter greatly consumes Stamina.
Swallow
Found in a secluded spot in the southern part of the Worship Hall. You’ll need to shimmy through a gap to reach it. The door is to the south after shimmying. The Omamori is by the desk in that room.
Effect: Performing a Counter without using Focus increases damage inflicted. Stacks up to 5 times and resets when damage is taken.
Goat
You can get this on your fourth visit to Ebisugaoka. It’s on a bench inside the hut where you get the Gate Key. The hut itself will be open, unlike in the first playthrough.
Effect: Take less damage when facing multiple enemies. Scales with the number of enemies.
Hokora Omamori Draw
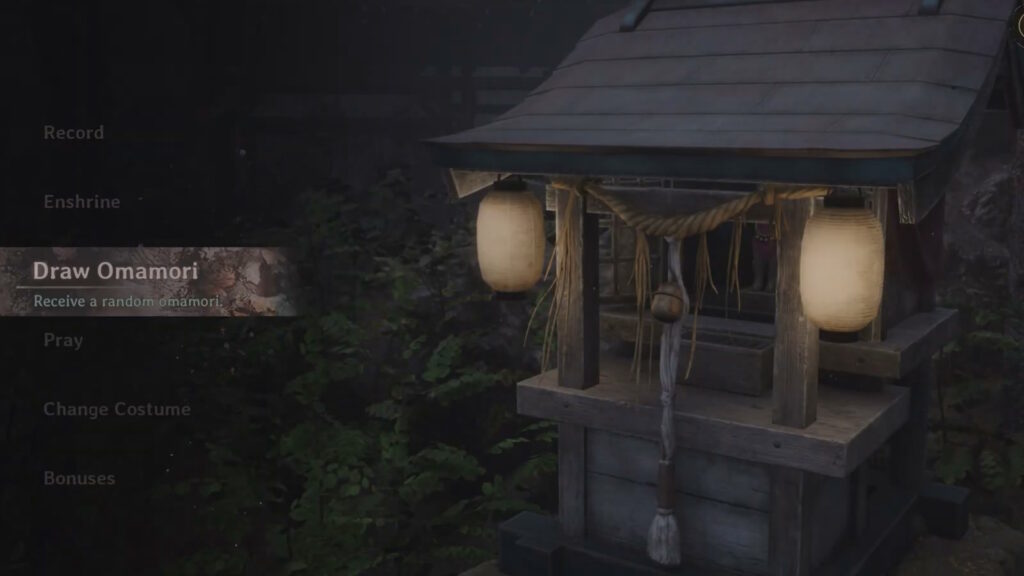
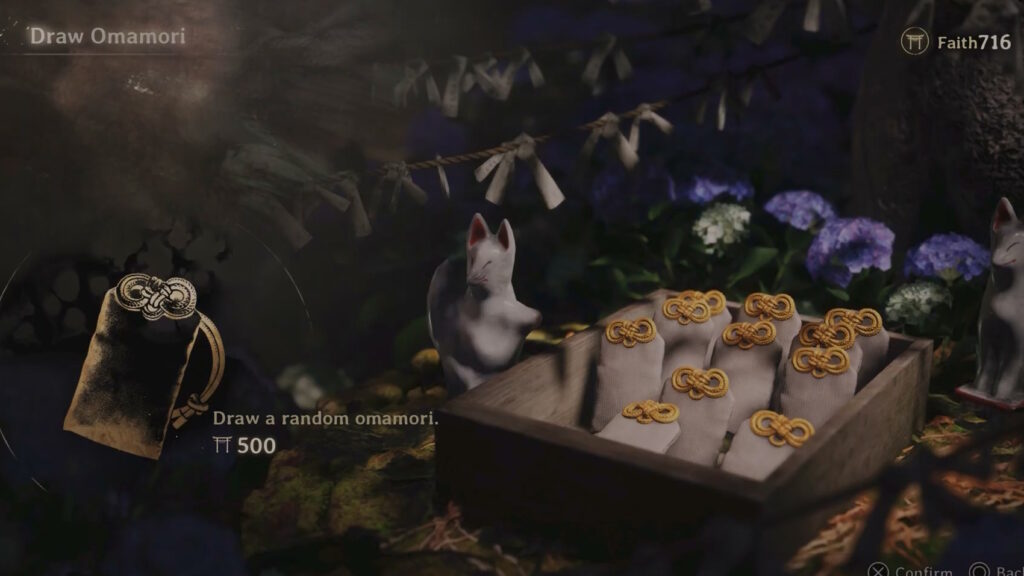
Last but not least, there are 23 Omamori that you can only get by spending your Faith to use the Draw Omamori feature at any Hokora.
The price for this feature starts at 300 Faith and increases by 100 for each subsequent draw until it reaches 1000 Faith. Thankfully, there are no duplicates, so you’ll “only” need a total of 20,200 Faith to get all of these Omamori. No doubt this will require multiple playthroughs, but you’ll need those as you knock out all of the game’s endings anyway…
That aside, there’s some randomization to which Omamori you get. It’s currently unknown how this fully works, but we do know the following “rules” of this system:
- The first two Omamori are always the Clam and Plum.
- Randomization doesn’t happen when you draw. That means, you can’t savescum your result by just reloading a save. You’ll need to reload and then make some progress in the game to change the result.
- Stronger Omamori seem to be reserved for later. As such, there’s likely some sort of internal tiering system for what Omamori you get and when.
With that said, let’s go over a full list of all of the 23 Hokora Omamori for further reference.
All Hokora Omamori and Their Effects
- Bamboo – Increases Max Sanity.
- Bear – Greatly increases stun power when weapon durability it low.
- Beetle – Greatly increases damage inflicted to stunned enemies.
- Boar – Greatly increases Stamina recovery speed and greatly shortens Out of Breath duration.
- Butterfly – Greatly decreases Stamina consumed by Dodging, but you are unable to continuously Dodge.
- Camel – Decreases current Max Sanity consumed by Charged Attacks.
- Clam – Decreases enemy line of sight.
- Crab – Weapon durability will not decrease when using Focus.
- Daisy – Sanity and Stamina are unlimited, but Hinako will die instantly from any physical damage.
- Dolphin – Slightly restores current Max Sanity after a Perfect Dodge.
- Elephant – Prevents Staggering from normal attacks, but greatly increases damage taken.
- Kudzu Leaf – Increases Max Health, Sanity and Stamina.
- Mantis – Slightly restores Health after each successful Counter.
- Otter – Restores spare weapons’ durability upon defeating an enemy.
- Owl – Greatly decreases Sanity consumption while using Focus.
- Plum – Increases Max Stamina.
- Sakura – Enhances the effects of Health-restoring items and Omamori.
- Serpent – Will automatically perform a Counter when the visual hint appears, but some Max Sanity when it is activated. When equipping, Sanity will also recover at a lower rate.
- Swordfish – After countering an attack, Stamina will not be consumed for a set time.
- Tanuki – Turns physical damage received into Sanity damage.
- Turtle – Greatly decreases damage taken at full Health.
- Weasel – Greatly increases damage dealt by normal attacks, but Hinako will no longer be able to stun enemies.
- Willow – Enhances the effects of items and Omamoris that restore Sanity.
That’s the locations for all 40 Omamori in Silent Hill f, grab them all for the “Omamori Collector” trophy! Plus, you’ll be able to make Hinako a lot better at combat, which she really does need…