108 articles
V Rising: Secrets of Gloomrot is out now, bringing loads of new content to the game. You can still set up your own dedicated server too, just like with older versions of the game.
Setting up your own dedicated server will allow you to provide a personalized experience for yourself and other players.
In this guide, we’ll tell you the basics of making and running your own V Rising dedicated server.
How to Make a Dedicated Server for V Rising: Secrets of Gloomrot on Windows
The first thing you will need to set up a dedicated server is SteamCMD. This program lets you set up the server without even having to use Steam itself, making it easier and less resource intensive.
 Best PVE Spells to Use in V Rising 1.1May 18, 2025
 Best Loot Spots in V Rising 1.1 OakveilMay 15, 2025
 V Rising 1.1: Best Boss Killing BuildMay 16, 2026
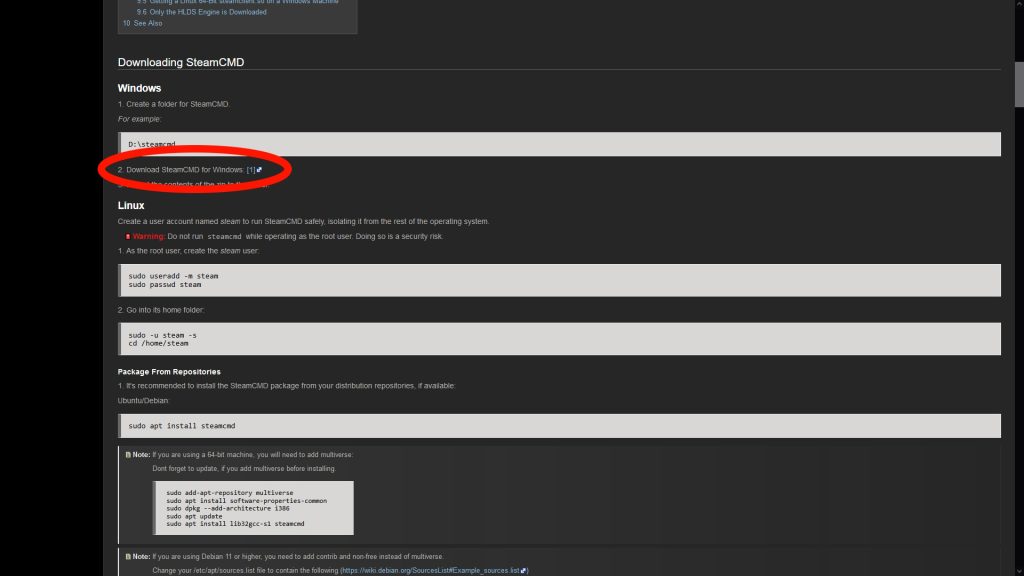
You can download SteamCMD from the official Valve Developer Community website here: https://developer.valvesoftware.com/wiki/SteamCMD
Once the Zip is downloaded, extract it to any folder and then open said folder. For example, we will be using C:\Steamcmd
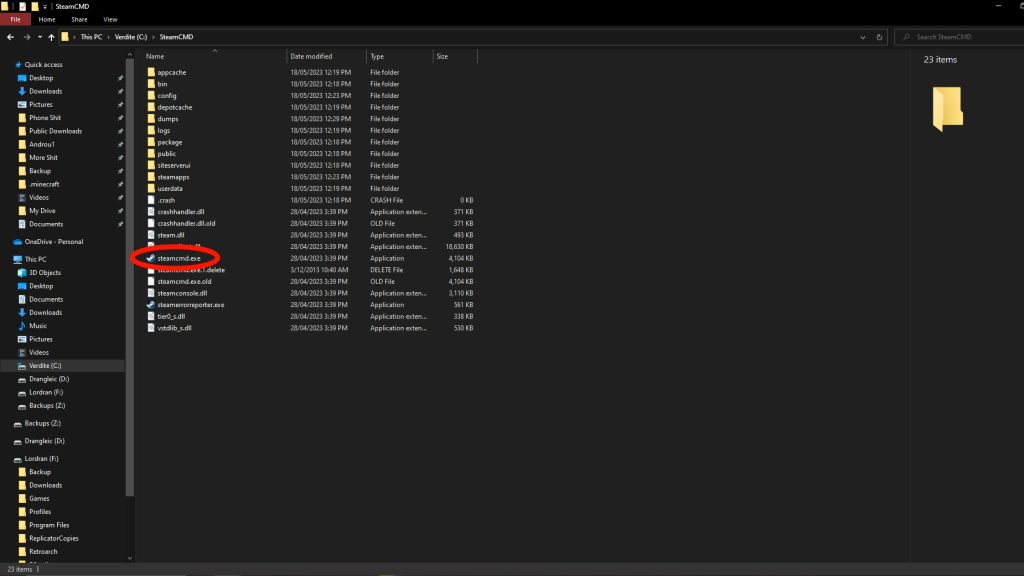
Look for the steamcmd.exe file in this folder and run it. The program will download the latest version available.
Once the update is done, you should see a command window that says “Steam>” at the bottom. Input “login anonymous” into the window to connect to Steam.
After it connects, input the following command: App_update 1829350
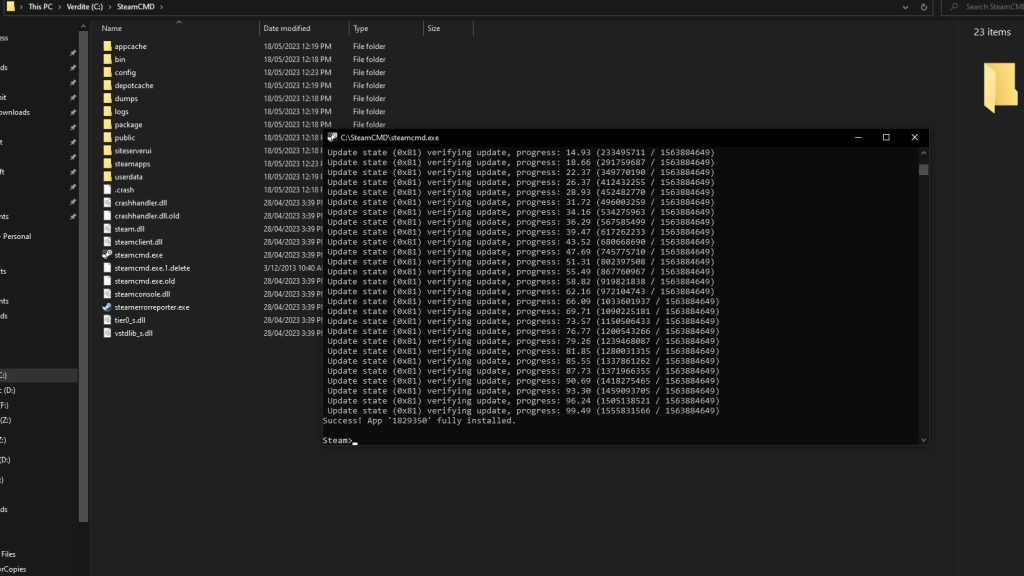
This will download the latest version of the V Rising dedicated server. You can input this same command to update the server, which you might need to do after every update for the game.
Wait for the download to finish and you will have everything you need to run the server, but you will still need to configure it! You can close SteamCMD now.
How to Configure Your V Rising Server
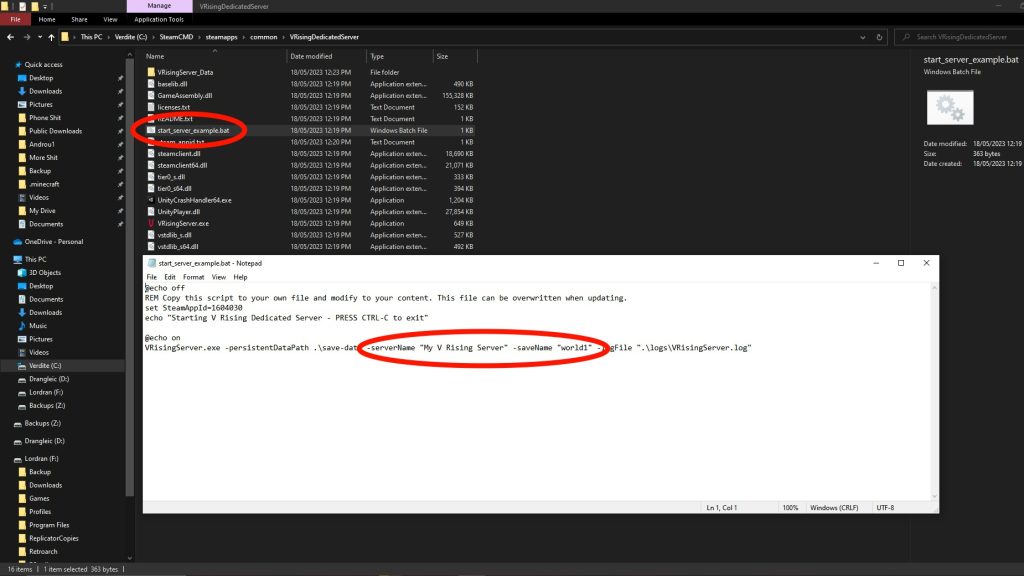
In the SteamCMD folder, navigate to the following folder: steamapps/common/VRisingDedicatedServer
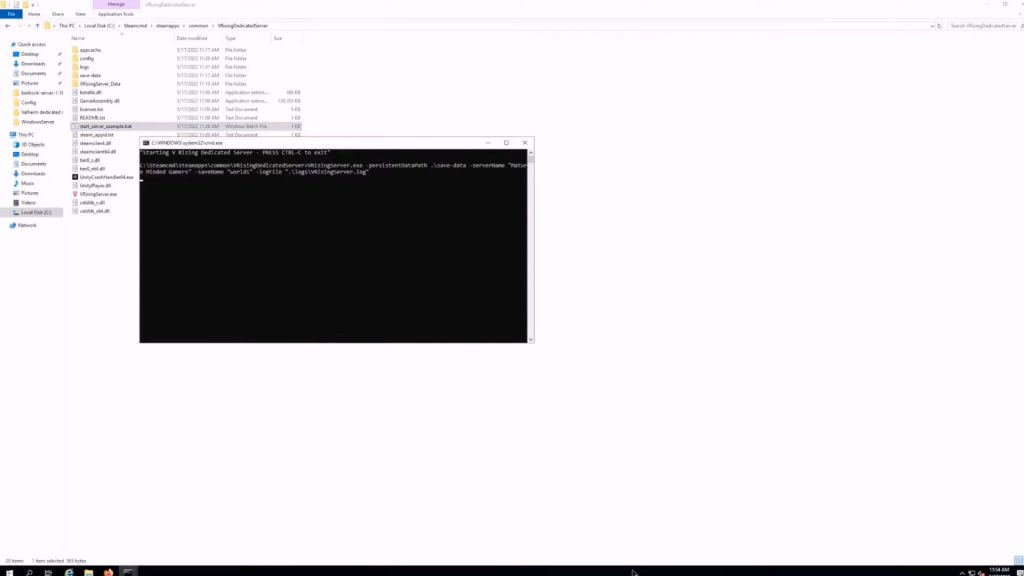
Right-click on the “start_server_example.bat” file and choose to edit it from the drop-down menu. This will open up a NotePad window, or whichever other program you have set as your default text editor.
You will want to customize your dedicated server’s name and save name here. They are on the bottom line as “serverName” and “saveName”, highlighted in the image above.
With that done, your server is now fully playable! However, you can further customize it if you wish.
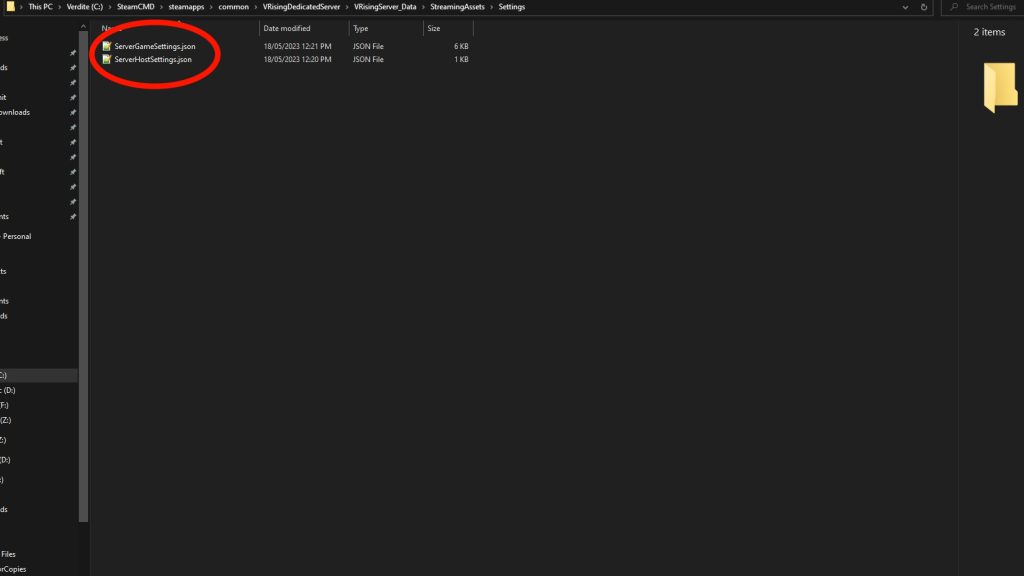
To do so, open the “VRisingServer_Data/StreamingAssets/Settings” folder. You will two important files in this folder:
- ServerGameSettings.json – this file contains a large host of game variables that you can modify, such as how long each day lasts and what game type the server hosts.
- ServerHostSettings.json – this file has a variety of settings specific to your dedicated server. Generally speaking, you shouldn’t need to modify this file, but it’s important to keep it in mind if you need to modify your server’s ports.
You can open these files in Notepad as well, but we recommend using something like Notepad++ for better ease of use.
Nonetheless, finish setting things up as you wish and then double-click on start_server_example.bat to start the server.
A command window will open, and your server will be running as long as the window is open. You can press CTRL+C to shut down the server and close the program if you wish.
That’s everything you need to know to set up your own V Rising dedicated server!
ALSO READ: V Rising Gloomrot: All Trader Shop Locations for Copper, Silver and Goldsun Coins