1 articles
During your adventure in Caves of Lore, you will occasionally come across ore veins on your way. In some cases, they might even block your path and prevent you from moving forward.
The only way to get around this is to mine the ore with a pickaxe. At the same time, it’s a good way to gather some ores which you can use to forge a variety of gear.
But to do so, you first need to obtain your own pickaxe. This guide will show you how you can get one.
How to Get a Pickaxe in Caves of Lore
The pickaxe is actually quite easy to find. You don’t need to buy or craft it; instead, you can just pick it up from a certain location.
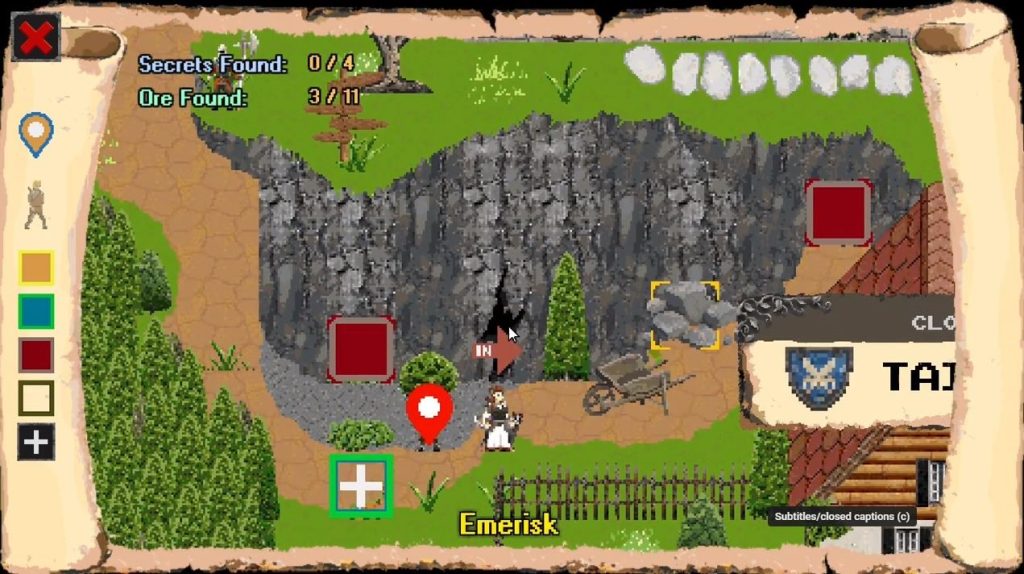
All you have to do is enter a small cave entrance just west of the Tailor shop in the city of Emerisk. Once you get inside, keep heading northwest until you come across a pile of rubble.
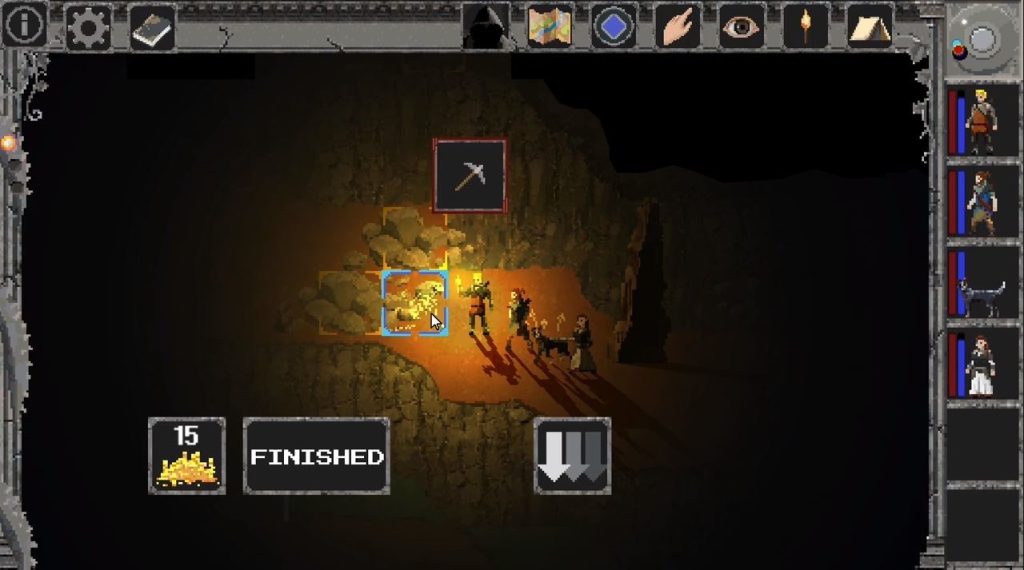
Interact with the rubble by clicking on it and an icon of the pickaxe should then appear.
After that, simply click the button with arrows pointing downward to put the pickaxe into your inventory. At this point, you can start mining ores anytime you want.
You can then upgrade the pickaxe to make it even more stronger and durable. To do so, simply head to the Smith shop in the city. Head inside and talk to the smith and click on the Services tab.
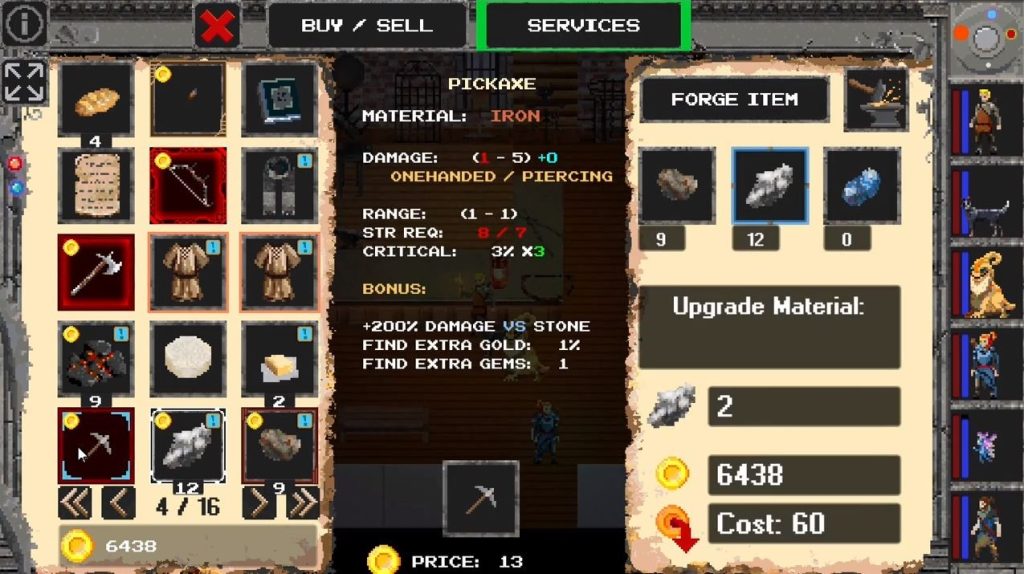
After that, click on Forge Item and choose the pickaxe from your inventory.
As you can see, you will need some materials in order to upgrade your pickaxe. Once you have enough materials, simply pay for the upgrade fee and you’re done.
Just keep in mind that the more you upgrade your pickaxe, the harder type of mineral it can mine.
For the first upgrade, you can start mining iron nodes that you come across. This will then upgrade to silver, and so on.
ALSO READ: Minecraft Legends: How to Collect Towers