164 articles
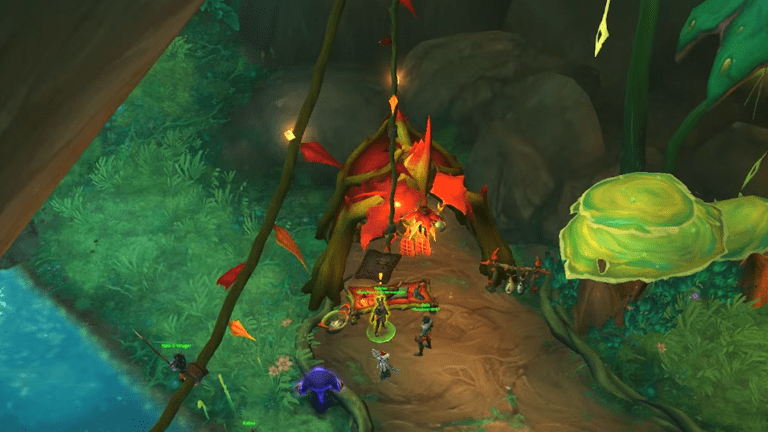
With Blizzard’s modern recreation of the classical WoW experience come some of the infamous raid from the old days, such as the Zul’Aman. With six powerful bosses, a timed chest to get and the entrance door some players have trouble opening, there is a lot to unravel about this raid.
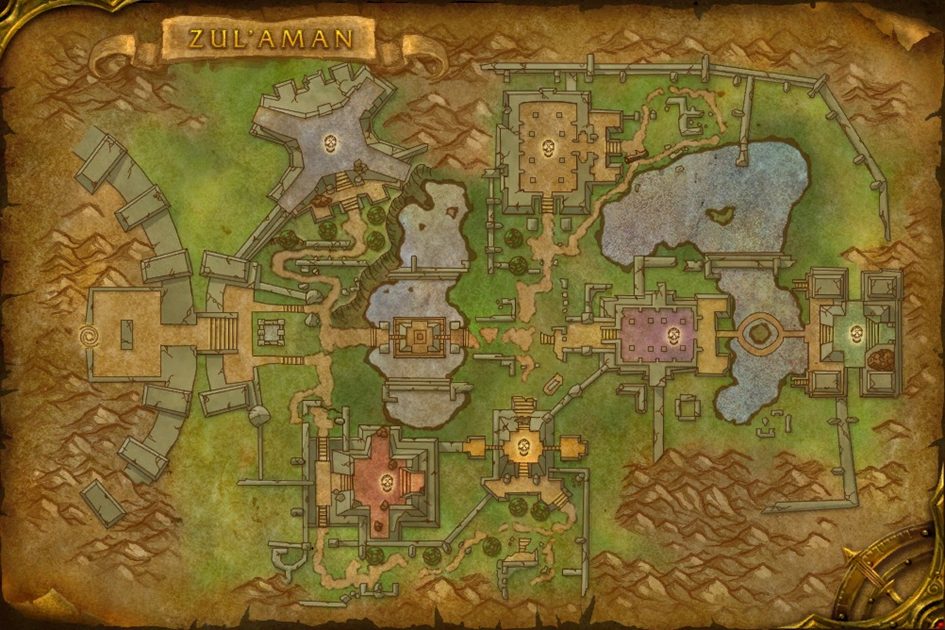
The Zul’Aman Raid in World of Warcraft
In order to start this raid, you’ll first have to open the door leading to it. To do this, look for an NPC called Harrison Jones, tell him you intend to explore the location and have 5 players hit the gong near the Zul’Aman entrance. Than, all of the players need to stop moving for a few seconds. This will open the door and officially begin the raid.
The Timed Chest
Immediately after starting the raid, a timer will pop up on the top of your screen. This is the amount time you have to defeat the first 4 bosses and rescue 4 NPC that are about to be sacrificed. Doing this will give you access to a special chest containing some random loot and the Amani War Bear Mount.
Each of the 4 bosses can be taken down in any order you want. The timer starts at 20 minutes, but two of the bosses – Nalorakk and Akil’zon – will give you additional 10 and 15 minutes upon defeat.
 WoW Midnight World Tour Quest GuideMar 27, 2026
 Complete an Abundance Event in Zul’Aman – WoW MidnightMay 25, 2026
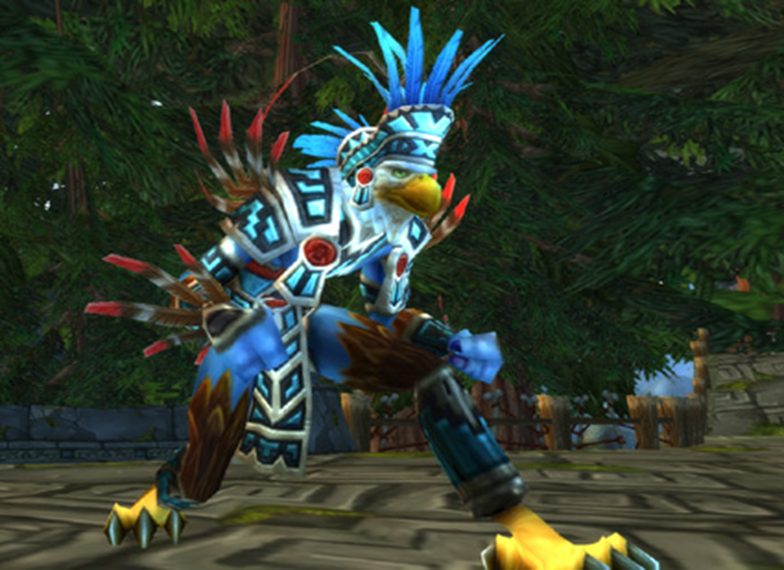
Nalorakk
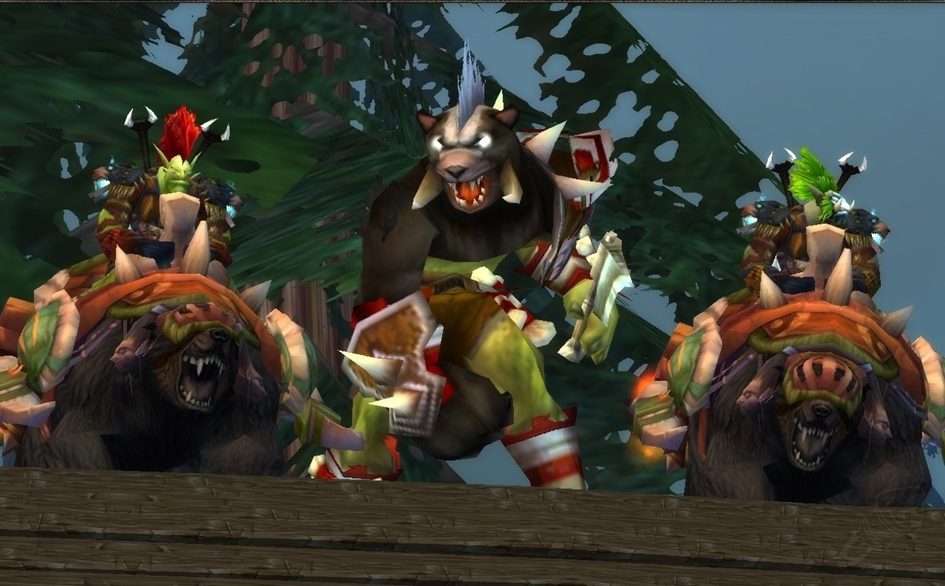
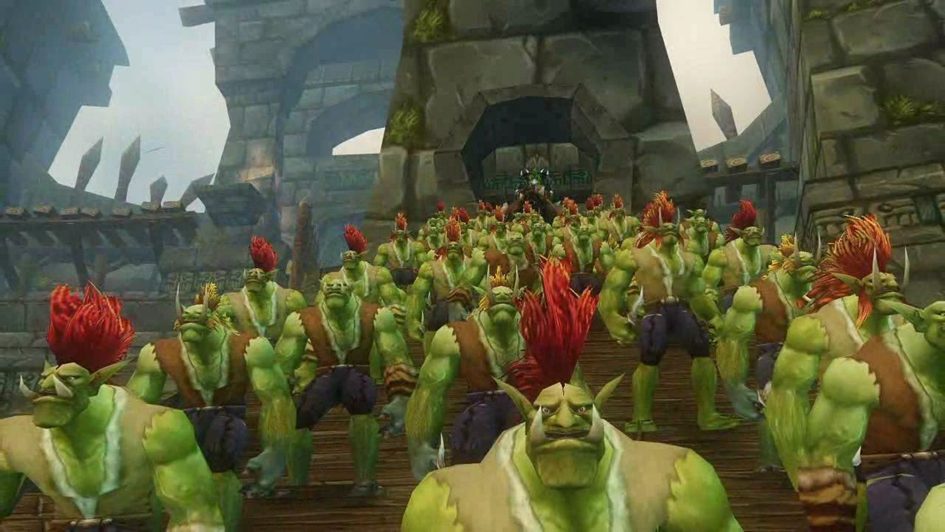
Possibly the easiest boss of the raid, Nalorakk is the one you’d want to start with. At first, he will keep fleeing from you and sending his mobs your way. Most of these shouldn’t be a problem, but the Amani War Bears can be a bit tricky, as they can use a skill that reduces armor by 10000 for 6 seconds. Keep this in mind, so that the healers are ready to spam at this part.
Nalorakk himself has two forms he alternates between – an ogre form and a bear form. The trick is to have a tank the boss will focus on during each form. His gimmick is a debuff called Mangle he casts in his ogre form, which will increase the effectiveness of the attacks he does in his bear form, so after one tank get hit with it, the other one should take over for a while.
Akil’zon
To defeat Akil’zon, you’ll have to keep changing your position in accordance with his attacks. First, the team should spread out 12 yards from each other in order to avoid the effects of a skill called Static Disruption, which will target one player and deal nature damage to their nearby allies.
Akil’zon will start using his second deadliest skill after loosing about half of his HP. This one is called the Electrical Storm, and it lifts one player in the air, damaging every other player who’s not directly underneath the source of the storm.
For this reason, you want the whole party to gather in one place, near the boss, about 3 or 4 seconds before he’ll cast this spell. Also, be careful when Akil’zon uses the Gust of Wind spell on you – make sure to use healing items mid-air if you’re not at full health.
Jan’Alai

Jan’Alai’s main gimmick are his eggs on the two pillars connected to the arena. There will be two Amani hatchers running around and, well, hatching the eggs, which will spawn dragonhawks, mobs that will assist the boss.
Though it might be tempting to kill the hatchers, you should actually leave them be for most of the fight, since the boss will make all of the eggs explode after his HP drops below 35%, forcing you to fight all of the Dragonhawks at once. It’s better to deal with them one by one.
Other than that, your team should spread around to avoid the boss’s bombs and make his fire breath skill hit only one player at the time.
Halazzi
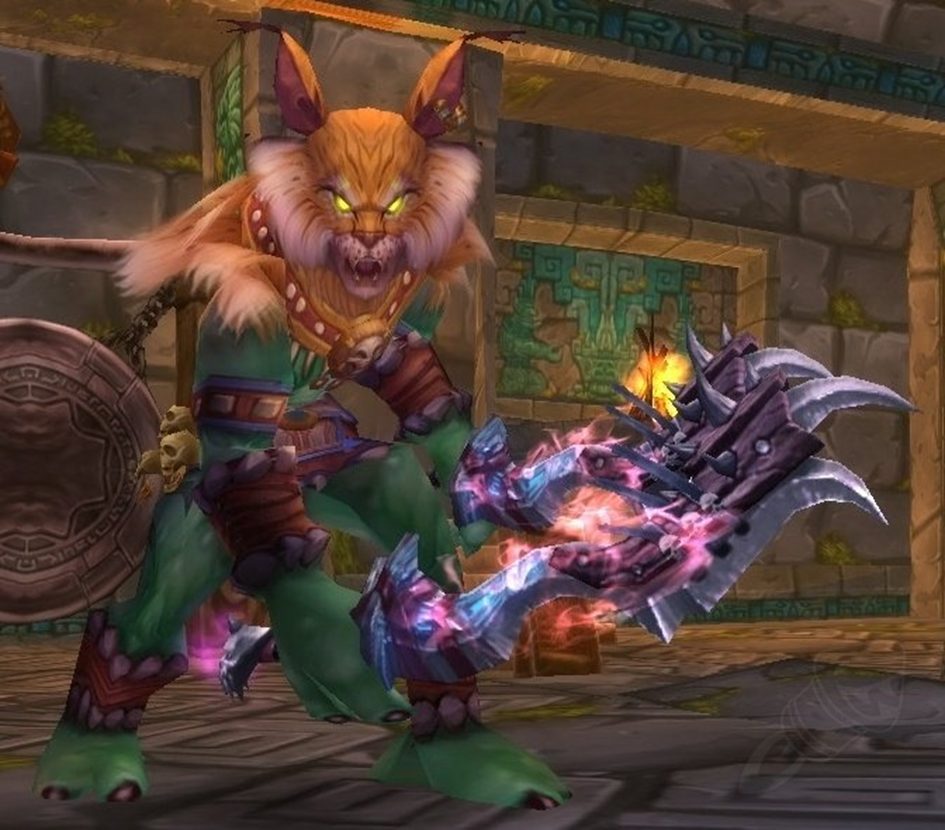
There’s little strategy when it comes to fighting Halazzi – he mostly serves as a gear check for your healers and tanks. He hits pretty hard and has a ton of HP – in fact, when you drop his HP to 75%, 50% and 25% for the first time, he will fully regenerate and summon a Spirit Lynx. Just focus on dealing as much damage as possible and debuffing. If you can afford to, ignore the Lynxes.
Hex Lord Malacrass

This boss requires very good interrupts. He has an ability that will give him some of the skills of your party members – which includes healing. On top of that, he always starts with four powerful mobs. Your goal should be to lock the mobs in one place and use AoE damage skills to dispatch of them quickly. Other than that, you just need to unload everything you have on this boss.
Zul’jin
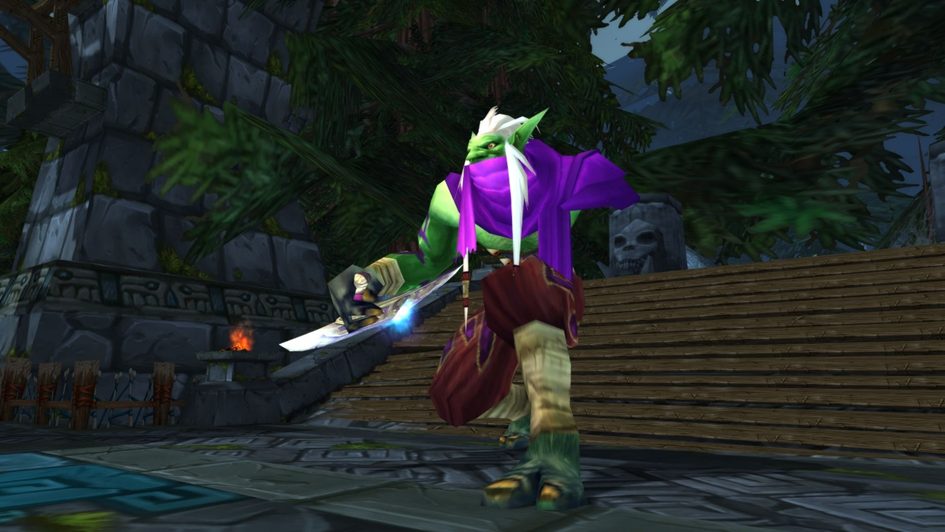
Zul’jin has 5 phases and you’ll have to adjust to each of those to survive the fight. The first phase isn’t anything special, though he has a powerful whirlwind attack, which can be easily avoided by running away from him when he starts spinning.
Zul’jin’s bear form has a skill called Creeping Paralysis, and it’s effects should be dispelled immediately by your healers. His third form is particularly annoying, as he will use a skill that’ll reflect some damage you deal back to you, and a tornado attack which will knock back some players, making it hard to deal damage. Unless you’re in critical condition, try to ignore both of these and just focus on dealing damage.
The Boss’s Lynx form can deal a lot of damage to one player, thanks to his Claw Rage skill. Make sure the healers will focus on the player targeted by this skill, as it deals more and more damage to one player over time.
When fighting Zul’jin’s final form, try to spread out to avoid his fire breath skill. Make sure to keep moving to avoid a few of his other nasty tricks and focus on dealing damage fast. This is the boss’s last from, so if you’re able to survive this last stretch, you’ve officially complete the Zul’Aman Raid!
ALSO READ: Midnight Ghost Hunt: Team Hunter Weapons, Gadgets, Perks Guide