 29 articles
If you’re looking to get into PvP in Season 10 of New World: Aeternum, you’ll need to make a proper build for it.
While your regular PvE build could be decent enough, PvP is definitely a whole different ballpark. As such, you’ll want to tailor your build more to that specific format, such as by picking Perks that lower the damage from meta weapons!
In this guide, we’ll give you a strong build that you can use to dive into the game’s PvP.
PvP Build Guide | New World: Aeternum – Season 10
Weapon Combination – Rapier + Fire Staff
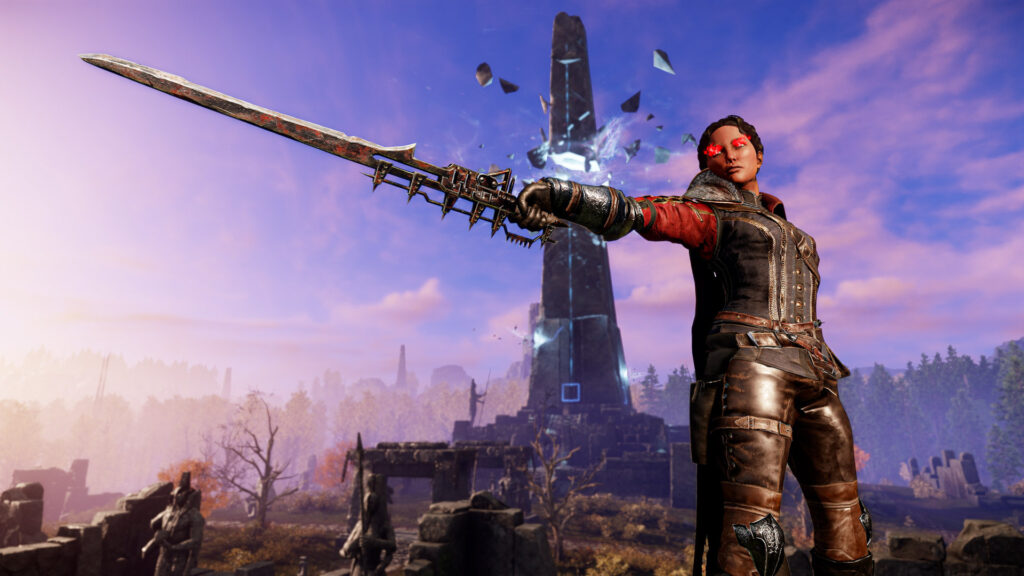
First things first, the weapons! For this build, we’ll be using a combination of the Rapier and Fire Staff. This is a classic combo for PvP, thanks to its high damage potential in close and long ranges, as well as excellent mobility.
 Level 70 Gear Guide – What EVERY New World Player Should Do Next in Season 10Oct 25, 2025
 Best Solo Class for New World Season 10Oct 23, 2025
With that combination in mind, your Attributes should look something like this:
- STR – 5
- DEX – 100
- INT – 323
- FOC – 5
- CON – 102
The main reason for your CON to be at 102 here is that you can buff it to 150 by using Food items. The Artisan’s Roasted Rabbit with Seasoned Vegetables will get you to 150 for 1 hour at a minimum.
If that food item is asking too much for you, you can instead go for INT at 305 and CON at 120. You can then use the Stuffed Calamari to get +30 CON and reach the 150 breakpoint.
Either way, though, we highly recommend preparing to reach 150 CON. It’ll help with your survival in PvP, as it reduces the Critical Damage you take pretty decently.
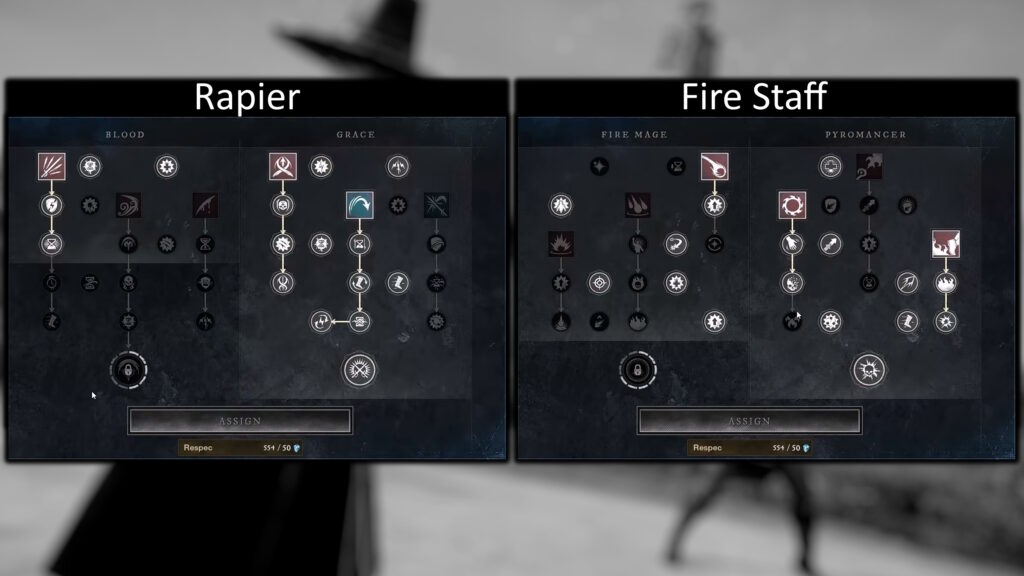
Attributes aside, your Skill Trees with both weapons should look like the image above. This Skill setup focuses on versatility, which you’ll need to deal with every possible thing that other players will throw at you during PvP.
Gear Recommendation
Weapons and Heartrune
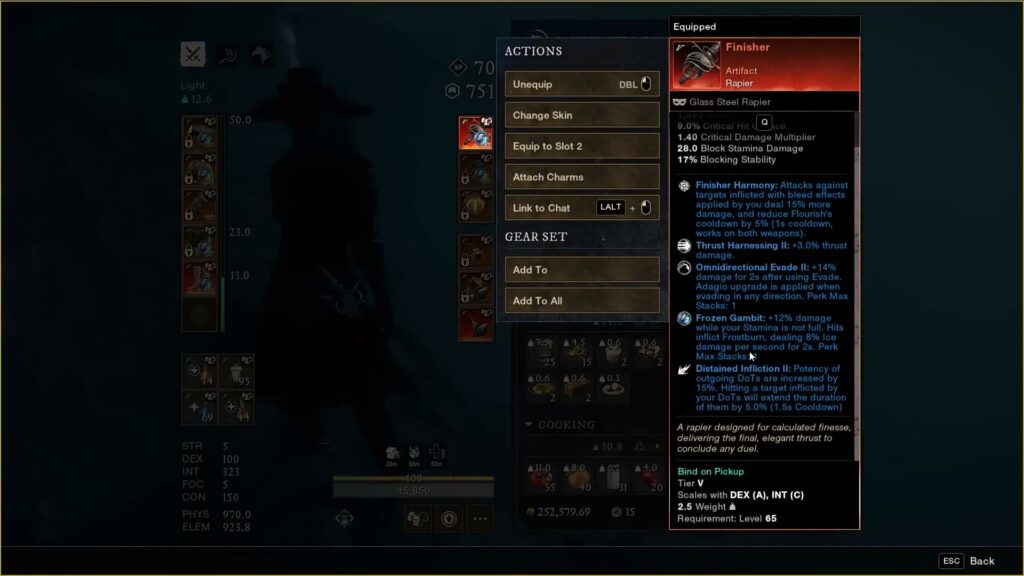
When it comes to your weapons, your main goal should be the Finisher as your Rapier. You can get this Artifact tier item as a drop from Montrapala the Unruled in the Isle of Zurvan.
This Artifact’s unique Infix Perk makes it so that you deal 15% more damage to enemies that have the Bleed status effect on them. At the same time, hitting a bleeding enemy will also reduce your Flourish cooldown.
This Perk will mainly come into play thanks to the Keenly Jagged II Perk, which you’ll need to have on your equipment. It doesn’t matter what item the Perk is on, however! It applies to both your Rapier and Fire Staff, even if it isn’t on them. That said, we’ll talk about must-have Perks more later on.
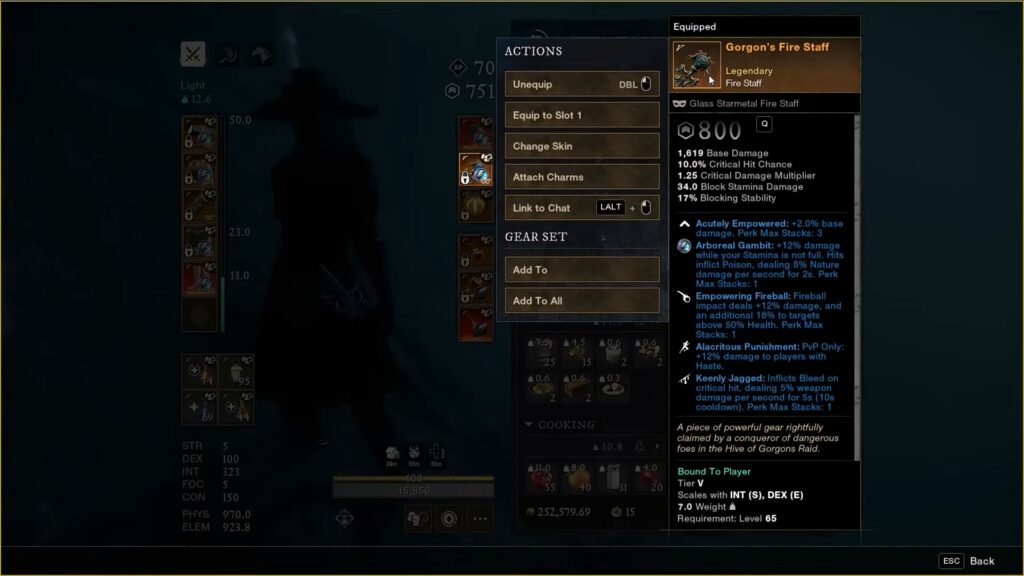
Now, for your Fire Staff, you can really just use any Legendary-tier Fire Staff. Unlike other builds, we will not be using the Inferno Artifact here.
The main reason for this is that the Inferno scales off of STR and INT, instead of DEX and INT. That makes it pair poorly with this build, since you do want to get good damage from the Fire Staff!
That said, you could still try using it if you wish. If you want to go all in on mainly using the Rapier, you can try having the Inferno equipped. However, we recommend just any other Legendary Fire Staff over it.
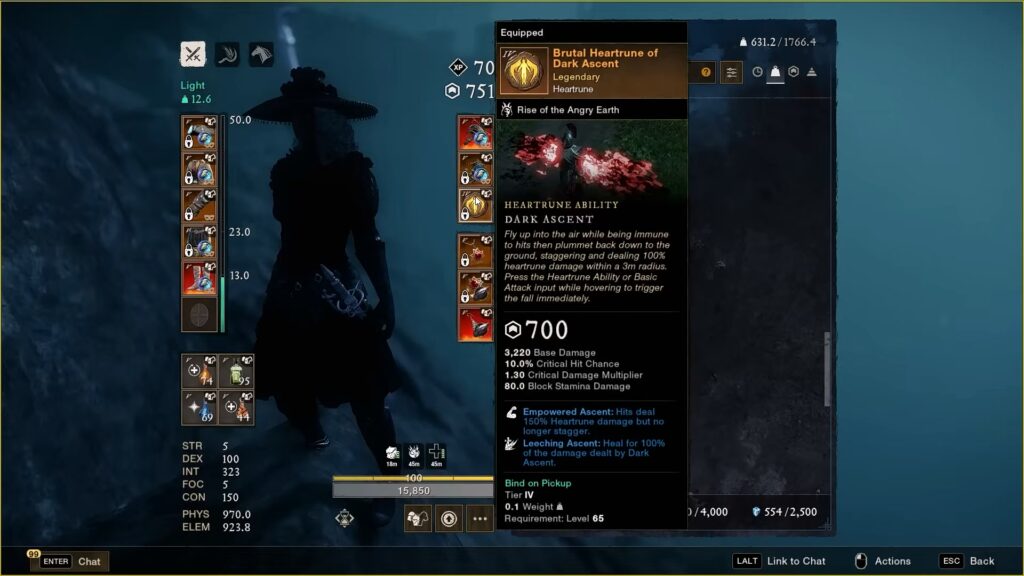
Lastly, to fit this build, you’ll want to use the highest tier of the Heartrune of Dark Ascent you have access to. It gives you a very powerful invulnerable attack that can also heal you, making it extremely useful in a pinch!
Other Artifacts
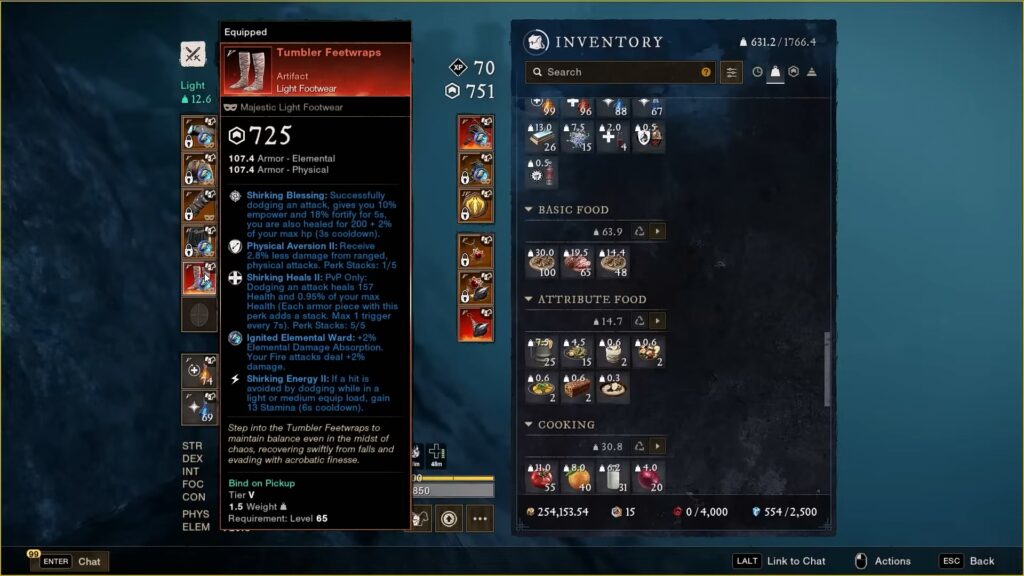
Aside from the weapons, there are also some other Artifacts you’ll want. The first of these is the Tumbler Feetwraps footwear. You can get these randomly from Output Rush and Capture the Flag caches at Level 61 or higher.
Their unique Shirking Blessing perk will give you quite a substantial buff whenever you successfully dodge an attack. You’ll get +10% Empower and +18% Fortify for 5 seconds, alongside healing yourself for 200 + 2% of your maximum HP!
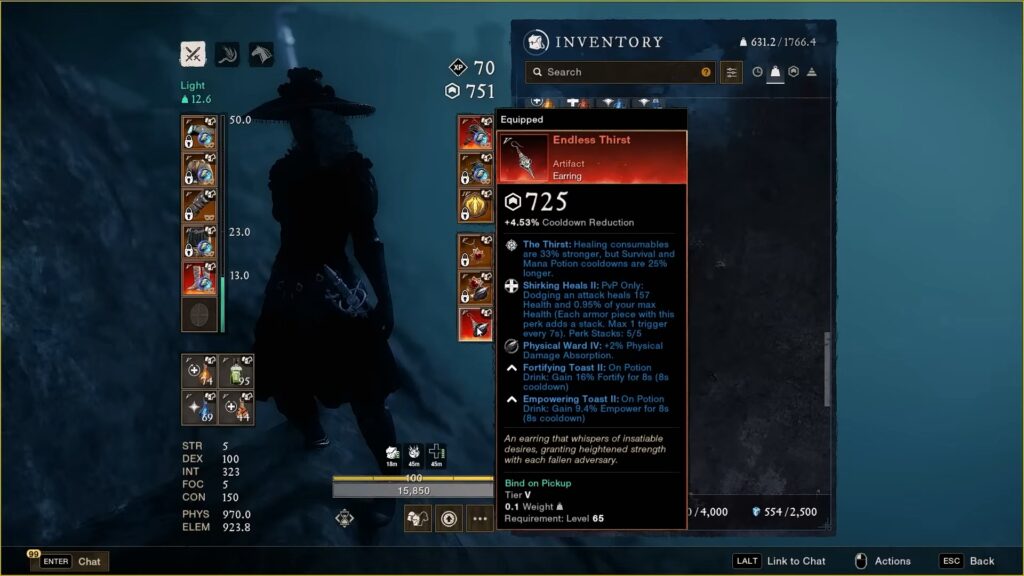
The second Artifact you want is the Endless Thirst. This is a pair of earrings that can drop from Mahantaram in the Savage Divide Mutated Expedition.
There are a few reasons to get this Artifact, but the main one is that you will get +19% Fortify and 11% Empower for 8 seconds whenever you drink any Potion.
At the same time, its unique The Thirst perk will make healing consumables 33% stronger. However, it does increase the cooldowns for Survival and Mana Potions by 25%.
Either way, the main reason to get these two Artifacts is simple: they’ll help you reach the Empower cap. This is important, as it’s a buff to all of your damage! Both on the Rapier and Fire Staff.
For the rest of your gear, Artifacts aren’t really necessary. You can use them, if you wish. But what really matters is staying at Light weight and the Perks you have. So, let’s talk about the Perks you want to get!
Perks and Gems to Get
Last but definitely not least, we have to go over the Perks and Gems you need to get on your gear. They are as follows, in order from highest priority to lowest priority:
- Keenly Jagged II – 1 Stack.
- Keenly Empowered II – 1 Stack.
- Acutely Empowered – 3 Stacks.
- Keenly Fortified II – 1 Stack.
- Hasted Vigor – 1 Stack.
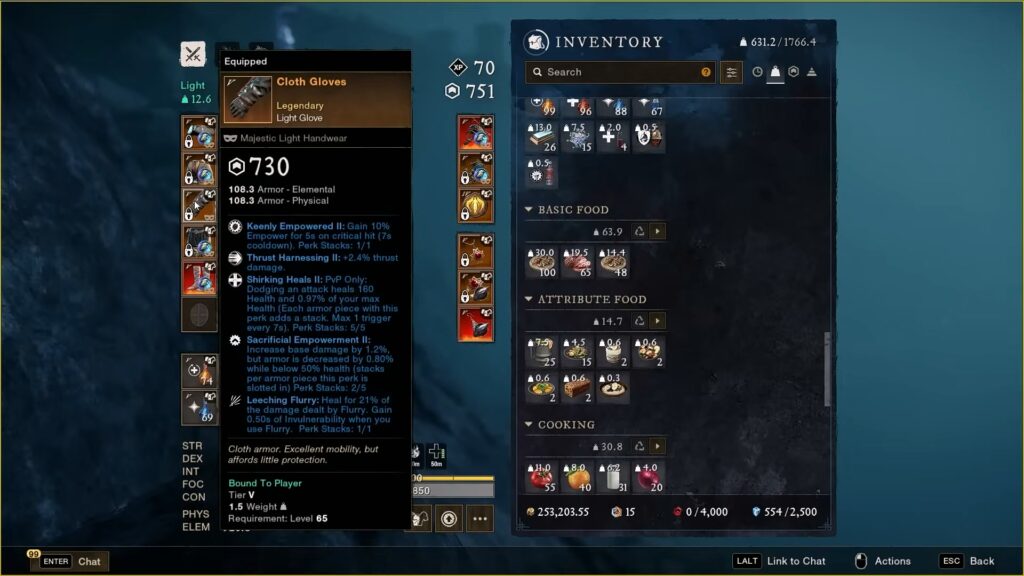
- Shirking Heals II – 5 Stacks.
- Omnidirectional Evade II – 1 Stack.
- Empowering Fireball II – 1 Stack, ideally on Fire Staff.
- Thrust Harnessing II – As many as possible.
- Shirking Energy II – As many as you want.
- Shirking Fortification II – As many as you want.
- Frozen Gambit – 1 Stack.
- Leeching Flurry II – 1 Stack, but can’t be put on the Finisher, so it won’t be at max power.
- Physical Ward IV – As many as possible.
- Thrust Conditioning II – As many as possible.
- Ignited Elemental Ward – As many as you want.
With that list of perks, you now know everything you need to make a great PvP build for Season 10 of New World: Aeternum. If you want, though, we also have a PvE-focused build guide!