 7 articles
If you’re eager to start Road to Vostok, our beginner’s guide should really help you out!
The game can be a bit obtuse at first, due to how uniquely some things work. Plus, it is a fairly tough game where you can die in a split second if you manage to mess up. But, when you know what to look out for, things become a tad more manageable.
In this guide, I’ll give you key tips and tricks to help you stay alive on your journey to Vostok!
Getting Your Bearings | Important Inventory Basics
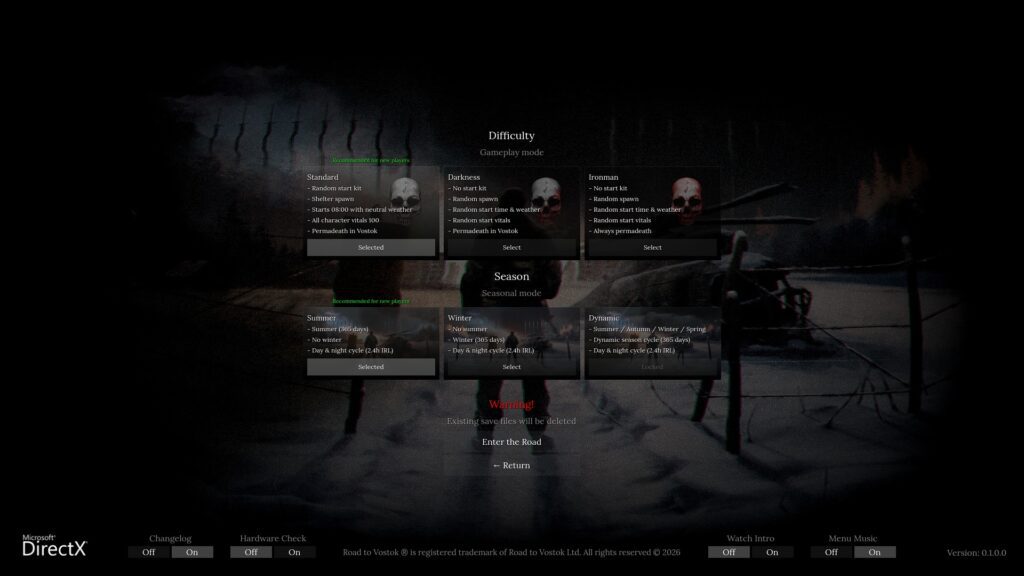
When you first start the game, I highly recommend playing on the default difficulty settings. That is the Standard difficulty and Summer weather. They are the fairest starting combination for new players.
 How to Find the Weapon Specialist in Road to VostokApr 12, 2026
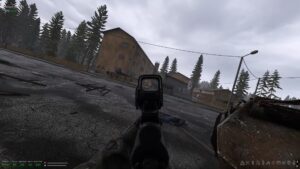 Road to Vostok School Map GuideApr 10, 2026
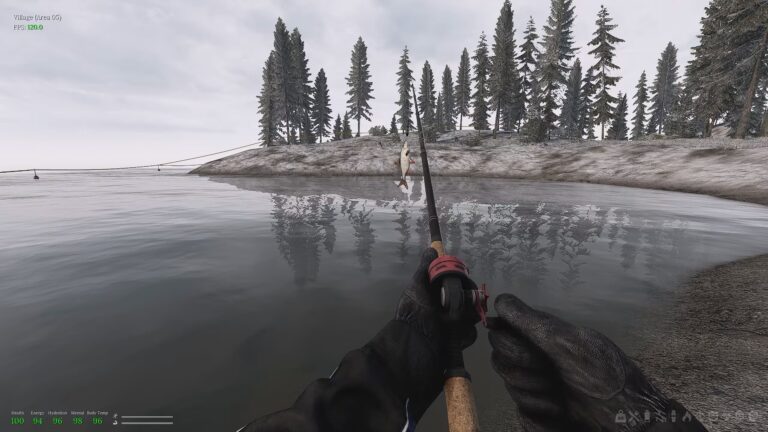
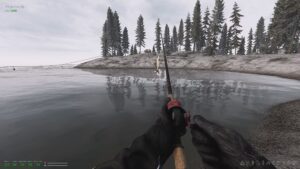 Road to Vostok Fishing GuideApr 9, 2026
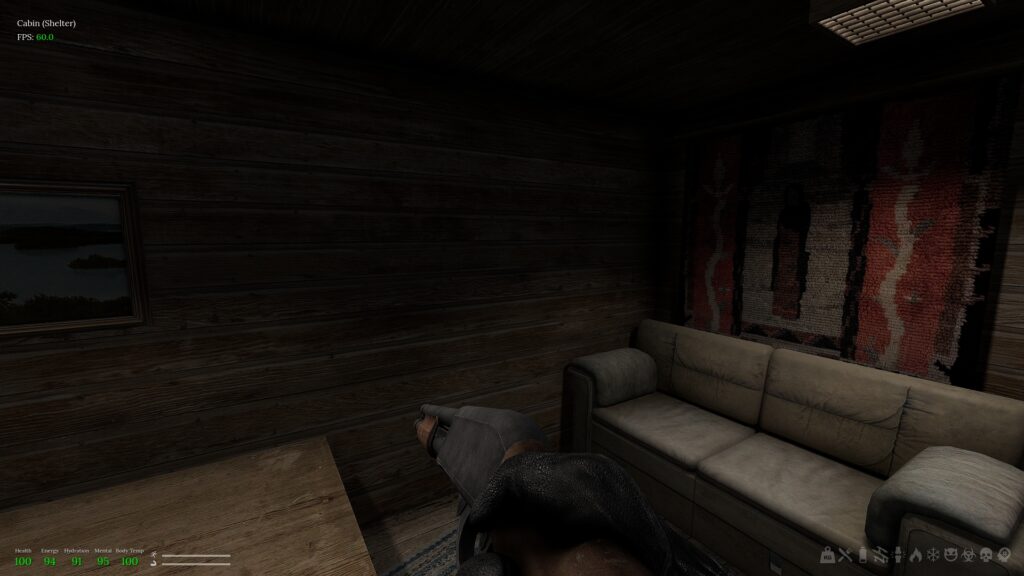
As soon as you load into the game, you’ll be at the Cabin. This is your first shelter, and it’s also where you will respawn if you die. It’s your base of operations, pretty much.
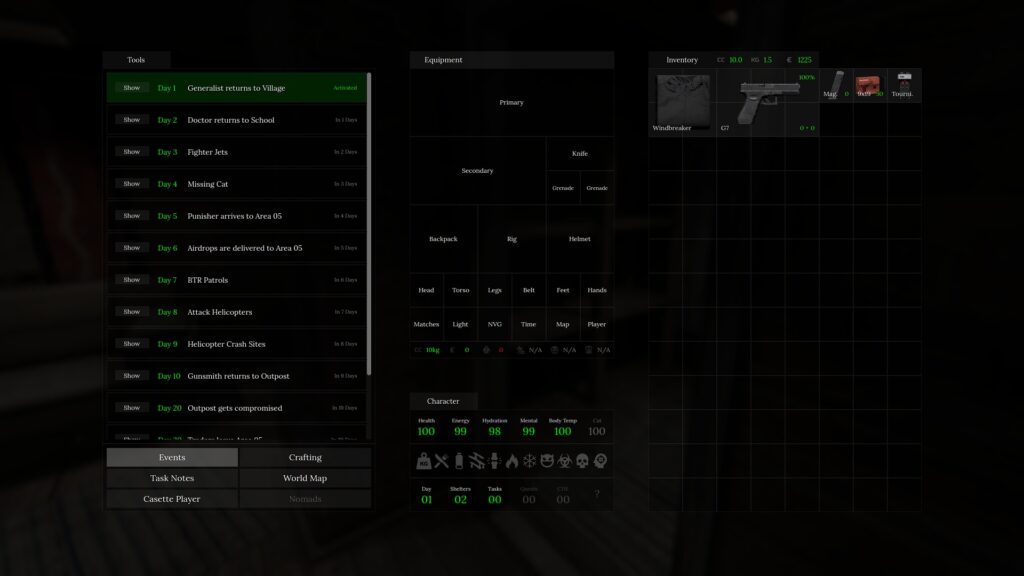
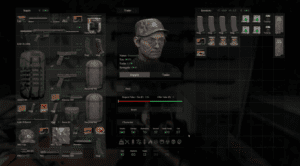
Assuming you followed my advice and started on Standard difficulty, you’ll have some starting supplies. Check them out by opening your inventory with the TAB key.
Now, it’s very important that you understand how weapon reloads work in this game right off the bat. You need to manually fill and equip your magazines!
So, to set up your gun, drag ammo into a valid magazine, then drag that filled magazine into a valid gun. You can then either drag the gun into your Primary or Secondary slot or just right-click and select Equip. It should look like the clip below.
To refill magazines, you can right-click on a gun and just select Remove (Mag.). Then repeat the same process as before to refill and re-equip it.
If you have multiple magazines for a gun, you can press R outside of your inventory to swap between them. However, you’ll still need to refill them in your inventory, as I’ve explained.
However, do note that some weapons, like the RM-870, are a bit different. In those cases, press CTRL and then left-click to load it.
To be honest, this ammo system is one of the first things that caught me off guard in this game, and I know I’m not alone on that! So, I figured it deserved some explaining ASAP.
Aside from the weapons, you should also have some other basic goodies. Things like food and drink, sometimes even clothes. Your starting gear is randomized each time, so check it out before heading out.
Other Important Shelter Basics
Another important thing to point out about your shelter is just how the respawn mechanics work.
As I mentioned before, you’ll respawn back at your shelter (the Cabin in this case) on death. When this happens, you’ll lose everything you were carrying on your person at the time.
Similarly, enemies and loot in the world also respawn whenever you return to your shelter. Of course, enemies and loot are also randomized each time, but it’s important to keep in mind.
Based on that, the early gameplay loop is relatively straightforward. You head out to scavenge as much as you can, then return to your shelter to store supplies you’ve accrued. Rinse and repeat.
By making some frequent trips early on, you can stock up your shelter so you have something to fall back on if you ever die out there! It’s good to be prepared.
Understand Your Basic Needs
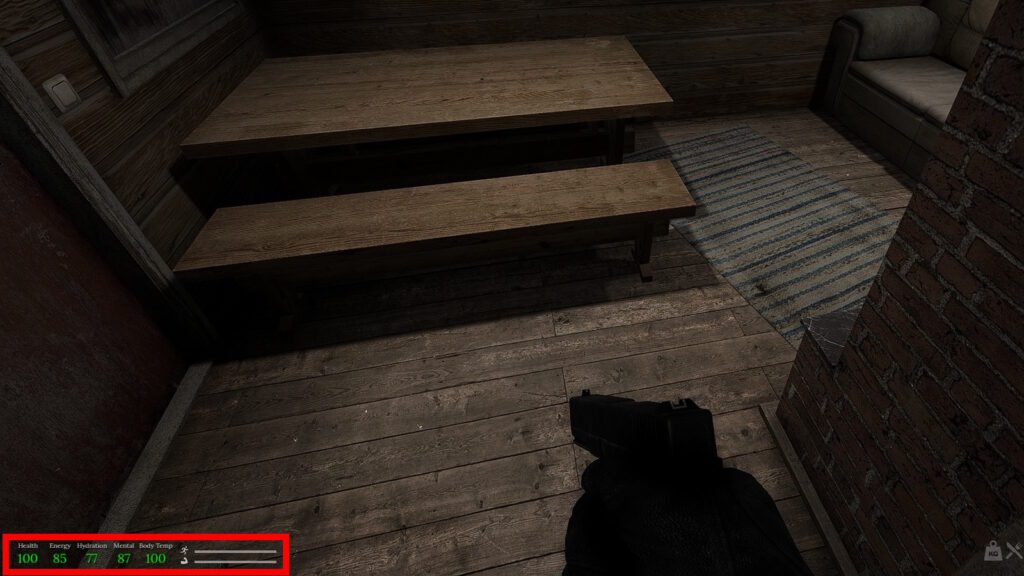
Speaking of death, there are multiple things to keep track of to keep you alive in this game. You can see the most important ones in the bottom left corner of the screen at all times.
From left to right, these are as follows:
- Health – Exactly what you imagine it to be. Once it reaches 0, you die and respawn at a shelter. Primarily lowered by taking damage. It will also steadily decrease if you’re low in Energy and Hydration.
- Energy – Really more of a hunger gauge than Energy. It’s mainly filled by eating food, but also by drinking water and consuming energy powders. Does not increase when sleeping.
- Hydration – Your character’s thirst. Sate it by eating food and drinking liquids.
- Mental – Your character’s mental well-being. You can primarily increase it with certain consumables, such as cigarettes. You can also increase it by doing recreational activities, like playing an instrument.
- Body Temp – The higher it is, the better your character deals with the current weather. Wearing warm clothes in the winter, for example. That said, it’s not very important in the current version of the game unless you pick the Winter weather.
- Stamina – Represented by the gauge with the running person icon. Primarily required for actions such as running and jumping.
- Strength – Represented by the gauge with the arm icon. Primarily used for aiming ranged weapons.
Carefully managing all of these basic needs will be key for survival in this game, so pay close attention to them! I also recommend that you always hover over consumables to see what exactly they do for you.
Understand the Status Effects
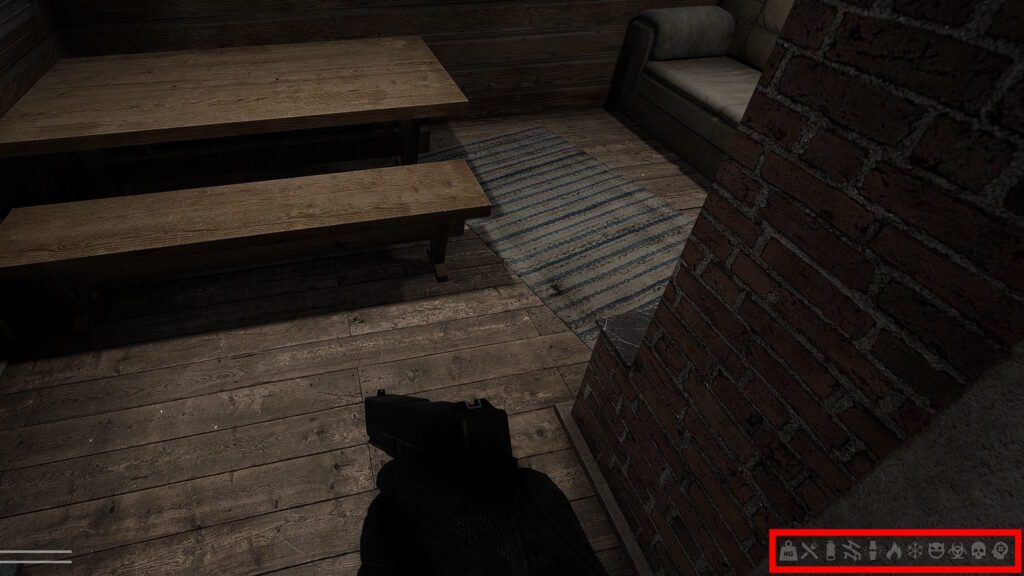
Aside from the basic needs outlined previously, there are also a variety of status effects to keep track of. These are in the bottom right corner of your screen, though you can also see more detailed explanations in your inventory.
For a brief overview, these are all of the status effects from left to right:
- Overweight – You’re carrying more than you can handle. Increase carry capacity by equipping things like backpacks. When active, your movement speed and stamina are greatly reduced.
- Starvation – Happens when your Energy reaches 0. You lose 1 health every 10 seconds and your stamina is greatly impaired.
- Dehydration – Happens when your Hydration reaches 0. You lose 1 health every 10 seconds and your stamina is greatly impaired.
- Bleeding – Caused by taking damage, particularly from sharp sources. You lose 1 health every 5 seconds. Heal it with bandages, medkits, and tourniquets.
- Fracture – Caused by weapons, explosions, and falls. You lose 1 health every 5 seconds and your movement is limited. Cure it with splints and medkits.
- Burn – Caused by fire and electricity. You lose 1 health every 5 seconds. Treat it with balms, lotions, and medkits.
- Frostbite – Happens when your Body Temp reaches 0. You’ll lose 1 health every 5 seconds. Cure it by being near fires and using sleeping bags or thermal blankets.
- Insanity – Happens when your Mental reaches 0. You’ll lose 1 health every 10 seconds.
- Poisoning – You get this from chemicals and toxic consumables. You’ll lose 1 health every 2 seconds. Only curable with medkits and AFAKs.
- Rupture – Caused by weapons and explosions. You’ll lose 1 health every second. Treat it with medkits, IFAKs, or AFAKs.
- Headshot – Caused when you receive weapon damage to the head. You’ll lose 1 health every second. Treat it with medkits, IFAKs, or AFAKs.
If you want to survive out there, make sure to prepare to deal with each one of these effects!
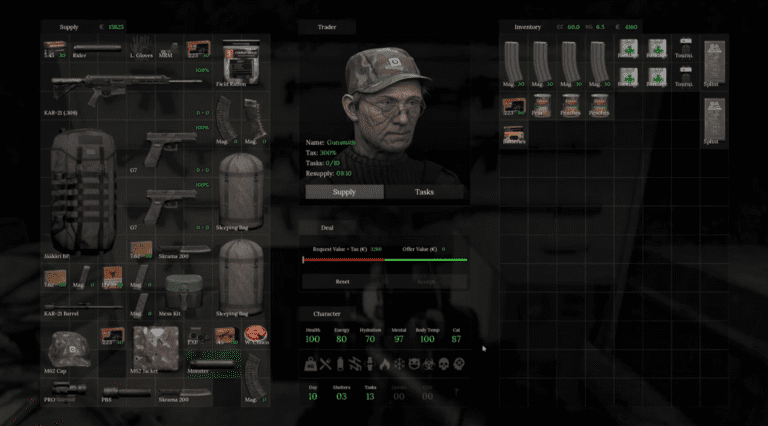
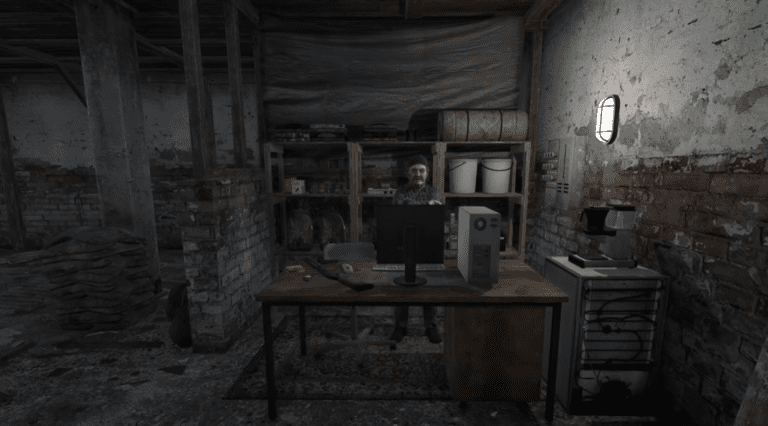
Look for the Friendly NPCs
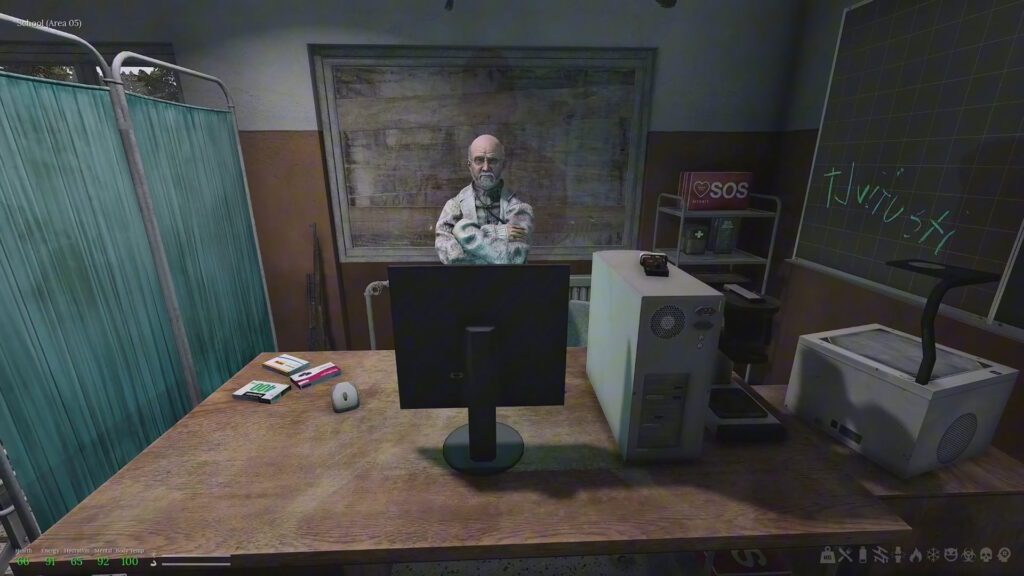
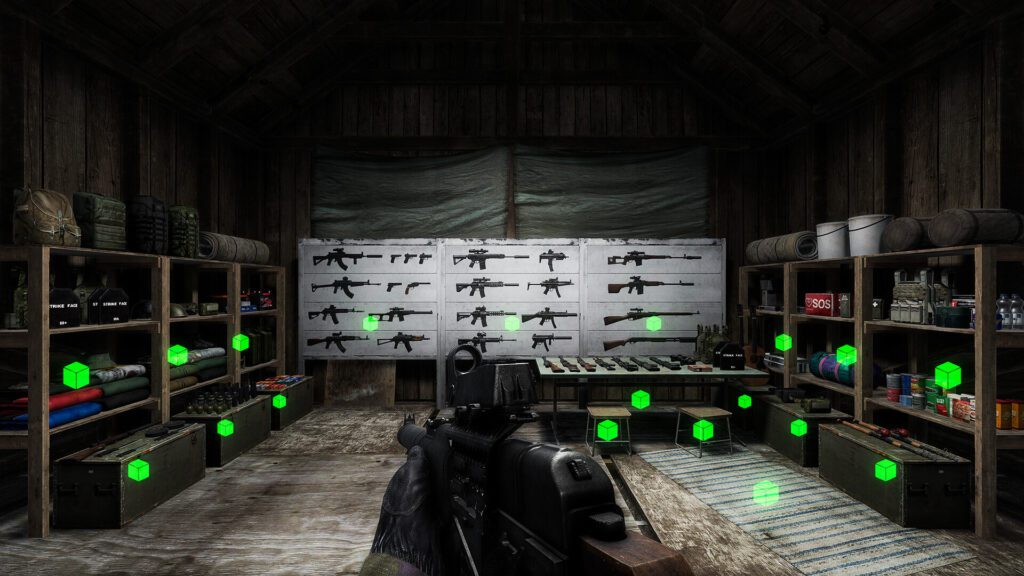
One way to increase your odds of survival early on is to look out for friendly NPCs. The most important one early on is the Generalist, which we have a guide on how to find.
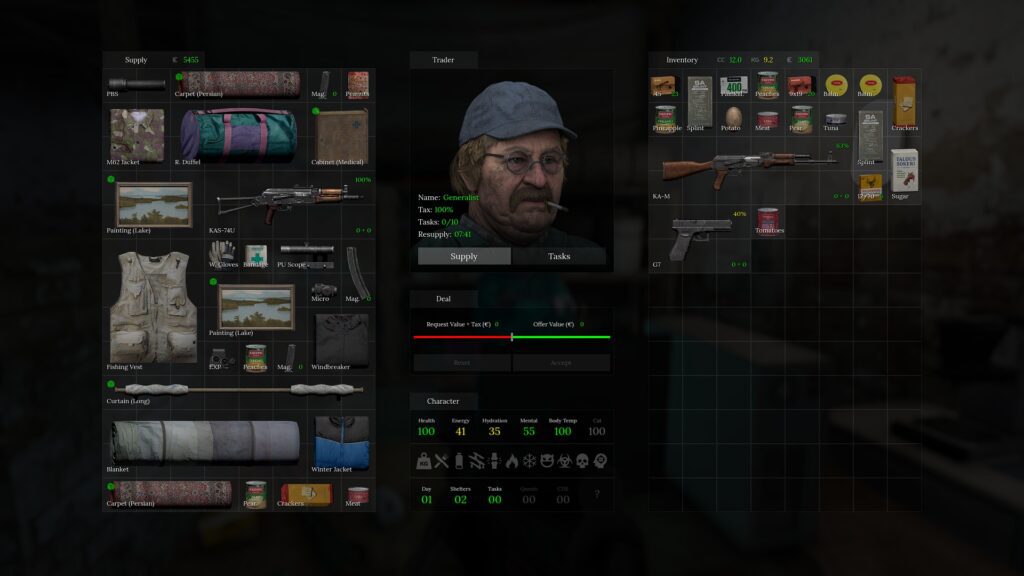
These NPCs have a variable stock of items that you can trade with the NPC for. Give them things you don’t need in exchange, and maybe you can get something more useful in return!
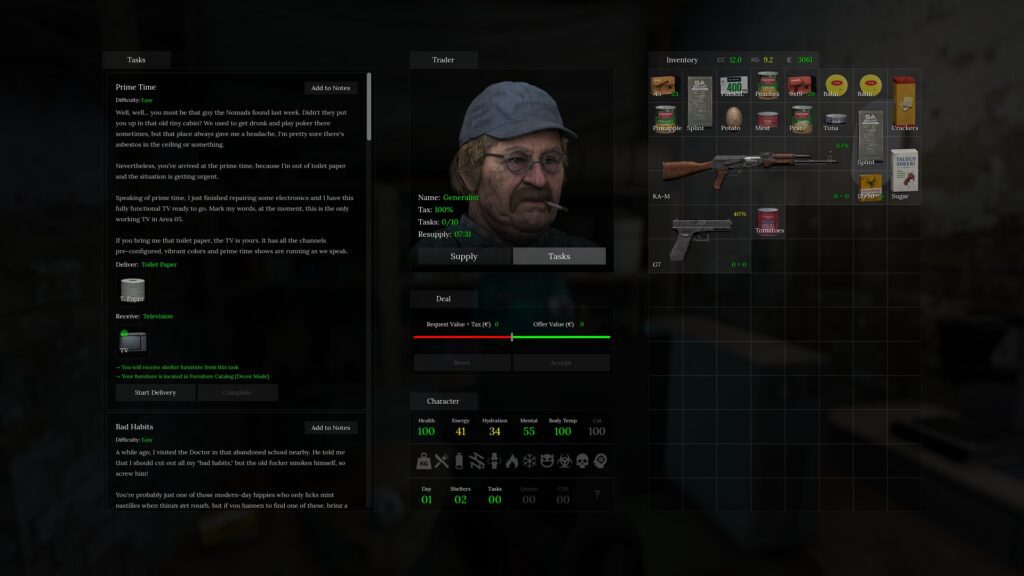
Aside from trading for goods in the default Supply tab, you can also check out the Tasks tab. Here you can see various things the NPCs want you to do. Of course, completing these Tasks yields some nice rewards, too!
So, keep your eyes open for these NPCs, as their trades and rewards are fantastic ways to get supplies. For more help with them, check out our guides on how to find the Doctor for medical supplies and how to find the Weapon Specialist for better and more advanced weaponry.
Tips for Dealing With Bandits
As you go out to explore and scavenge, you’ll no doubt encounter hostile bandits ready to attack you. You can’t be friends with these guys, so you’d better learn to take them before they take you out!
As of the current Early Access version of the game, the bandits have very simple AI. They basically just walk up to you, firing their guns with little care in the world!
However, the bandits do seem to have incredible sight, so they can spot you from quite a long distance. They’ll also start shooting and will likely hit you, even at those long distances.
So, your positioning is the most important thing to consider, overall. Try to stick to cover as much as possible, and use Q and E keys to lean out of corners safely. Also, use C to crouch, it makes you harder to spot and hit.
Also, as you carefully move around, make sure to listen for audio cues that give away the positions of bandits. Sounds like their footsteps, voices, or laughter. Don’t let them get the drop on you, be the one who ambushes them.
Overall, you just need to play super carefully, especially early on in the game when you have less equipment. The game’s world might feel empty and safe at times, but never drop your guard.
Wrapping Up
There is quite a lot to keep track of in Road to Vostok, but I hope this beginner’s guide has helped you learn about some key basics you’ll need for survival.
Manage your character’s conditions, be careful to avoid getting jumped by bandits, and look for the friendly NPCs for trading and tasks. These are the main takeaways, if you want to simplify as much as possible!
With that said, I wish you the best of luck on your journey! May you reach Vostok safely.