


 27 articles
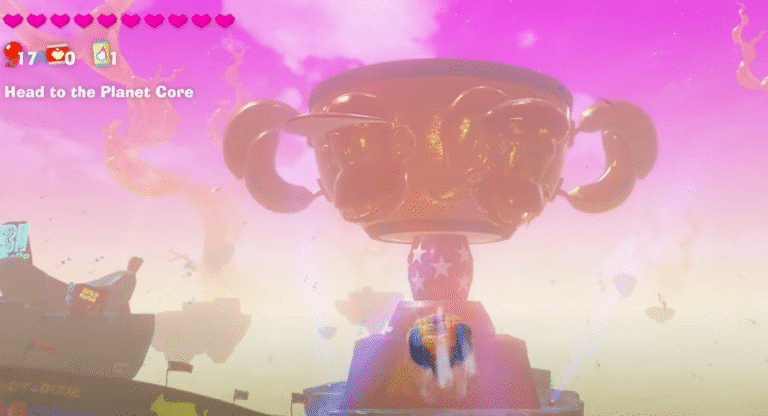
Donkey Kong Bananza is the new surprise entry to the iconic game series, and plenty of long time fans are already blasting through its many challenges and courses. If you are struggling with the Free Climbing course where you have to use the Ostrich Bananza form, then this guide will try to walk you through what you are supposed to do here and how to collect the banana gems in it!
Ostrich Bananza: Free Climbing Guide in Donkey Kong Bananza
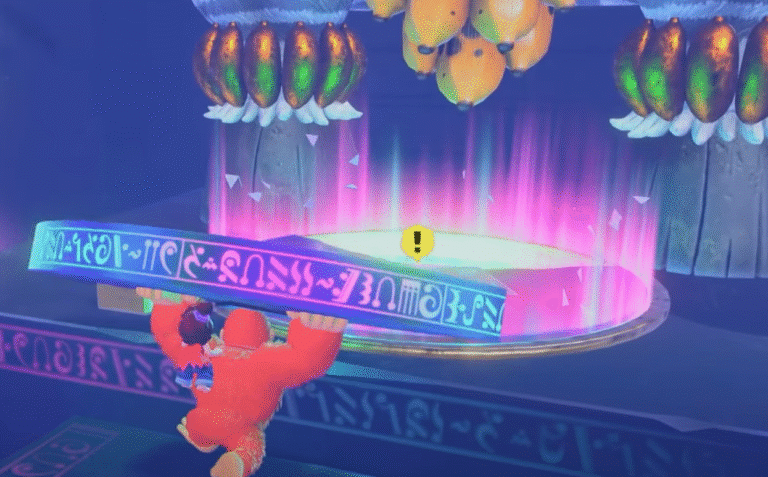
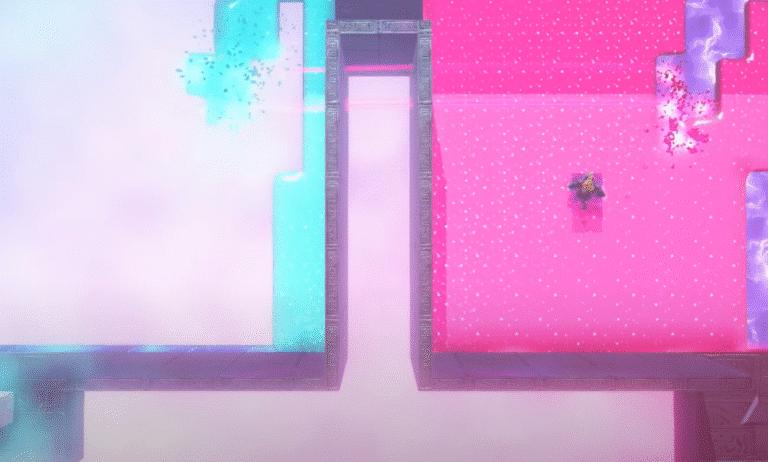
At the start, you will be faced with two parallel pillars that you can climb on. One of them will be electrocuted, so you will obviously have to climb on the one that is currently safe. They will periodically switch, and this change is telegraphed by the electrocuted wall, as it will start blinking if it is about to happen.
Along the way, there are small pockets that are safe from this electricity, so if you do need a breather, you can stop at one of these smooth parts. Just keep ascending the pillars until you reach the very top, making sure to avoid the electricity as much as possible.
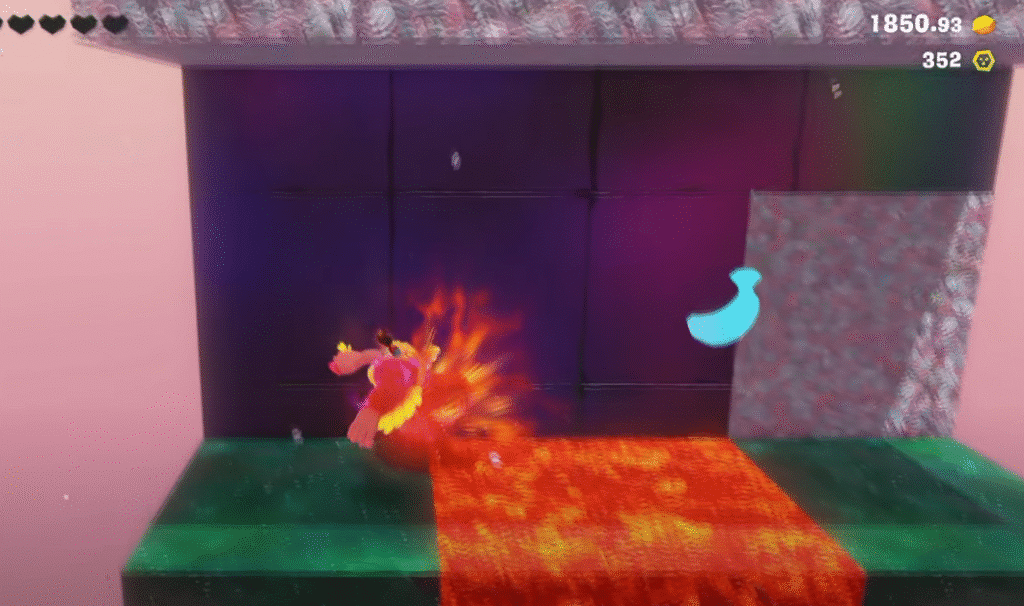
At the top, you will find your first banana gem. Claim it and proceed to the next obstacle, which will have floor tiles that will occasionally burn you. Simply time your jumps and break through at the right time. Use the ostrich form’s ability to hover in the air if necessary.
 Zebra Elder’s Rehearsal Hall Guide (All Collectibles) in Donkey Kong BananzaJul 21, 2025
 Sharpshooter Scramble Guide in Donkey Kong BananzaJul 20, 2025
 Rowdy Race Guide for Diddy & Dixie Race in Donkey Kong BananzaJul 20, 2025
Near the top, you will find a breakable wall to the right side of one of the platforms. Break through this to get the next banana gem, and then use the barrel inside to reach the top. This will save you from having to jump through the burning floors again.
Finally, the last section of the course will have you climbing parallel pillars just like in the first part, but this time there will be sections made of mud, preventing you from climbing them. Take your time and use the climbable surfaces to get up.
The electric wall will shift between the two pillars just like before, so it is just a test of patience until you reach the very top, where you can claim the final banana gem. Once you have reached the tip and claimed your banana, the course should now be done!
Get into the barrel to leave, and you can now proceed with the rest of the game with knowledge that you have knocked out yet another course of the game.
Do you still need some help with the other features that you will run into throughout the game? Make sure to check out our guide on how to use grey cubes in Donkey Kong Bananzato get a refresher course in how this feature works, just in case you have forgotten by the time you make it to this point of the game!