31 articles
The Gwenith Glide is the final Barracuda Trial you unlock via the Sailing skill in Old School RuneScape (OSRS). It’s also currently one of the best for Sailing XP in the game.
This trial is a bit simpler than the previous ones on paper, but it’s a lot more intense in practice. It requires very careful routing, as well as for you to be on point with steering your boat at all times!
That said, the trial is split into three ranks: Swordfish, Shark, and Marlin. Each rank increases in difficulty by tightening the timer and requiring cleaner movement via boosts, portals, and supply crates.
If you struggle with the Gwenith Glide trial, this guide will help you out.
 OSRS: Leagues 6 Complete Echo Thermonuclear Smoke Devil Guide For Shadowflame QuadrantApr 20, 2026
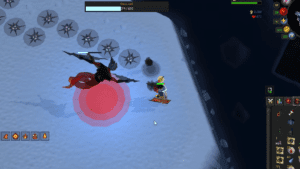 OSRS: Echo Amoxliatl EASY Guide, League 6Apr 20, 2026
 OSRS: Leagues 6 Guide for Fast & Easy PointsApr 9, 2026
How to Do the Gwenith Glide in OSRS
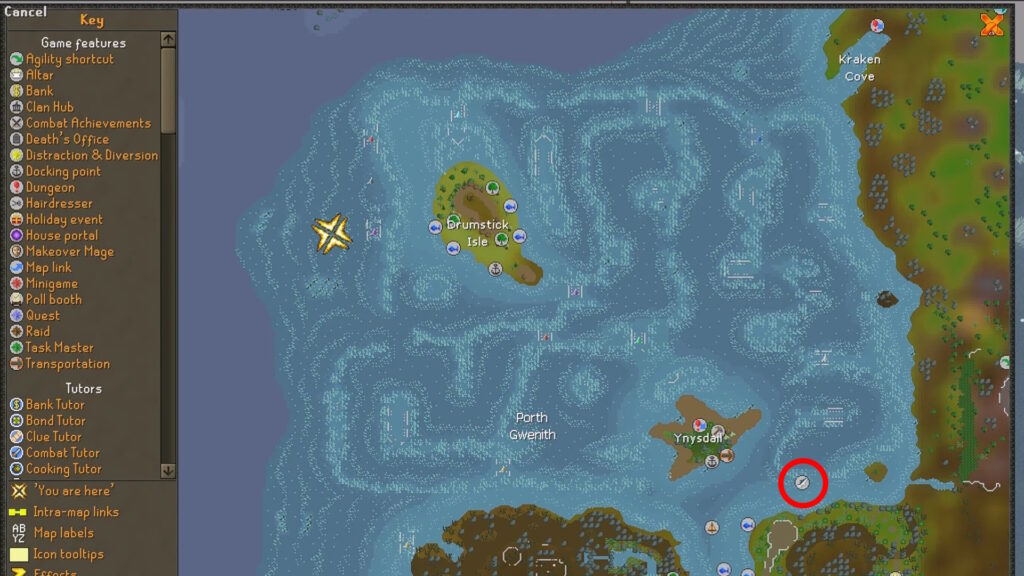
As we mentioned before, the Gwenith Glide is the last of the Barracuda Trials, and it unlocks at Level 72 Sailing after completing the “Regicide” quest. You can start it near Port Gwenith. This trial is a bit simpler than the other Barracuda Trials in a way.
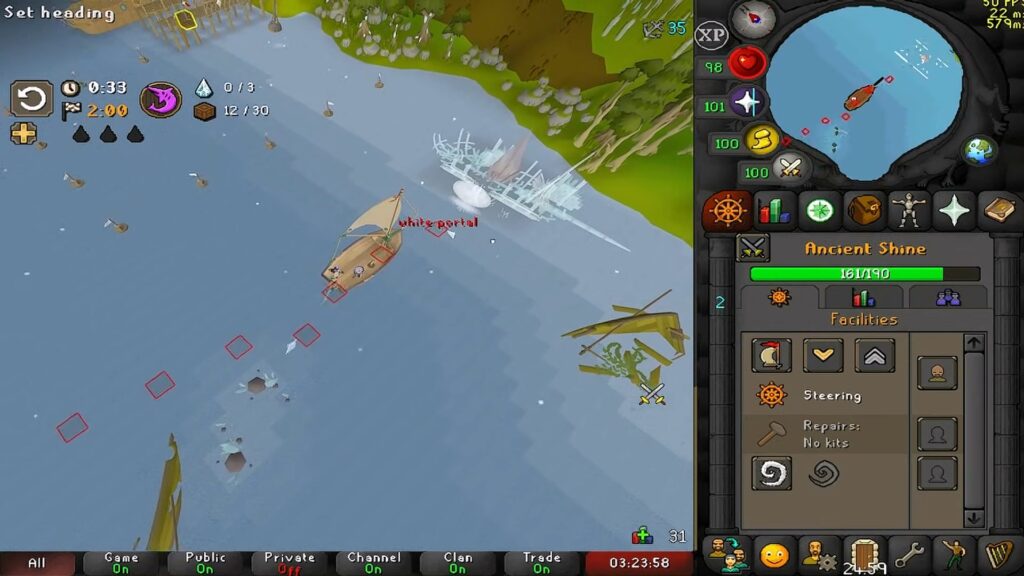
There isn’t much of a gimmick, with the exception of pairs of colored portals you can go through.
Before you attempt the trial, make sure you have a decent enough ship setup to handle the tighter timing requirements.
Most players would recommend improved sail acceleration, wind motes, upgraded holes, and crystal extractors. Moreover, higher-quality ship upgrades can make a major difference during Shark and Marlin clears.
I also recommend you use RuneLite tile markers for learning the route quickly, especially when attempting Marlin clears.
Back to the colored portal gimmick, you can enter one colored portal and come out of the other portal of that same color. Using these portals properly will be key for your routing!
Aside from that, you also need to traverse through narrow pathways surrounded by ice and Resonance Crystals. Touching these hazards will damage and slow you down, so you’ll need to carefully avoid them to make the times for each rank.
For the most part, though, this trial mostly puts your ability to steer the ship properly to the test. Its routing can be relatively easy with the help we’ll give you, so it’s all left up to controlling the ship!
Before we go into the tricks to routing, though, here are the clear time requirements and rewards for each rank:
- Unraked – No Time, 3100 XP per lap.
- Swordfish – 2:00 Target Time. 4100 XP per lap. 25000 Bonus XP and Serrated Key on completion.
- Shark – 3:42 Target Time. 9315 XP per lap. 35000 Bonus XP and Heart of Ithell on completion.
- Marlin – 6:09 Target Time. 18160 XP per lap. 50000 Bonux XP and Gwynar’s Fabric Roll on completion.
With all of that said, it’s now time to go over the routing for this trial!
How to Route for Each Rank
Speaking of helping with the routing, we recommend using the RuneLite client thanks to its Ground Markers (aka Tile Markers) feature.
As we mentioned in our guide for all the Barracuda Trials, this allows you to mark where the lost supply crates are. It makes them much easier to spot and also makes it much easier to plan a route.
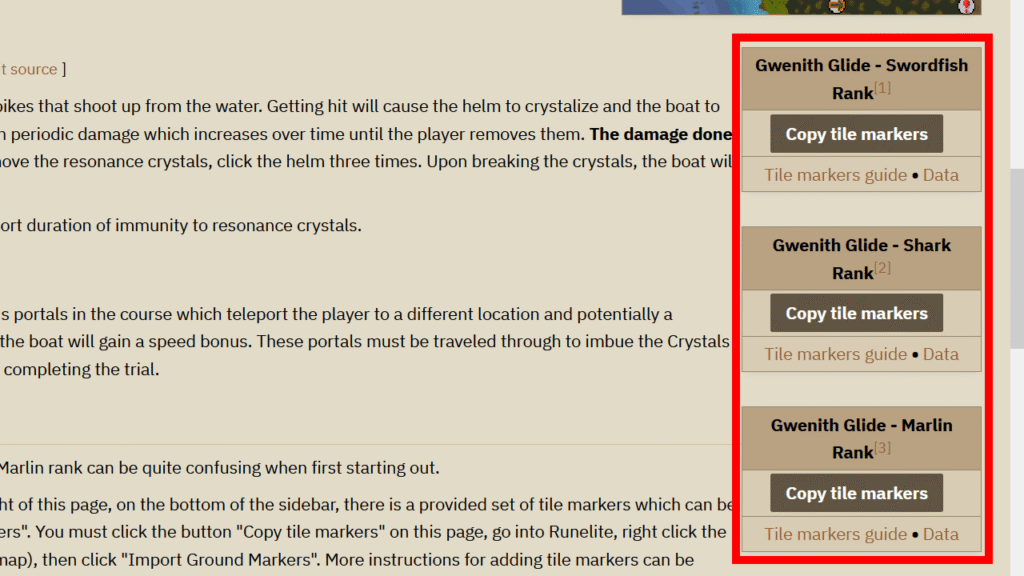
With that in mind, we recommend using community-collected Tile Markers. To do that, check out the official OSRS wiki. Then, look for the markers for the rank you want and click “Copy tile markers.”
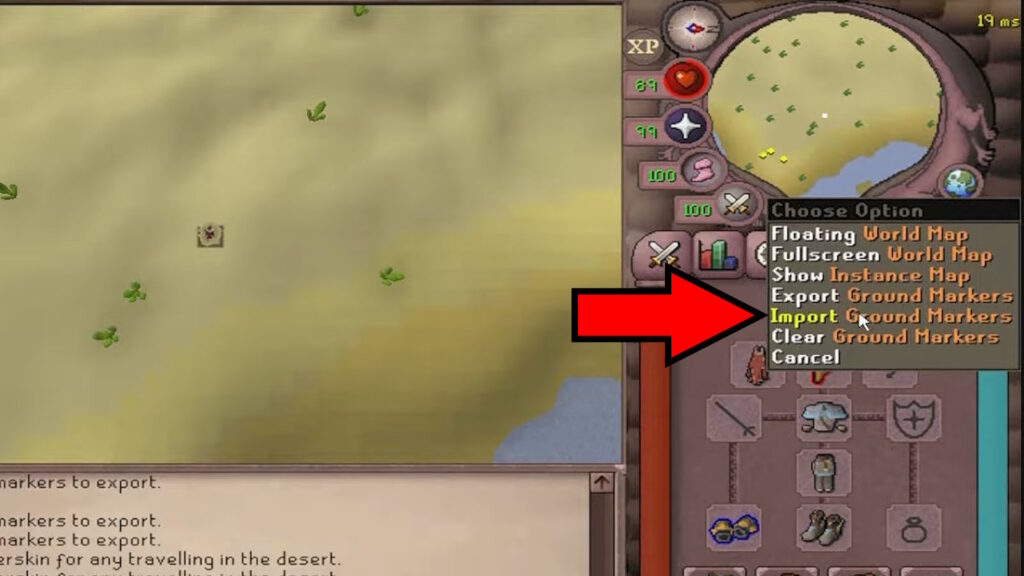
After that, right-click on your minimap in-game and select “Import Ground Markers.” All of the lost supply crates will then be marked for you, as well as colored tiles telling you the route all the way!
That means that you just need to follow the colored route, making sure that you stick to the same color you got at the start of a portal. Do not switch between differently-colored tiles when they intersect. Only switch when emerging out of a portal.
At the same time, make sure to only grab the crates along the current part of the route. Do not go out of your way to grab crates away from the current color route. You’ll get them later in the run.
Make sure to grab all Wind Motes you get along your set route as well, and use them to get a boost of speed as often as possible.
Thanks to these markers, the trial becomes just a matter of you steering the ship properly to avoid hazards. It really simplifies things!
Marlin Rank Specifics
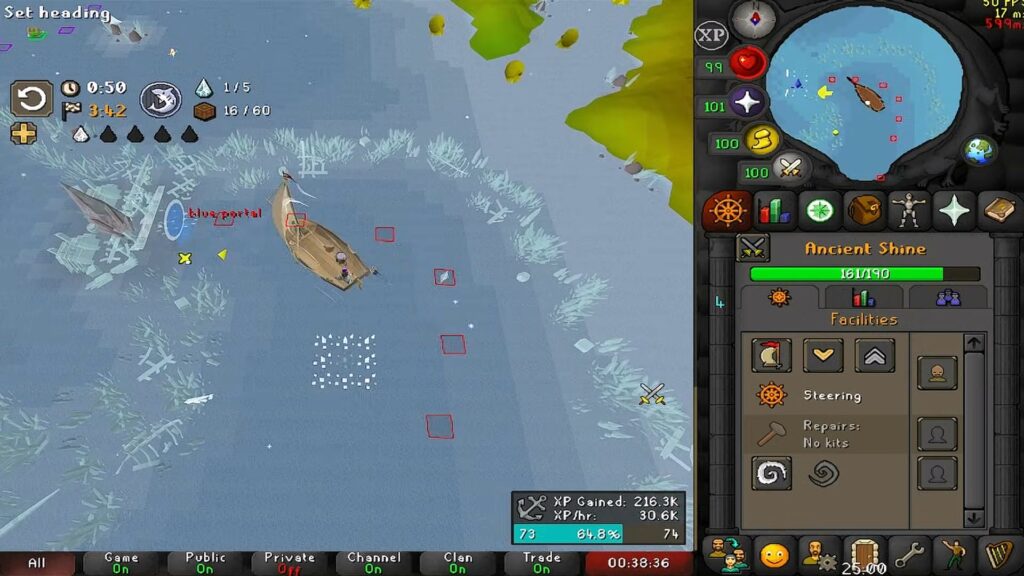
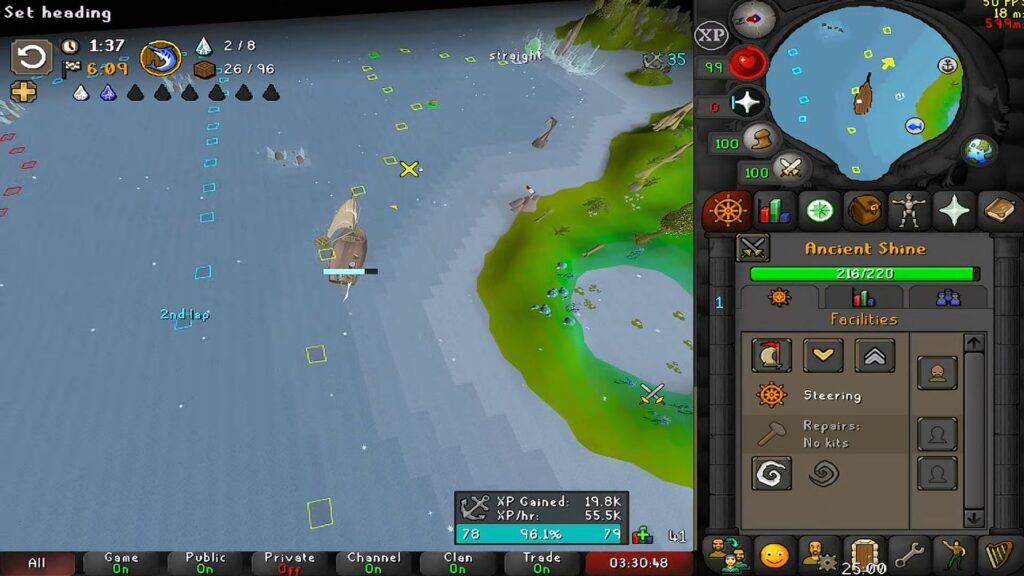
Blue dots are Wind Motes
Yellow dots are crates
For the Marlin Rank trial, everything we’ve said previously still applies. Use the Tile Markers for the routing to make it easy. However, you’ll also want to refer to the routing image above for extra help.
On top of that, for this rank specifically, we recommend making sure you’ve upgraded your ship via customization as much as possible. Having the best hull, mast, and sails possible will be key for meeting the target time.
Additionally, it might be a good idea not to avoid the Resonance Crystal hazards along the way. Those are the white ice spikes on the route.
Generally speaking, it’s faster to just use a Wind Mote to cross them fast and tank the damage. Just make sure you have some way to heal yourself from the damage, as they can be lethal!
Nonetheless, you should now have all the tools you need to do every rank of The Gwenith Glade trial in OSRS! With the Tile Markers and routes, all that’s left is for you to practice until you ace it.