 3 articles
One of the best parts about LEGO 2K Drive is the ability to build the ultimate vehicle in your garage by using tons of LEGO pieces.
This grants you the ability to customize any vehicle that you want, with your imagination being the only limit.
But how exactly do you start building your own stuff? Let’s find out.
How to Build in the Garage in LEGO 2K Drive
You will be able to access the Garage from the main menu. As mentioned, it’s where you can build and customize vehicles with the help of various LEGO pieces.
 LEGO 2K Drive: How to Unlock LawnmowerMay 20, 2023
 How to Unlock Rocket Jetpack in LEGO 2K DriveMay 19, 2023
Needless to say, you can go wild with building any car that you want. Besides, the game even features a robust tutorial to help you from start to finish.
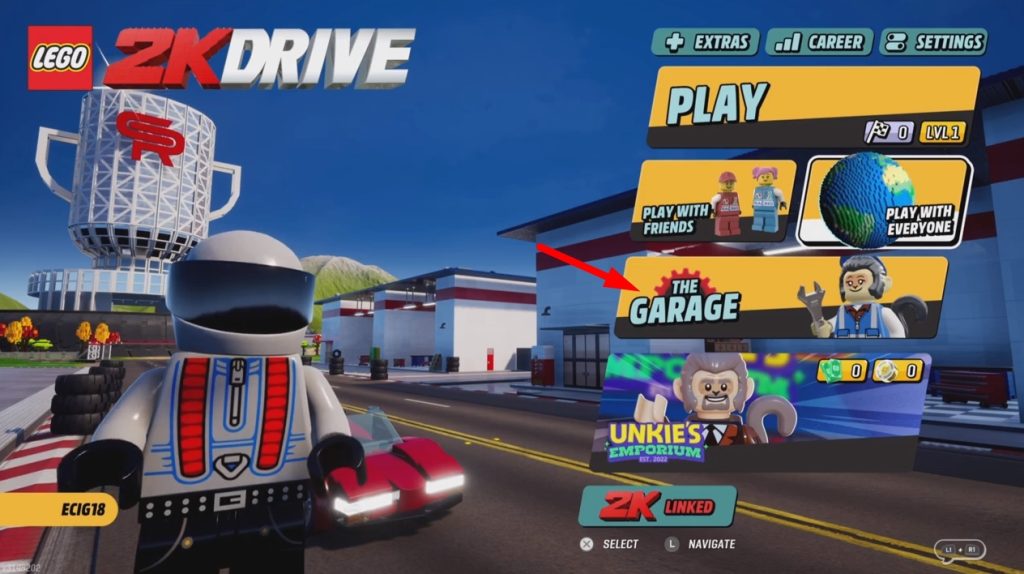
To get started, you want to click on The Garage in the main menu.
This will then take you to the garage where you’ll be greeted by a bunch of introductory messages. You’ll also get a tutorial on how to change the color of your cars.
Once you’ve finished that tutorial, you can then start building your own. Simply click on the Create button to get started.
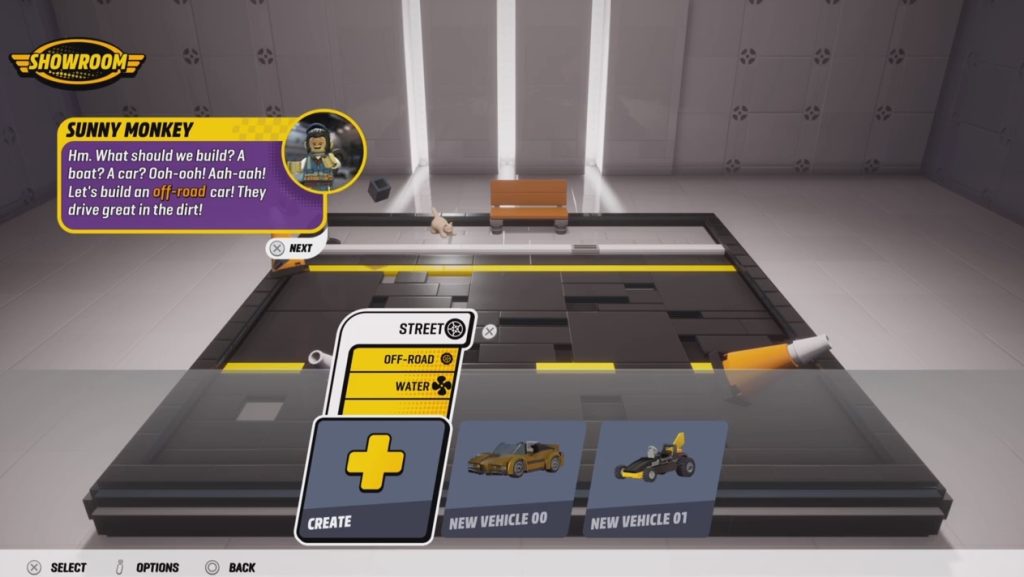
Here, you’ll be able to choose which type of vehicle you want to build. You can choose from either Street, Off-road, or Water.
After that, you’ll then have to choose a base to use for your vehicle. This will depend on which type you picked earlier.
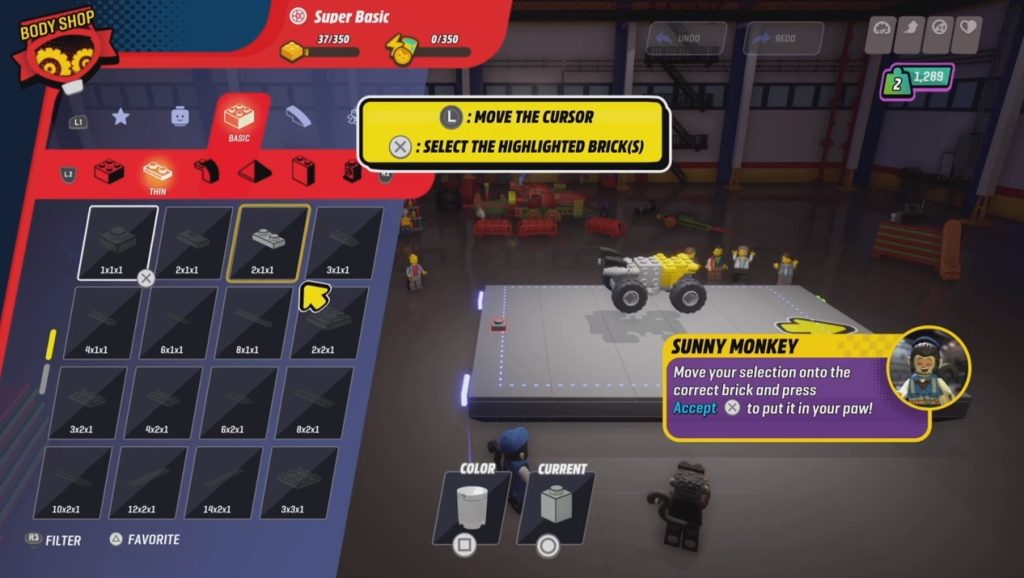
After choosing a base, press the triangle button to open the Brick Drawer. As the name suggests, this is where you’ll find a wide selection of bricks you need to build your own cars.
Here, you can browse various categories depending on the specific shape of the LEGO bricks that you want.
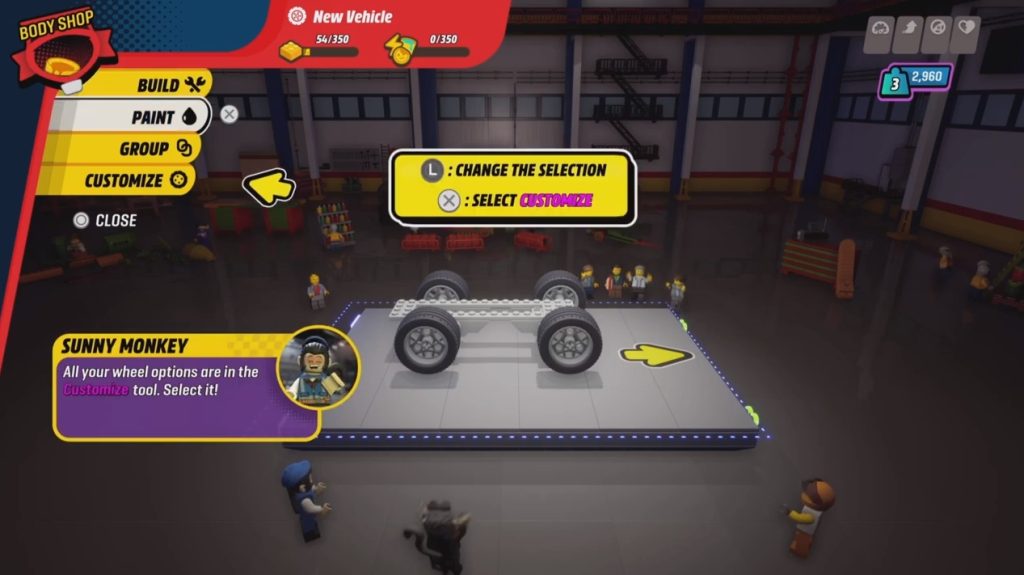
In the Body Shop option at the upper left corner, choose the Customize option. This is where you’ll be able to customize certain parts of the vehicle such as the wheels, horns, and more.
Once you’re done, you can start building the body of the car. You want to take note of the yellow arrow in the platform as it’s basically where the front of your car is.
Customizing Your Car
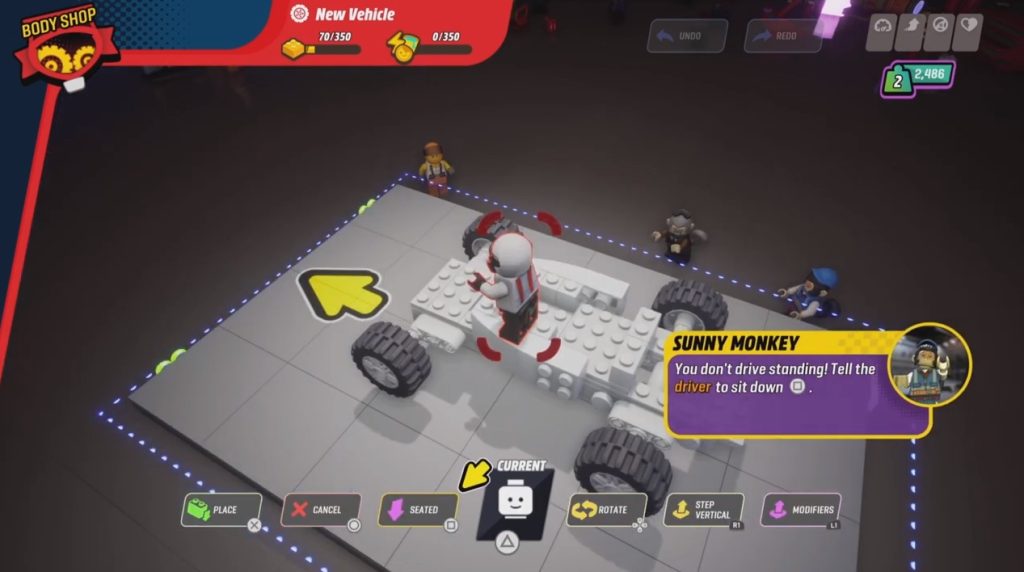
At this point, you can go as creative as you possibly can as you try to make your own custom vehicle. Don’t forget to add a driver as well via the Brick Drawer.
Additionally, you have to make sure the driver is seated by choosing the Seated option on the left side of the driver icon.
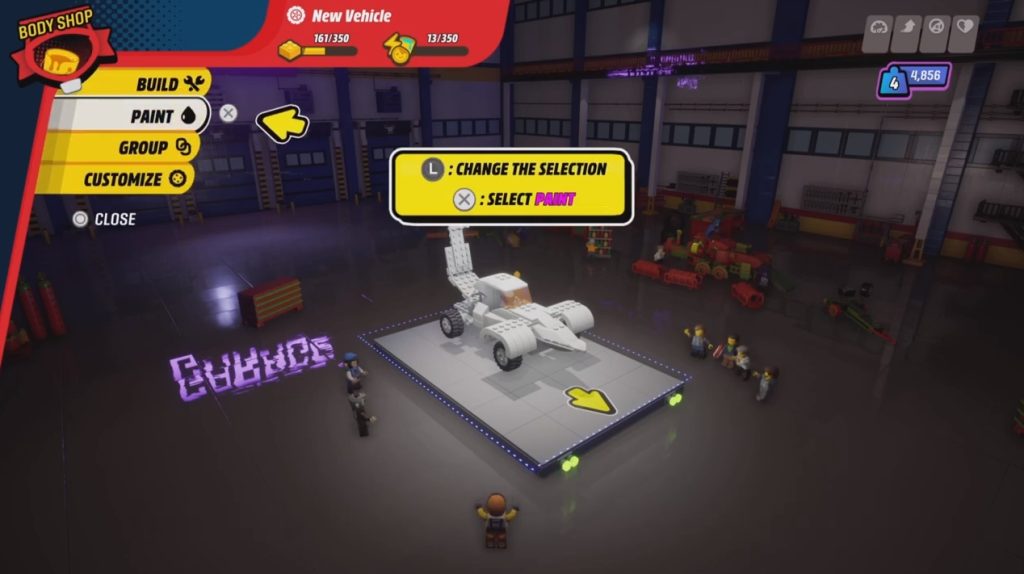
Once you’re done customizing the looks of your vehicle, the next step is to add color to it. To do so, open the toolbox and choose the Paint option from the menu.
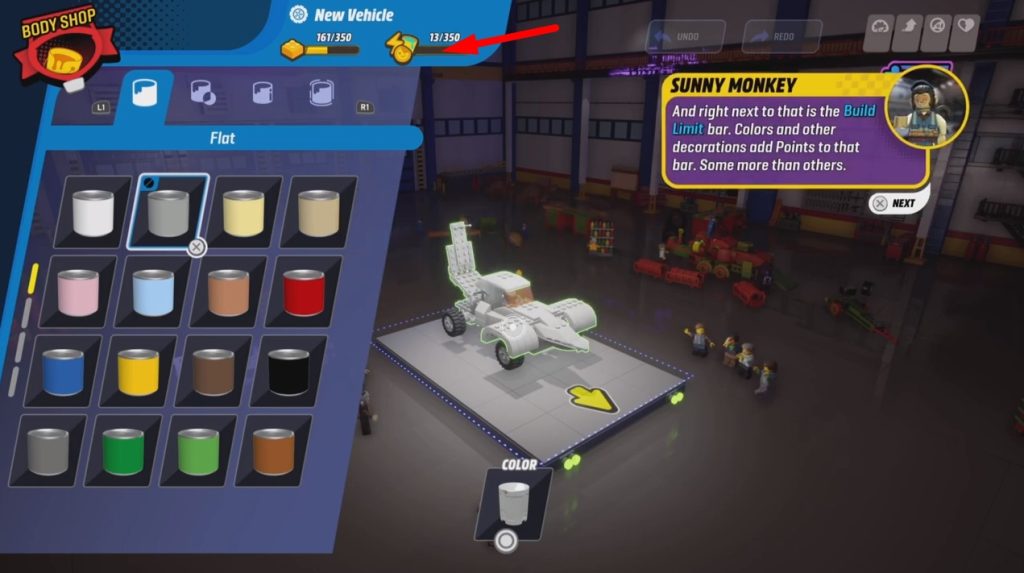
Just keep in mind that you can only add a certain number of paint to your vehicle. As you can see in the image, each vehicle has a Build Limit bar which will fill up depending on the color and decoration that you add.
Once the bar is full, you’ll no longer be able to add any more colors or decorations, so keep that in mind.
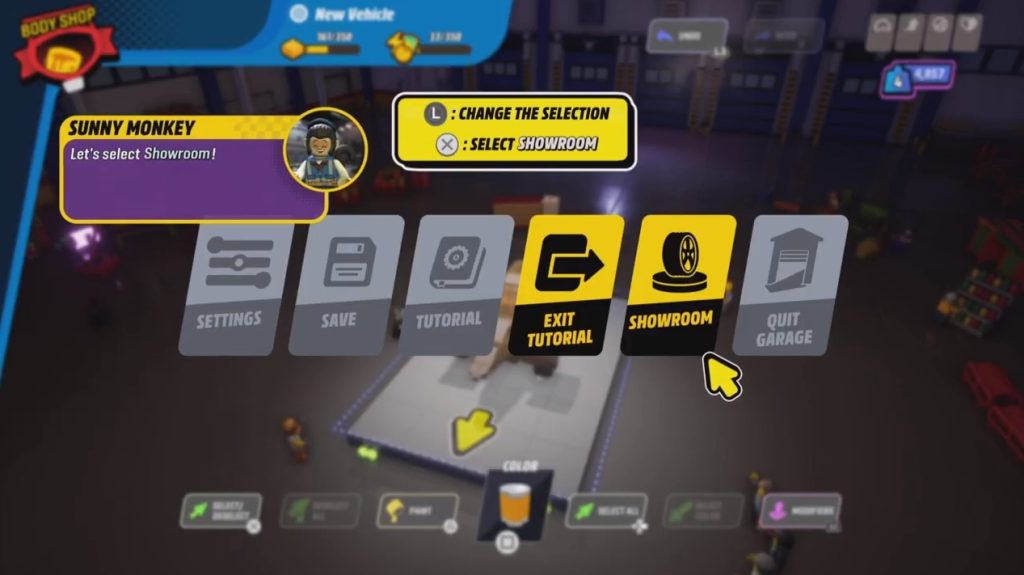
Once you’re done, you can save your newly created vehicle by opening the menu and selecting Showroom.
You can then choose the vehicle and decide whether to rename it, view its stats, edit it, or go for a test drive. After that, you can now drive it to see how cool it looks.
ALSO READ: Best Agents to Play in Veiled Experts