

Guides
How to Use Drying Racks in Schedule 1
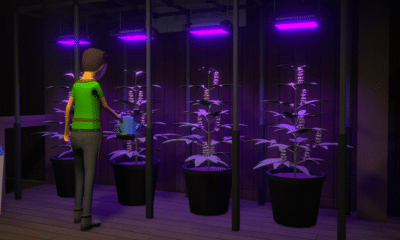
Here is a very quick guide on how to start upgrading your “herbs” in Schedule 1!
There is a wide range of equipment that you need to work with while progressing through Schedule 1, and these range from basic packaging stations to stuff that mainly exist to improve the quality of your illegal drugs. The drying rack is one such work station, and this guide will very briefly show you how to use one of them.
How to Use Drying Racks
In order to use a drying rack, all you need to do is insert any type of bud or leaf in the “Input” slot. After doing that, simply click on the “DRY” button above the slot to start the process.
Once you start the drying process, all that is left to do is wait. Give it a full day to finish the process, as it will take a while to see any results. If you want, you can leave it here for as long as you want until it reaches the Heavenly quality, which is the highest possible one at the moment.
Also, take note that you can insert an entire stack of buds or leaves in each drying rack. By default, unless you are playing a heavily modded version of the game, this means you can dry up to 20 buds per rack.

That is literally all there is to it. If you are trying to do this with a large scale production facility, you are obviously going to want to place way more than just a single drying rack. Luckily, you can also do this without putting in any work yourself.
If you want to start drying stuff with little to no effort, then check out our guide on how to get your botanists to work on drying racks automatically in Schedule 1. This will teach you how to automate the entire drying process, as well as provide a few more tips related to it that might be useful to you.


Tips & Tricks to Get Rich in Schedule 1
Rapid fire tips and tricks to help you boost your profits!


How To Get Rid Of Items In Schedule 1
Vanish unwanted items straight into the void with one simple trick!


Should You Buy The Laundromat In Schedule 1
Laundering money at a laundromat is a straight-up genius, nobody will ever know!


Should You Buy The Mixing Station Mk2 In Schedule 1?
The upgrade sounds quite appealing, but is it worth shelling out the big bucks for?