30 articles
Farming in Dinkum can be a bit tedious without the right tools and structures. After all, you have to do a lot of manual tasks, like watering your plants. Luckily, you can solve this problem with the help of a Sprinkler.
With a Sprinkler, you can automate the process of watering all of your crops. However, you need to set it up properly first.
In this guide, I’ll show you just how you can properly use a Sprinkler.
How to Use Sprinkler Guide in Dinkum
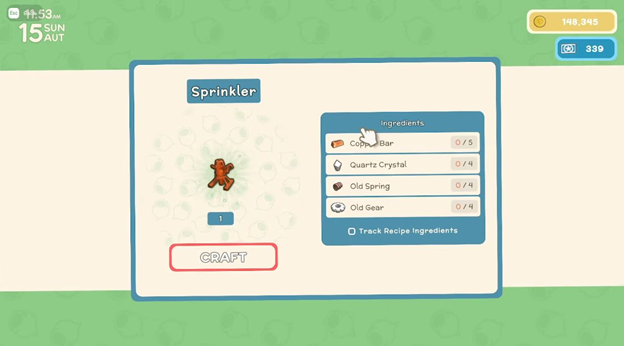
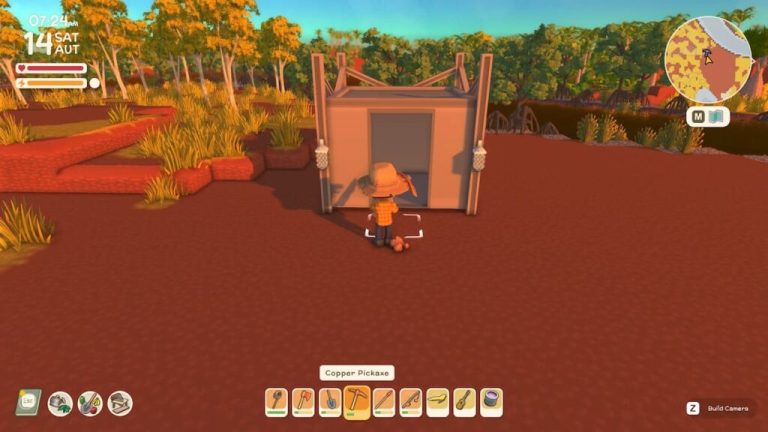
First off, let’s craft a sprinkler first. For this, you will need the following materials:
 How to Fix Doggo Spawnpoints in Dinkum Blooming SpringMar 22, 2023
 How to Enter the New Deep Mine Level 2 in Dinkum Blooming SpringFeb 5, 2026
 Dinkum Blooming Spring: How to Make and Use CoffeeMar 14, 2023
- 5 Copper Bar
- 4 Quartz Crystal
- 4 Old Spring
- 4 Old Gear
Once you have a sprinkler, another important structure you’ll need is a Water Tank. Basically, this is where your sprinkler will draw water from. The materials you need to craft a Water Tank are as follows:
- 15 Wood Plank
- 15 Tin Sheet
- 1 Old Contraption
- 8 Iron Bar
- 8 Nails
As you can see, crafting both structures is quite expensive, but they’re no doubt worth it. Let’s now move on to the setup part.
Setting Up Your Sprinkler
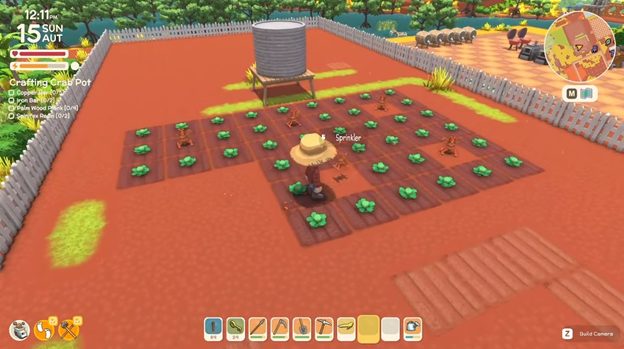
It’s important to note that a sprinkler will water your plants once a day every morning. Also, it only has a range of one tile. This means that you can surround it with a total of 8 plots on all corners. Aside from that, you have to place the Water Tank at the top of your plot so the sprinkler can draw water from it.
Once you have all of them set up, you can just leave them be and the sprinkler will just do its job. You can also place several sprinklers to cover several plots of crops all at once.