


 152 articles
Every Pal in Palworld has a different Work Suitability stat, meaning that you will want to pick and choose the best Pals for every type of job at your base.
The higher the stat is, the more efficient the Pal is. Additionally, higher Work Suitability is sometimes required for specific jobs, such as crafting more advanced materials.
In this guide, I’ll tell you what are the best Pals for every job and where to find them!
In 1.0, Any Pal Can Be the Best

Before we begin, I just want to note that version 1.0 of Palworld changes things up quite drastically when it comes to Work Suitability.
 Palworld 1.0: Best Skills After ReworkJul 11, 2026
 How to Build a Base on Water in Palworld 1.0Jul 10, 2026
 How to Transfer Pals to a New Save With the Global Palbox in Palworld 1.0Jul 10, 2026
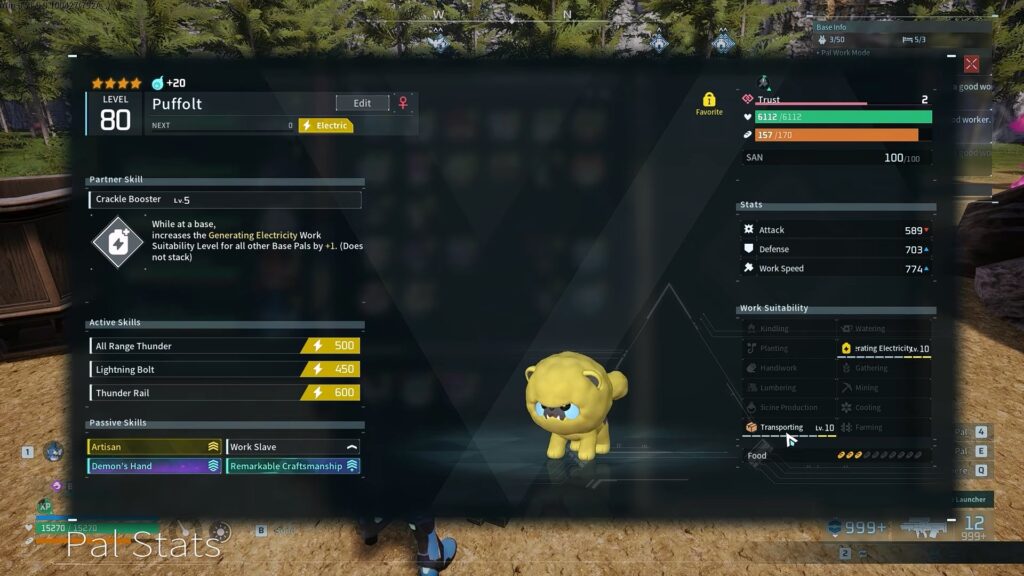
As of this version, Work Suitability for every Pal goes up to Lv10. At the same time, most Pals got their Work Suitabilities reworked. In general, this means most Pals are better at more work types from the start.
Additionally, it is now also easier than ever to boost a Pal’s Work Suitability. Applied Technique items, which can be consumed to level up a Pal’s Work Suitability stat, are now more common.
Similarly, your Pals now get more Work Suitability increases out of having their Rank increased through the Pal Essence Condenser. Plus, maxing out a Pal only requires 48 duplicates now, making it much easier and faster to achieve.
So, ultimately, keep in mind that you can potentially fully deck out your base with just the Pals you like. Since Pals are also more unique, with bespoke animations and the like, that can add flavor to your base.
Now, if you do really just want to minmax and look for the “best” worker Pals straight from the get-go, let’s talk about them!
Base Boosting Pals
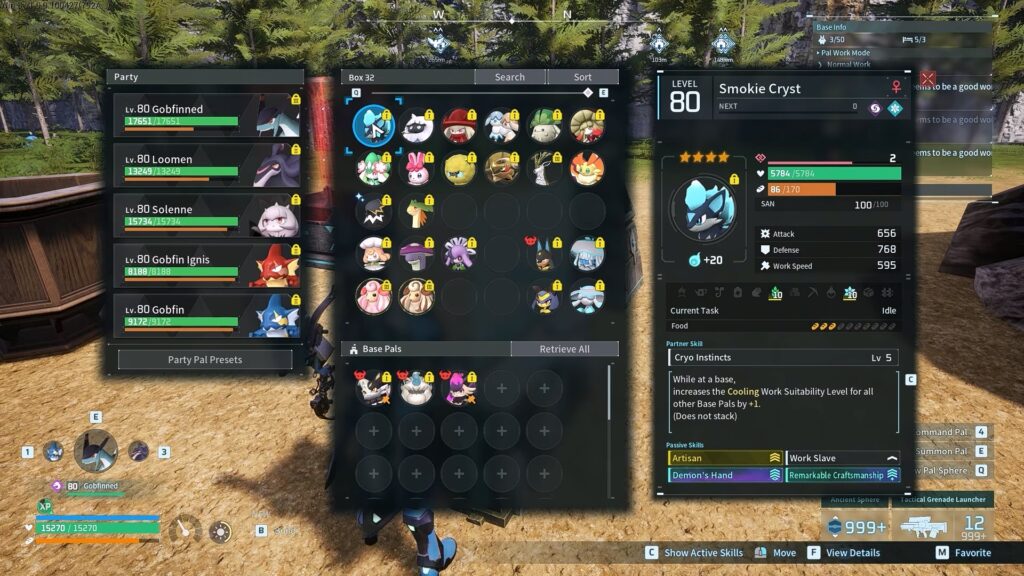
First off, let’s talk about the Pals that can boost your base as a whole. Just having these Pals at your base will raise everyone’s Work Suitability by 1 level.
While this isn’t too important later on in the game, as you can max out Work Suitability rather easily, having these Pals will really help during early and mid game.
With that said, here’s a list of every single Pal that boost your base’s Work Suitability and which type of work they boost:
| Pal Species | Work Suitability Boosted | Pal Location (Fast Travel) |
|---|---|---|
| Amione | Watering | Ravine Entrance |
| Cinnamoth | Farming | Hypocrite Hill |
| Clovee | Gathering | Tower of the Rayne Syndicate |
| Eikthyrdeer Terra | Lumbering | Sea Breeze Archipelago – Wildlife Sanctuary |
| Katress Ignis | Kindling | Bicornis Islet |
| Mycora | Medicine | World Tree – Southwest |
| Petallia | Planting | Mount Flopie Summit |
| Puffolt | Generating Electricity | Windscream Valley |
| Ribbuny | Handiwork | Hypocrite Hill |
| Smokie Cryst | Cooling | Glacial Memento Islet |
| Tetroise | Mining | Dessicated Desert |
| Wumpo | Transport | Land of Absolute Zero |
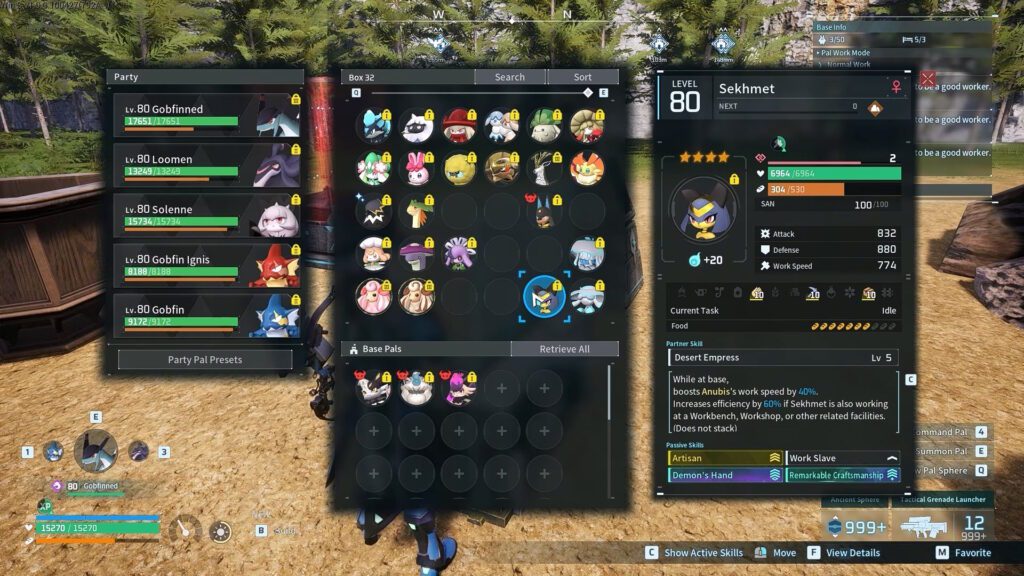
Aside from these general booster Pals, there are also other Pals that can boost more specific parts of your base’s production. These are as follows:
| Pal Species | Special Bonus | Pal Location (Fast Travel) |
|---|---|---|
| Braloha | Increased Breeding Farm Egg Production | Sea Breeze Coast |
| Dynamoff | Faster Egg Incubation | Waterlily Gorge |
| Jelliette and Jellroy | Boost Each Other’s Watering Speed When Together | Crimson Cliffs |
| Lullu | Higher Crop Growth Rate | Secluded Cemetery |
| Prunelia | Increased Crop Harvests | Feybreak |
| Sekhmet | Boosts Anubis’s Work Speed | Dessicated Desert |
| Shroomer Noct | Slower SAN Decreases | Sakurajima – Mushroom Wetlands |
| Woolipop | Reduced Hunger Depletion | Windscream Valley |
| Woolipop Terra | Reduced Hunger Depletion | Suncrest Islet |
Make good use of all of these Pals to boost the overall efficiency of your bases! Just having them deployed at your base is enough to benefit from their effects.
Ranching Pals
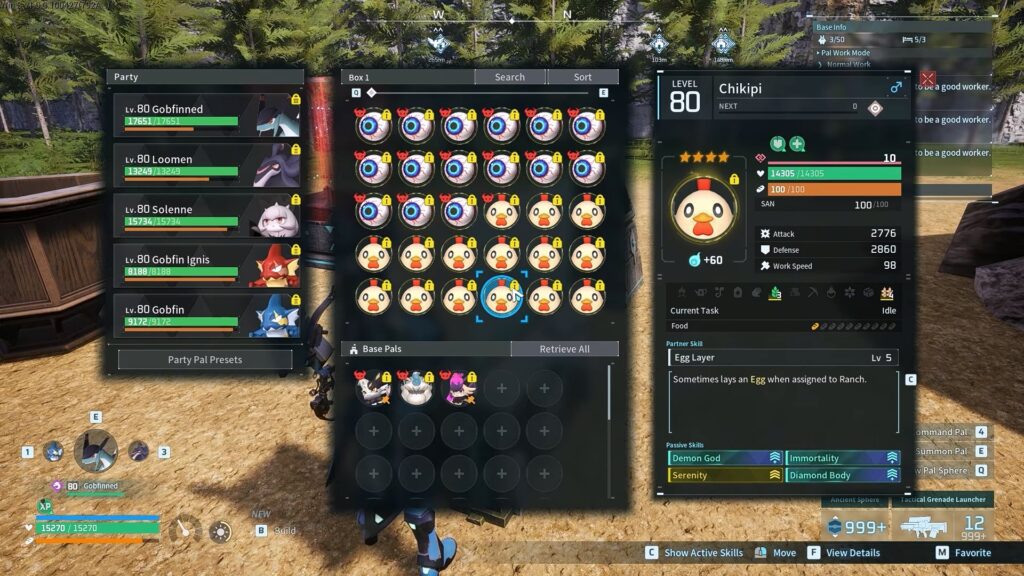
Another key thing to keep in mind for the Pals at your base are the Pals you assign to the Ranch. These Pals will sporadically produce various resources, making them useful for passively getting things that can be annoying to farm.
To help you further with this, here’s a quick list of every Pal you can assign at the Ranch and the resources they yield:
| Pal Species | Resources | Pal Location (Fast Travel) |
|---|---|---|
| Sootseer | Bone | Silent Lake |
| Cawgnito | Bone | Whisperwind Hill |
| Woolipop Terra | Caramel Cotton Candy | Suncrest Islet |
| Woolipop | Cotton Candy | Windscream Valley |
| Chikipi | Egg | Hill of Beginnings |
| Sparkit | Electric Organ | West of Small Settlement |
| Rooby | Flame Organ | Sea Breeze Archipelago – Castaway Beach |
| Kelpsea Ignis | Flame Organ | Fisherman’s Point |
| Flambelle | Flame Organ | West of Sea Breeze Archipelago Church |
| Mau | Gold Coins | Windswept Hills (Dungeons) |
| Sibelyx | High Quality Cloth | Pristine Snow Field |
| Sibelyx Primo | High Quality Cloth | World Tree – Desert |
| Dumud | High Quality Pal Oil | Anubis Dunes |
| Dumud Gild | High Quality Pal Oil and Gold Coins | Sakurajima – Northern Rock Field |
| Beegarde | Honey | Snowy Mountain Crossroads |
| Mau Cryst | Ice Organ | Unthawable Lake |
| Foxcicle | Ice Organ | Unthawable Lake |
| Surfent | Leather | Gobfin’s Turf |
| Mozzarina | Milk | Fort Ruins |
| Shroomer | Mushroom and Cavern Mushroom | Sakurajima – Mushroom Wetlands |
| Kelpsea | Pal Fluids | Ravine Entrance |
| Caprity | Red Berries | Hill of Beginnings |
| Caprity Noct | Venom Gland | Loess Plains |
| Depresso | Venom Gland | Whisperwind Hill |
| Melpaca | Wool | Sea Breeze Coast |
| Lamball | Wool | Hill of Beginnings |
| Cremis | Wool | Sea Breeze Archipelago Church |
| Vixy | Misc., mainly Pal Spheres and Gold Coins | Sea Breeze Coast |
| Vaelet | Various Seeds | Secluded Cemetery |
If nothing else, I highly recommend having Vixy at your Ranch as soon as possible. The Gold Coins and Pal Spheres you get will make the early game much smoother for you!
Specialized Work Pals
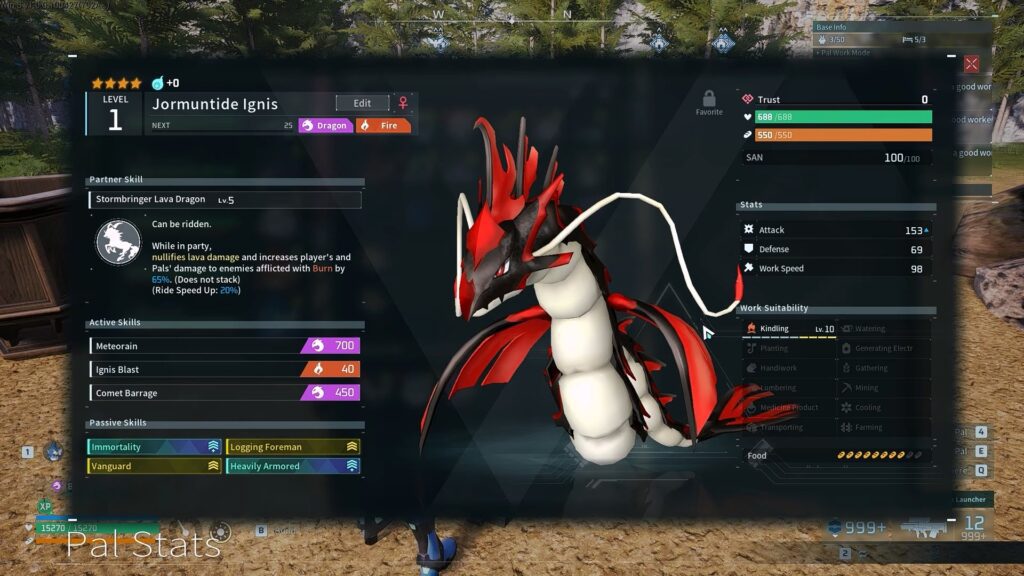
Last, but certainly not least, it’s time to talk about specialized work Pals.
By this I mean Pals that excel at a specific Work Suitability type, having it at at least Lv6 by default. This makes it possible for them to reach Lv10 naturally through increasing Ranks. No need for Applied Technique items!
Do note, Pals with multiple Work Suitability types will cycle through which one levels up per Rank.
That means that Pals with a single type will get +4 to that type, but Pals with 4 types will only get +1 to each of these 4 types. That said, the final Rank will also give a +1 to every one of the Pal’s Work Suitability types.
All of the Best Specialized Work Pals

With all of that in mind, here’s the list of all of these specialized work Pals that can naturally reach Lv.10 in at least one Work Suitability type through Rank increases:
| Pal Species | Starting Work Suitability | Pal Location (Fast Travel) |
|---|---|---|
| Jormuntide Ignis | Kindling Lv6 | Emberstone Plateau |
| Renjishi | Kindling Lv8, Handiwork Lv6, Gathering Lv5, Transporting Lv5 | World Tree |
| Shaolong | Watering Lv8, Gathering Lv5 | World Tree – Central Southeast |
| Jormuntide | Watering Lv7 | Altar of the Windcaller |
| Suzaku Aqua | Watering Lv6 | Near Azure Covenant Tower |
| Ophydia | Watering Lv5, Planting Lv7 | Waterlily Gorge |
| Dandilord | Planting Lv8, Handiwork Lv6, Gathering Lv5, Medicine Production Lv6, Transporting Lv3 | World Tree – Rotmist Root |
| Orserk | Generating Electricity Lv8, Handiwork Lv3, Transporting Lv4 | World Tree – Northeast |
| Solenne | Handiwork Lv8, Gathering Lv4, Transporting Lv2 | World Tree – Southwest |
| Jetragon | Gathering Lv8 | The Azure Tapestry |
| Hartalis | Gathering Lv7, Lumbering Lv7 | Huge Common Egg (Hartalis Raid) |
| Frostallion Noct | Gathering Lv7 | Flamepulse Islet |
| Starryon Primo | Gathering Lv7 | World Tree – Central Southeast |
| Celesdir Noct | Gathering Lv4, Lumbering Lv8 | World Tree – West |
| Celesdir | Gathering Lv4, Lumbering Lv7 | Feybreak |
| Silvegis | Lumbering Lv6 | Shield Dragon Tunnel |
| Aegidron | Mining Lv8 | World Tree – West |
| Astegon | Handiwork Lv3, Mining Lv7 | Mount Obsidian Wildlife Sanctuary |
| Blazamut Ryu | Kindling Lv6, Mining Lv7 | Huge Dragon Egg (Blazamut Ryu Raid) |
| Blazamut | Kindling Lv6, Mining Lv7 | Mount Obsidian Trail |
| Silvance | Planting Lv6, Handiwork Lv6, Gathering Lv4, Medicine Production Lv8, Transporting Lv2 | World Tree – Southwest Corner |
| Bastigor | Lumbering Lv6, Mining Lv5, Cooling Lv8 | World Tree – Northwest |
| Frostallion | Cooling Lv7 | Garden Beneat the Astral Mountains |
| Eidrolon | Transporting Lv6 | Crystalline Archipelago |
Most of these Pals are quite tough to get, being in end game areas. Others are high-level Alpha Pals, and quite tough to catch. But they definitely make up for it with their top-tier Work Suitability!
Wrapping Up
With that, you now know what all of the best Pals for your base are in Palworld 1.0, so you know who’s the top Pal to pick for every job!
There are quite a lot of Pals to look out for in this game, that’s for sure. However, it is again worth repeating that you can boost your Pal’s Work Suitability. In fact, using Applied Technique items and the Pal Essence Condenser can give you access to Lv.10 work Pals earlier. After all, the best natural Lv.10 workers are mostly in the late and end game!
Nonetheless, did you play the game during Early Access and catch some of the Pals I’ve mentioned? Want to bring them to a new world save? Check out our guide on how to use the Global Palbox!





Found another tip?
Share your extra strategy, correction, or question below. Helpful comments can make this guide better for everyone.