 19 articles
There are a bunch of locations where you can find a safe or two in Neverness to Everness, with them containing tons of Fons for you. Or well, for someone else, but they’re yours if you find them!
These safes act as a sort of hidden exploration reward. The game doesn’t really tell you about them, expecting you to just stumble upon them. Collecting them all can yield upwards of 600,000 Fons.
In this guide, I’ll tell you the locations of every safe I know of in NTE.
Midas Arc Workshop – 100,000 Fons
For this one, go inside the Midas Arc Workshop in New Herland District. As soon as you enter the building, take the stairs up to your left and you’ll be next to the safe. The next video shows this location.
 How to Get the Porsche 918 Spyder in Neverness to EvernessJun 4, 2026
 NTE: Is Lacrimosa Good? Full Build Guide (Teams, Weapons, Skills)Jun 3, 2026
 How to Spawn the Headless Rider in NTE (Anomaly Boss)May 8, 2026
Pink Paws Bank HQ – 200,000 Fons
You can find this safe in the northeastern part of the New Hertland District, inside the Pink Paws Bank HQ.
To reach it, go inside the building and take the first stairs to your right. Turn left as you go up to the second floor and enter the first room to your left. The safe is near the back of the room, as shown in the next clip.
Construction by Soleli Road – 3 Safes With 55,000 Fons Total
For this one, go to the building under construction north of Soleli Road in the Miguel District. There are 3 safes in total here, so I’ll give you a route to get them all fast.
As soon as you enter the construction grounds, look for a yellow elevator and use it to reach the second floor. The first safe will be around the corner to your left once you reach 2F.
Once you’ve cracked that safe, take the elevator again to go up to 3F. The second and third safes will be inside the office directly in front of you as the elevator stops. The video below shows this entire route.
Miguel District Garage – 2 Safes With 51,250 Fons Total
You can find this pair of safes within an unmarked garage in the northern part of the Miguel District. It’s right in the middle of the Whitetail Ridge Road.
The first and meatiest safe is to your left as soon as you enter the garage. The second and less worthwhile one is hidden behind the broken wall to the right of the entrance. A little silly that the one out in the open has 50k, right?
Anyway, the next video shows you how to reach both of these safes.
Video showing how to find the safes at the garage in the northern part of Miguel District.
Illusion Town House – 2 Safes With 51,250 Fons Total
To get this pair of safes, go directly north from the Leon Estate Group building in Illusion Town. You’ll find both safes next to each other outside one of the houses there, as shown in the next video.
Nameless Hospital – 3 Safes With 150,000 Fons Total
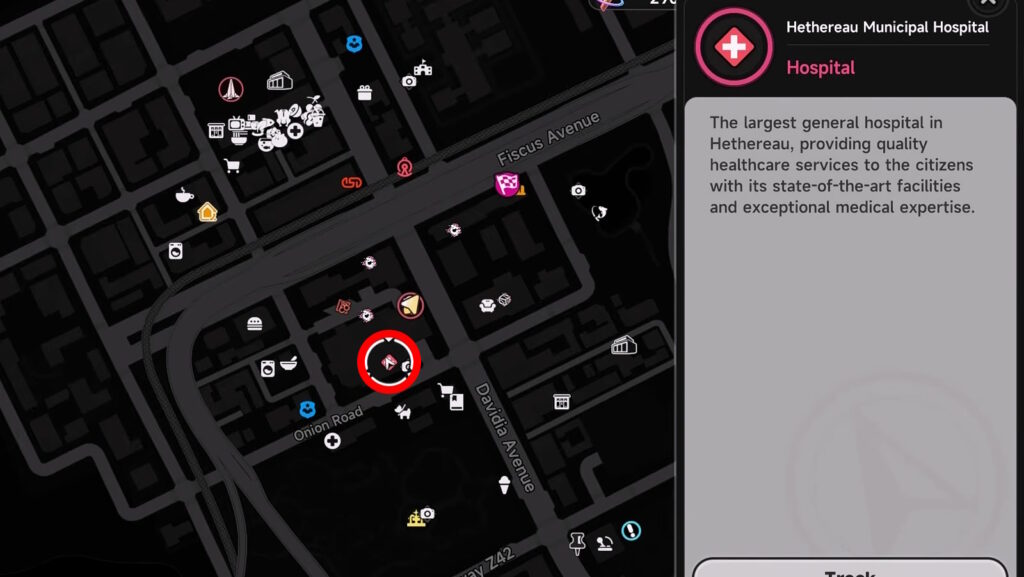
Now, for these ones, you’ll need to deal with the Nameless Hospital Anomaly.
This is an extremely involved section of the game, being a full on quest. As such, I won’t be covering every single detail required to reach the safes. Instead, I recommend checking out our full guide for the Nameless Hospital.
Do note, I recommend bringing Nanally with you, if you have her. Alternatively, make sure to bring Zero with you. You’ll need one of them to reach one of the safes.
First Safe
With that said, you can find the first safe after obtaining the first keychain, Keychain: 1F.
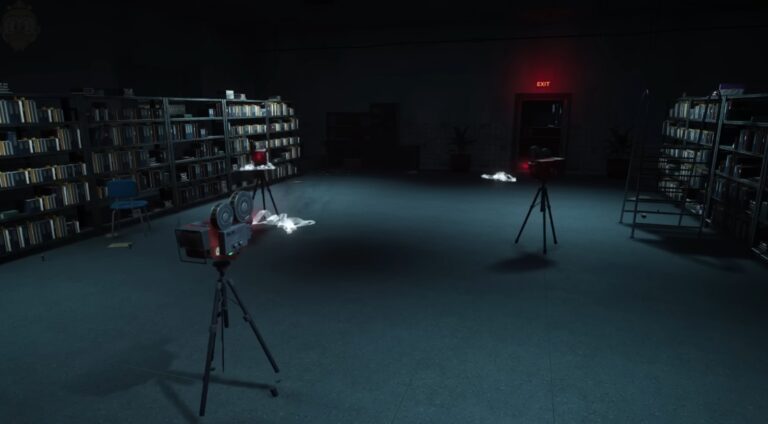
After picking up the keychain, go through the door with the glowing EXIT sign, which is where you came from. Open the third door to your right as you walk down the hallway.
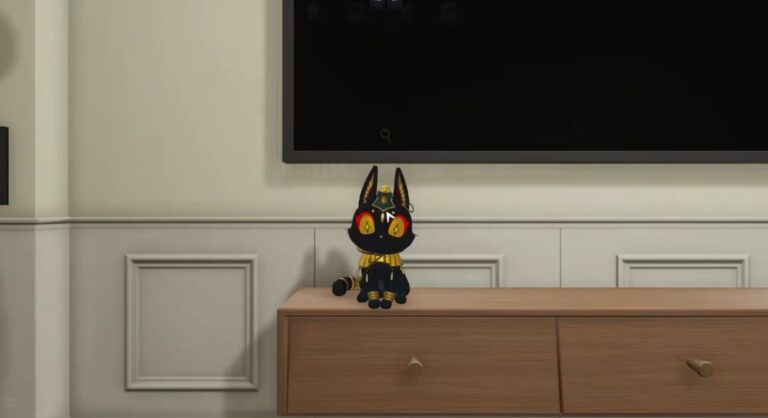
Then, go into the room and take the door to your left at the back of the room to reach an office. The safe will be there to your left as you enter the office. As always, the following clip shows this best.
Second Safe
For the second safe, continue through the Nameless Hospital until you pick up the Key: Central Ward. Then, jump through the hole in the nearby wall.
You’ll now be in a room that has a large hole in the ceiling. It’s tricky to reach unless you have Nanally, but you can do it by swapping character during Zero’s Skill animation and using your double jump. Start from the lockers if you use this trick.
While this trick is easier said than done, it’s available to every single player and just requires some practice! The next video shows you how to reach the hole using this method.
Third Safe
For the third Fons safe in the Nameless Hospital, drop back down through the hole in the room with the previous safe.
Leave the room, breaking the trash bags blocking the door if needed. Then go across into the other room in front of you. You’ll be in a large room, where you really just need to run to the opposite end while avoiding the Anomalies.
Keep going straight until you reach a window, then take a left turn and go all the way down the hallway until you reach a splattered wall. Turn to your left and go through the rooms, following the EXIT signs.
Once you reach the reception room, take the left corner one last time and you’ll be face-to-face with the final safe! I know this is all easier said than done, but the next video shows this entire route for you to follow.
Wrapping Up
So, there you have it! That’s all of the safe locations I know of in Neverness to Everness, giving you tons of Fons with relatively little effort! Well, except for those Nameless Hospital ones…
Nonetheless, this is a great way to load up on Fons pretty easily. All in all, you’re looking at a bit over 600,000 Fons if you get every single one! Always good to have that money, especially if you need to reach the milestones for City Tycoon levels.
Now that you’ve loaded up on Fons, it’s a great idea to just save them and not spend them on things you can get for free. Sounds good to you? Check out our guide on how to steal in NTE.