 19 articles
One of the many activities you can do in Neverness to Everness is the Anomaly Commissions. These are essentially special missions that involve you hunting down entities called Anomalies throughout Hethereau.
One such entity is the Nameless Hospital Anomaly, which as the name implies, can be found inside a hospital. Here’s how you can complete this mission.
Nameless Hospital Anomaly Quest Guide
The Anomaly Commission for this one is called Nightmare-bound. To get started, head over to the Hethereau Municipal Hospital in Illusion Town.

You can teleport to the nearby ReroRero Phone Booth and simply face right to see the entrance to the hospital.
 How to Get the Porsche 918 Spyder in Neverness to EvernessJun 4, 2026
 NTE: Is Lacrimosa Good? Full Build Guide (Teams, Weapons, Skills)Jun 3, 2026
 Safe Locations to get Tons of Fons in Neverness to EvernessMay 14, 2026
Enter the hospital and head to the far right section. Turn right and enter the door that leads to the stairs, and immediately turn right to find the Nameless Client.

Talk to the Nameless Client and choose the (Close eyes) option to open the window for the quest. Click Enter to get started. This will transport you to an Anomalous Realm that’s tied directly to this quest.
Look for Clues Inside the Realm
Your objective will be to look for three clues while inside the realm, all while avoiding the patrolling monster. Getting caught will result in you failing the mission, at which point you’ll have to start over again.
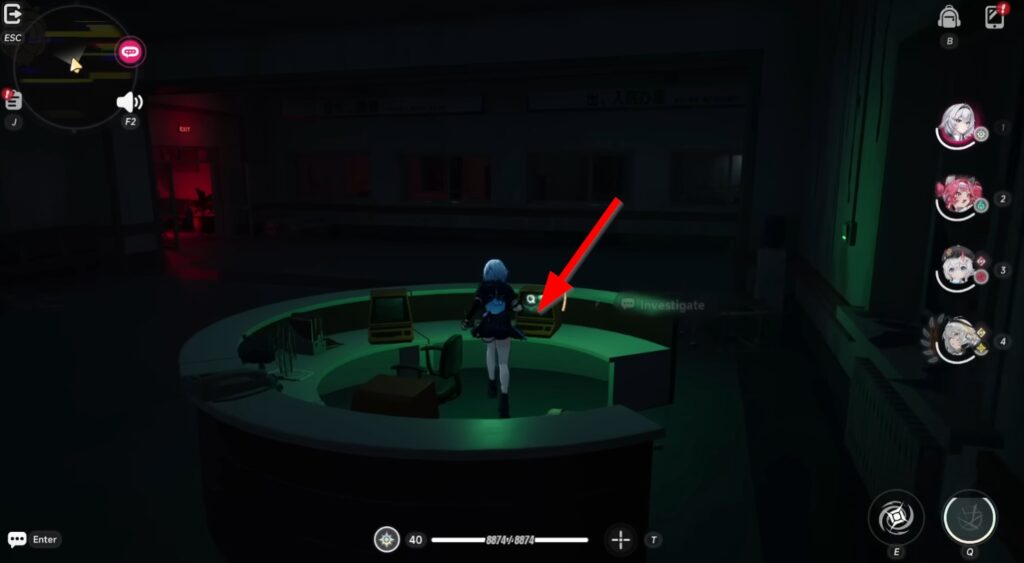
You can find the first clue on the nearby desk right where you spawn. Simply head over to the desk on the right and investigate the computer on the right side.
This should give you the first clue.
From there, head to the door on the left and follow the hallway, then turn right, forward a few steps, and turn right once more.
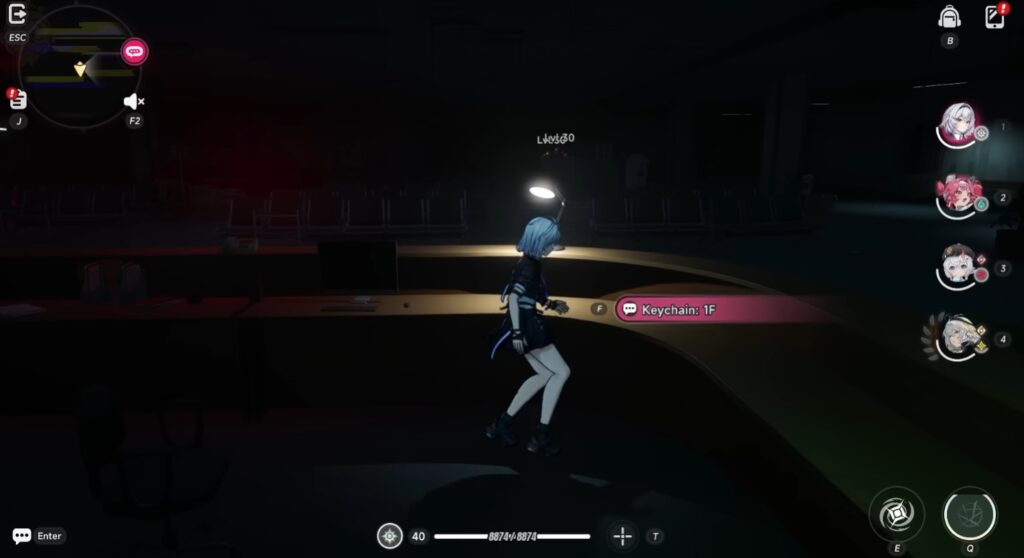
Once you’re in the third room, turn right to see another desk. Interact with the keychain on the desk to obtain it.
Activate the Generator Room
To the right of the desk is a room containing the generators. You’ll have to activate four inactive generators in order to restore the power, but it should be done in the correct order.
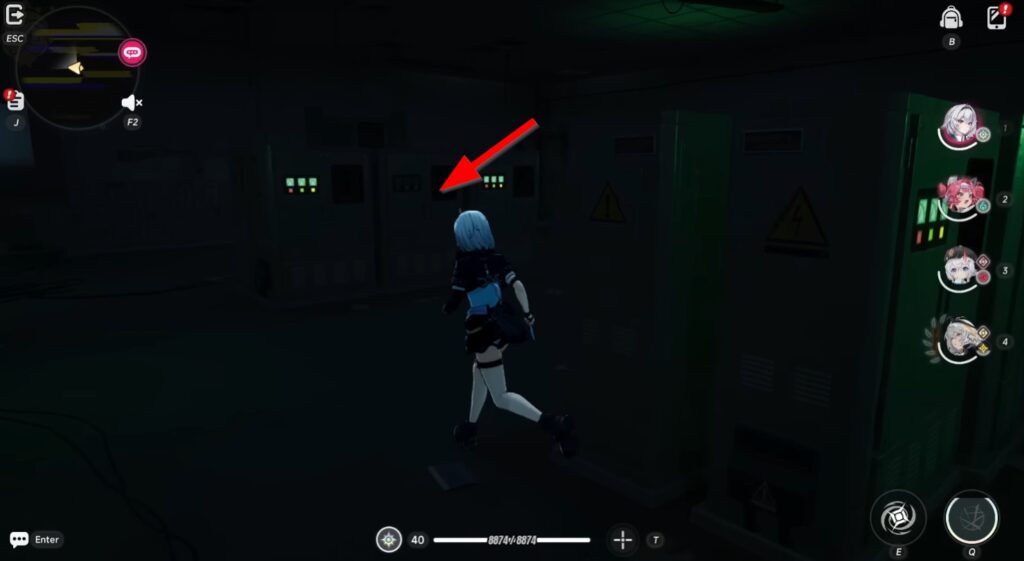
Here’s the exact order you should follow in order to restore power:
- First, activate the middle machine in the second row.
- Next, activate the machine right in front of the first one.
- Then, activate the machine on the leftmost side of the first row.
- Lastly, activate the middle machine on the rightmost side of the first row which is near the door.
This should restore the power shortly after. At the same time, it will cause the Bandaged Monster Anomaly to spawn. You want to avoid getting caught as much as possible, as getting caught will transport you to the starting area.
Flee from the room as soon as you can, then from the desk, head over to the room on the left, and go through the doorway with the Exit sign on top.
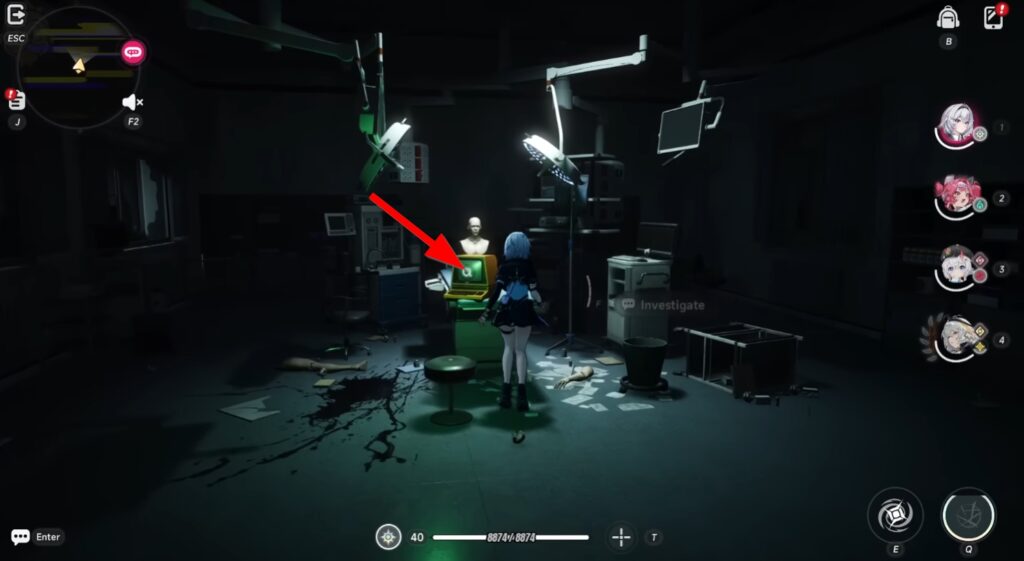
Just up ahead, you’ll find a room with a closed door. Enter that room and look for the computer sitting on top of a table alongside a bust sculpture.
Interact with it to obtain the second clue.
For the third clue, exit through the door to the left, turn right, then enter the door to the far left. Turn immediately to the left, go through the exit, and keep going straight until you reach a room with a blood mark on the wall.

To the left is a closed door. Enter that room to find a computer on top of a table. Interact with it to obtain the third clue.
Finally, enter the room to the left as well as the second room after it. You’ll see broken lockers on the left side of the second room.
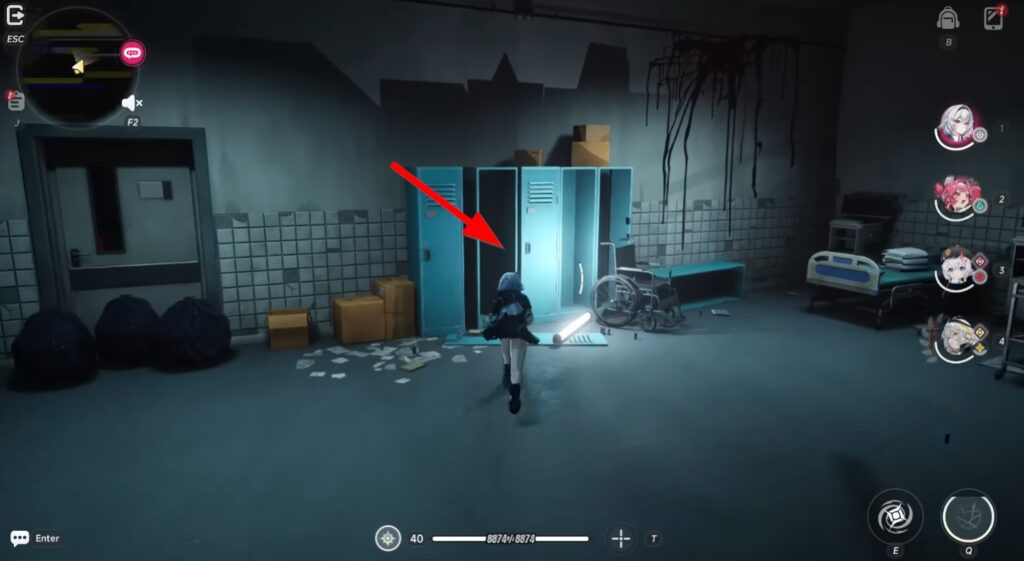
Interact with it to obtain the Spare Key.
Place the Clues to Complete the Quest
To the left of the lockers, you’ll find a closed door with some trash bags lying on the ground. Destroy those trash bags to exit the room, then simply head to the nearby door to the left.
You should be able to unlock it now that you have the spare key. Go up to the second floor and straight through the doorway. You’ll find a door on the left side of the desk.
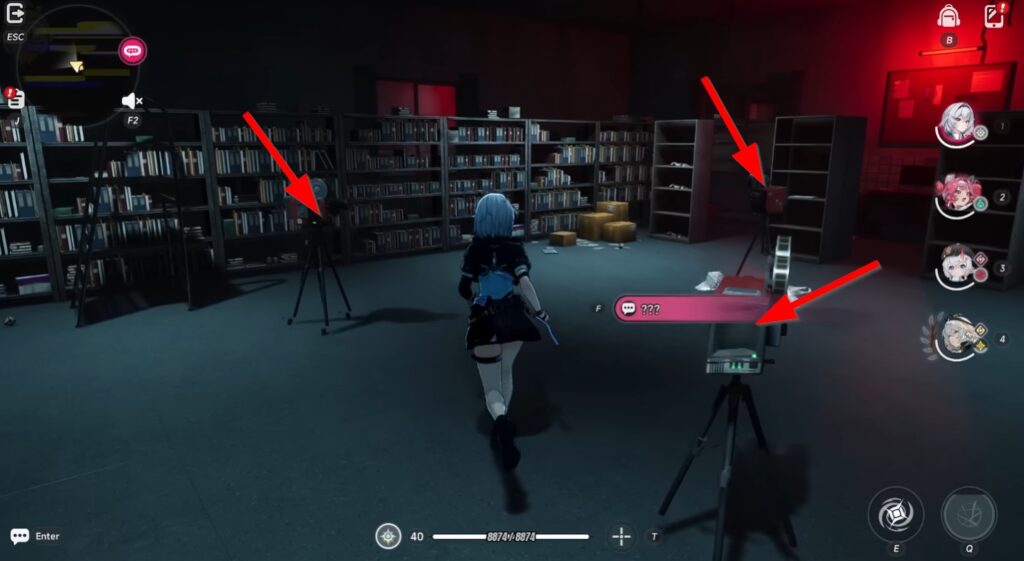
Interact with all three recorders. Choose the Anomaly Disorder Clue and insert one clue for each recorder.
A cutscene will then start playing, and once it ends, it will transport you to the real world. This then completes the quest alongside the First Ending (Price of Betrayal).
There are a total of 4 endings for this mission, and your ending will depend on which actions you take. This is just one of them. Hope this helps!