 8 articles
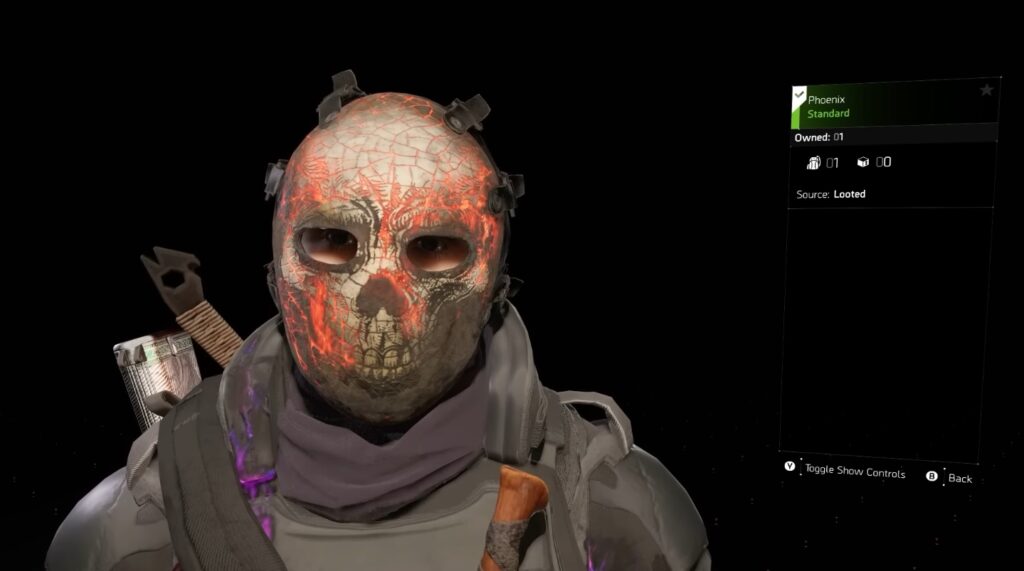
The Hunter masks in The Division 2 have always been one of the game’s coolest cosmetic rewards. And not long ago, Ubisoft introduced the new Secret Phoenix Hunter Mask.
This is part of the Battle for Brooklyn Anniversary event, where the community has been racing through Brooklyn trying to solve the puzzle tied to this hidden Hunter encounter. However, unlike older masks that only required a quick interaction or a simple nighttime event, the Phoenix Hunter mask takes a little longer to obtain.
Without further ado, here’s how you can get your hands on the new mask.
How to Get the New Secret Phoenix Hunter Mask in The Division 2
Before you start, you need to meet two major requirements.
 The Division 2 – Scout 11 Manhunt WalkthroughMay 8, 2025
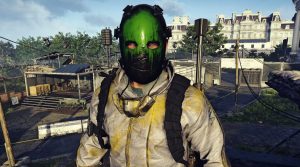 Tom Clancy’s The Division 2: How to Get ALL Secret Hunter Masks and Ivory Keys LocationsMar 23, 2023
 Tom Clancy’s The Division 2: Returning Players Guide After PTS Phase 3 | Most Important Changes to Know AboutApr 30, 2022
First, you need to own the Battle for Brooklyn DLC as it’s where all related puzzle areas are located inside Brooklyn. Second, you must already own the eight Brooklyn Hunter masks released with the expansion.
Emphasis on the eight Brooklyn Hunter masks. This doesn’t include the other secret hunter masks that were released in the game prior.
Once you have met the requirements, you can proceed to the following steps:
Step 1: Begin the Phoenix Hunter Puzzle
Unlike the previous masks, the Phoenix Hunter mask revolves around locating five hidden clues scattered across Brooklyn.
There are five hidden clue interactions scattered throughout the map, and a final Hunter activation sequence. The clues appear tied to environmental storytelling and blacklight interactions similar to earlier Brooklyn puzzles.
After you have activated all five clues, the final Phoenix encounter becomes available.
Step 2: Locate the Five Phoenix Clues
The five clues are hidden throughout Brooklyn. Also, these clues must be completed in order, and if one interaction fails, the sequence may reset.
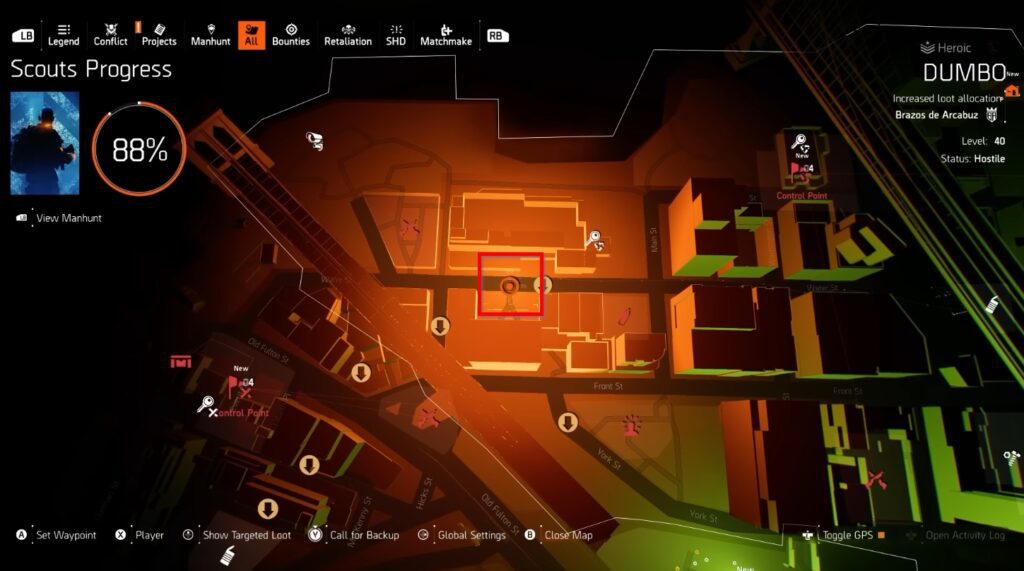
First Clue
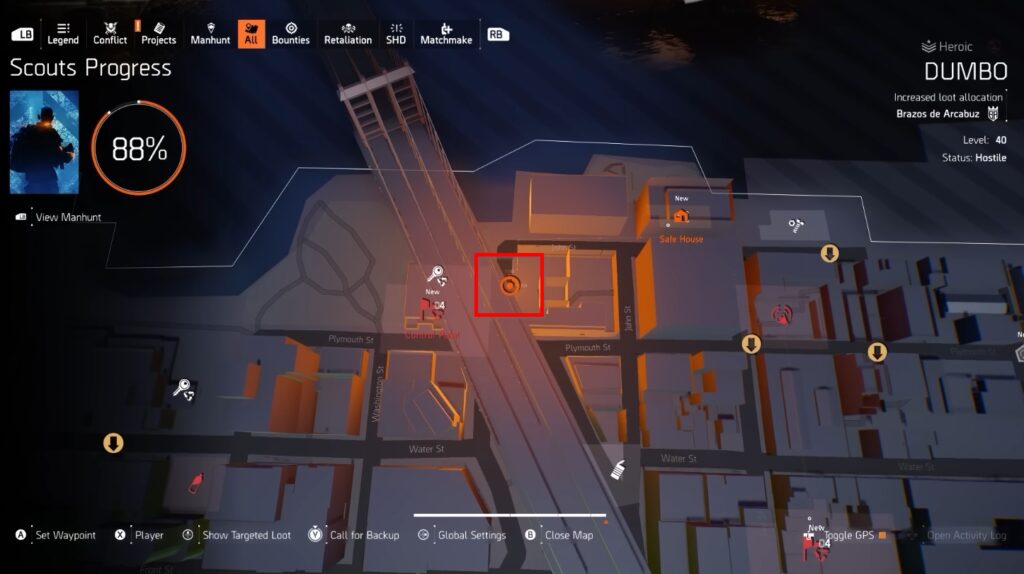
You can find the first clue near the Warehouse Control Point in Dumbo which is just below the Manhattan Bridge.
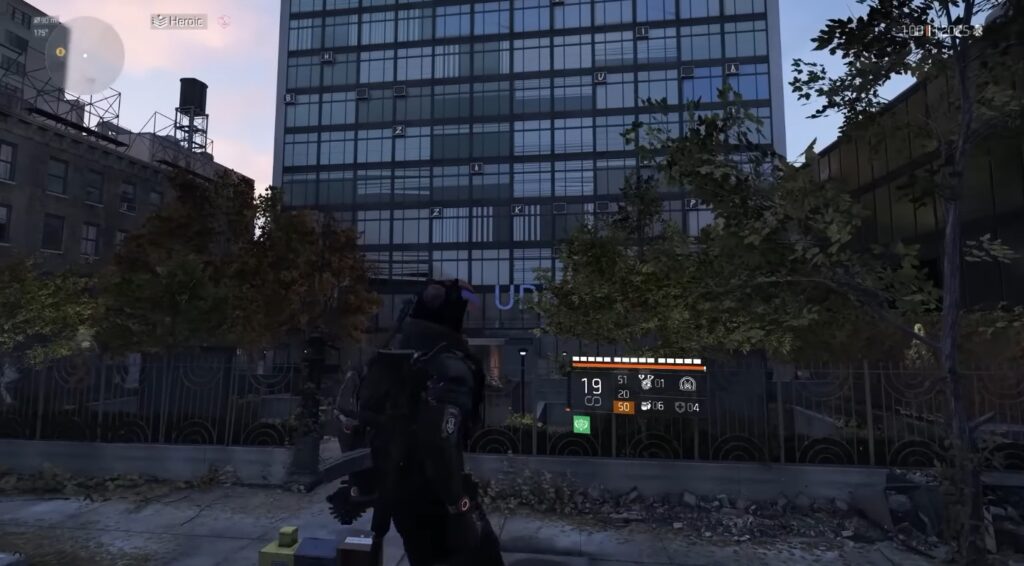
From there, make your way to the building and head to the rooftop, which is the exact spot where you fought Necronos. You’ll notice fire burning on top of the roof, and that’s where the first clue is.
Second Clue
For the second clue, you want to head to the 192 building where you fought the Tracker Hunter boss. Head inside to find a tripwire setup in front of you. Simply walk through it to trigger the tripwire and set the room on the right side on fire.
Once this happens, exit the building and make your way to the other side of the building on Water Street. You’ll notice another doorway labeled 192, and the pathway is also blocked by the same fire you set earlier.
Simply turn around to find a scaffolding that you can scale.
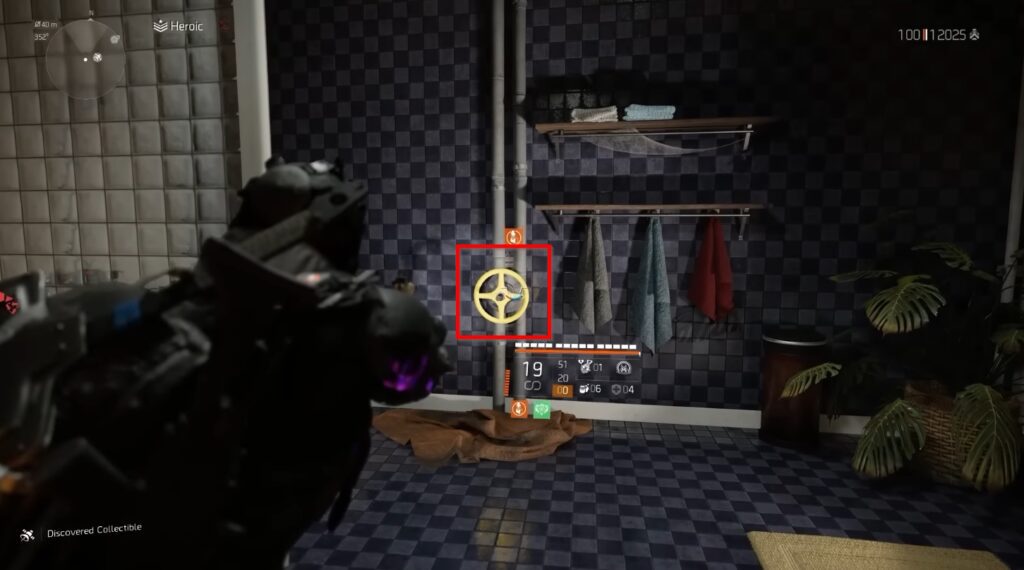
You should be able to find a small opening in the window. Enter the building via the window and head to the bathroom to find a yellow valve. Activate it.
Exit the building and go back to the street. You’ll find a manhole just right underneath the scaffolding.
Go down the manhole via the ladder, and you should find another valve immediately to your right. Activate the valve, then head back to the 192 building. At this point, the sprinklers should be activated and the fire extinguished.
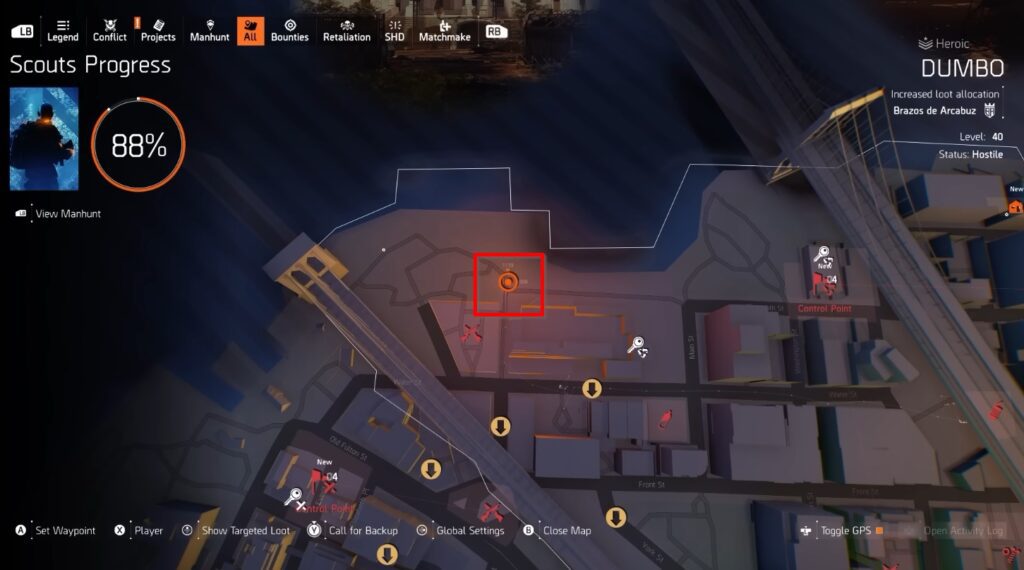
Third Clue
You can find the third clue on the Redtail Hunter location, which is directly under the Manhattan Bridge.
Once you get there, locate a fence and then climb over it. Head down the manhole, and once you’re underground, you’ll find another tripwire. Activate it to set the front area in flames.
Above them are water pipes that you can shoot down. Shoot a total of three of these pipes to extinguish the fire.
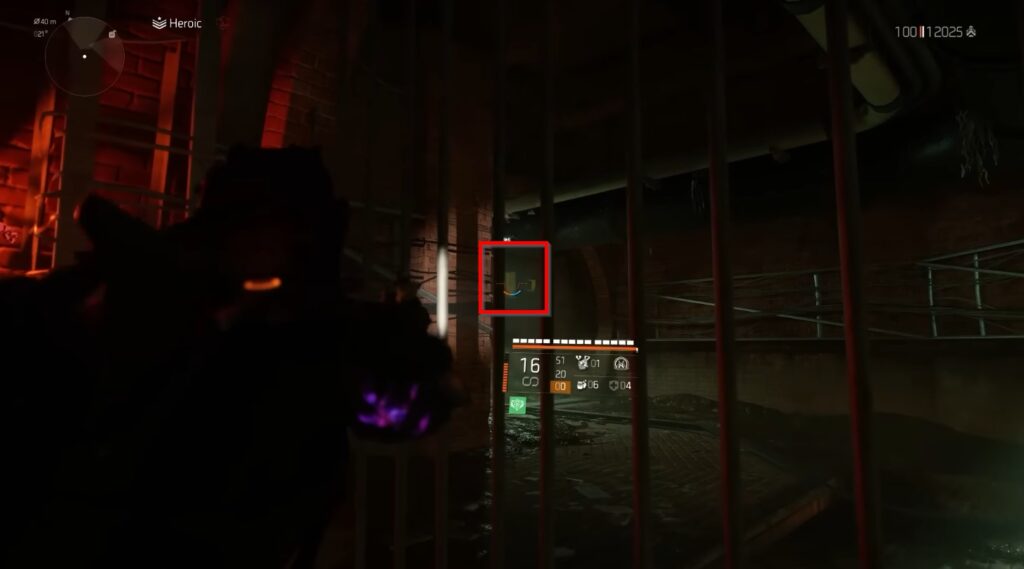
At the end of each passageway, you’ll find a yellow box that you can shoot. Doing so will turn on the blacklights in front of you. After shooting down the two boxes, head back to the middle to find a Roboto figure lying on the ground.
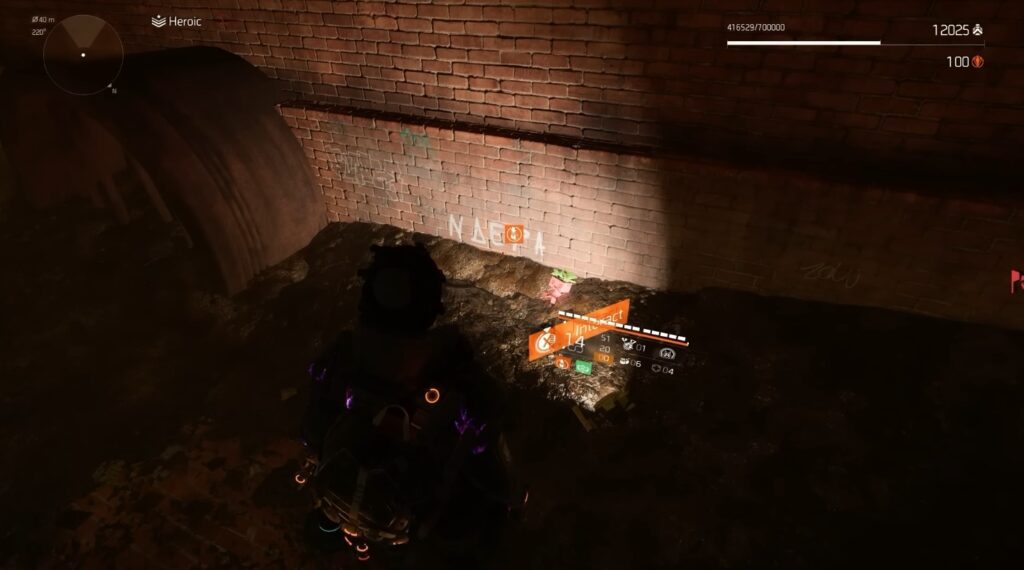
Interact with it twice to activate the third blacklight.
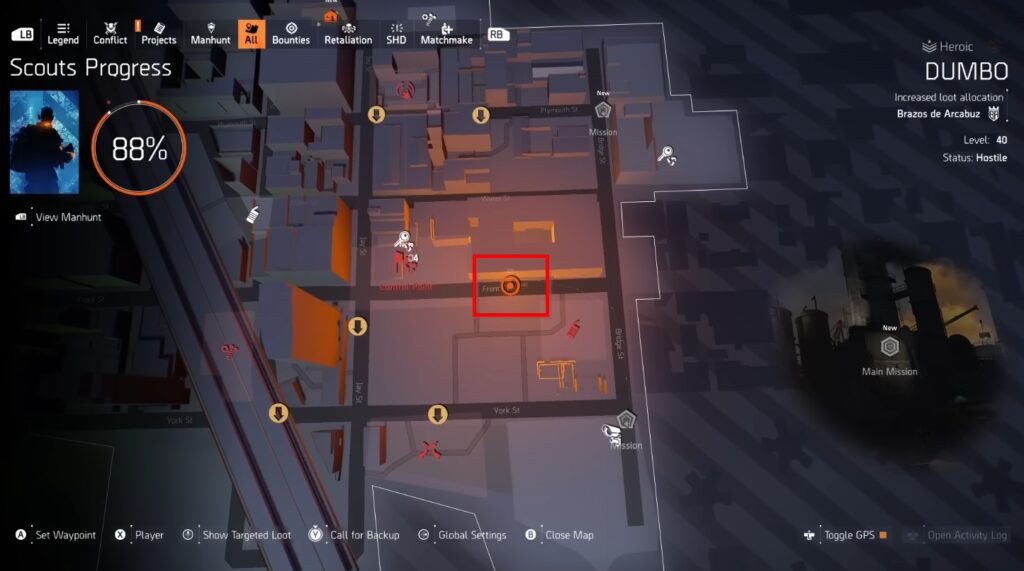
Fourth Clue
For the fourth clue, you want to head to the huge building opposite the police station, the spot where the Cipher Hunter fight occurred.
Here, you’ll see a bunch of letters on the building, and your objective is to spell the word “PHOENIX” by shooting the letters in the exact order.
Make sure not to shoot a letter twice, but if that happens, simply restart the process.
After that, you should be able to hear music playing in the courtyard.
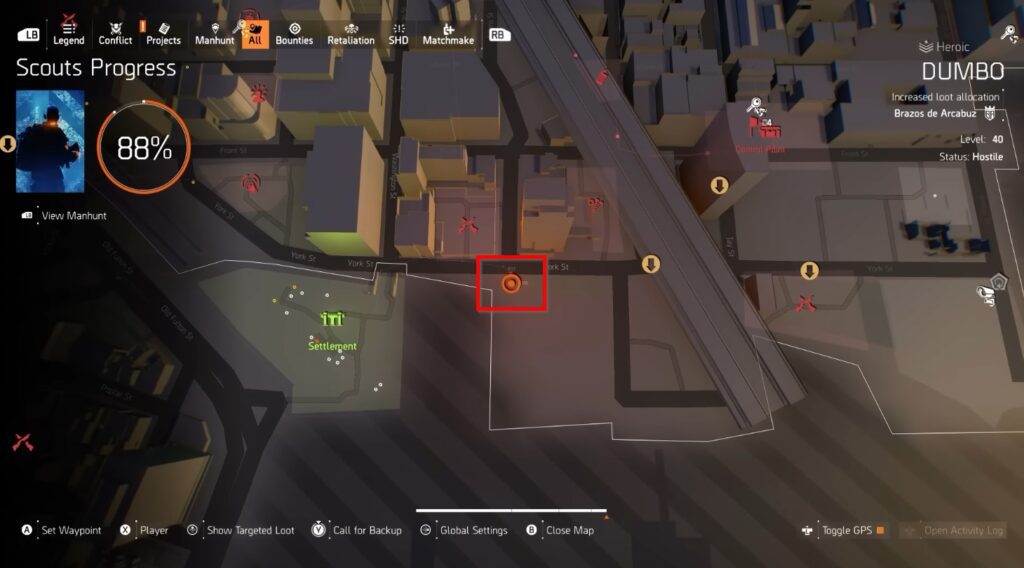
Fifth Clue
The final clue is located in the northwest part of the map where the Merry Hunter fight took place.
Once you get there, hug the right wall as much as possible. Don’t go straight as it will activate a fire turret. Further down, you should be able to find a blue generator on the ground. Interact with it to disable the turret.
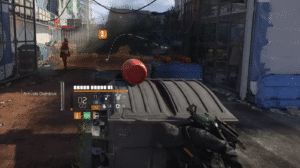
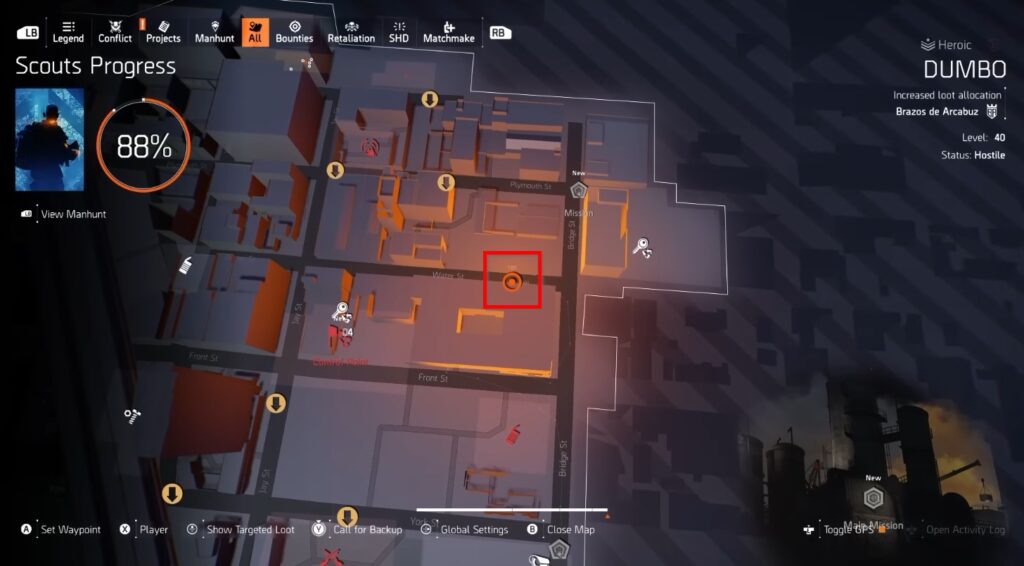
Step 3: Locate the Phoenix Hunter
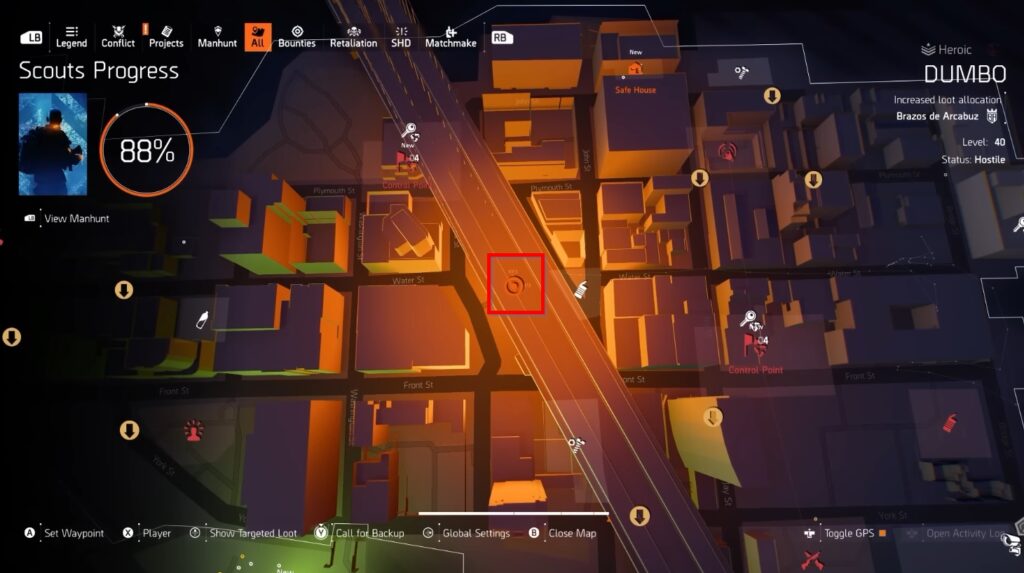
Now that you’ve gathered all the clues, your next step is to locate the Phoenix Hunter himself.
Simply refer to the map above to locate his hideout.
Once you get there, look for a locked door with the words “Keep Out” painted beside it. As long as you collect the clues in the exact order, you should be able to open the door.
Simply follow the pathway until you come across a red door. Open it to access the room where you’ll find the Phoenix Hunter himself alongside other enemies.
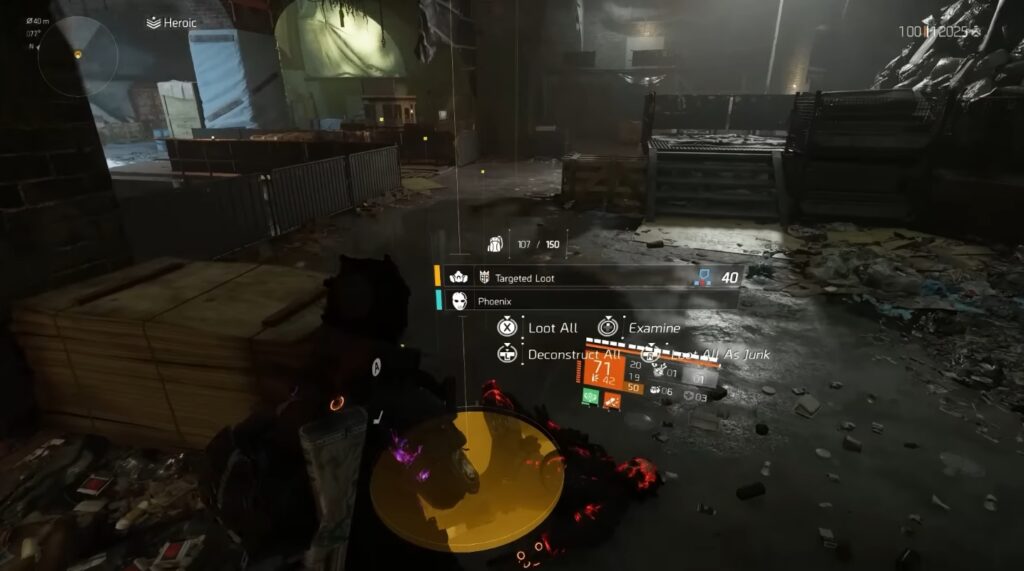
Take everyone down, then simply loot the mask from the Phoenix Hunter’s corpse.
And that’s pretty much it! As you can see, it’s quite a long process that might take you a few hours. But in my opinion, it’s actually worth doing as the mask looks badass.
Besides, it’s not every day that The Division 2 releases content like this!