
 52 articles
Season 14 is out now for Diablo 4, and it’s important to learn about how gearing works in it if you’re planning to tackle the endgame.
For veterans, there aren’t any truly massive changes to the overall gearing process. Loot tables themselves have changed, but the overall process is similar. Nonetheless, whether you’re new or returning, it’s important to know what to look out for!
In this guide, I’ll tell you everything you need to know about gearing, including key places to get gear from.
Level 70 – Readying for Torment
Let’s start with what to do once you hit the Level 70 cap. That’s when gearing really starts to matter! By this point, you will have been able to get away with just using whatever gear you find, as it doesn’t matter too much.
 Best War Plans Trees for Diablo 4 EndgameJul 3, 2026
 Diablo 4: New Mythic In Season 14 (Versions, and How to Get Them)Jul 3, 2026
 Best Ways to Get Horadric Gems in Diablo 4Jul 3, 2026
However, from this point forward, you’ll need to start gearing up better. Your purpose is now to prepare for Torment difficulty, which you unlock through clearing various Tiers of The Artificer’s Pit, also known as just The Pit.
As soon as you reach Level 70, all item drops you find will be 850 Item Power. The difficulty you play on doesn’t matter for this, so you can stick to Normal if you wish! All items will be 850 Item Power regardless.
Your goal at this stage is to just try to get a full set of 850 Item Power gear that fits your build. If you don’t know which build to play, I suggest checking out the Apocalypse Warlock build. It’s great for clearing The Pit, which means it’s also great for progressing through Torment levels.
When you have a full set of 850 Item Power gear and you’re confident in your build, you’ll need to unlock Torment I difficulty. That’s the next step up in difficulty and gearing!
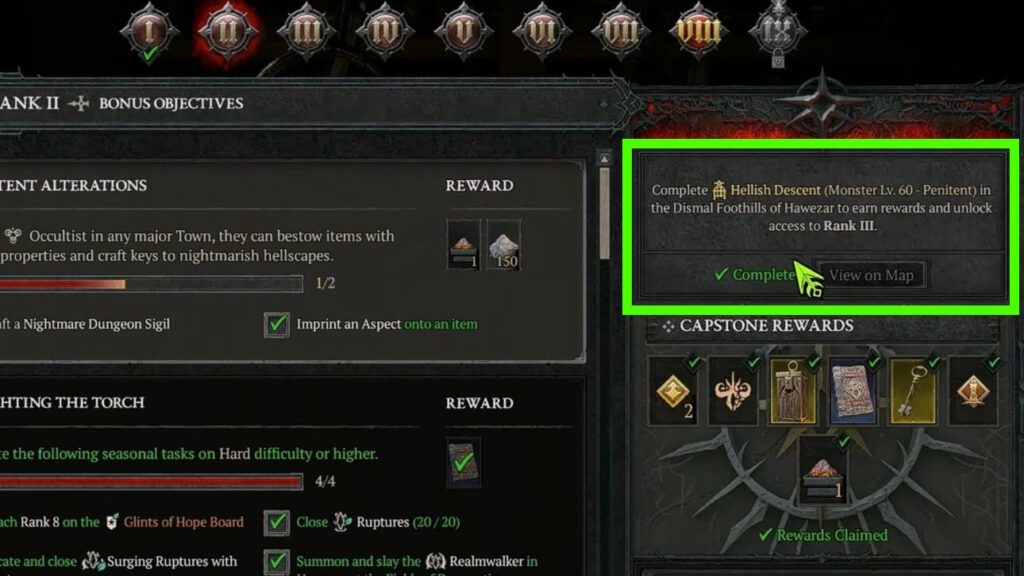
To unlock Torment I difficulty, check the Season Rank page in the pause menu. Check the top right corner of the screen to know which Capstone Dungeons you need to complete for your Season Rank. You want to complete at least Season Rank I and Season Rank II.
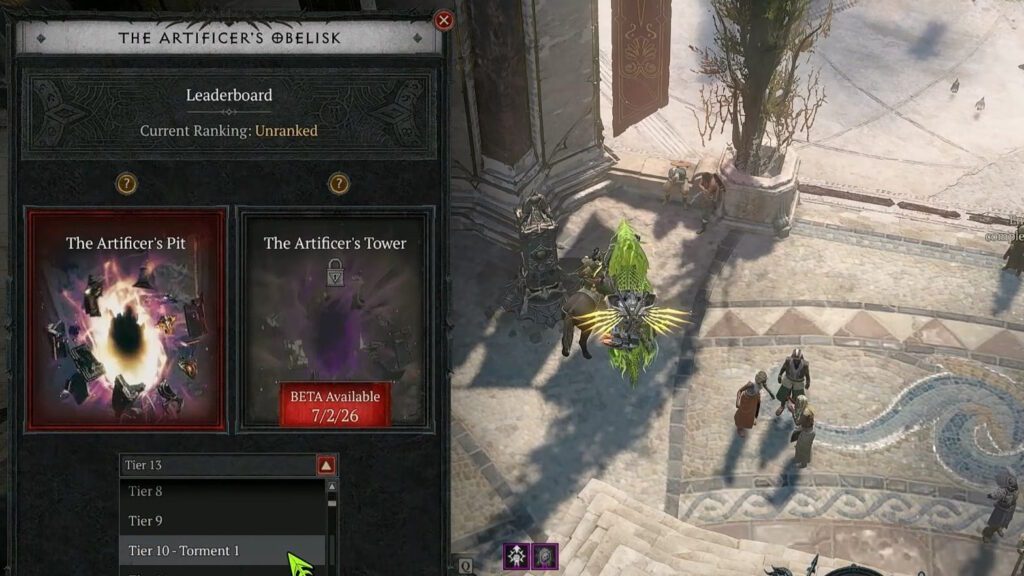
When you’ve cleared the Season Rank II Capstone Dungeon, you’ll be able to enter The Artificer’s Pit. You can access it from The Artificer’s Obelisk at Cerrigar (Scosglen) or Temis (Skovos).
Manage to complete up to Tier 10 of The Artificer’s Pit to unlock the Torment I difficulty. Switch to it as soon as you’re ready for it.
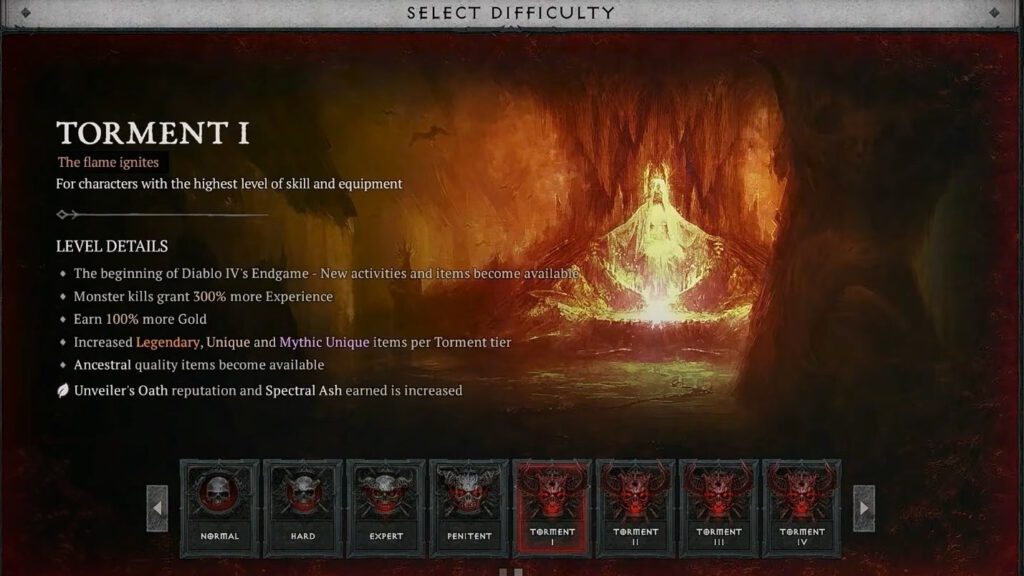
Torment Difficulty and Ancestral Gear
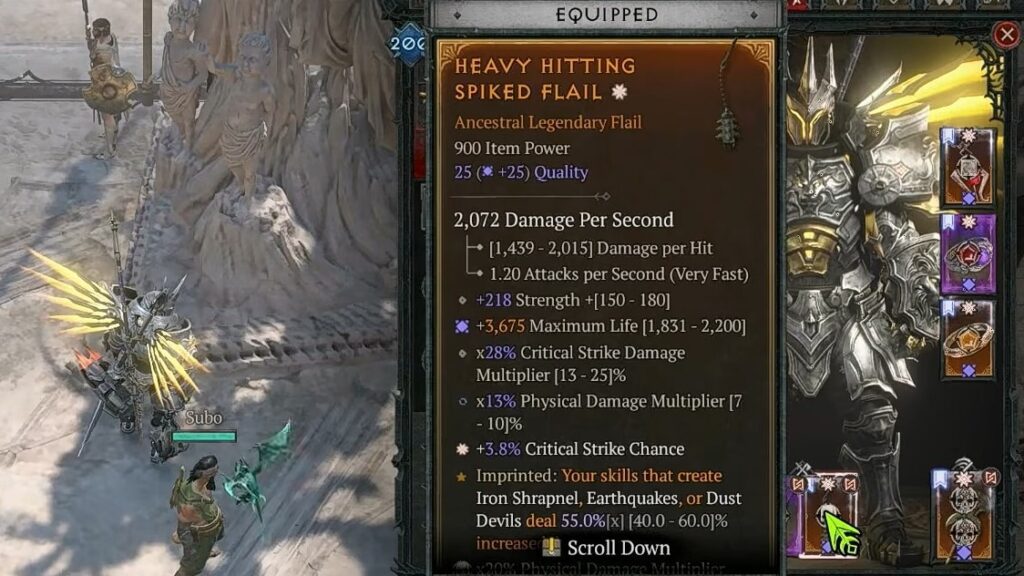
Once you’re in Torment difficulty, you’ll be able to get Ancestral gear. This gear does not drop on lower difficulties and is generally the strongest in the game, reaching an Item Power of 900. That’s the current cap!
Additionally, you’ll also have a better chance of finding Legendary, Unique, and Mythic Unique gear. This can help you gear up as you farm for Ancestral gear, which is the rarest in the game.
Now, you’re unlikely to find Ancestral gear easily, at least on Torment I difficulty. So, your goal now is to keep pushing through Tiers in The Pit to unlock harder Torment difficulties, which have higher drop rates for Ancestral gear.
Since gear itself can be pretty tough to come by, a lot of your power at this point will come from the Paragon Board. How exactly you progress through the Paragon Board depends on your build and needs. But the gist of it is that you should focus on it over gearing at this point.
As you progress through the Paragon Board, you’ll strengthen your character to tackle higher Tiers of The Pit. Then you clear The Pit to unlock higher Torment difficulties, which increases your chance of getting Ancestral gear. Rinse and repeat until Torment XII, really!
Where to Get Ancestral Gear From
Do the Infernal Hordes
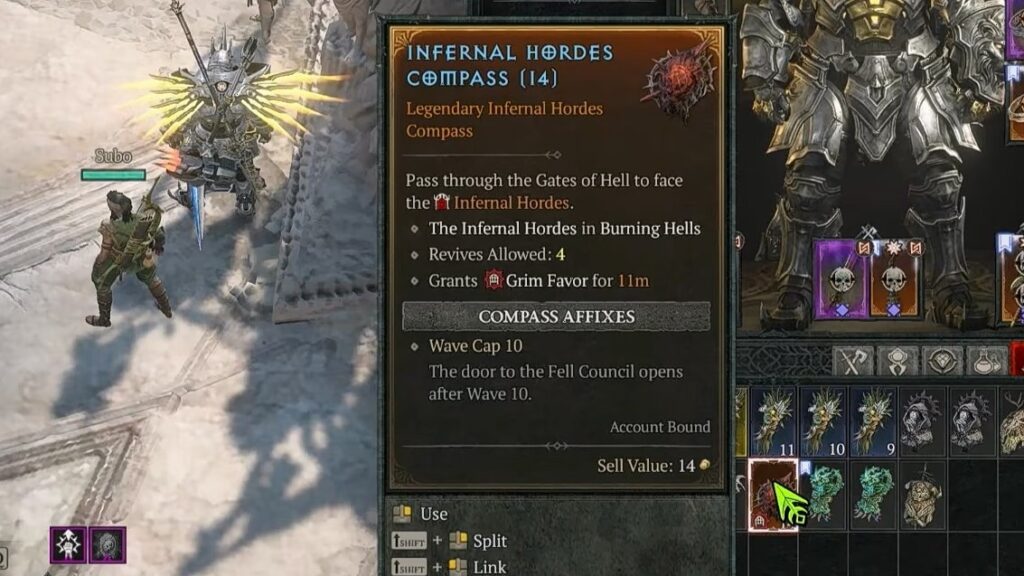
As part of your progression, I recommend also doing the Infernal Hordes activity whenever you can. You unlock it after completing the “The Eyes of the Enemy” questline at least once in your account.
To participate in this activity, you’ll need to get and use Infernal Hordes Compasses. These primarily drop Helltide chests, Tree of Whispers Caches, Nightmare Dungeons, and The Pit. Rarer compasses allow for more waves of enemies and better rewards.
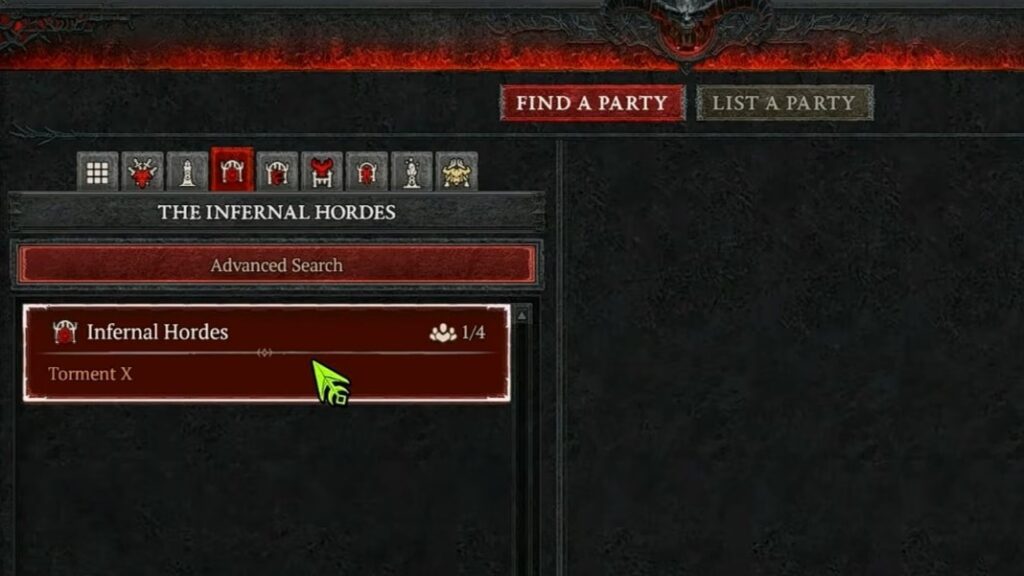
An alternative way to enter this activity is to use the in-game Party Finder. Search for parties for Infernal Hordes and join them. Just be sure that you’re able to pull your own weight during the activity, of course.
The main reason to complete Infernal Hordes is that they’re an incredible source of Ancestral gear. Get the “Spoils of Greater Equipment” for 400 Aether during the activity to guarantee at least 1 Ancestral item!
Check the Glints of Hope Board
Another great way to get Ancestral gear is the Glints of Hope reputation board. It becomes accessible in Zarbinzet as part of the Season 14 questline, starting with “A Gospel of Despair.”
To progress through this reputation board, you’ll need to complete Pandemonium Ruptures. These can spawn anywhere in Sanctuary, but are most common in Helltides areas. Which, conveniently, are also great for loot and the Infernal Hordes Compasses!
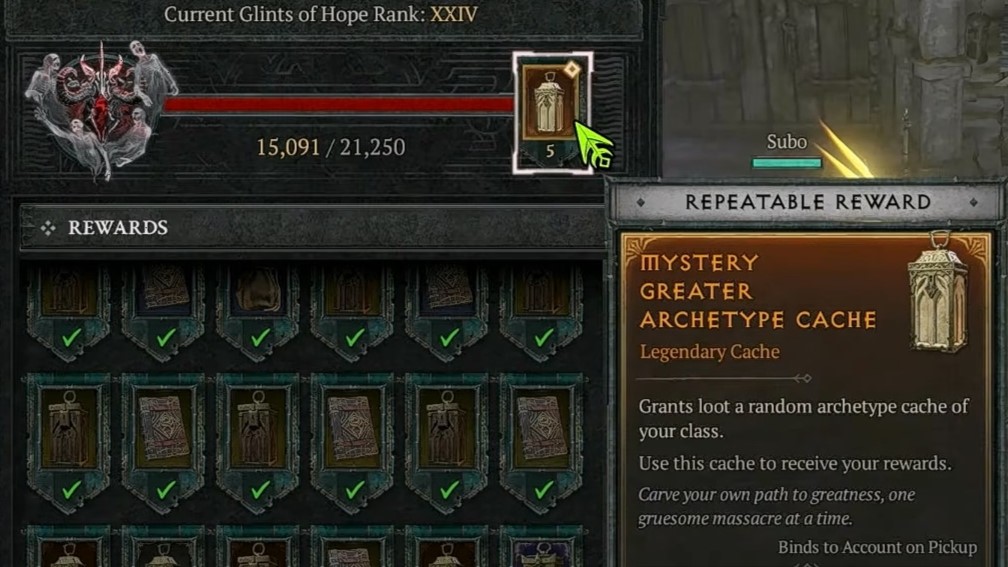
As you complete these Ruptures and get Glints of Hope, you’ll rank up at the reputation board. This gives you loads of rewards, but the most important for gearing are the Mystery Greater Archetype Caches.
You can get guaranteed Ancestral gear for your class by opening these Mystery Greater Archetype Caches. As such, they are an excellent source of gear, so make sure not to ignore them.
You can even get these caches indefinitely as a repeatable reward from the Glints of Hope board! So, make sure not to ignore them.
Purvey the Purveyor of Curiosities’ Wares
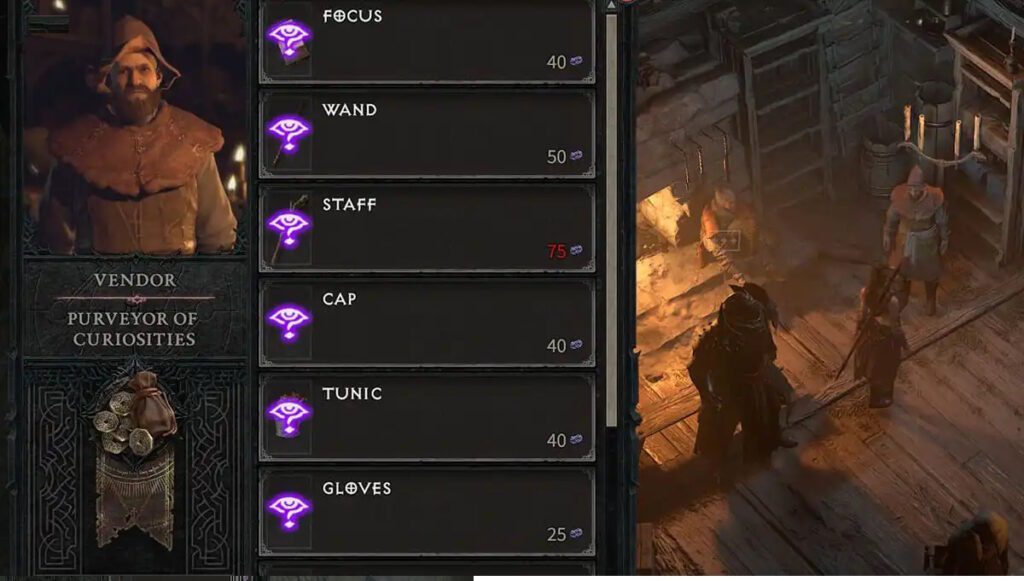
Yet another great way to get great gear, including Ancestral gear, is to spend Murmuring Obols at the Purveyors of Curiosities. You can find these gambling merchants in most cities and settlements.
Now, I do advise saving this method for later difficulties. The merchants’ drops depend on your difficulty, so higher Torment difficulties are recommended. Do not waste Obols on Normal difficulty, if possible.
Regardless, these merchants allow you to purchase specific types of gear. So, they’re great if you’re trying to target something specific. Plus, you’ll be getting Murmuring Obols from just playing and completing events. Might as well spend them, right?
Visit the Undercity
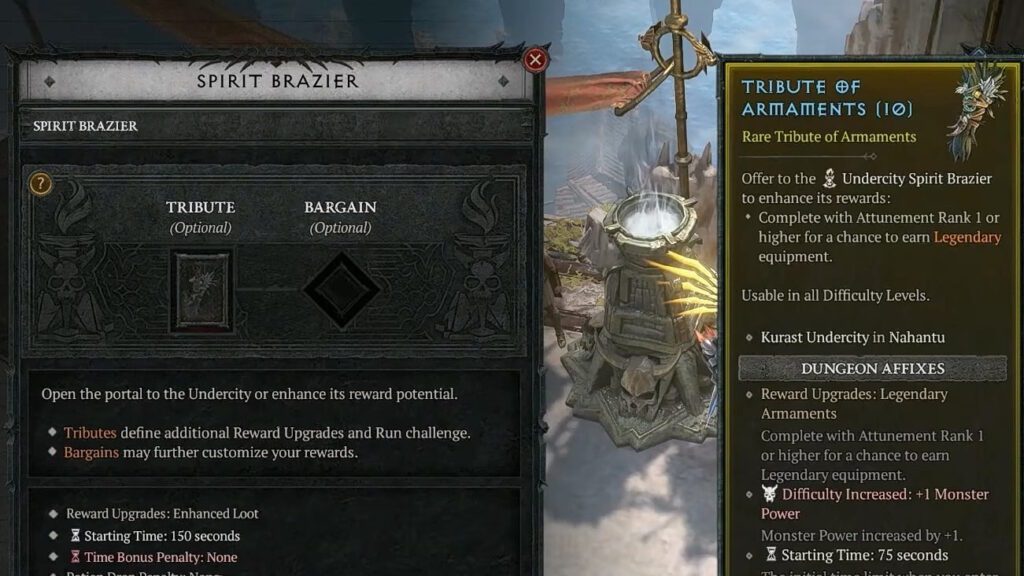
Another great spot for gearing up is the Undercity. You can access it through the Spirit Brazier in Kurast or Temis. It unlocks as part of the Vessel of Hatred campaign.
To get better loot in Undercity runs, I recommend using Tributes of Armaments. These are special sigils you can get as random drops anywhere in Sanctuary.
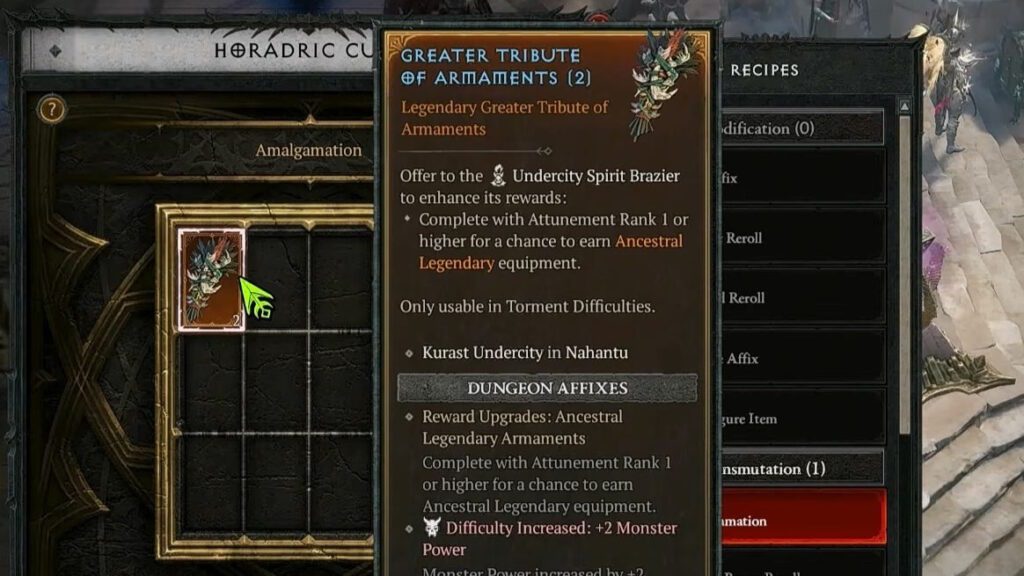
This is even better if you have access to the Horadric Cube, too! You can use the Horadric Cube’s Amalgamation feature to turn 5 Tributes of Armaments into 1 Greater Tribute of Armaments.
The benefit here is that the Greater Tribute of Armaments guarantees that you get Ancestral gear during the Undercity exploration.
So, in short, the ideal thing to do is to get Greater Tributes of Armaments and use them when entering the Undercity. This is a great way to get guaranteed Ancestral drops.
Complete Nightmare Dungeons
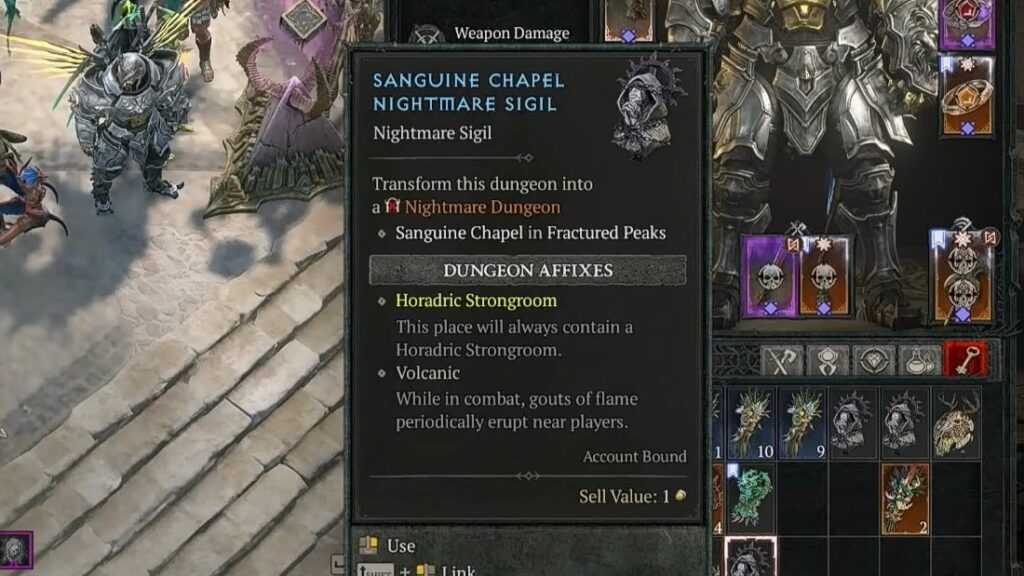
Yet another solid source for gear, including Ancestral gear, are the Nightmare Dungeons. These are harder variations of dungeons which you can access by using Nightmare Sigils. You can get these sigils through the Whispers of the Dead content.
If you’re lucky, you might get Nightmare Sigils that have the Equipment Delve affix. Those allow you to find Horadric Artifacts during the Nightmare Dungeon, resulting in better and rarer gear at the end.
Alternatively, you can also look for Horadric Strongroom affixes. Those rooms contain bosses that have a chance of dropping Escalation Sigils.
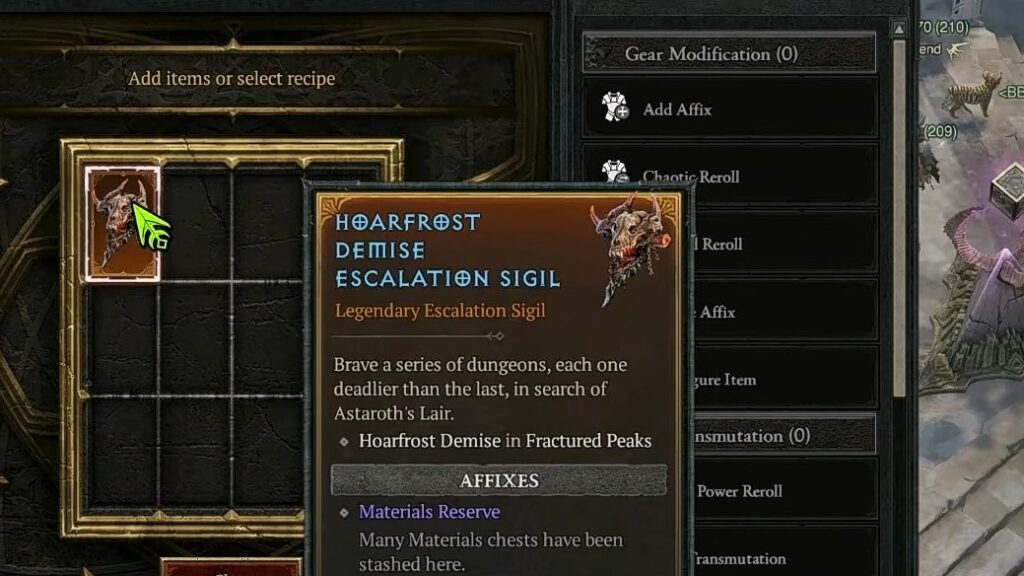
Escalation Sigils allow you to tackle a sequence of increasingly difficult dungeons. To match the increasing difficulty, though, you’ll also get rarer gear as you progress through the dungeons!
If you have access to the Horadric Cube, you can make Escalation Sigils yourself, too. Just combine 5 Nightmare Sigils using the Amalgamation feature to get 1 Escalation Sigil.
Escalating Nightmare Dungeons are by far one of the best sources of gear in Season 14 of Diablo 4, so do not ignore them in your gearing process.
Wrapping Up
Ultimately, there is a lot to keep in mind when gearing up in Season 14 of Diablo 4, but a lot of it should be familiar to veteran players.
The gist of it is to get to Level 70 as quickly as possible, then progress into Torment difficulties. Unlock the highest Torment difficulty you can, then farm for gear in it using any combination of the various methods outlined in this guide.
With that, you should now be ready to gear up your character and tackle higher challenges! That said, do look into what type of gear your build specifically requires, as you can target farm some of them from specific content.
Nonetheless, I hope this helps you get started with gearing up for this season! To help you on your journey, check out how to get a guaranteed Mythic Unique early. You can do that as soon as you reach Torment I.

Found another tip?
Share your extra strategy, correction, or question below. Helpful comments can make this guide better for everyone.