 19 articles
If you want to excel in Battlefield 6, you’ll want to deck out your guns in the best attachments while also being aware of what they actually do.
There’s a lot to keep in mind when picking attachments in this game. There are a lot of attachments, for one, but even what they actually do is a bit hard to keep track of. The stats the game gives you don’t tell the whole story, really.
In this guide, we’ll give you our recommendations on the best attachments and explain how they work.
Best Attachments to Use And What They Do | Battlefield 6
Muzzles
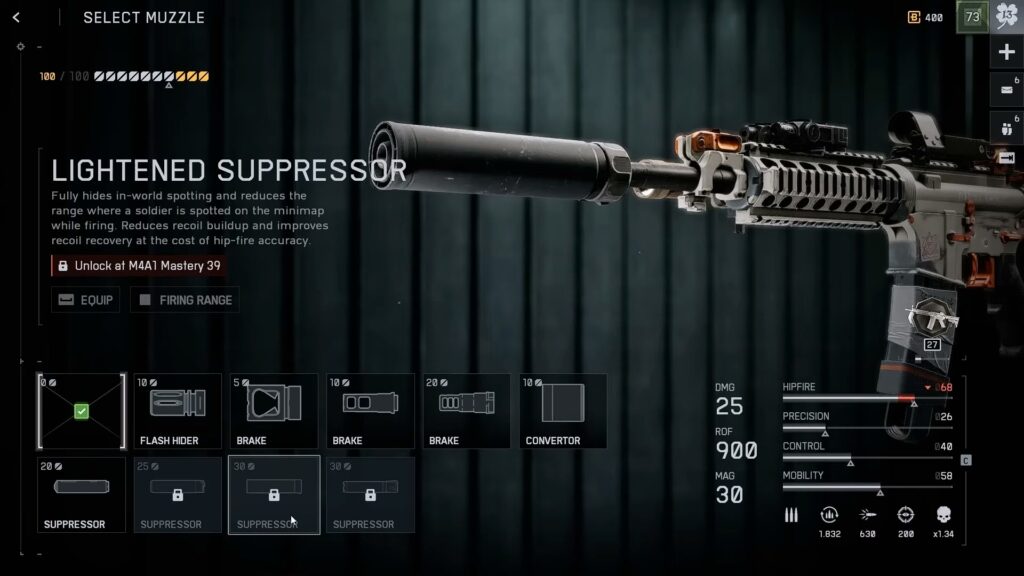
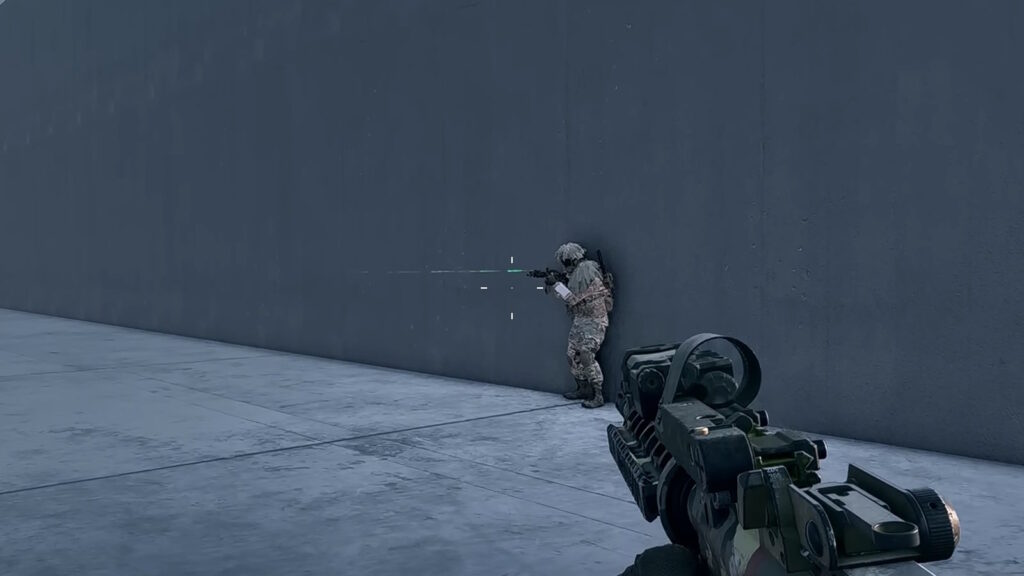
When it comes to the muzzle, the best attachments by far are the Lightened Suppressor and the CQB Suppressor. This is mainly because they prevent you from giving away your position.
 Battlefield 6 No Longer Counts Bot Kills Toward Your Kill-Death Ratio Following a Recent UpdateNov 19, 2025
 Battlefield 6 Players Found a Secret Room in the Shooting Range, Prompting a Handful of TheoriesOct 31, 2025
 Battlefield 6 Season 1 Trailer Teases Explosive New Maps, Weapons, and ModesOct 28, 2025
If you fire a gun without a suppressor, you’ll give away your position to all enemies. It’ll mark you as a dot on the minimap for enemies, regardless of how far away you are.
With a suppressor, however, the range of that minimap reveal is a lot smaller. You’ll only appear on the minimap for enemies within 75 meters of your location. Plus, of course, your gun will also make less noise and be harder to spot by ear.
Now, the Lightened Suppressor is what we would recommend for most builds here. It has the advantage of suppressors, while also reducing the effects of recoil. However, it has a penalty to hipfire accuracy.
So, if you find yourself using hipfiring a lot, you’ll want the CQB Suppressor instead. It doesn’t reduce recoil, but it also doesn’t have a penalty to hipfire accuracy.
Ideally, you’ll want to use either of these suppressors on almost every build. Being able to hide your position as much as possible is just too big of an advantage, honestly.
Lasers
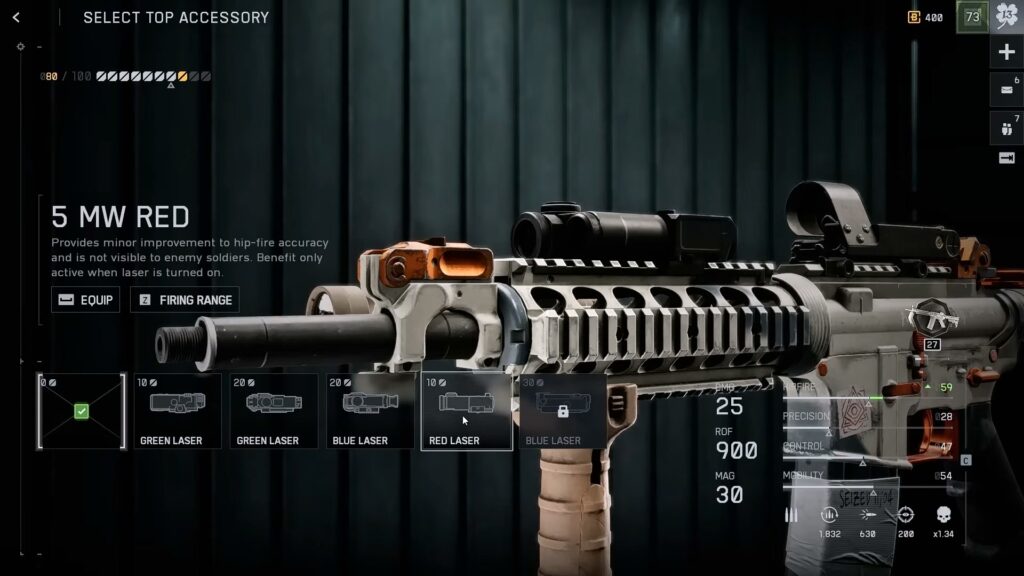
Moving on to lasers, which are a Top Accessory. These lasers improve your accuracy both when hipfiring and aiming down sights, but can reveal your position.
You have two main choices here, depending on what you favor.
The first choice is the 5 MW Red laser. This is the faintest laser, meaning it’s barely visible to your enemies. However, it does provide less of an accuracy bonus than others.
The second choice, then, is the 120 MW Blue laser. This laser gives you a much higher accuracy bonus, but the blue laser is noticeable to enemies.
It’s worth noting here, though, that the MW rating on these lasers is… honestly, kind of a lie. As far as testing has shown, all lasers besides the 5 MW Red have the same visibility to enemies.
More specifically, a colored laser will appear on your gun and point to where you aim. It has about 5 meters of distance before it fades away. This is the same for all blue and green lasers.
Also, the 50 MW Green laser has the same accuracy bonus as the 120 MW Blue laser. But the blue laser is generally recommended, as it stands out much less in general than the green.
The major downside to lasers, though, is that they can be a bit costly to fit into a build. You might want to prioritize other attachments first.
So, in summary: use the 5 MW Red for less visibility or the 120 MW Blue for more accuracy. That is, if you decide to use a laser at all. It’s up to you to consider which one better fits you, but at least now you know how they work!
Ergonomics
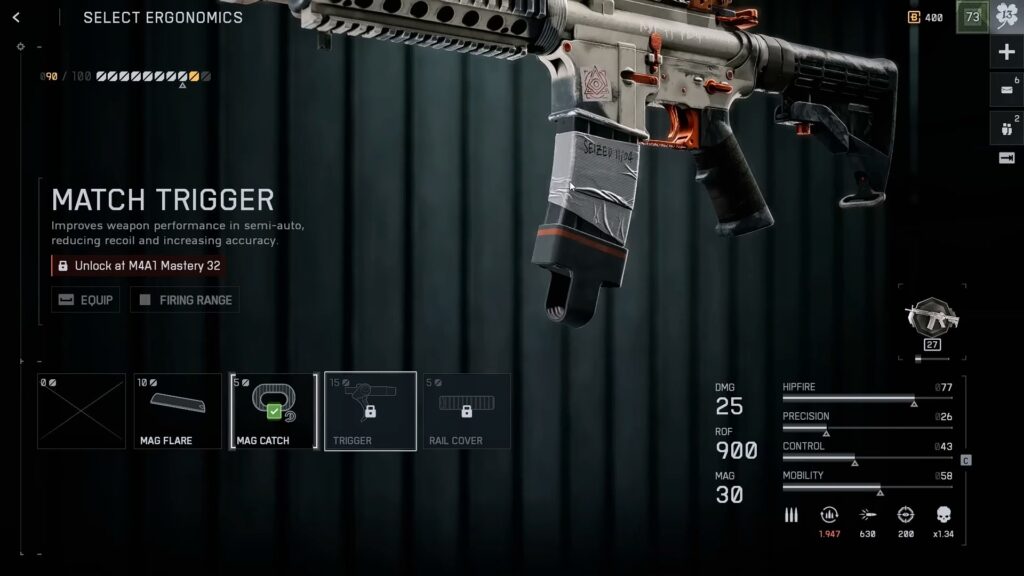
In this category, there are two attachments worth using in general: the Improved Mag Catch and the Rail Cover.
The Improved Mag Catch is straightforward. It slightly speeds up your gun’s reload speed. Since it’s a fairly low-cost attachment, it’s a great pick if you have the points for it.
However, there’s a bit of a catch here! This attachment seems to be bugged on secondary weapons, mainly the P18. It provides no benefit to them at all. Nonetheless, it works great on primary weapons.
As for the Rail Cover, it allows you to draw your gun faster. If you’re focused on close-quarter combat and hipfiring, it’s a solid choice. It’s only 5 points, anyway!
Aside from these two, there’s also the DLC Bolt attachment. This is exclusive to sniper rifles and is the only attachment they have access to.
The DLC Bolt is pretty costly, requiring 30 points. However, it’s a pretty useful upgrade as it allows you to rechamber while aiming down sights. So, we recommend using it for every sniper.
Ammunition
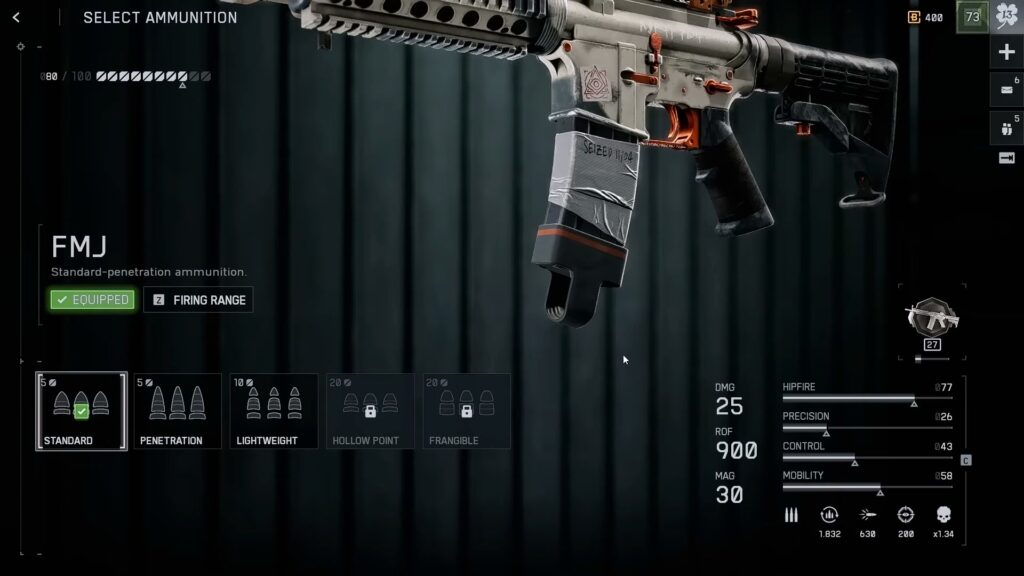
Generally speaking, for ammunition, you’re honestly set just going with the Standard or Lightweight ammunition. They have a low cost and it work best in most situations.
That said, there are specific instances where you will want other types of ammunition.
Hollow Point ammo is better for guns that have enough base damage. For example, look at the AK4D, which has 33 DMG by default with a x1.34 multiplier on headshots. With Hollow Point ammo, you’ll get a larger headshot multiplier that makes you deal exactly 50 damage.
Since everyone has 100 HP at base, this changes the breakpoints enough that you can two-tap enemies with headshots. Again, though, this is only for specific guns that have enough base damage.
Hollow Point can also give you a more effective range on certain weapons, such as the M44. So, they’re worth it, if you can fit them in.
As for sniper rifles, they get exclusive access to the Match Grade long-range ammunition. This gives you more precision when sniping and it’s a must-have for snipers.
Barrels
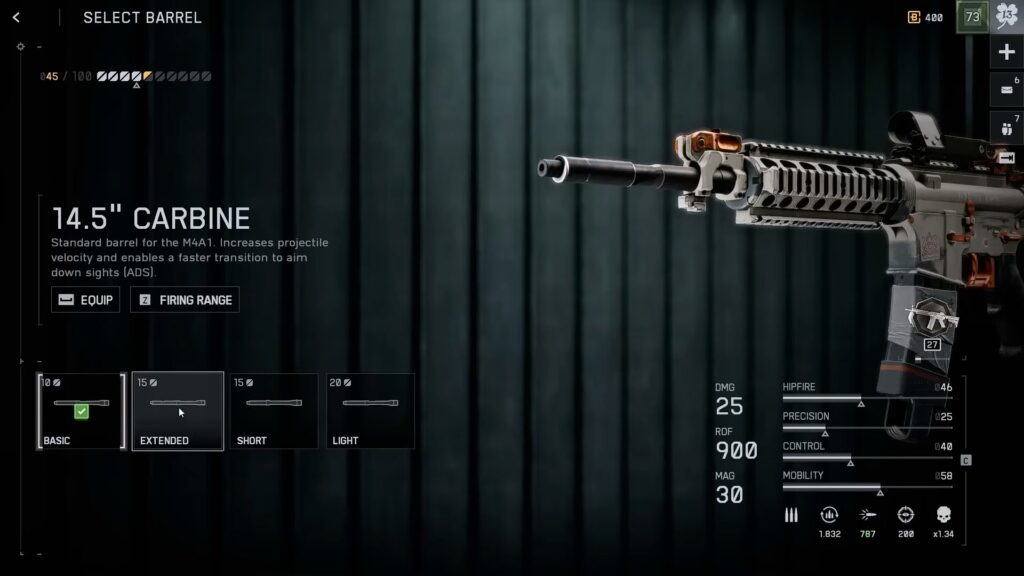
When it comes to barrels, you have to pick based very heavily on what options your gun has access to.
Generally speaking, the Heavy Extended and Heavy barrels are your best choices when available. They greatly increase projectile velocity and improve accuracy on extended bursts, making them ideal for long-range automated weapons.
For semi-automatic weapons and snipers, you want to go with the Extended barrel. It speeds up the transition to aiming down sights and increases projectile velocity a lot.
Lastly, Short barrels are your go-to for weapons you plan to use in close-quarters combat. They reduce projectile velocity, but do improve hipfire accuracy and allow you to enter aiming down sights faster.
Grips (Underbarrels)

When it comes to grips, there’s honestly a lot of discussion still going on about what really works and what doesn’t. Really, there’s no consensus on which ones are the best or not!
The issue with grips is that a lot of them have some sort of penalty to accuracy while using aiming down sights. Some only have it when using ADS and moving, but some have it at all points.
At the same time, it sometimes feels like the upsides of the grips completely negate the downsides. So, it’s a bit confusing about what exactly is going on with them, truth be told.
That said, some of the most popular grips are the 6H64 Vertical, Classic Vertical, and Slim Angled. We recommend trying those out in the firing range to get a feel for them.

Also, as a note here, the Bipod and Grip Pod grips are a bit unique. They say that they greatly improve your hipfire accuracy, but this only applies when mounted. Keep that in mind!
Lastly, for sniper-specific grips, the Slim Angled and Low-Profile Stubby seem to work best overall. They allow you to draw and go into aiming down sights faster.
Magazines
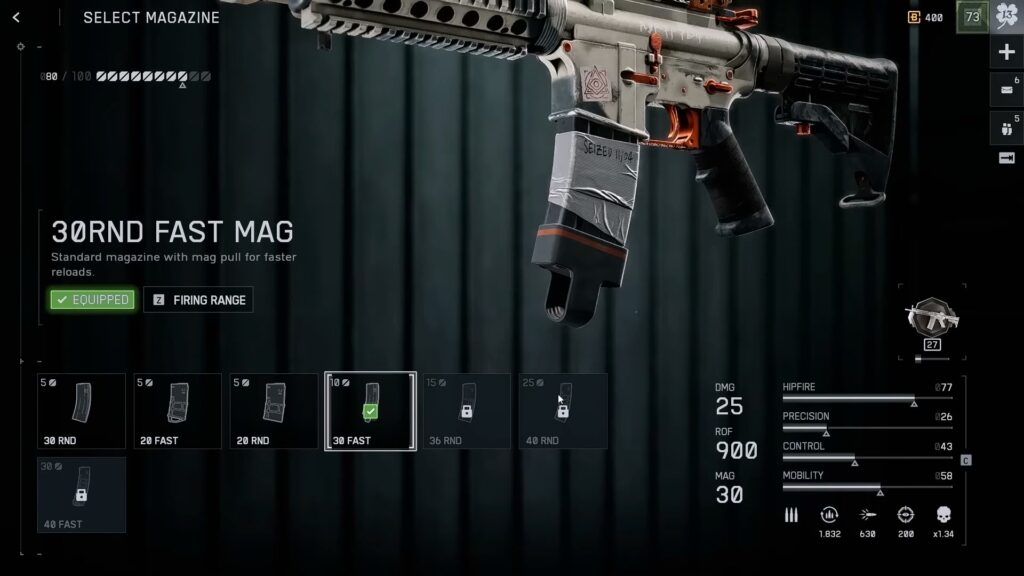
When it comes to the magazine, pretty much most options are viable, and it just really depends on your playstyle and preference.
Generally speaking, extended magazines have drawbacks such as slower drawing speed and slightly impaired movement speed while aiming down sights.
However, these penalties are fairly minor overall. They generally don’t make or break a build, so you can go for a slightly extended magazine if you wish.
That said, it’s a good idea to try to go for Fast magazines when possible. They speed up your reload animation, which can be helpful in a pinch!
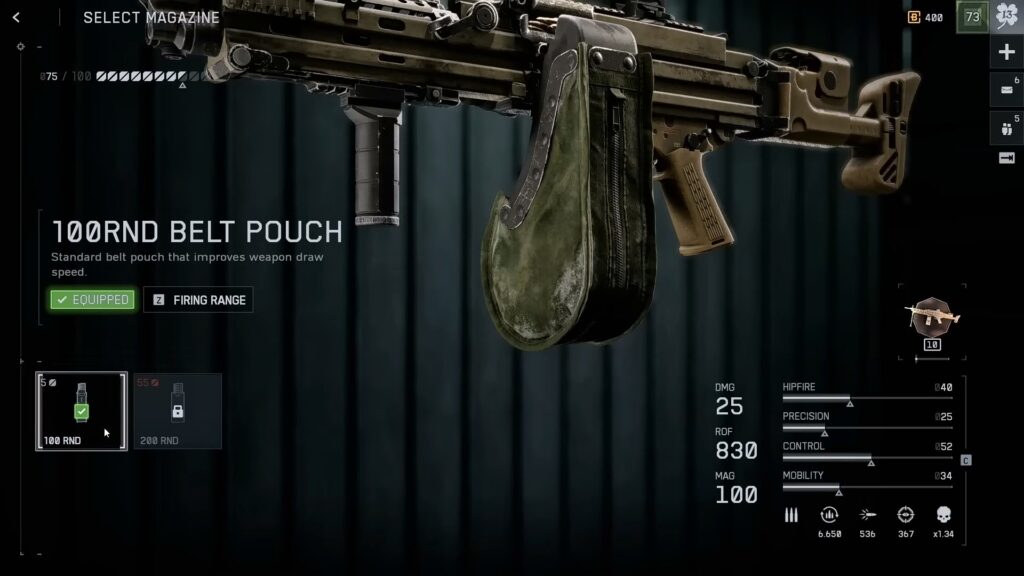
For LMGs, your options are a bit more limited. Some LMGs allow you to have a larger belt with a slower reload or a smaller belt with faster reload. In that case, it depends purely on your playstyle.
However, some LMGs only let you pick between the default belt and a much larger one. In this case, the larger belt is usually extremely costly. For example, the M132K’s 200RND Belt Box requires a whopping 55 points to fit into a build! In this case, the default belt wins, no contest.
But well, that’s the end of our guide! Now you know what the recommended best attachments are in Battlefield 6 and what they do. We hope this helps you plan your next build!