32 articles
When it comes to graphics settings in modern video games, things can definitely get confusing. To make life easier for you, this guide will cover just the options that you need to know about.
These options will affect not only the graphics but how the game plays as well.
The Best Settings For Graphics In Star Wars Jedi: Survivor
Even though graphic settings are more complicated with modern games, you really only have to worry about two sections when it comes to Jedi: Survivor. The Accessibility Tab and the Visuals Tab.
The Accessibility Tab
First off, go into your options, then click over to the settings.
 Star Wars Jedi Survivor: How to Get the Pyloon’s Saloon ChestMay 6, 2023
 How to Get Alignment Control Center Treasure in Star Wars Jedi SurvivorMay 6, 2023
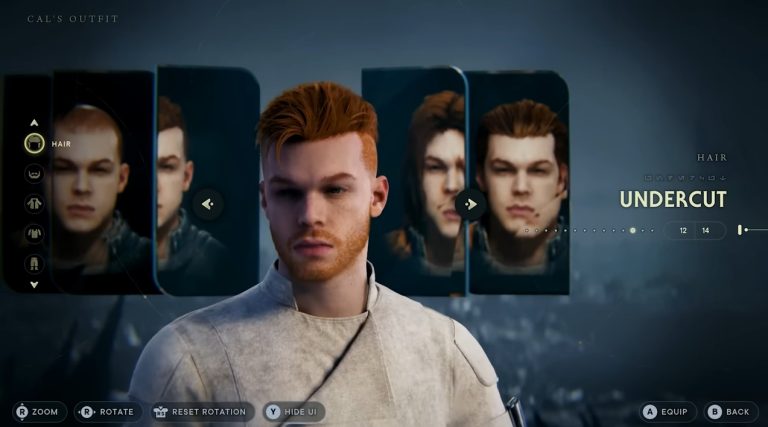
 Star Wars Jedi Survivor: Where to Find Undercut Hair LocationMay 5, 2023
First, go through the Accessibility options. Adjusting most of these options will put less pressure on the engine of the game, giving you a better performance both with frame count and general graphics.
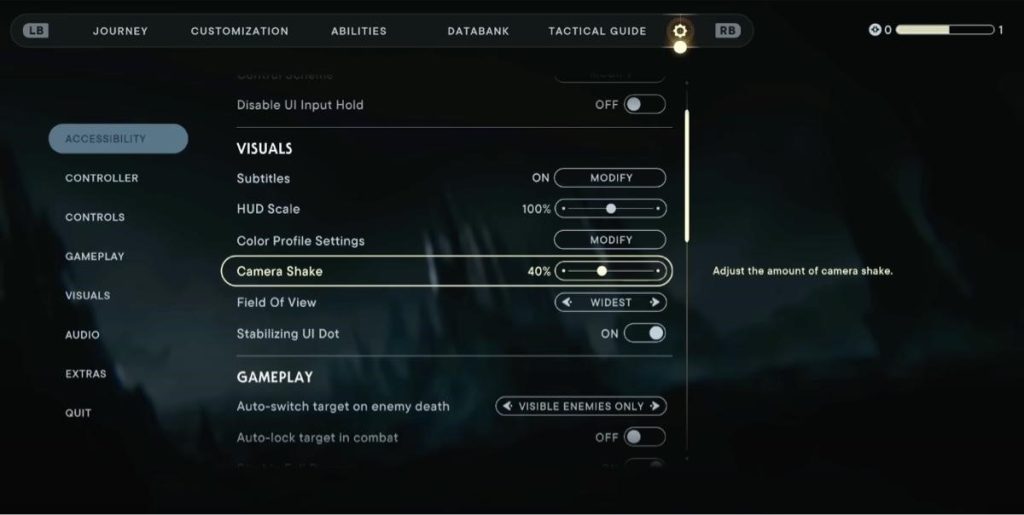
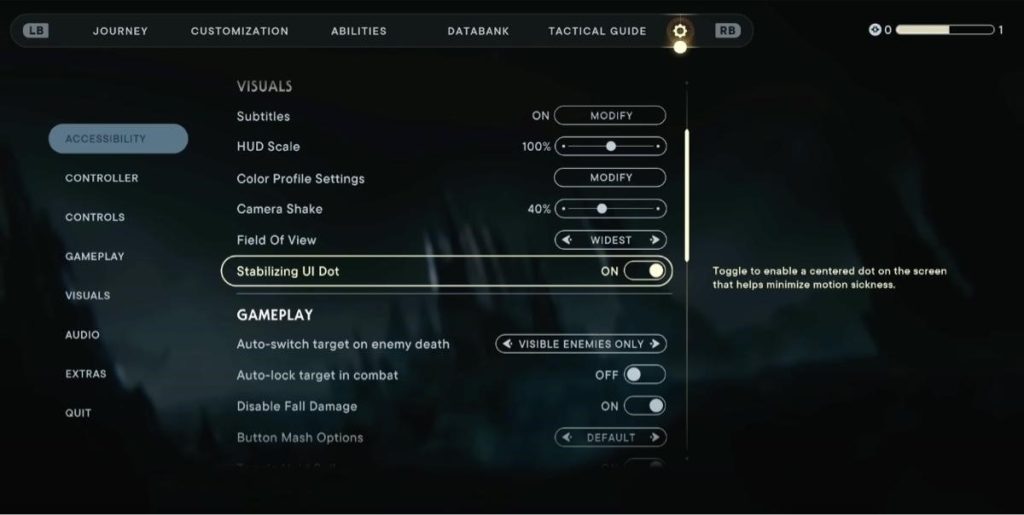
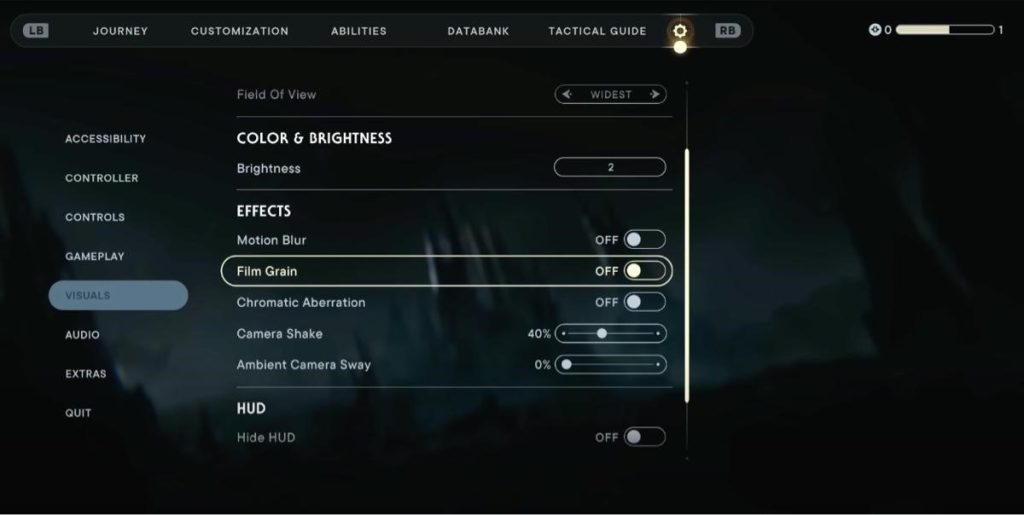
The first option to adjust is the Camera Shake. Camera shake makes the game feel more realistic, but it can be a real strain on the frame count when fighting or jumping from ledge to ledge.
You can bring the Camera Shake all the way down if you want, or you can set it to around 40% to give yourself just a little bit of that realism.
Next, go to Field of View and set it to Widest. This will show more of the screen, giving you the best opportunity to bask in the 4K goodness.
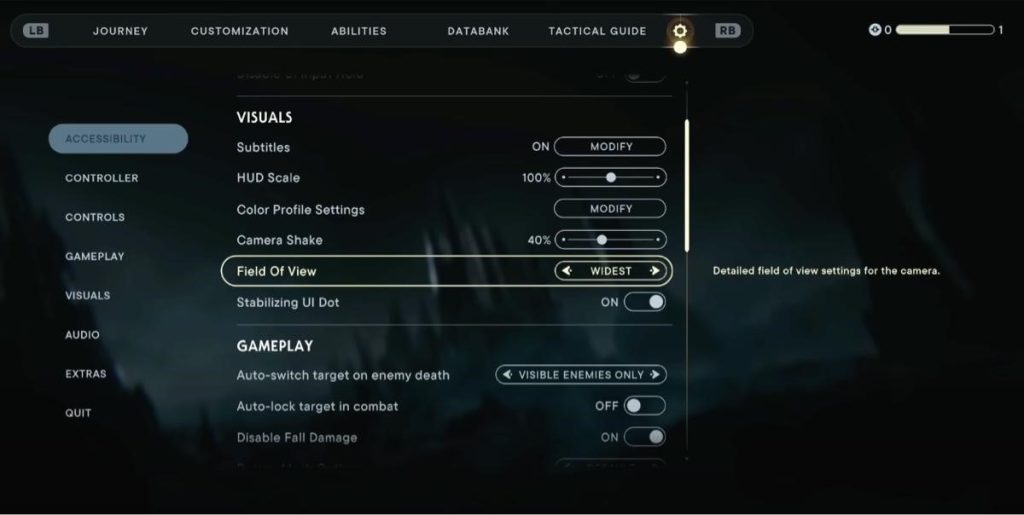
If you have problems with motion sickness when you play fast-paced action games, then try turning on the Stabilizing UI Dot option. This option will create a dot in the center of the screen, which should help minimize the problem you might be having.
If you don’t have any motion sickness problems, you can skip this option completely.
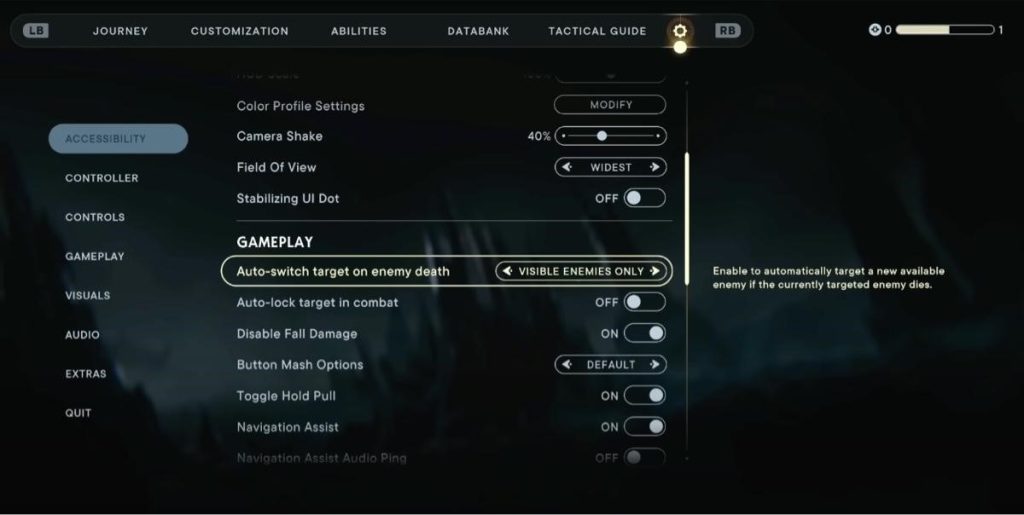
In the Gameplay section, turn the Auto-switch Target On Enemy Death to Visible Enemies Only, and turn Auto-lock Target In Combat to Off.
Changing these two options will prevent the camera from whipping around all the time, putting less strain on the engine.
The Visuals Tab
Once you’ve finished inputting all the options in the Accessibility tab, go down to the Visuals tab.
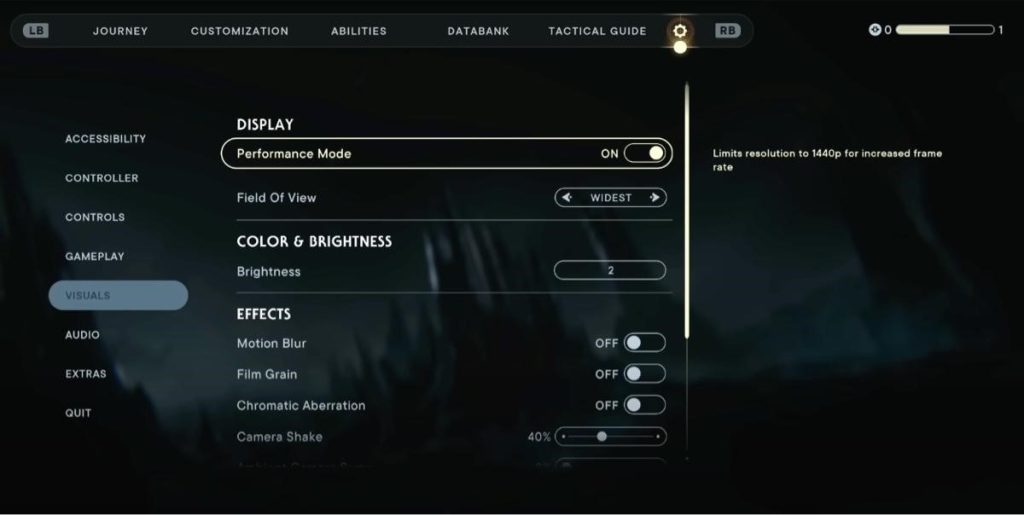
In this tab, you’re going to have to make one of the toughest choices a modern gamer has to make: do you turn Performance Mode On or Off?
- Turning Performance Mode Off will let you experience the glorious 4K, but it will also cap your frame rate to around 30 frames. This will make your speed and the camera’s speed slower.
- Turning Performance Mode On will let you play the game at a much faster and smoother, 60 frames a second. But the quality of your graphics will be locked below 4K quality.
Basically, if you want the best graphics, turn Performance Mode Off. If you want a smooth experience, turn Performance Mode On. The choice is up to you.
Once you’ve made the toughest decision in this process, the next few options are easier.
For Motion Blur, make sure to turn it off. All this option down is bog down the engine.
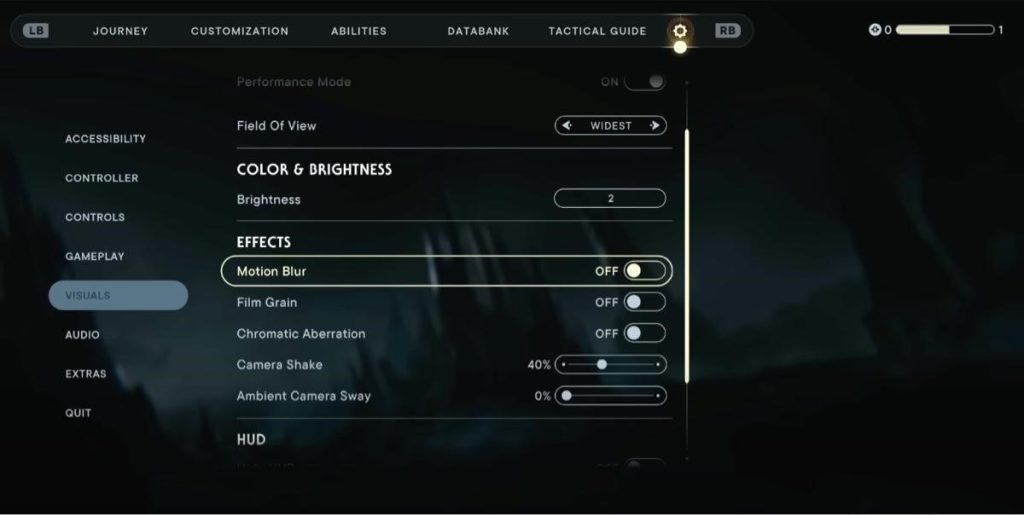
And finally, make sure to turn Film Grain Off as well. This will ensure that you have the clearest picture available.
And that’s it.
Now that you’ve got all your settings right, you can go use the force with the best-looking graphics available.
ALSO READ: Star Wars Jedi: Survivor – Alignment Control Center Puzzle Solution