32 articles
Databank Echoes are one of the different collectibles you can find in Star Wars Jedi: Survivor.
These collectibles are scattered all over the galaxy which makes them a bit hard to find. However, you can upgrade your Holomap to make them easier to find!
In this guide, we’ll tell you how to enhance your Holomap to make it show the locations of Databank Echoes.
How to Show All Databank Echo Locations on the Map in Star Wars Jedi: Survivor
The only way to make Databank Echoes appear on your map is by getting the “Map Upgrade: Databank” which you can get late in the game.
 Star Wars Jedi Survivor: How to Get the Pyloon’s Saloon ChestMay 6, 2023
 How to Get Alignment Control Center Treasure in Star Wars Jedi SurvivorMay 6, 2023
 Star Wars Jedi Survivor: Where to Find Undercut Hair LocationMay 5, 2023
It can only be obtained once you have access to the Nova Garon.
Once in the Nova Garon, head to Commander Denvik’s office which you will have to do as part of the story anyway.
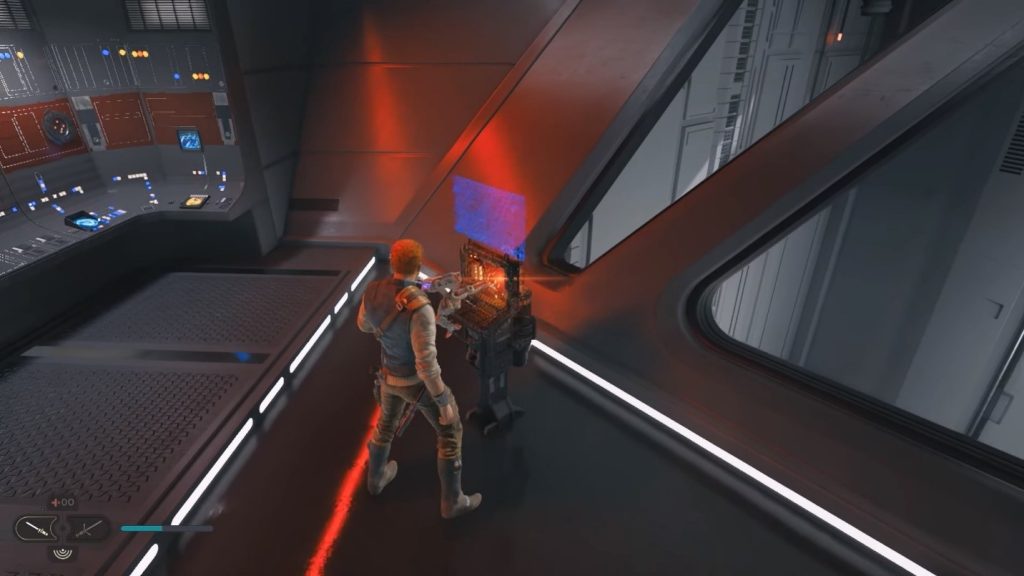
You will find a terminal there for BD-1. Interact with the terminal to get the upgrade and the ability to see every Databank Echo in the game by checking your Holomap. This includes all planets and moons!
Navigating the Nova Garon to Denvik’s Office
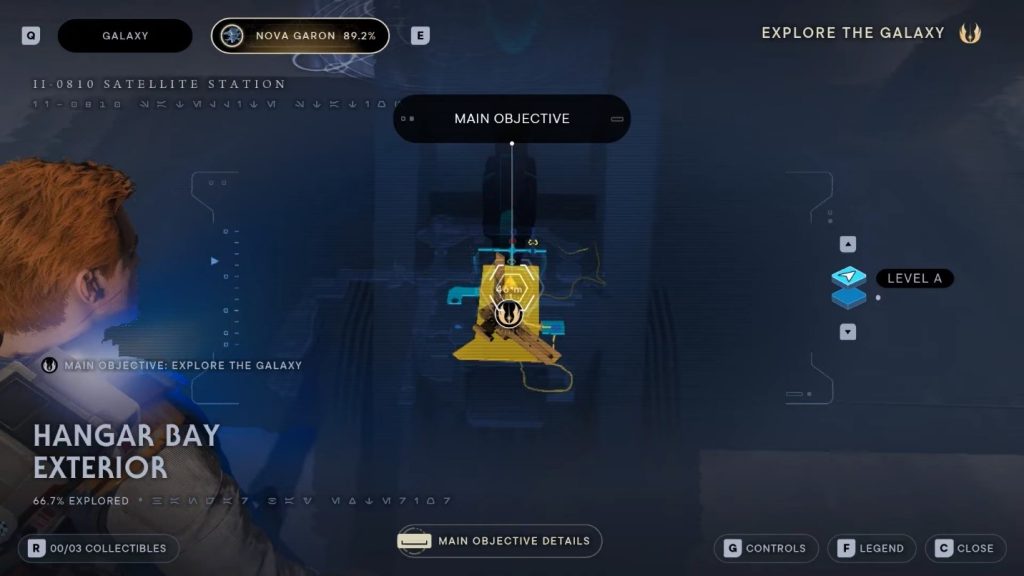
From the Hangar Bay Exterior Meditation Point, go through the hexagonal corridor to the north and proceed through the path by Air Dash through the red barriers.
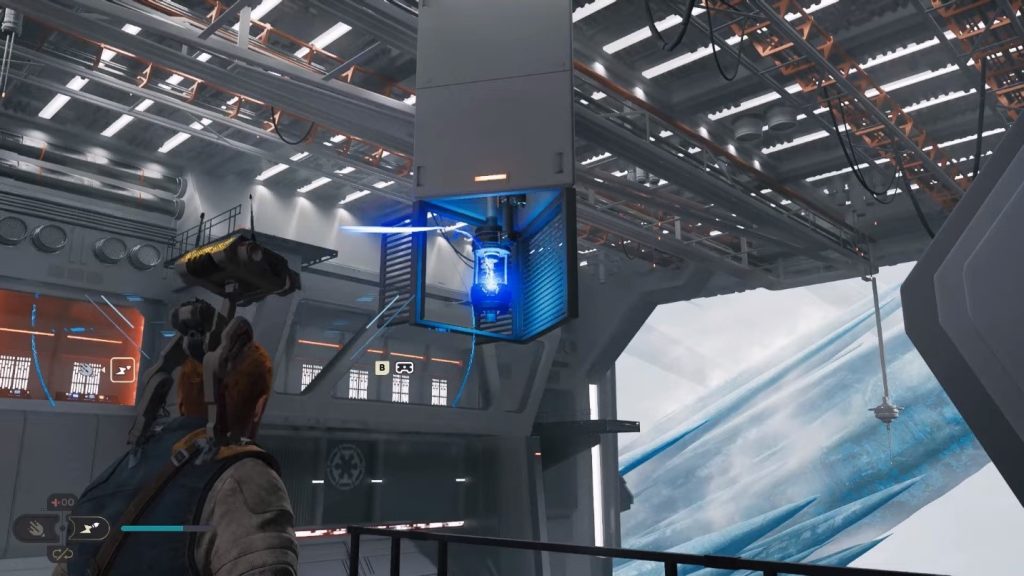
You will eventually reach a large open room. Use BD-1 to activate the device with the blue light on the ceiling and then grapple to the machine that appears.
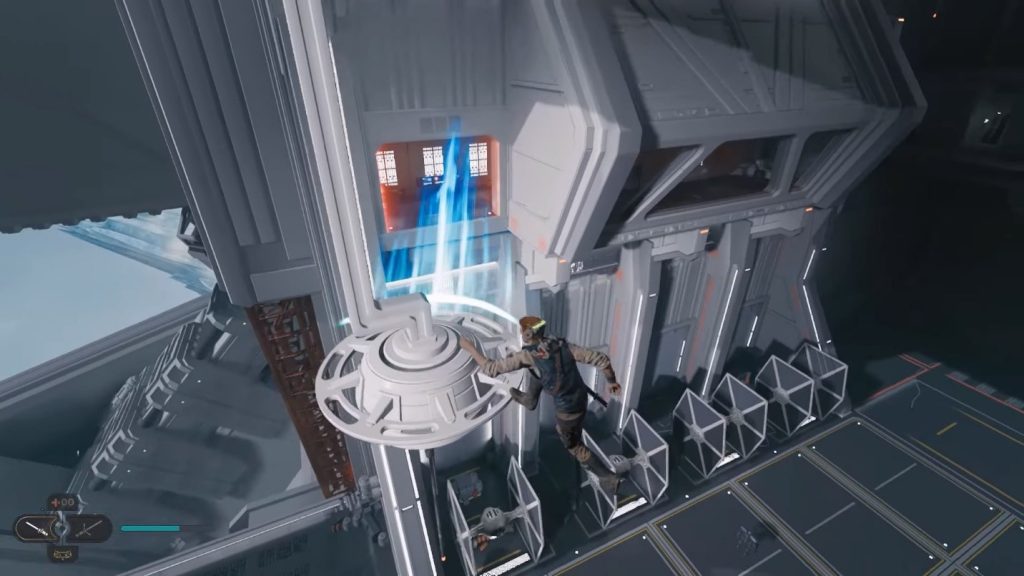
Throw yourself to the red barrier and air dash through it, then exit the room you just entered and turn right.
Grapple onto the pole to reach a higher part of the room. Use BD-1 on the blue device again and then grapple onto the pole to get back where you were before.
Use your grapple again on the machine that BD-1 moved and jump to the next red barrier, then follow the linear path.
Shimmy through the gap in the wall to your left and drop down into the room, then go through the door to your right.
Keep going right in this corridor. Keep in mind that there are Imperial Troops and robots ready to attack you!
You will eventually end up in Central Command. Go left on the walkway and then drop down onto the level below.
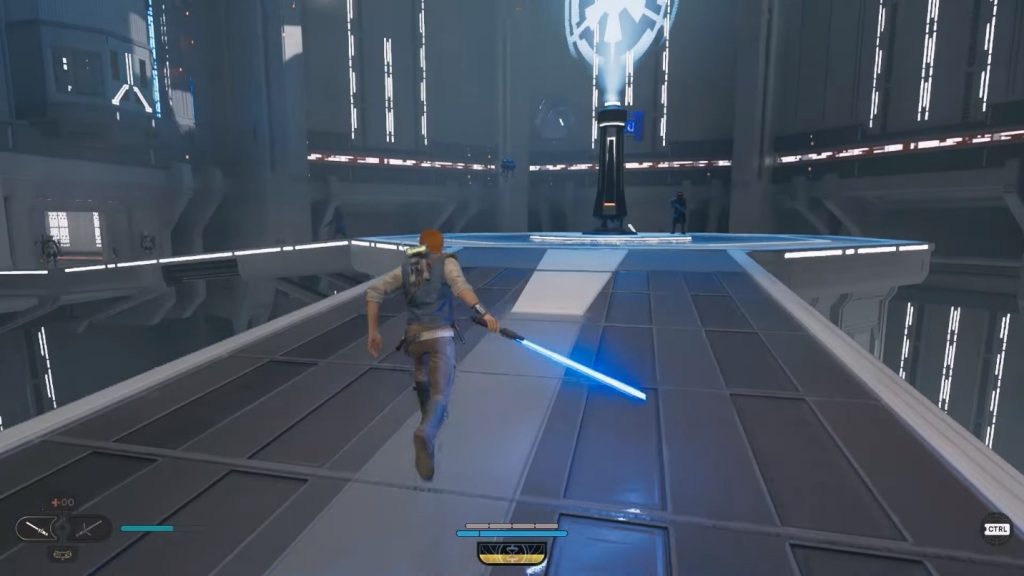
Face the large hologram in the center of the room, and then head to the room on the left. Ride the elevator up and you will be in Denvik’s Office.
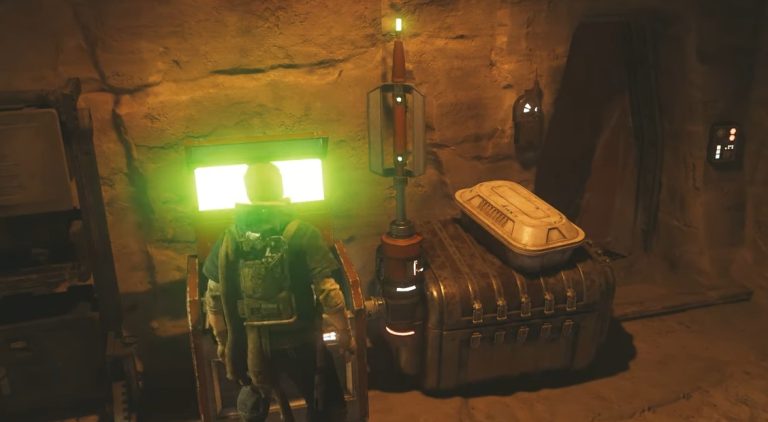
Finally, look for the terminal that’s against the window and have BD-1 interact with it! Unscanned Databanks will then appear on your Holomap after that.
ALSO READ: Roots of Pacha: Monkey Totem Offering Puzzle Solution