52 articles
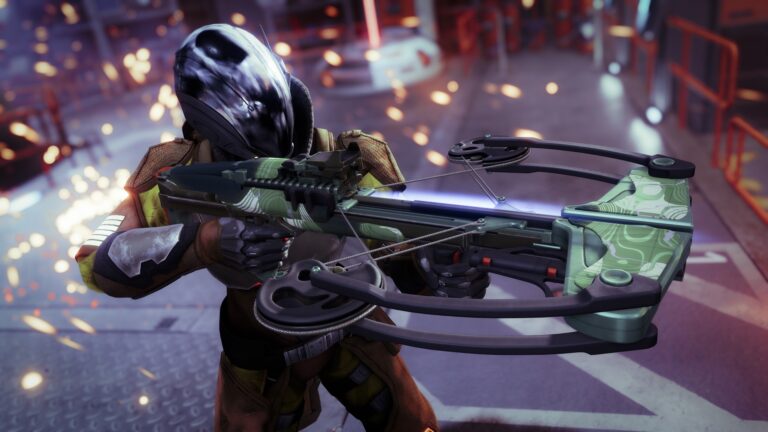
The Xenophage is one of the many Exotic weapons you can get in Destiny 2.
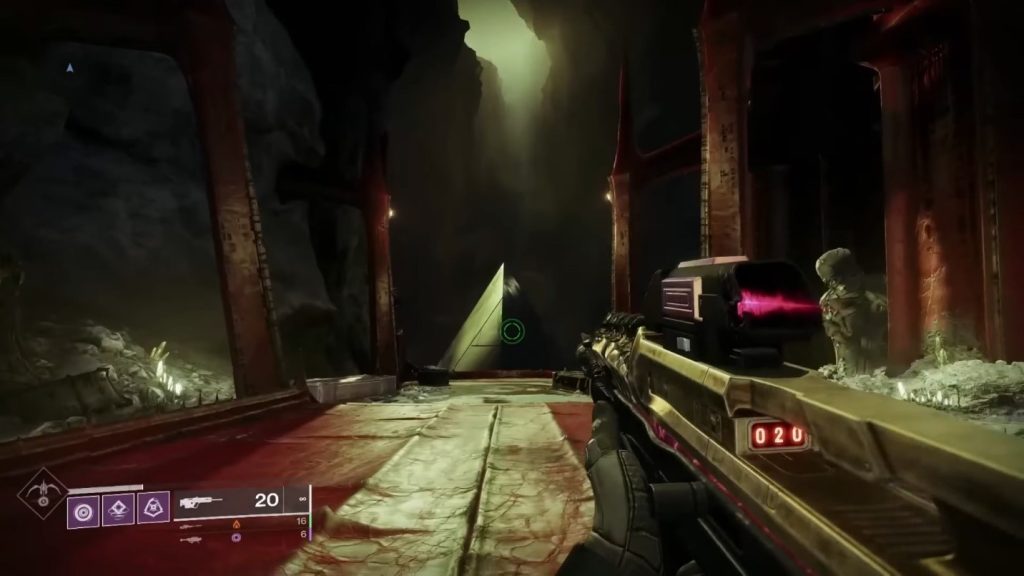
This massive machine gun has high damage and a high fire rate, making it a fantastic DPS choice. The bullets are explosive too for that massive AoE damage!
So, are you eager to get your hands on this powerful tool of destruction? Let’s find out how here.
Obtaining the Exotic Xenophage Gun in Destiny 2
Before you start, note that you need to have the Shadowkeep expansion to be able to get the Xenophage. You also need to progress the expansion’s story until you get access to the Pit of Heresy dungeon.
 How to Solo Flawless the Equilibrium Dungeon (Loadout & Traversal Guide)May 28, 2026
 Destiny 2 Guardian Games 2026 GuideMar 25, 2026
 Best Weapons for Renegades in Destiny 2Dec 4, 2025
Meet these requirements and head to Sorrow’s Harbor on the Moon, then head north. Go into the Enduring Abyss spire.
Look for the room with 4 interactable statues inside of the Enduring Abyss. You need to interact with these statues in this order: Front Right, Back Left, Back Right, Front Left.
These directions are based on the room’s entrance. Stand on the archway and face toward the room to guide yourself.
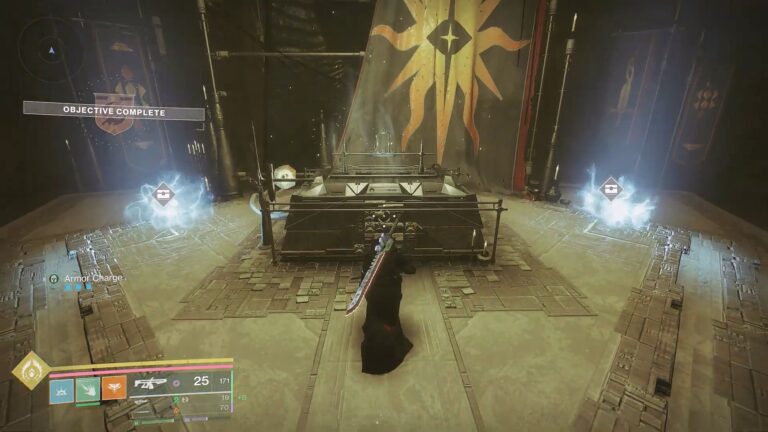
Do this properly and a chest will spawn. Interact with it to get the first part of the “The Journey” questline. Complete this questline and you’ll be rewarded with the Xenophage!
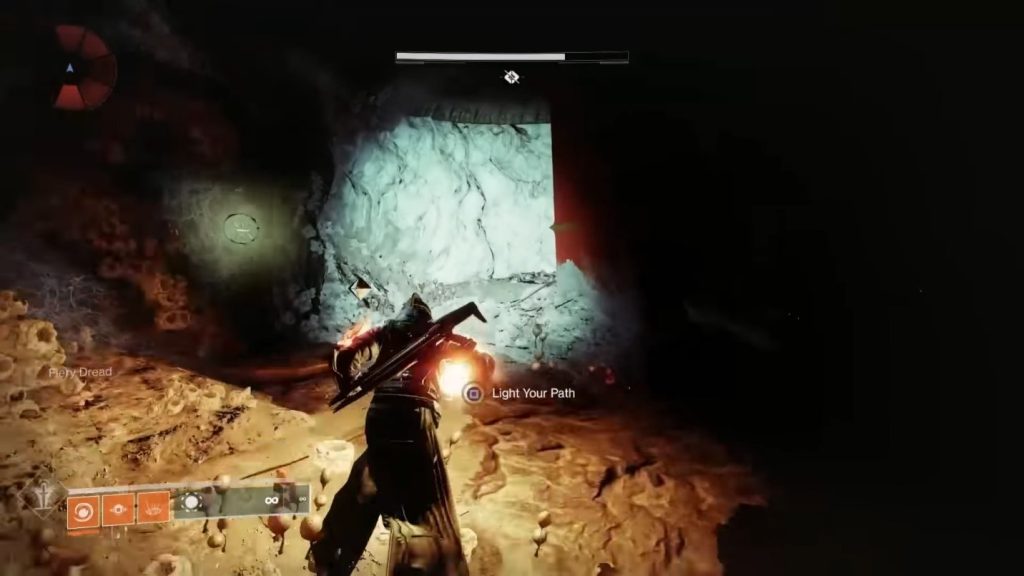
Step 1: Light the Way
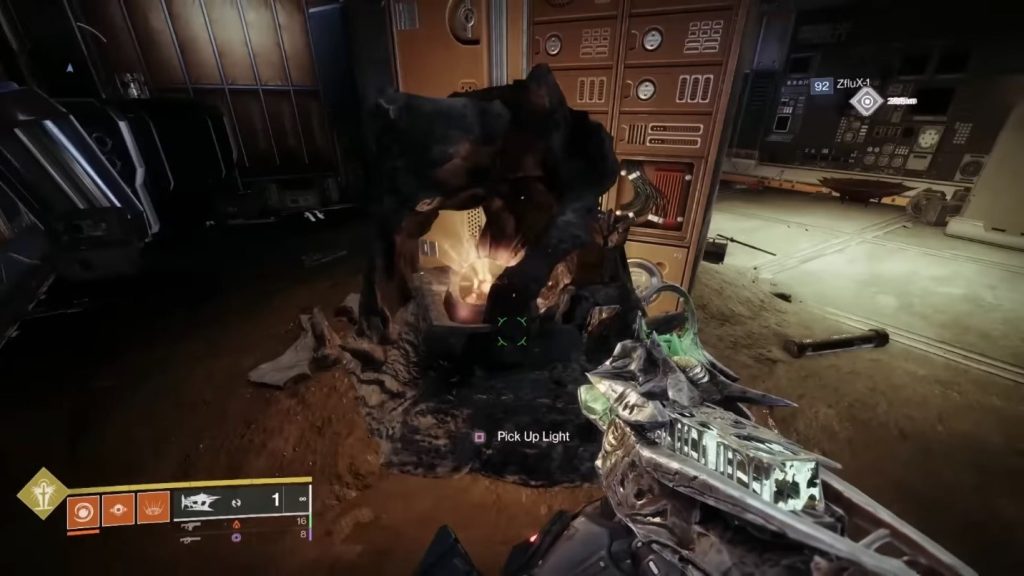
This step will lead you to the “Anchor of Light” which is another area on the Moon. Make your way to the central building and look for a fire orb.
Use this orb to light all 6 sconces throughout the area. Keep in mind that the orb will only last 1 minute and you also need to light the torches in a specific order.
The first sconce is in the same room where you find the orb. Light it up and exit the room while going to your right.
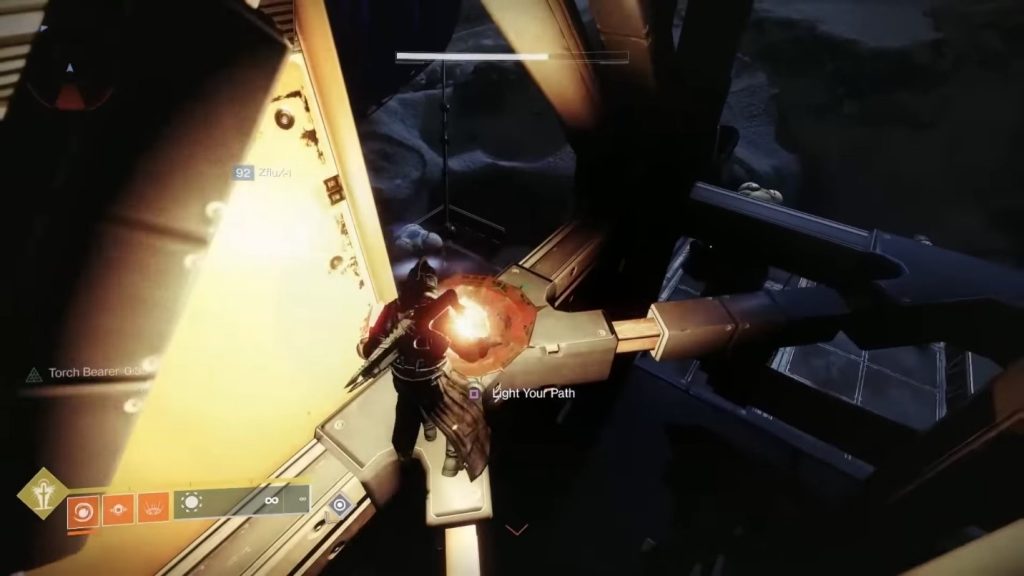
Turn left as soon as you’re outdoors. Go right and up the hill, then turn left again; the second sconce is by the broken radio tower.
Next, turn back to face the direction you just came from. Head that way and look for a yellow building to your right; the third sconce is inside.
The fourth sconce is found at the top of the building in front of the building you’re in now. Just jump over to it as soon as you exit the building and climb to the top.
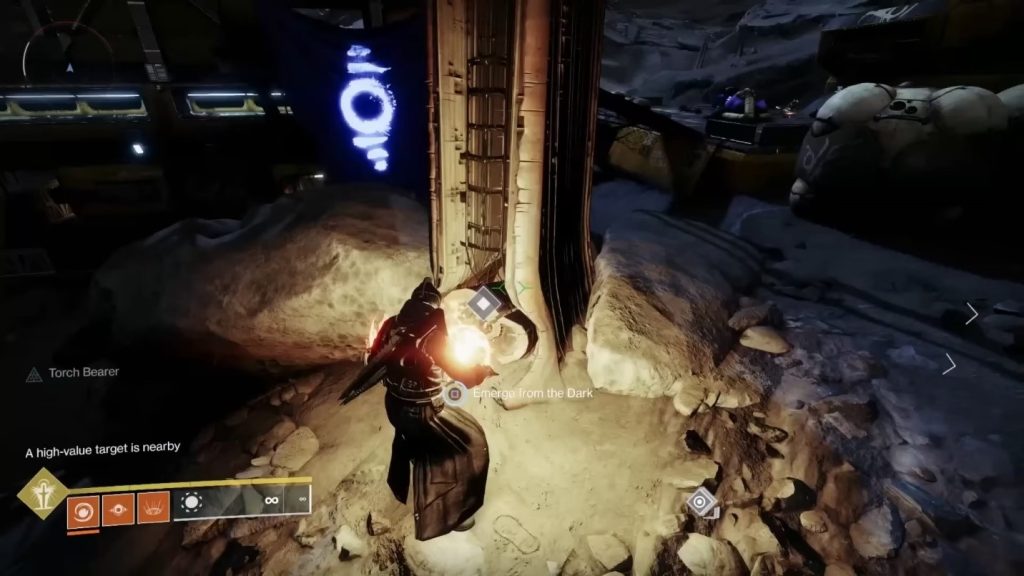
Now, head straight north from the previous sconce to find the fifth one on a platform. Light it up then climb the circular building on the area to find the final sconce.
We hope these instructions are clear enough! The objective will complete once you do it right.
Step 2: Lost Sectors
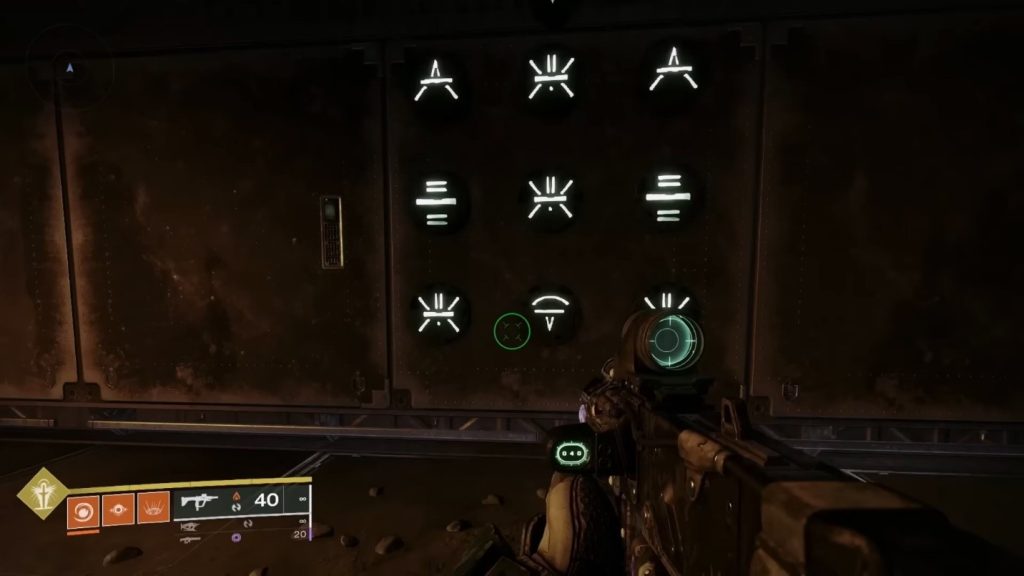
You’ll now need to complete the four Lost Sectors on the Moon while also solving the puzzles at the end. These puzzles take the form of panels with glyphs.
One of these sectors, K1 Communion, is in the same area where you completed the previous step so we recommend doing it first.
Shoot the glyphs to change them. They have to match with the one that’s directly above the panel. Avoid using weapons with areas of effect for this!
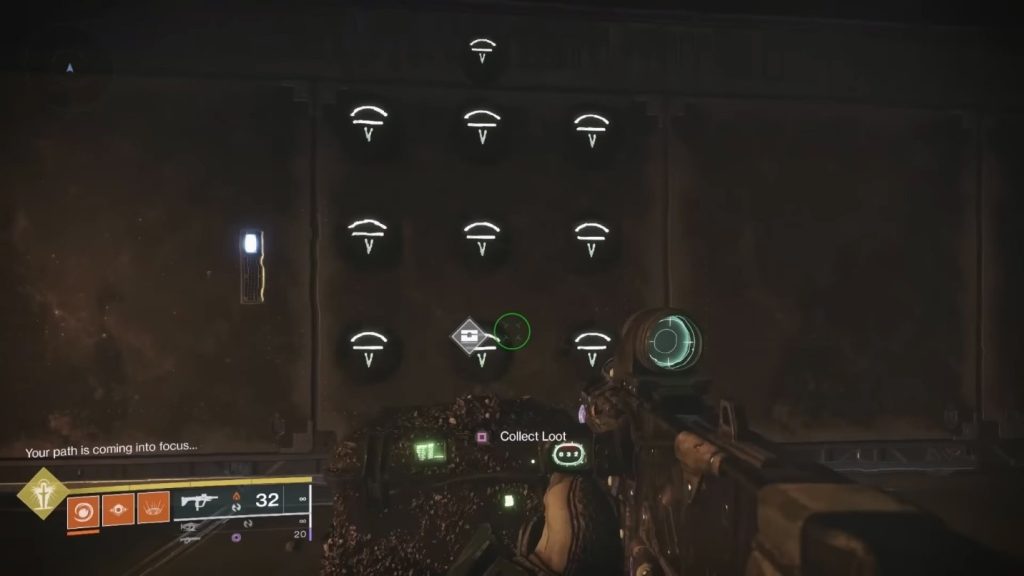
The layout of the panels is similar to a keyboard’s numpad, so we’ll be using that as a reference. That means that 1 refers to the bottom left and 9 to the top right, for example.
Anyway, these are the solutions for each one:
- K1 Communion: 1, 3, 8, 8.
- K1 Logistics: 7, 1, 6, 5.
- K1 Revelation: 6, 4, 5, 5, 4, 2, 5, 8.
- K1 Crew Quarters: 9, 4, 5, 2, 3, 3, 2, 2.
Solve all 4 puzzles to complete the step and continue the quest.
Step 3: Uncover the Depths of the Pit of Heresy
The third step requires you to have access to the Pit of Heresy dungeon. Head there and follow the quest markers to complete it as normal.
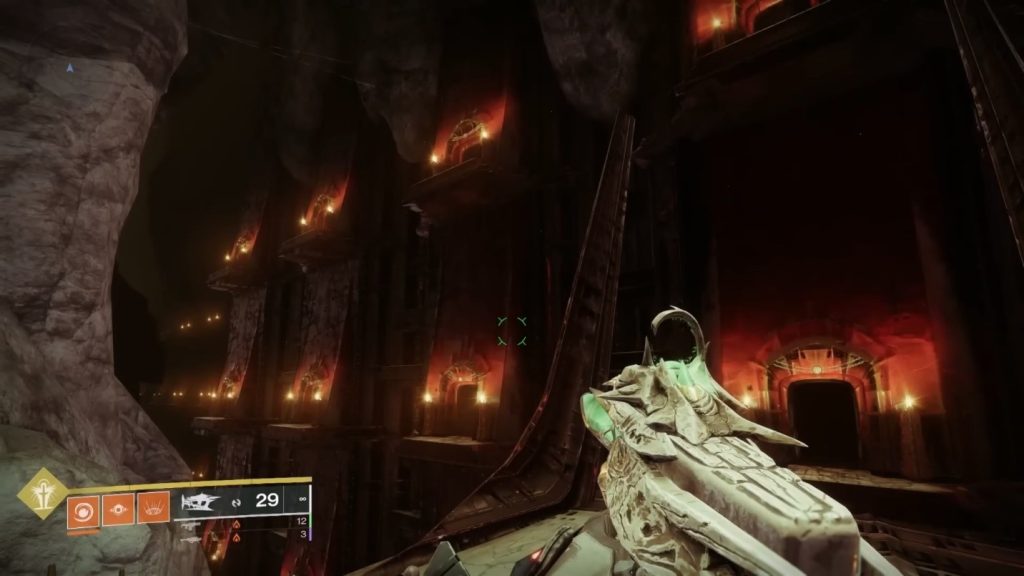
Once you reach the end, look for a door at the end of the path and go through it. You will now be in a large open area with some lit archways.
After that, maneuver yourself onto the middle archway to your left. You will find a strange glyph on the wall. Interact with it to open a new area and the next step of the quest.
Step 4: Explore the Depths
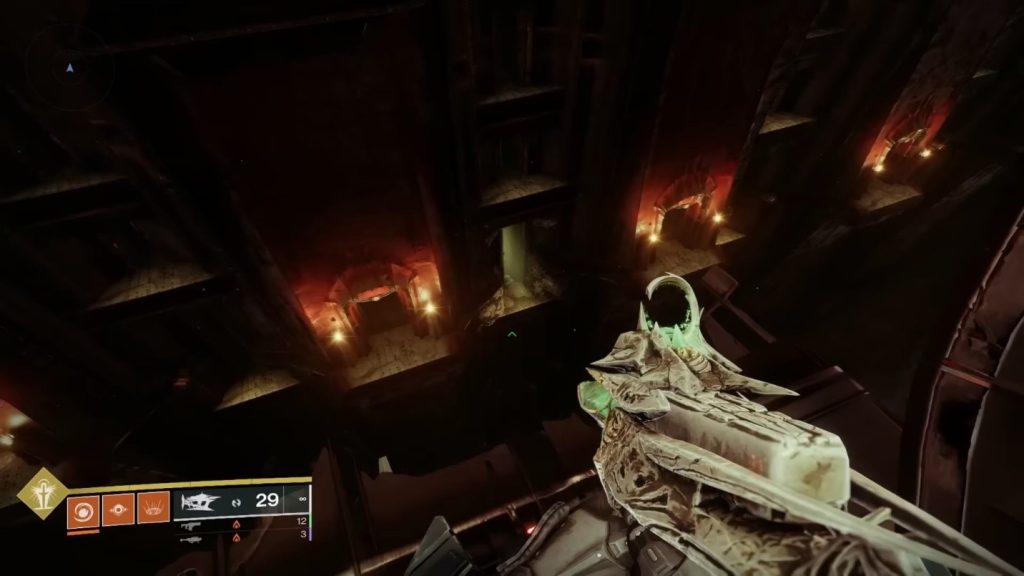
Jump back to the bridge that overlooks the lit archways you’re on, then look down and to your right to find a hole with greenish light coming out of it. That’s your next goal!
Enter this area and then take the leftmost path until you’re on a cliff overlooking some gigantic bones. Look for a lower ledge and drop onto it to find some magical writing which will make some floating platforms appear.

Jump across these platforms to pick up another flame orb. Use it to light up the sconces in the area and you will get the 5th and final step.
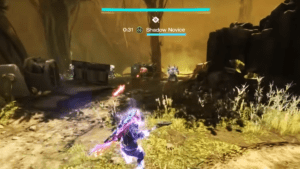
Step 5: Take Down Volmar
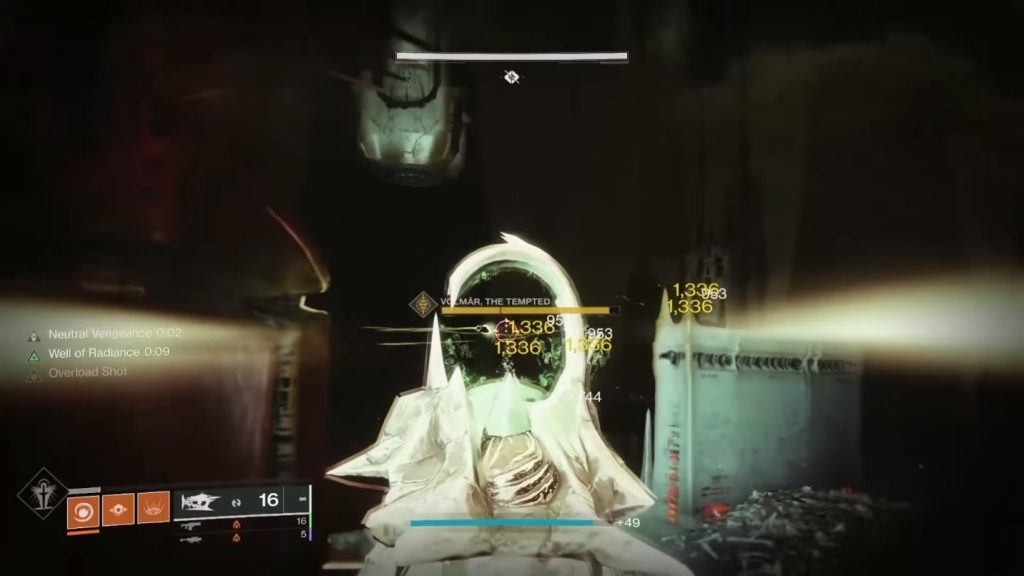
All that’s left to do now is to take down Volmar whose gimmick is his elemental orbs.
You will get elemental “Dread” debuffs during this fight: you’ll have to grab the orb of that element and use it on its respective sconce.
This will turn your “Dread” debuff into a “Vengeance” buff, allowing you to damage the boss by using the respective element.
Rinse and repeat until Volmar goes down, then return to Eris Morn on the Moon to claim the Xenophage, one of the best weapons in the game!
ALSO READ: Terraria: Blood Moon Guide | How to Summon & Skip