 52 articles
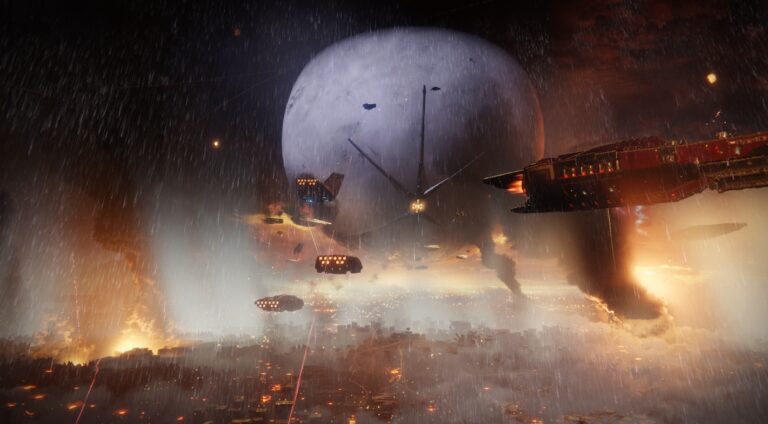
Solo flawless Equilibrium is one of the harder solo flawless dungeons Destiny 2 has put out in recent memory. The dungeon takes you to Venus to fight through Bael’s Dredgen fleet across a series of Imperial ships before a final showdown with Dredgen Sere, and every encounter punishes mistakes hard.
The good news is that all three classes can pull it off without too much trouble once you have the right build and understand the traversal patterns. In this guide I will walk you through the loadout that works across the whole dungeon and the key movement and positioning tips that will keep you alive from the first encounter all the way to Dredgen Sere.
Guide on How to Solo Flawless Equilibrium
Before getting into the specifics, let me quickly go over the class situation for this dungeon. The Titan has a slight advantage here and will be able to clear it a bit faster thanks to how well its kit lines up with the encounters. That said the Warlock and Hunter can both get through it without a significant amount of extra effort. The gap is noticeable but not dramatic enough to warrant switching if you are not comfortable on Titan.
My recommendation is to go with whatever class you are most familiar and proficient with. There is no point forcing yourself onto something you are not confident playing just because it has a slight edge on paper. Playing well on a class you know will always outperform playing poorly on one you do not. Stick with what you are good at and the dungeon will go a lot more smoothly for it
 Destiny 2 Guardian Games 2026 GuideMar 25, 2026
 Best Weapons for Renegades in Destiny 2Dec 4, 2025
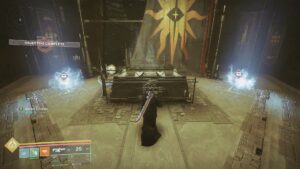 Destiny 2: How to Get The PRAXIC BLADE | Mission Guide & All UpgradesDec 4, 2025
Loadouts
Before getting into the encounter breakdowns, let me go over the recommended loadouts for each class. The builds I am covering here are designed to carry you through the entire dungeon from start to finish without needing to swap anything out between encounters. You can still swap out certain components if you want to but it’s not necessary.
Titan
So for this build, the main thing you need is Wormgod Caress. This exotic gauntlet ramps up your melee damage significantly whenever you get a melee kill or finisher. You will also want the Tractor Cannon exotic shotgun. It suppresses enemies and makes them take more damage, which is perfect for chunking down majors or Dungeon bosses.
The subclass kit revolves entirely around the Throwing Hammer. Run Sunbreaker with Roaring Flames and Sol Invictus as your aspects. Roaring Flames increases your ability damage after solar ability kills, stacking up to three times. Sol Invictus creates Sunspots on solar kills that heal you and recharge your abilities faster. This combo keeps your health topped off and your hammer ready to throw again.
For fragments, equip Ember of Torches to make yourself and nearby allies radiant on powered melee hits. Use Ember of Empyrean to extend the duration of restoration and radiant with solar kills. Ember of Solace increases the base duration of those buffs even further. Finally, Ember of Mercy grants restoration when you pick up a Firesprite, which you will generate through your general solar carnage.
For the rest of your weapon and armor slots, just slot your best stuff. The core loop is throwing your hammer, grabbing it off the ground, and keeping those Wormgod stacks and Sunspots rolling between every single fight.
Warlock
So for this Warlock build, the main thing you need is Getaway Artist. These exotic gauntlets are the engine of the entire setup. Your main weapon is going to be Wolfsbane, the new exotic axe, which pairs nicely with the up-close playstyle this build encourages.
For your subclass, you want to run Prismatic with the Song of Flame Super. The two aspects you need are Bleak Watcher and Feed the Void. Here is the magic part. When you consume your grenade to activate Getaway Artist, it will create an Arc Soul on your shoulder.
Because you also have Bleak Watcher equipped, it will create a Stasis turret at your feet at the exact same time. You get two buddies for the price of one grenade.
For fragments, you need to run Facet of Sacrifice, Facet of Protection, Facet of Dominance, and Facet of Purpose. Facet of Sacrifice gives you bonus grenade energy while you have Devour active, which keeps your turret engine running nonstop. Facet of Protection gives you damage resistance when you are surrounded by enemies, and that is going to save your life more times than you would expect during a solo flawless run.
The Facet of Dominance makes your Arc grenades jolt targets and your Void grenades weaken them, adding a ton of passive crowd control without you having to think about it. And finally, Facet of Purpose gives you a damage-resistant overshield every time you pick up an Orb of Power, which this build generates constantly. All four of these working together keep you alive and your grenade up at all times.
Hunter
So for the Hunter build, you want to run Fortune’s Favor. These exotic leg armor pieces give you a Void Overshield that ramps up your weapon damage and handling, which is perfect for staying alive when you are in the thick of it. Your main weapon is going to be Wolfsbane again.
You want to run Prismatic here as well, with Deadfall as your Super for the crowd control and debuff. For your aspects, you need to run Ascension and Gunpowder Gamble. Ascension replaces your dodge and shoots you into the air, Jolting everything around you. Gunpowder Gamble lets you build up stacks to throw a massive Solar bomb. These two play off each other really well.
For fragments, you want to run the same as the Warlock build, but you also want to add Facet of Dawn here. That one gives you Radiant on powered melee hits, which is a huge damage buff for you and your team. So you would be running Facet of Sacrifice, Protection, Dominance, Purpose, and now Dawn. That is a pretty stacked damage and survival kit for soloing dungeons.
This build gives you a ton of ability uptime, solid damage resistance, and some great team utility with the Radiant buff. It is a very solid pick for Equilibrium.
First Encounter
This is probably one of the easiest encounters you will run into as far as solo dungeons go. The only thing worth mentioning here is to make sure you keep your distance from the Drop Pods that house the Behemoths. Those pods spawn in once the Nameless die, and the Behemoths come out swinging. Just never stand too close to a Drop Pod when it lands, and you should be fine.
Second Encounter
In this encounter, you need to hit nine panels. The additional enemies here are not that big of a deal. If you are careful, you probably won’t get killed by them. One thing I would watch out for is getting cornered or stuck in a door or something physics based like that. It can easily result in a death and ruin your run.
I recommend trying to stun the boss while clearing the three rooms. He has a big AOE attack and it does a lot of damage, so keeping him locked down helps a ton. Once the three rooms have been completed and it is time to go back to the middle, activate one generator to extend the damage phase. You need the boss to hit the generator during DPS for this to work.
Use the pits and your shadow ability to lower his shields. You can hit him twice as he jumps out to get his shield halfway down with just one pit. On the final stand, do not feel rushed to kill him immediately after he retreats. Destroy the turrets first, then advance. If his shield regenerates during this time, you can take it down again by making him fall into the pit at the center of the room.
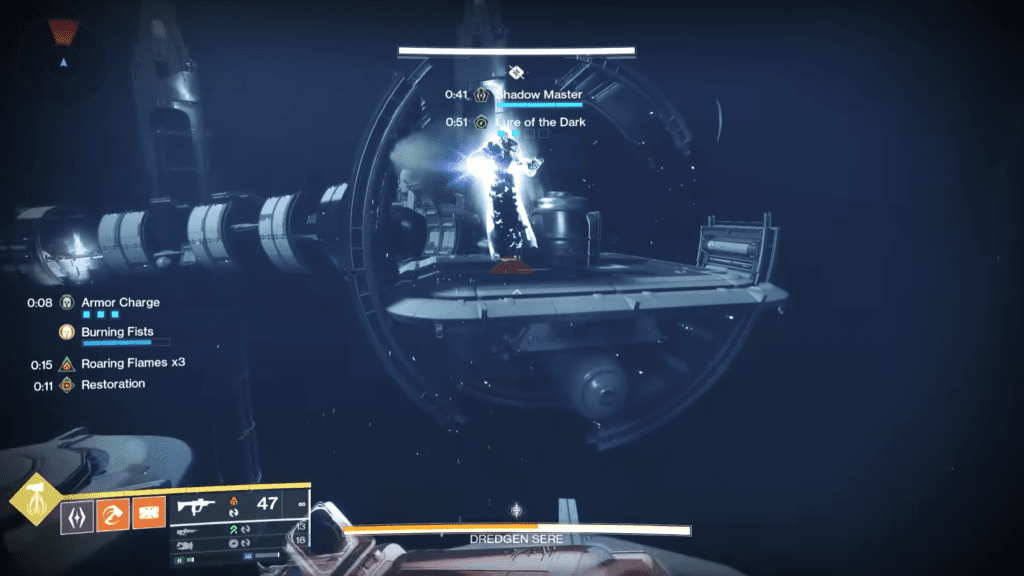
Final Encounter
This boss fight is going to be the longest one in the entire dungeon. It’s tough, but not brutally unfair. Depending on your confidence and damage output, you can finish it in three solid phases, or stretch it out to four if you want to play it safe.
As soon as the fight starts, get your Shadow ability up and running. Clear out the Nameless Apprentices and shoot the floating orbs in the middle of the arena. Once you get sent to the Ascendant Plane, here’s the big rule, do not kill any of the shadow bosses. Instead, you want to compel all of them. This is a key mechanic that makes your damage phases longer.
Start by compelling the first shadow boss right as you spawn in, then shoot the first orb. After that, just focus on building your Shadow buff back up to full strength before you get pulled back. You want to destroy all the Taken orbs in the real world first, and save the ones in the Ascendant Plane for last. This lets you focus on compelling all the shadow bosses without any time pressure.
One more tip, after the first damage phase, you can use the Shadow ability to hit some switches in the arena. This actually prevents the lightning from spawning during your next damage phase, which makes things a lot safer.
Also, a final warning, do not rush in to kill the Nameless Apprentices on the final encounter. Your main priority should be keeping your distance from them. Focus on dealing with the boss’s hands first, then kill the apprentice. If you try to rush it, you’ll just end up getting nuked by the boss and electrocuted by the arena at the same time. Play it slow, keep your distance, and you’ll get through it.
That’s It
That covers the whole dungeon from start to finish. Take these strategies into each encounter and watch your positioning. The bosses hit hard, but you hit harder when you stick to the plan. Now go get that solo flawless clear and add another emblem to your collection!