45 articles
Umbrakan is one of the new Solo Dungeon bosses in Throne & Liberty and his mechanics focus on Perfect Blocks.
Since you can only fight Umbrakan as part of the Hall of Illusion Solo Dungeons, that means this is a pure 1v1. As such, it’s quite a tough foe to topple, depending on your build! You’ll also need to master the timing of his attacks and Perfect Block them to be able to survive.
Read on and we’ll help you out, telling you everything you need to know about Umbrakan and his mechanics.
Umbrakan Boss Guide & Mechanics | Throne & Liberty
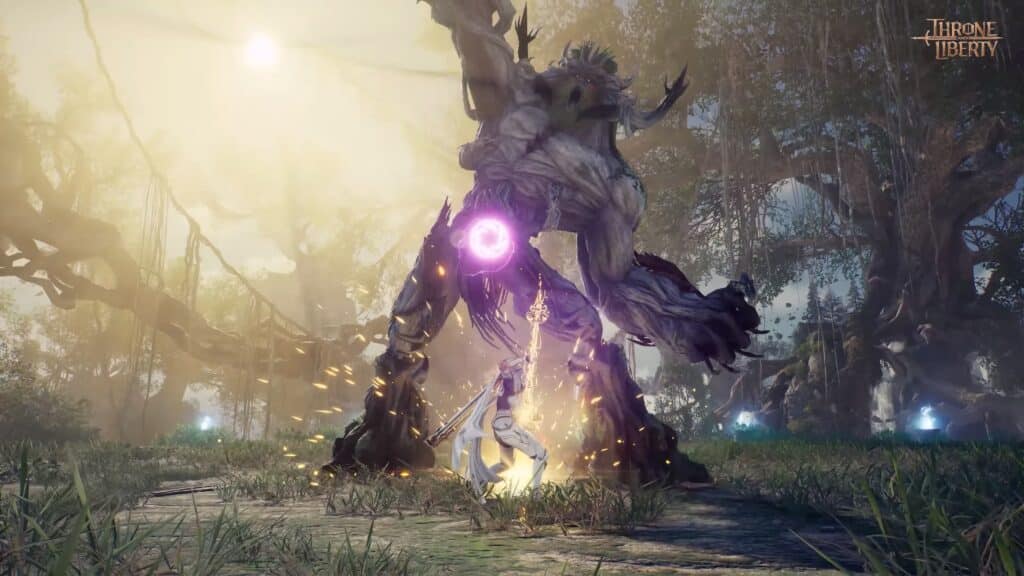
Umbrakan in Throne & Liberty is a boss that’s purely reliant on Fury/Wrath Attack mechanics, for the most part. He alternates between doing regular wide area-of-effect swipe attacks and Fury/Wrath Attacks.
 Throne & Liberty: Tidebully Goblins Event Guide | Splash CoinsJul 26, 2025
 Throne & Liberty: Arkeum Invasion Event Guide | Chaos Golems LocationsJul 14, 2025
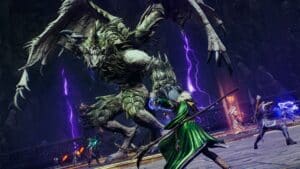 Throne & Liberty: How to Skip Mechanic Dragaryle Hard / Difficult Mode GuideJul 7, 2025
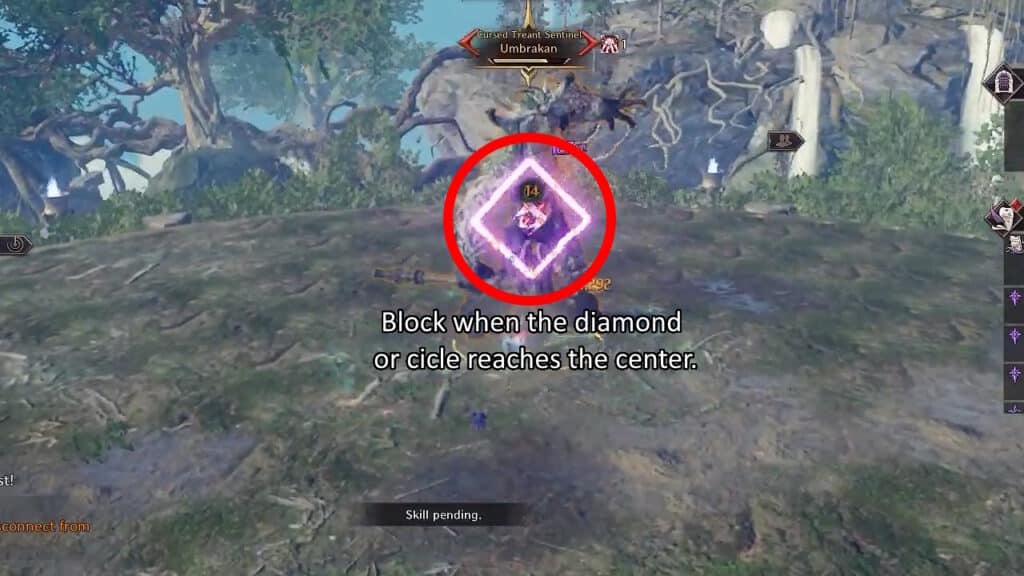
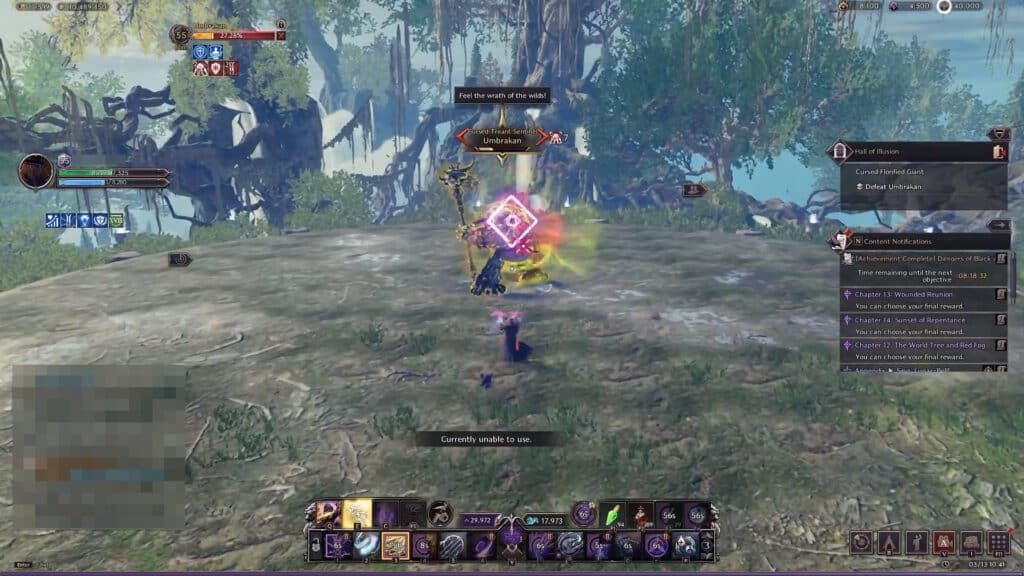
The key here is that you need to focus on doing Perfect Blocks against all his Fury and Wrath Attacks. Remember, Fury and Wrath Attacks are signaled by either a purple circle or a purple diamond on the boss. Each shape requires you to react in a different way, as follows:
- Fury Attack (Circle) – Can be blocked with either stationary or rolling Blocks. It’s up to you.
- Wrath Attack (Diamond) – Must be blocked with rolling Blocks. You do a rolling Block when you press the Block key while moving in any direction.
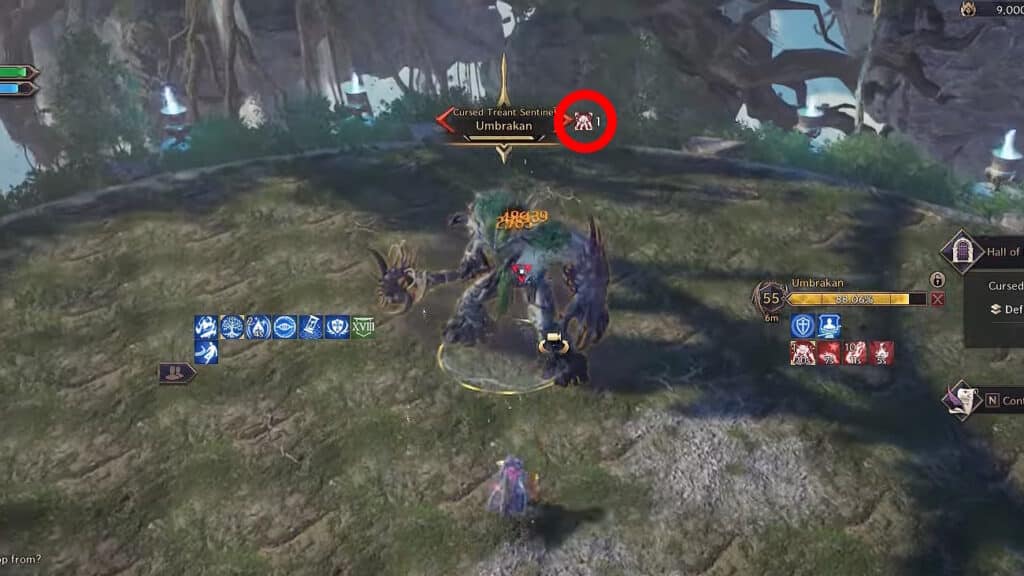
Every Perfect Block you land will add 1 stack to Umbrakan, shown next to his name tag. Your goal here is to get him to 7 stacks as soon as possible. We recommend sticking close to him as well, as this will bait his Fury and Wrath attacks.
Umbrakan’s Slam – Stun or Wipe
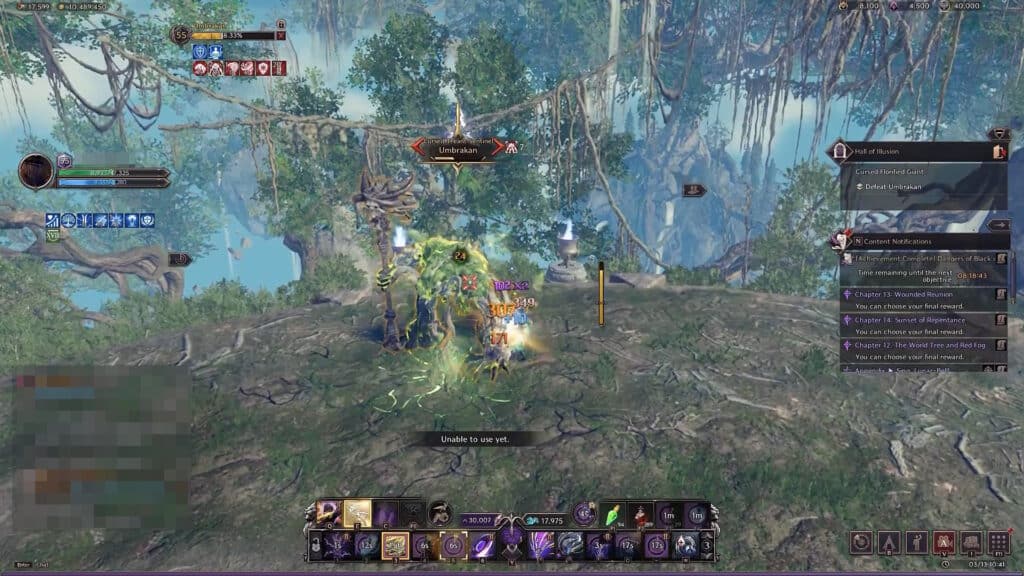
Once Umbrakan has done 8 to 9 Fury/Wrath Attacks, he’ll jump off the arena and then slam back down. If you successfully Perfect Blocked 7 of his attacks, he’ll now be stunned for a few seconds. Use this opportunity to deal massive damage!
Be warned: if Umbrakan has 6 Perfect Blocks stacks or less on him, he’ll instantly wipe you with the slam instead.
When Umbrakan recovers from his stun, he will jump onto the middle of the arena with another massive slam area-of-effect attack. After this, he will then do 3 consecutive Wrath Attacks and reset his Perfect Blocks stacks. Like before, you just need to Perfect Block these attacks to avoid taking damage.

At this point, Umbrakan will simply start looping his previous pattern. He’ll go back to doing regular attacks mixed with Fury/Wrath Attacks which you need to Perfect Block before he slams. You can very easily take him out before he slams again if you have a high DPS build, as well!
That said, that’s the end of our guide on the Umbrakan boss fight and its mechanics for Throne & Liberty. Do you also need help with the Rancorwood Co-op Dungeon boss? Check out our guide on how to defeat King Khanzaizin.