45 articles
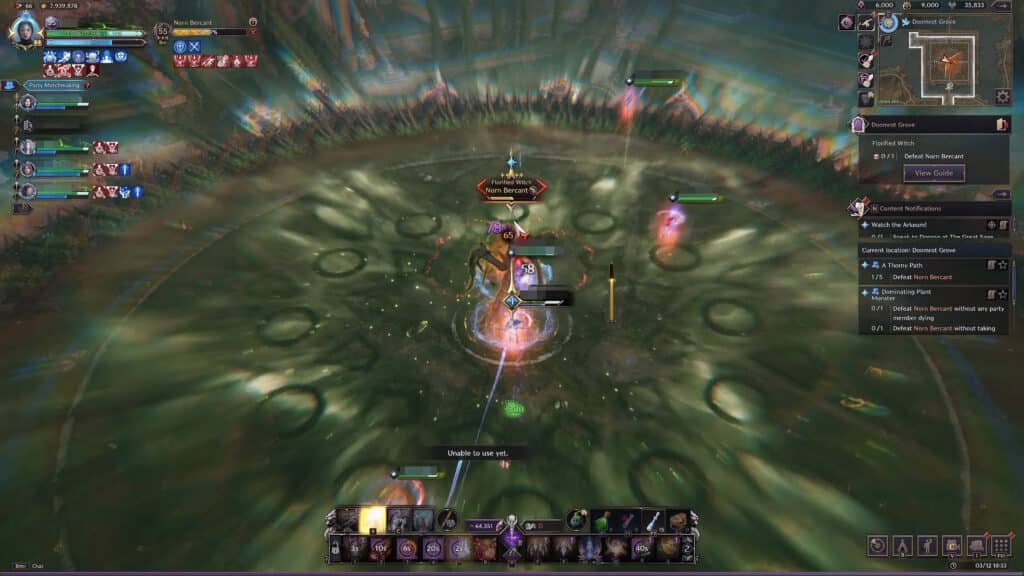
Norn Bercant is the final boss of the Doomrot Grove Co-op Dungeon in Throne & Liberty, and it has mechanics primarily focused on positioning.
This “Florified Witch” likes to use vines and poison to destroy her enemies. As such, she has a wide array of area-of-effect attacks and tricks that you need proper positioning to deal with. If you’re in the wrong place at the wrong time, you’ll be swiftly defeated…
Fret not, though! Just read on and we’ll tell you everything you need to take Norn Bercant down.
Norn Bercant Boss Guide & Mechanics | Throne & Liberty: Doomrot Grove Co-op Dungeon
The Vine Wall
The first of the main mechanics Norn Bercant uses is the Vine Wall. This happens once the boss gets to about 80-90% HP or so, so it’s pretty early in the fight. At this point, you should notice that 4 players have a large green seed above their head.
 Throne & Liberty: Tidebully Goblins Event Guide | Splash CoinsJul 26, 2025
 Throne & Liberty: Arkeum Invasion Event Guide | Chaos Golems LocationsJul 14, 2025
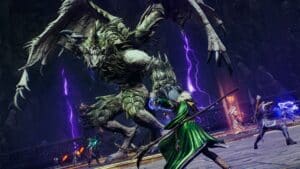 Throne & Liberty: How to Skip Mechanic Dragaryle Hard / Difficult Mode GuideJul 7, 2025
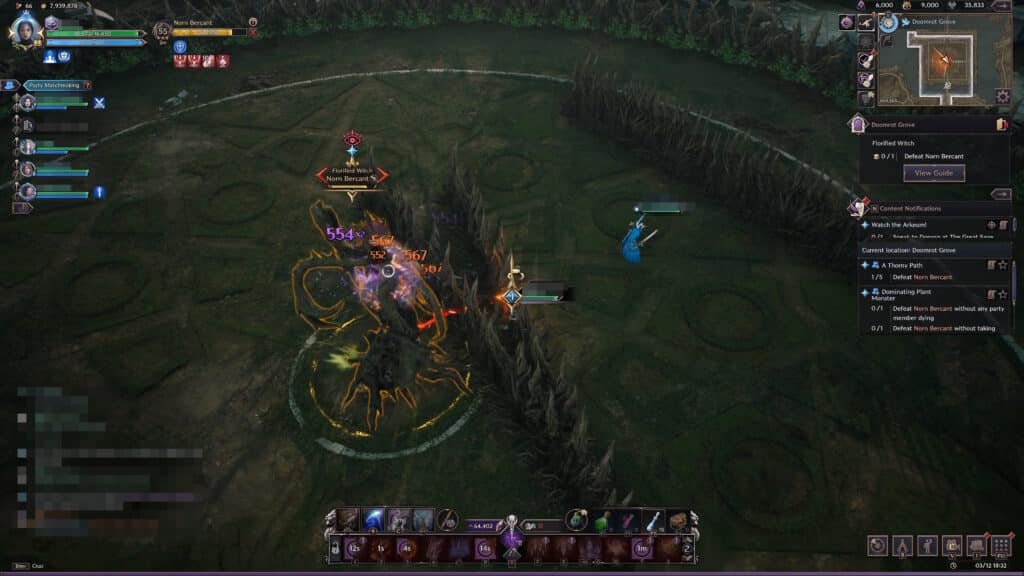
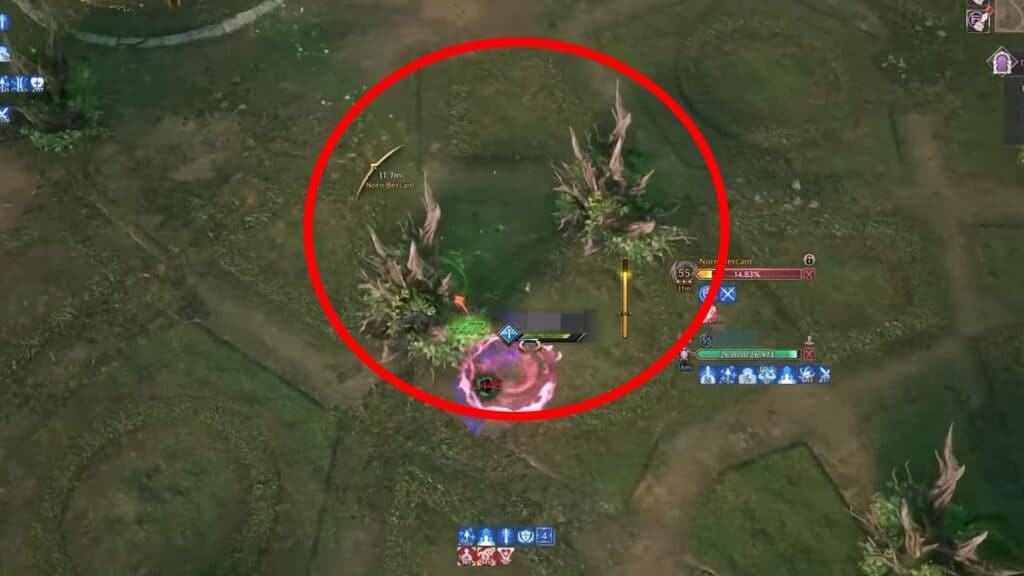
Now, the players marked by the green seed have to position themselves in a specific way quickly. Two players should get close to the boss and face it, while the other two players get far away from the boss and face away from it. The unmarked players should simply stand in the middle between both duos of marked players. Proper placement should look like the example above.
After a few seconds, the seeds will sprout into Vine Walls directly in front of the marked players. At the same time, Norn Bercant will summon a large number of projectiles from the outer parts of the arena toward herself. If everyone positions themselves correctly, the Vine Walls will block all projectiles and prevent damage.
The Floor is Poison
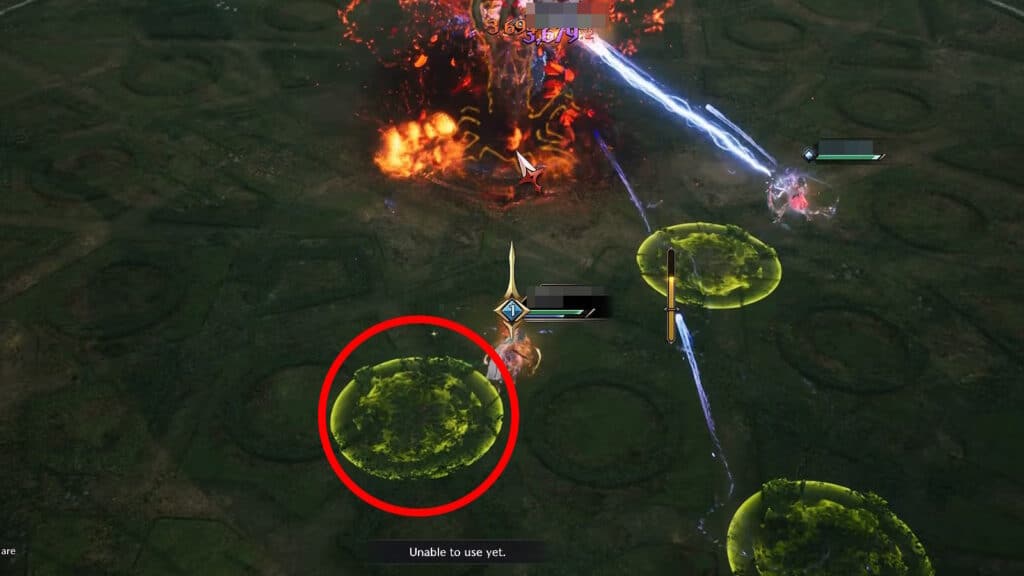
Right after the Vine Wall mechanic, Norn Bercant will cast light green circles below all players’ feet. These green poison circles detonate after a short while. Just move away from them quickly when you notice them and you’ll avoid this move entirely.
She’ll cast this move twice in a row the first time, but she’ll also keep casting it sporadically for the rest of the fight. We recommend that your party avoids clumping together from now on so that you don’t accidentally dodge into another player’s poison circle.
Right after the poison circles, Norn Bercant will do a Wrath Attack. Simply time a rolling Block at the same time as the purple diamond reaches the center of the icon to avoid taking damage.
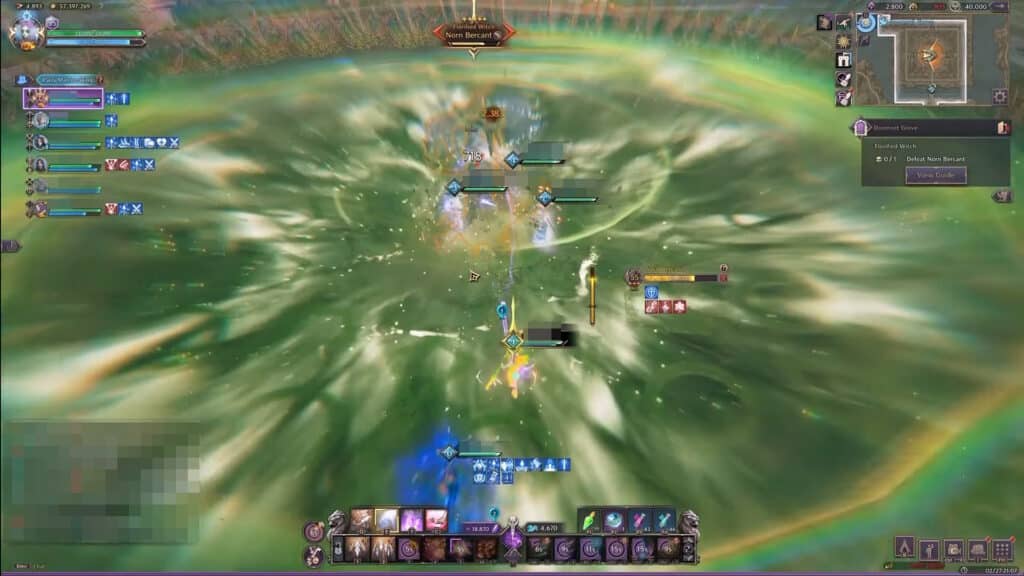
Next, Norn Bercant slams the ground with one of her hands, summoning a green wave that covers all of the arena’s floor. To avoid taking damage from this move, you just need to jump over the waves. Proper timing is key here!
Launch Attack and Debuff
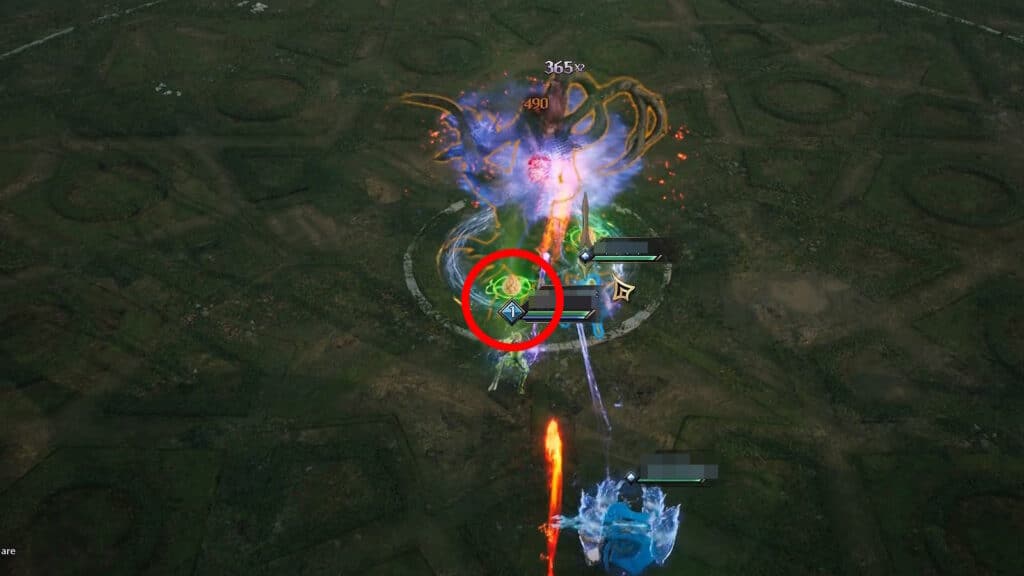
The last of the main mechanics for this boss is a fairly tricky launch attack. Norn Berncant will slam the ground, sending all players high into the air and applying a debuff on them. This debuff will deal pretty high damage over time at a fairly fast rate.
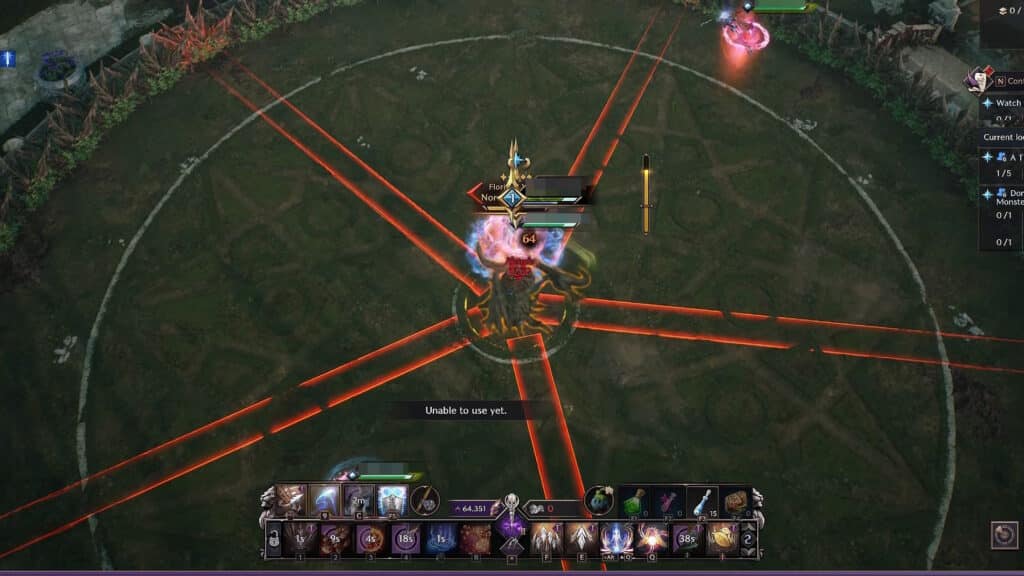
At this point, you should notice red lines from the edge of the arena moving toward the boss. Turrets will spawn on the vine walls at the edge of the arena and start shooting seeds at Norn Bercant. Stand on one of those red lines and let the seeds hit you to remove the debuff applied by the launch attack.
From now on, Norn Bercant simply starts looping her patterns. The only difference moving forward happens when the boss is at around 25% remaining HP. Root spikes will spawn for a while after the launch attack, dealing high damage if you land on them. Just glide with your morph to avoid landing on them after the launch.
That’s all you need to know about Norn Bercant, the Doomrot Grove boss, and its mechanics in Throne & Liberty. Now you just need to go beat it up! If you want help with more bosses, we also have a guide on how to defeat Umbrakan. It’s a Solo Dungeon boss, meaning it’s a 1v1 test of skill!