 26 articles
The Sledgehammer is one of the most unique weapons in The Finals and is exclusive to the Heavy Build.
This devastating melee weapon can deal insane damage to enemies and structures alike, making you a force to be reckoned with. However, it’s still a melee weapon, so it can be hard to use efficiently!
In this guide, we’ll go over various tips and tricks to help you make the most of your Sledgehammer.
Making the Most of the Sledgehammer
Sledgehammer Basics: Don’t Stick Out In The Open
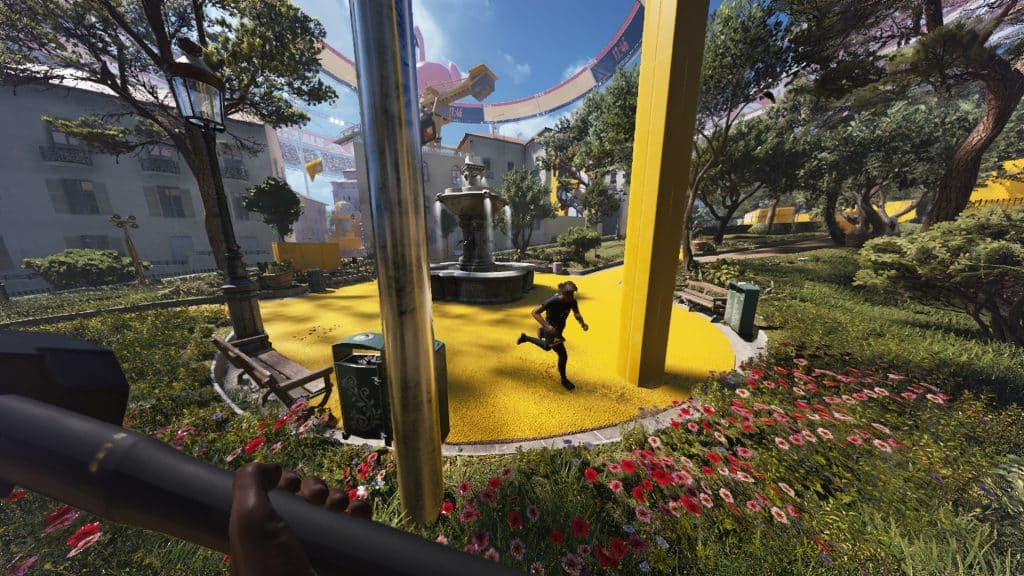
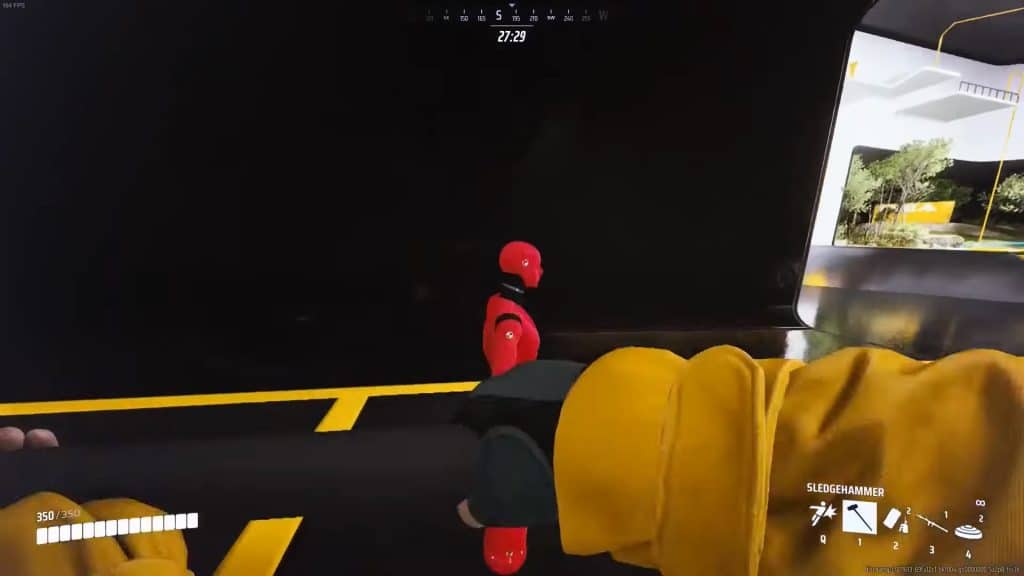
This should be obvious, but as a Sledgehammer user, you absolutely do not want to stay out in the open for long. You’re primarily a melee attacker, so you should be sneaky and favor close spaces.
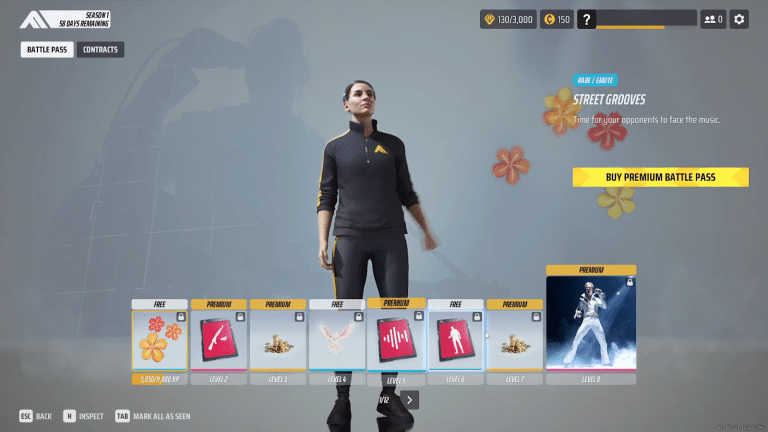
 The Finals: Is the Battle Pass Worth Buying?Jan 17, 2024
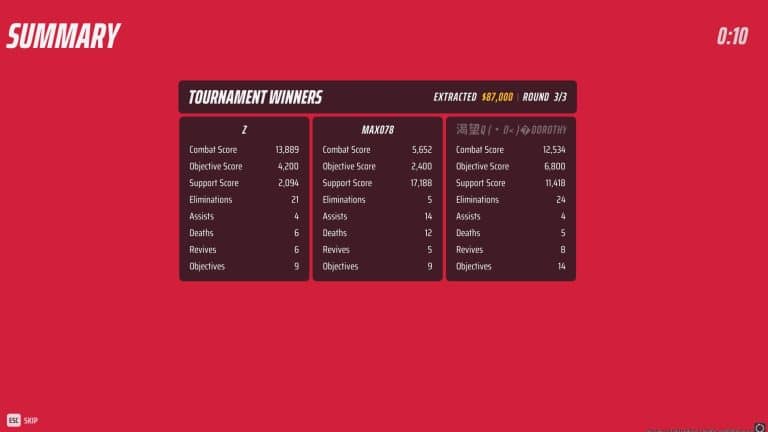
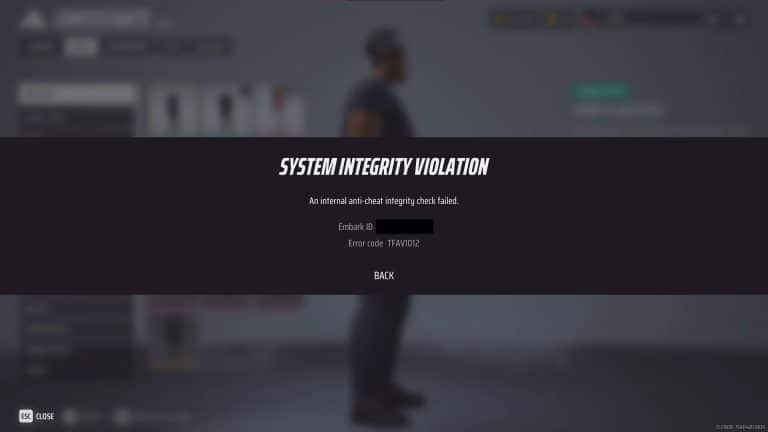
 The Finals: Top Players Allegedly Caught CheatingJan 11, 2024
 The Finals: Toxic Gas Complete Guide | How To UseDec 30, 2023
This varies from map to map, with some maps being way more favorable to Sledgehammer users.
But the gist of the Sledgehammer playstyle is to avoid being in places where you can just get shot at from a distance.
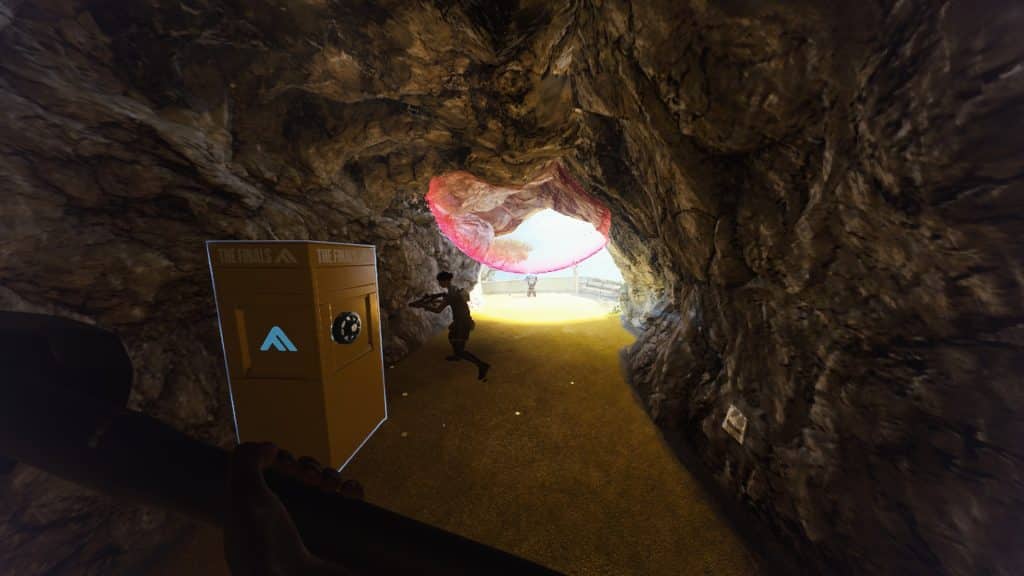
Use every bit of cover you can as you close the distance to your enemies!
Also, remember that your Sledgehammer boasts impressive destructive power. You can break structures with ease if your enemies are hiding from you.
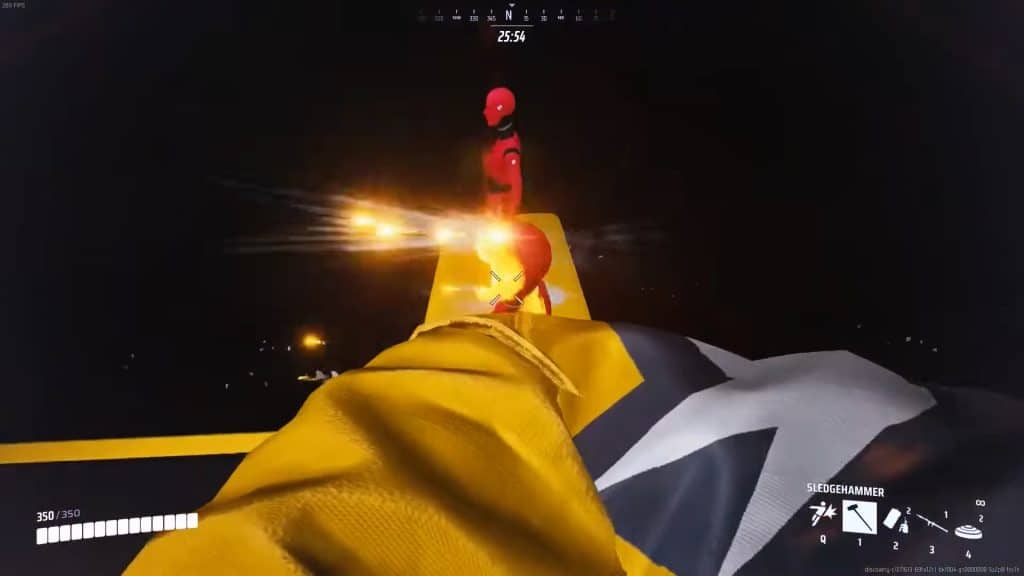
On the upside, once you’re in close you are very likely to come out on top. Circle around your enemies as you deal devastating melee attacks, and they are very unlikely to hit you.
Your reward once you get in range is to see your enemies flailing around, wildly shooting everywhere as you pummel them with the Sledgehammer!
Specialization: Charge ‘n’ Slam
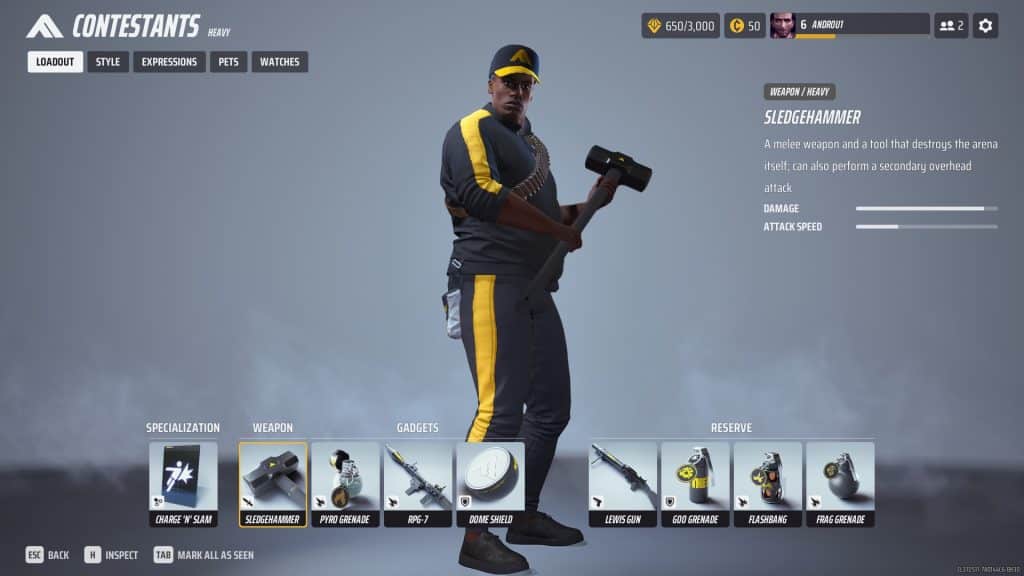
The best Specialization for Sledgehammer players is the Charge ‘n’ Slam. It amps up your destructive potential, while also allowing you to quickly close in distances.
There is simply nothing better for getting into melee range than a good charge.
Don’t rely on the Charge ‘n’ Slam itself to deal damage, though. The ability’s damage to enemies is fairly minimal compared to your Sledgehammer, so it really is best to use it just for closing gaps.
Gadgets Are Your Friends

Considering that the Sledgehammer prevents you from carrying any gun with you, you’ll have to rely on the Heavy’s powerful set of gadgets a lot more than usual.
The two most important ones are the C4 and the RPG.
C4 can be used to set up traps for enemies, and you can throw them pretty far for a ranged option.
Similarly, the RPG allows you to deal devastating explosive damage from a distance.
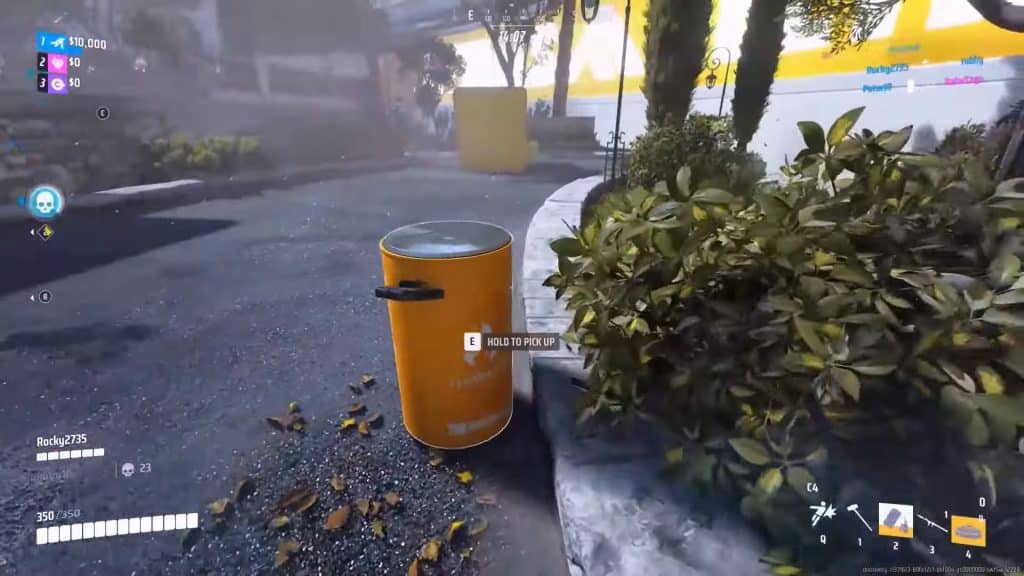
One particularly useful trick with C4 is that it can attach to pretty much anything. This includes carriables, such as the many canisters that dot the arenas!
You can attach your C4 to a canister, grab it, throw it at an enemy, and detonate it. It can be tricky to pull off, but it can usually result in instakills against Light and Medium builds.
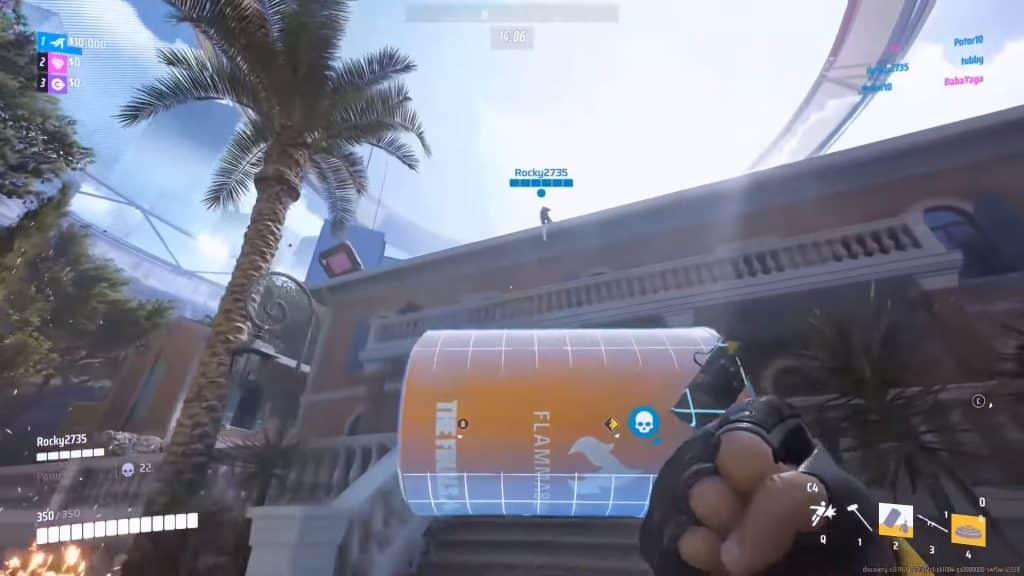
Do be extra careful to stick to cover while carrying a canister with C4 on it, though. Enemies can shoot it while you hold it, which will most likely result in your own demise.
As for other potential gadgets to carry for your third slot, the Explosive Mines can be pretty useful to set up traps for enemies that try chasing you.
Other than that, though, your third slot is pretty much up to whatever you feel is best. Just remember that the RPG and C4 stay!
Master The Animation Cancel
One last trick up the Sledgehammer’s sleeve is the quick melee animation cancel. You can cancel the recovery animation of your swings by performing a quick melee attack anytime!
This makes your attacks a lot faster and can be used to finish off enemies more efficiently. It’s a total gamechanger once you master it!
It’s worth noting that the quick melee attack does 40 damage, while your Sledgehammer’s primary attack does 110.
Light Builds have 150 HP, so one swing and a quick melee is enough to kill them. Medium Builds have 250, so you’ll need two swings and one quick melee.
Lastly, your fellow Heavy Builds have 350 HP, so they require three full swings plus the quick melee. However, you’re better off using the secondary overhead attack to finish them off instead.
ALSO READ: The Finals: Complete Medium Guide | Season 1