 118 articles
The Genesis Tree is one of the most helpful new features in the Return of the Ancients patch for Path of Exile 2 (PoE 2).
This fairly disturbing tree can use the Hiveborn’s blood to give birth to new items. With a fair degree of customizability, this allows you to sort of target-farm specific loot drops! It’s extremely convenient, that’s for sure.
In this guide, I’ll tell you everything you need to know to use the Genesis Tree.
How to Unlock the Genesis Tree
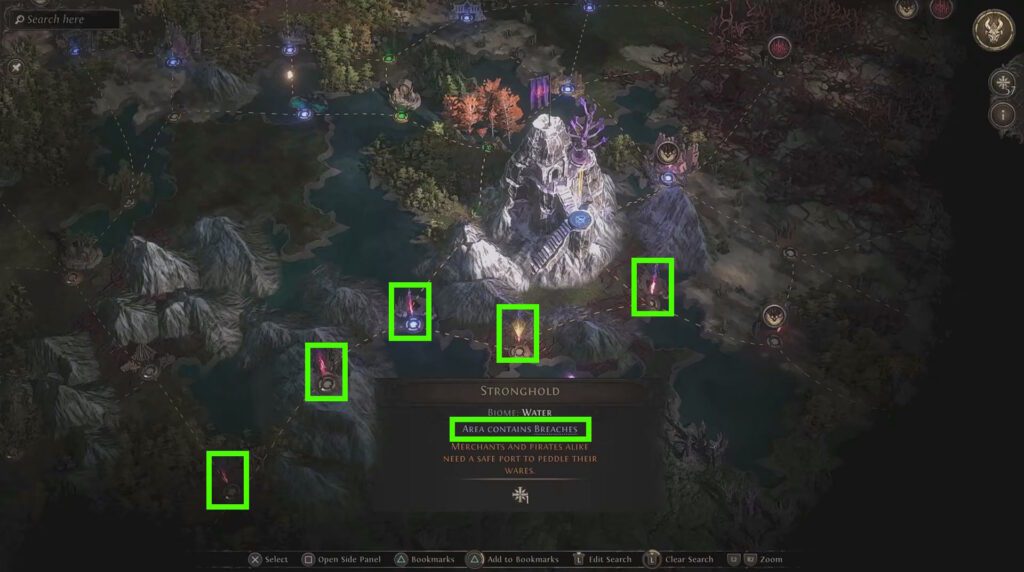
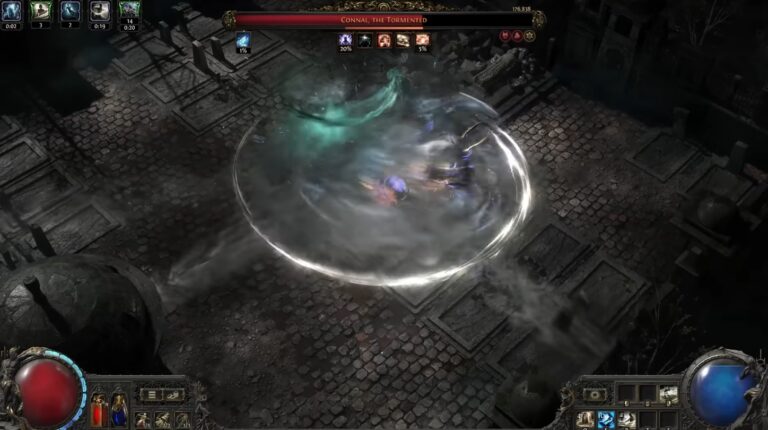
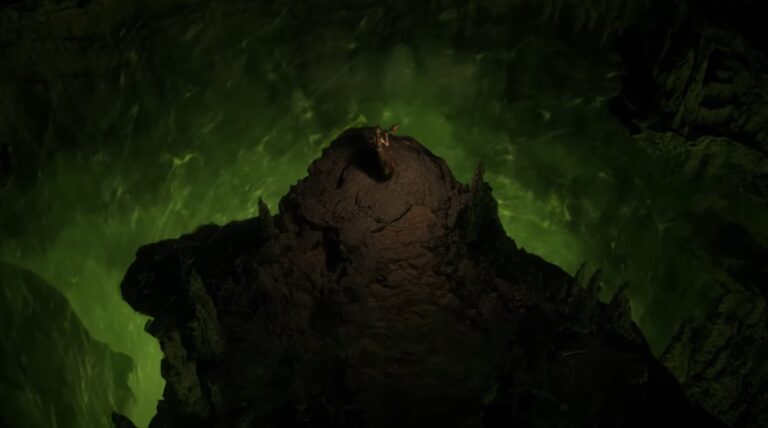
First things first, you’ll need to gain access to the Genesis Tree itself. For that, you’ll first need to go to any area with a Breach event in Act 6 and complete it. Breaches are signaled on the map by a purple fire, as shown above.
 Path of Exile 2 0.5: How to Craft +2 Projectile Skill GlovesJun 14, 2026
 Path of Exile 2 Return of the Ancients: Best Endgame Build Tier ListJun 10, 2026
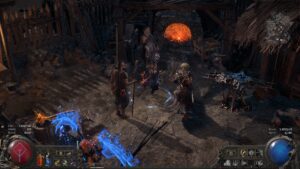 PoE 2 Return of the Ancients: How to Craft S-Tier ItemsJun 10, 2026
As part of the Breach event, you’ll meet Ailith of the Keepers of the Flame. Help the Keepers of the Flame fend off the Hiveborn, obtaining Wombgifts and Hiveblood in the process.
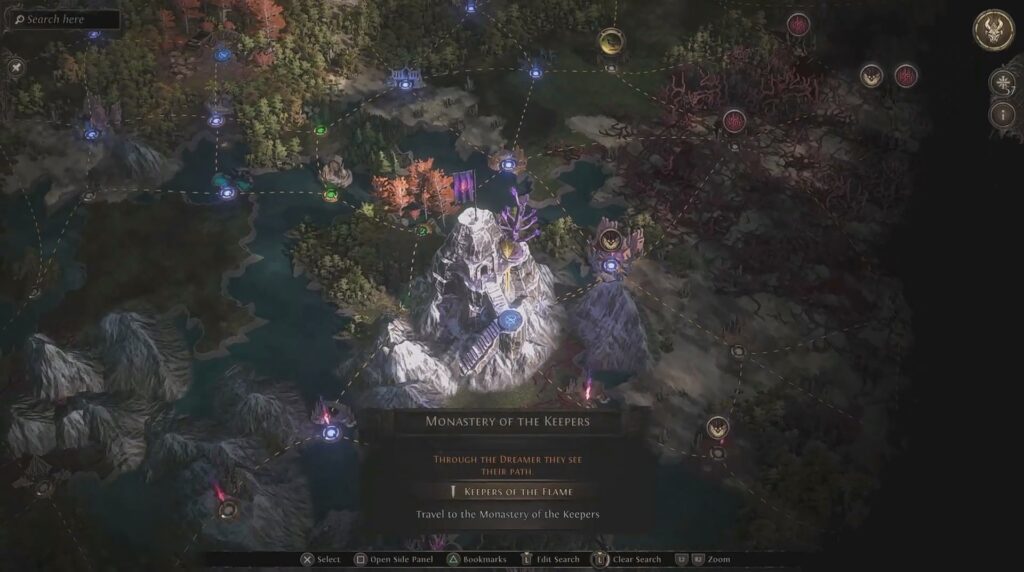
After clearing your first Breach event, you’ll unlock access to the Monastery of the Keepers. Visit it and meet Ailith there and learn a bit more about Breaches. Ailith will also introduce you to the Genesis Tree, allowing you to use it.
How the Genesis Tree Works
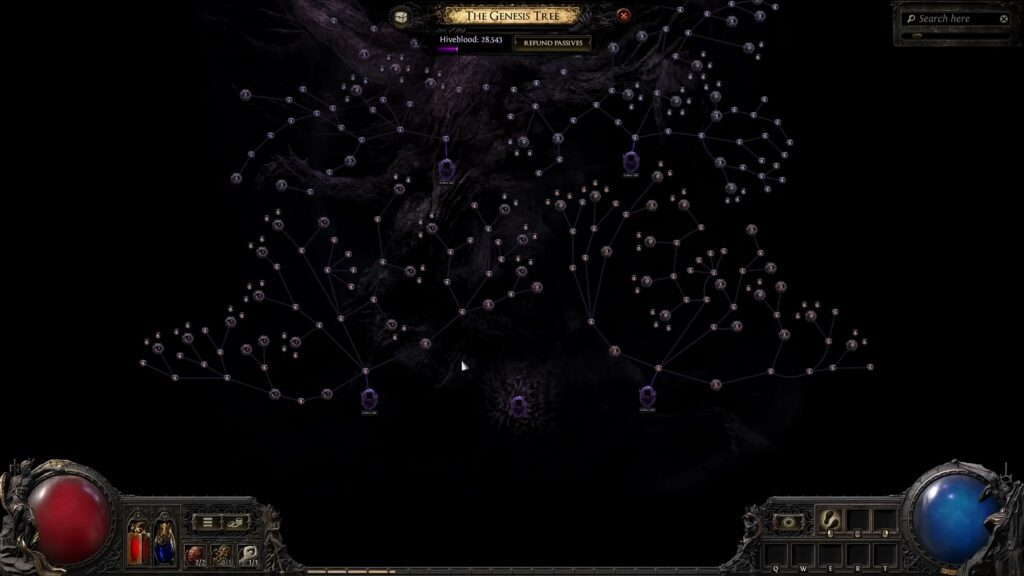
Now, the Genesis Tree itself is split into 4 different branches. Each branch focuses on a single item type and requires a different Wombgift, as follows:
- Top Left (Currencies) – Lavish Wombgift.
- Top Right (Amulets) – Ornate Wombgift.
- Bottom Left (Rings) – Signet Wombgift.
- Bottom Right (Belts) – Banded Wombgift.
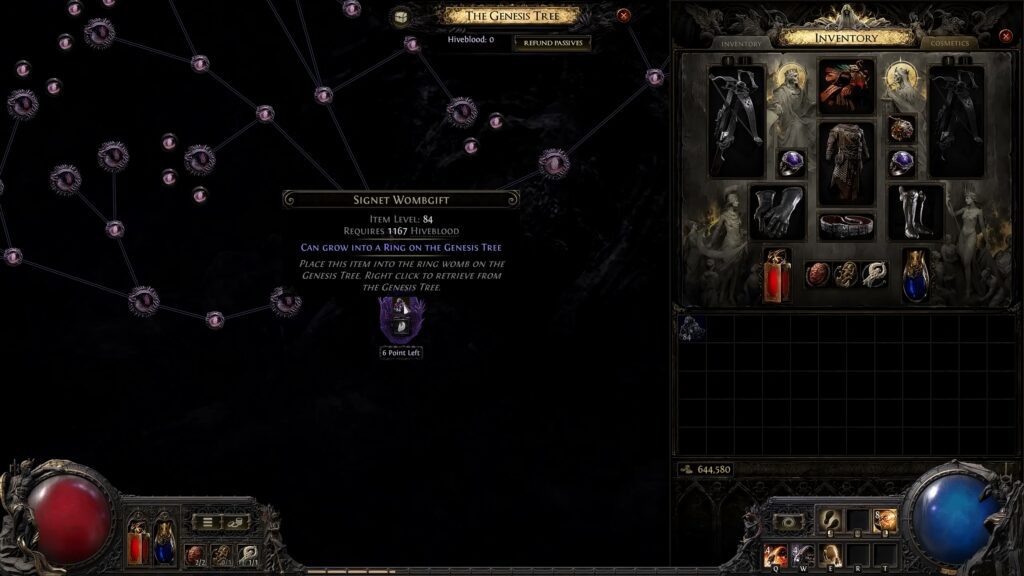
To make use of one of these branches, you just need to interact with the main big purple node at the bottom of the branch. Offer it its required Wombgift and Hiveblood to receive an item of the branch’s focus type in return.
Again, just in case, you’ll get Wombgifts and Hiveblood from completing Breaches. You’ll also get them from maps with Breach Hives. So, you just need to look for areas that have those events active on your map and participate in them.
Regardless, that’s just the basics of how the Genesis Tree works. But, as I’m sure you’ve already noticed, there are a lot of smaller nodes attached to each one of the tree’s branches! Time to go over those, as well.
Modifying the Genesis Tree’s Loot
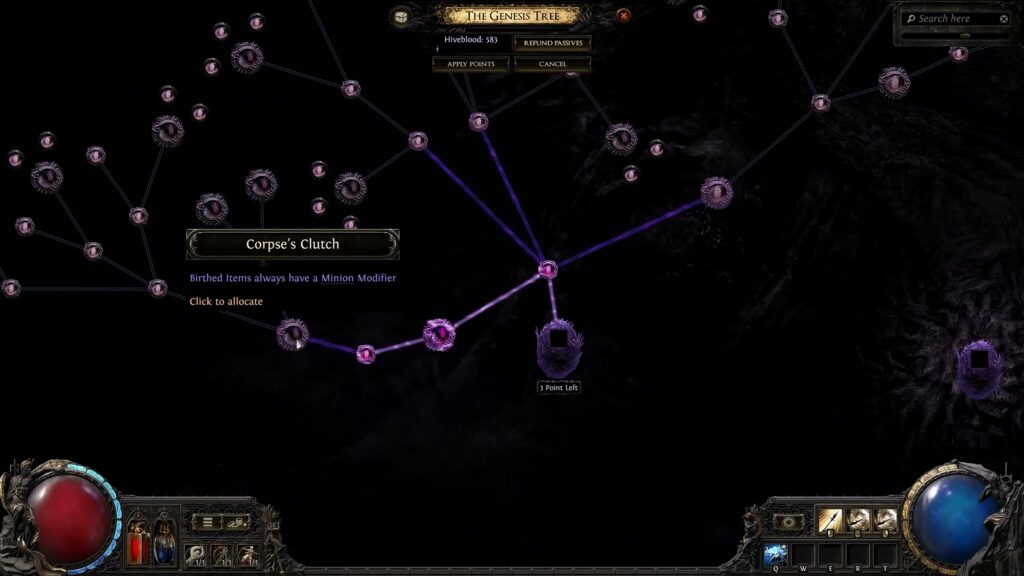
What really makes the Genesis Tree shine is that you can somewhat modify what you get from it. For that, you’ll need to get and allocate passive points onto the minor nodes on each branch.
As of this writing, you primarily get passive points for the Genesis Tree in two ways: completing the Breach questline and through the Breach section of the Atlas Tree.
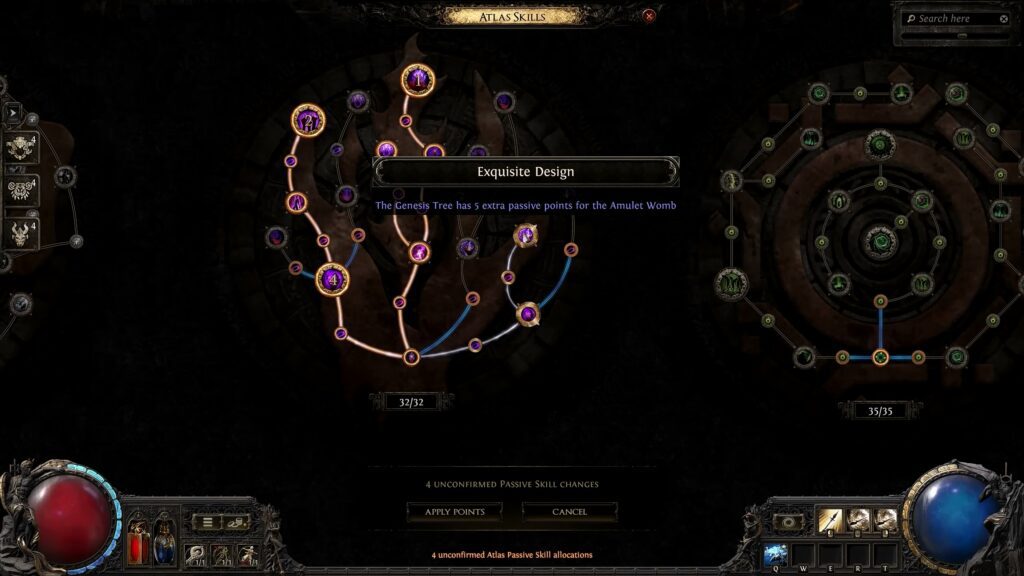
That said, do note that you do not get enough passive points to fully allocate any of the branches currently. It’s fairly limited, truth be told. However, you can respec freely by spending Hiveblood.
Now, do note that not all minor nodes are available from the start. In fact, most of them aren’t. More minor nodes will unlock as you feed Wombgifts to the primary purple nodes in each branch of the Genesis Tree.
In summary, feed Wombgifts to a branch of the Genesis Tree to unlock more nodes. Then, allocate passive points from Breaches and the Atlas Tree to those nodes. Do this to somewhat customize the item drops from the Genesis Tree.
Wrapping Up
The Genesis Tree is one of the most useful new features the Return of the Ancients patch for PoE2, so I hope this guide helps you get started with it.
Ultimately, using it is really as simple as just completing Breaches to obtain passive points, Wombgifts, and Hiveblood. Feed the tree to get loot and open more nodes which you can use to customize your drops. It’s a great way to farm some goodies!
Want more help with some of the new mechanics and content in the Return of the Ancients patch? Check out our guide on Runeforging and Runic Ward, as well.