2 articles
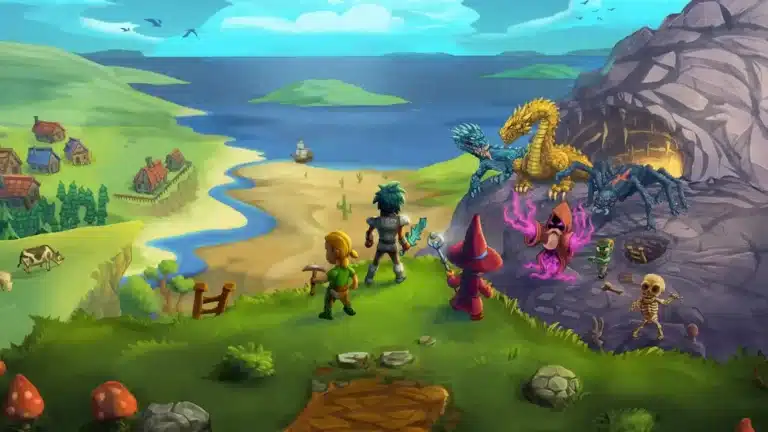
Just picked up Necesse 1.0 and not sure where to start? No worries, our guide has you covered. The early days can be overwhelming as there are a lot of things to learn, like crafting, mining, surviving, and exploring. In this guide, we’ll give you the essential tips and tricks to help you get started and be successful.
Mobs
Your first tip is to utilize the mobs. Most of your resources come from mining underground, which will eventually run out; however, mobs can provide a consistent source of resources.
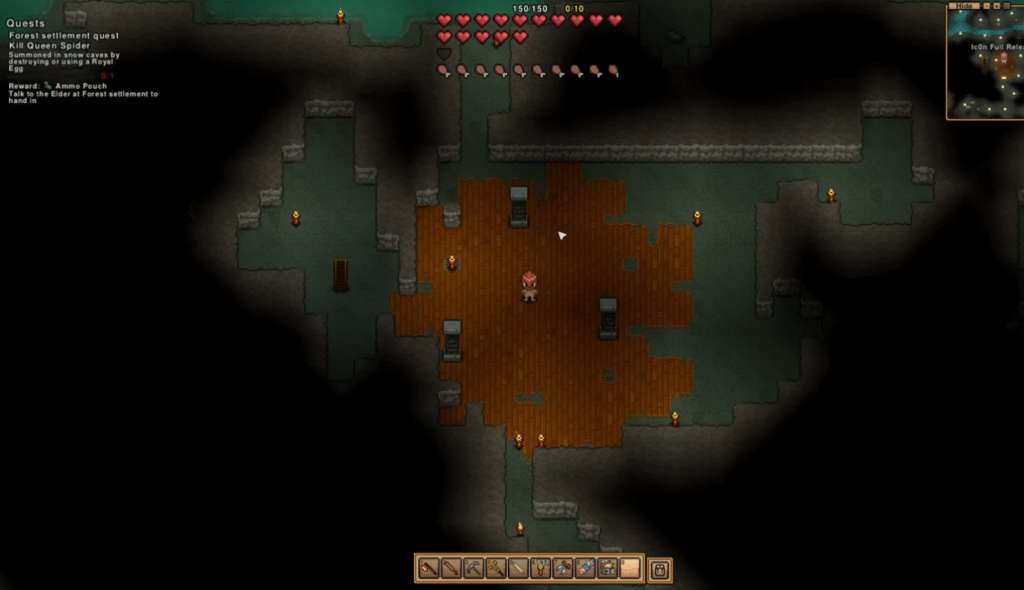
Around your base, if you leave some areas without torches, you will have mobs spawn. This can give you some pretty good gear and resources. If you put torches up, the mobs will not spawn. You can get almost everything you need early on by using this method.
Smart Mining
A small but mighty tip: Toggle Smart Mining and assign it to a button that is convenient for you. When this setting is enabled, it outlines what you are mining or chopping before you do. This saves time and headaches trying to ensure you are accurately mining/chopping the right block.
 Necesse 1.0 Settlement GuideOct 28, 2025
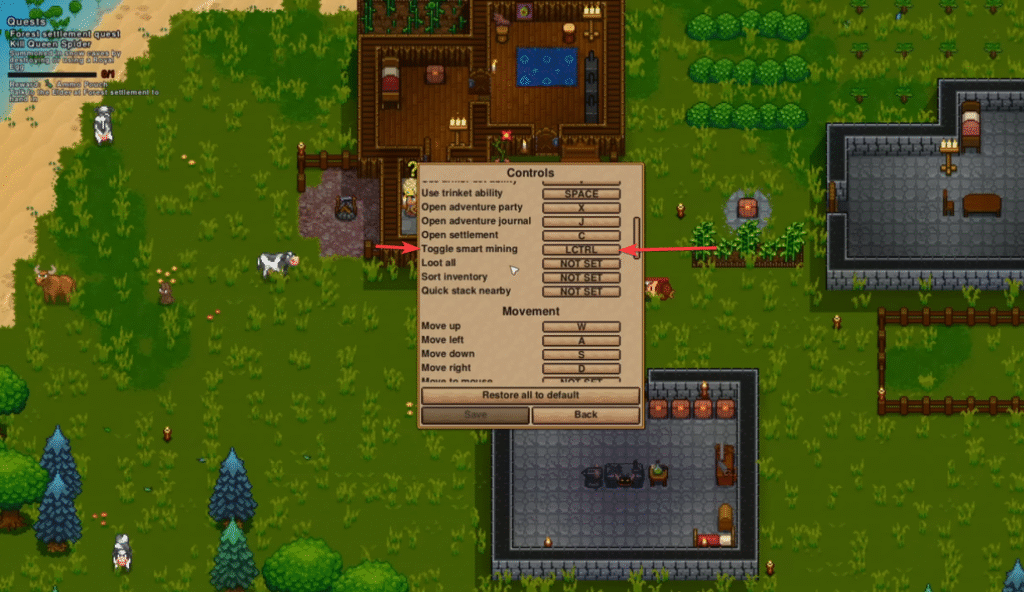
Crafting
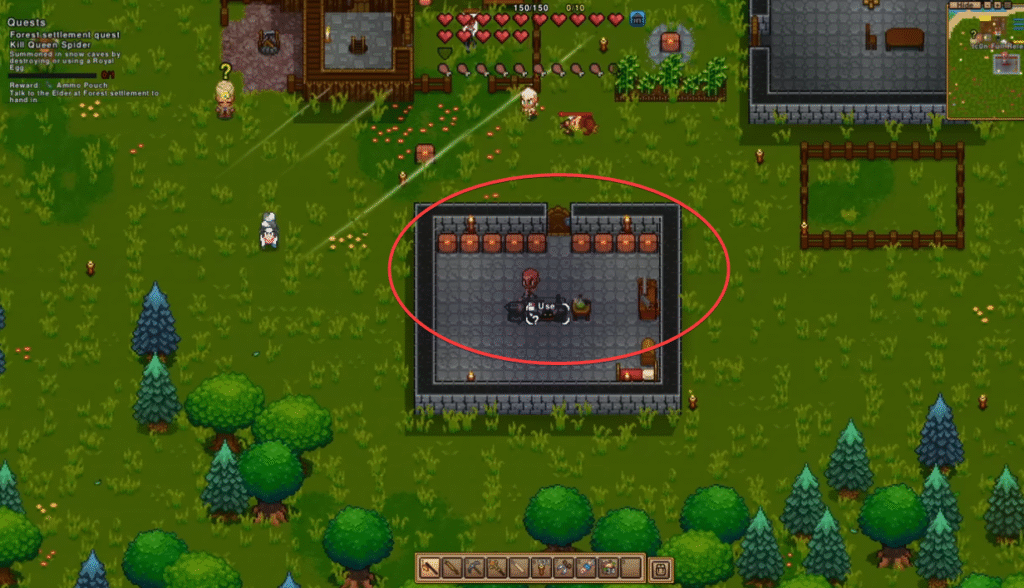
Workbench Containers
This is one of my favorite features of the game: crafting from nearby containers. When you use a workbench, there will be an option to “Use Nearby Inventories.” You should keep this turned on.
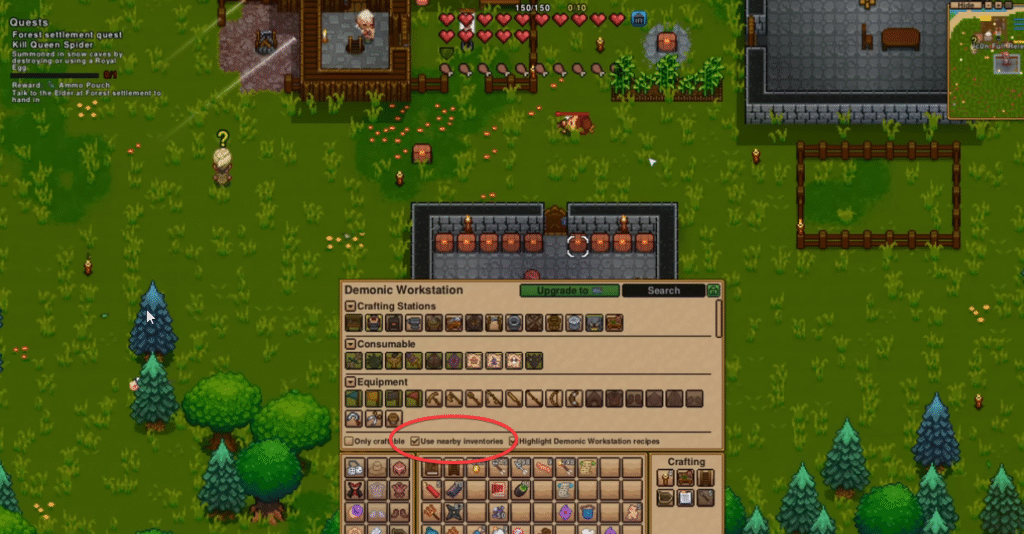
Build a bunch of containers with crafting materials around your workbench. This saves you from having to pull items out from the containers, into your inventory, and then into the workbench. You can simply go to the workbench, and it will automatically use the items from the containers. This is a seriously helpful tool.
Crafting Guide
The Crafting Guide is one of the most helpful tools in the game. You can put any item into it, and it will show you what it can become.
When you put an item into it, it will show “Crafting Material” if it can transform into other items. You can see upgrade paths, making it easy to know what to keep and what to recycle. Whenever you start getting a ton of loot, it makes this tool even more useful as it visually helps with progression paths.
Colony Storage System
Once you manage to have a few villagers, you will now be able to set up colony storage systems by doing this:
- Create containers with different priorities
- Make specialized containers that include your high-priority items like weapons, food, bars, etc.
- Make low-priority chests that just have your various resources and extra materials.
So you can choose exactly what you want to go into each chest. The villagers can automatically sort the items into the correct containers. No more manually sorting items into chests, saving you time and effort. If the villagers’ sorting is slow, you are able to increase their hauling priority.
Weapons
Keep trying new weapons!! Experiment with various weapons and try new things. A lot of the weapons have some surprise traits to them that aren’t mentioned explicitly in-game. There are hidden damage modifiers that can really make the weapon more powerful than it may seem.

For example, the Berserk Rolling Pin has splash AOE damage that is not mentioned in-game.
I recommended keeping a lot of the weapons that may seem silly or invaluable, as they may have the potential to become really good down the line, as they can evolve.
Explosives
Explosives are your friend! There are a ton of them underground that you will run across. They are GREAT for clearing large veins or fighting mobs.
Early game mining takes a while, as you are quite slow with the pickaxe. But later down the line, you will have enchanted tools that increase your mining time. So, in the early game, explosives are huge time-savers underground.
Use your Villagers
Utilize your villagers to their maximum potential. They can run multiple tasks like smelting ore, tree cutting, etc.
You should assign certain villagers to jobs like fertilizing or husbandry, as these tasks require that specific villager type. By assigning these villagers to menial tasks, you can focus on bigger ones! Getting this automation done in the early game can be a huge help in the long run.
Gear Sets
What you wear matters. There are no specialized trees or skill points, so what gear you have on determines the bonuses you have. And farther down the road, enchanting your gear gives you an even bigger bonus.
Some gear types are more general and will be used at the start of your playthrough. But, as you continue on your journey, you will find different gear pieces that are used more in specialized play styles, like spellcasters.

You should keep different gear sets for different zones and playstyles. Some zones are better suited for magic builds, and some are better for summoning. So by keeping multiple different types of gear, you can be prepared for any zone you explore.
Base Building and Exploration
If you are a hoarder, this is your game! Almost everything can be picked up and taken to your home. The more you explore, the more items you are likely to encounter, as there are different biomes. Doing this early game is a smart move.
The great part about it is that once you have one plant or resource, you can plant and multiply them at your base (for the most part). But to get new ones, you do have to do a bit of exploring.
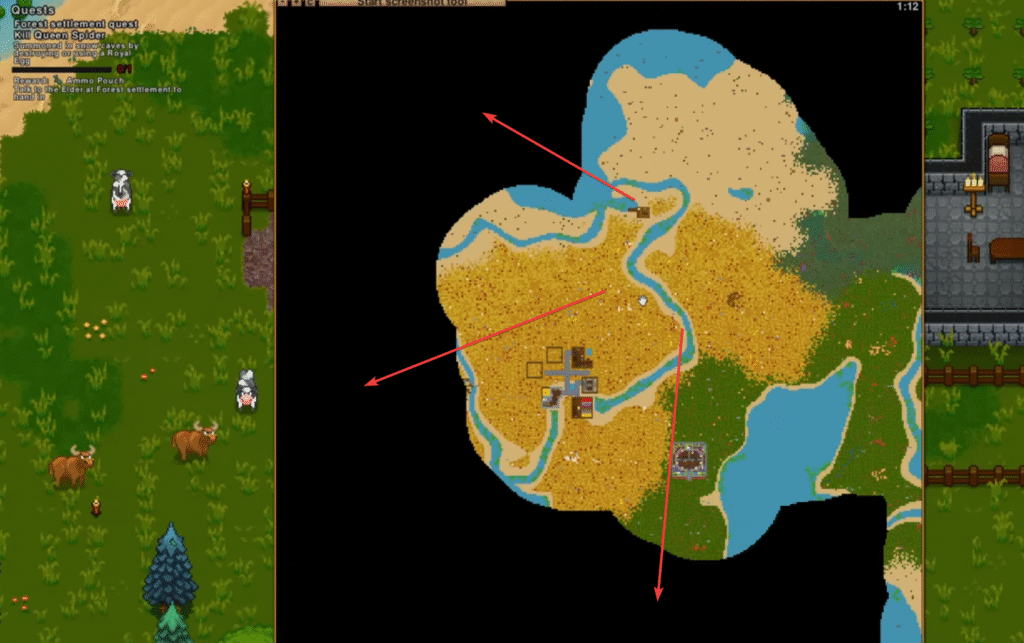
This is the heart of the game: exploring to gather resources, building and multiplying at home, and venturing out for new resources. It is a big loop that allows for the game to have endless play time, as there is always going to be something to explore.
Quests
Quests aren’t super important in this game. They give good rewards, but exploring gives just the same amount of reward. And playing with friends to defeat bosses can be even MORE rewarding! So don’t stress out about questing, just explore and enjoy the game.
And that’s all the tips you need for starting your journey in Necesse! Whether you’re mining, exploring, or building your dream base, every run gives you something new to learn. Get out there and start creating your own story, one axe swing at a time!