
 8 articles
The Cradle is the brand new seasonal progression system added with Marathon Season 2: Nightfall and it completely replaces how you built your Runner in Season 1. Instead of grinding faction contracts and hoping you extracted successfully to keep your progress, you now convert loot directly into Energy and spend that Energy across six stat categories to shape your Runner however you want.
The other big change is flexibility. You can reset and redistribute your points at any time during the season without any cost or penalty. There are six stat categories to invest in and maxing everything out requires a significant grind. The smart approach is prioritizing the stats that suit your Runner Shell and playstyle. In this guide, I will break down how the whole system works and what to invest in first.
Complete Guide on the New Cradle System
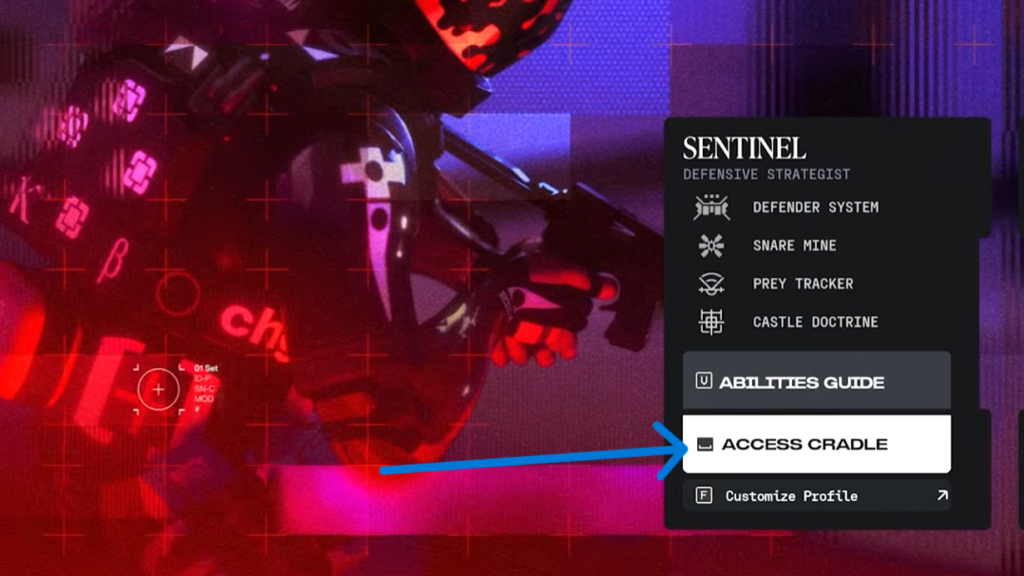
To access the Cradle, head into the “Shell Select” menu. Once you are there, you will see the option to “Access Cradle“. Click on it or press “Spacebar” on your keyboard to open it up. Controller players will find the relevant button prompt displayed on screen as well.
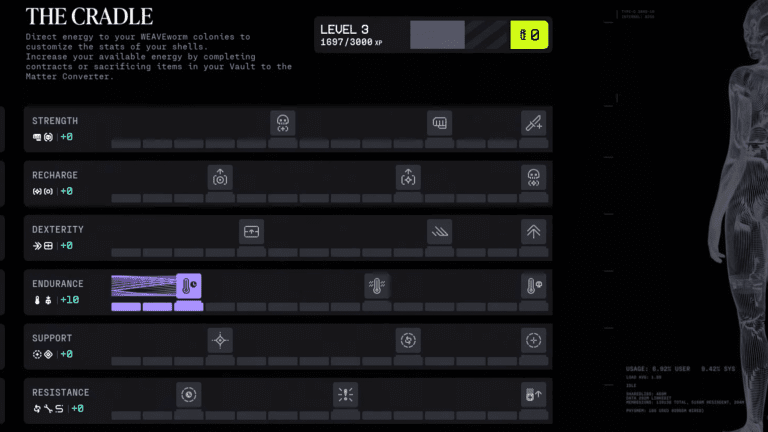
Stats
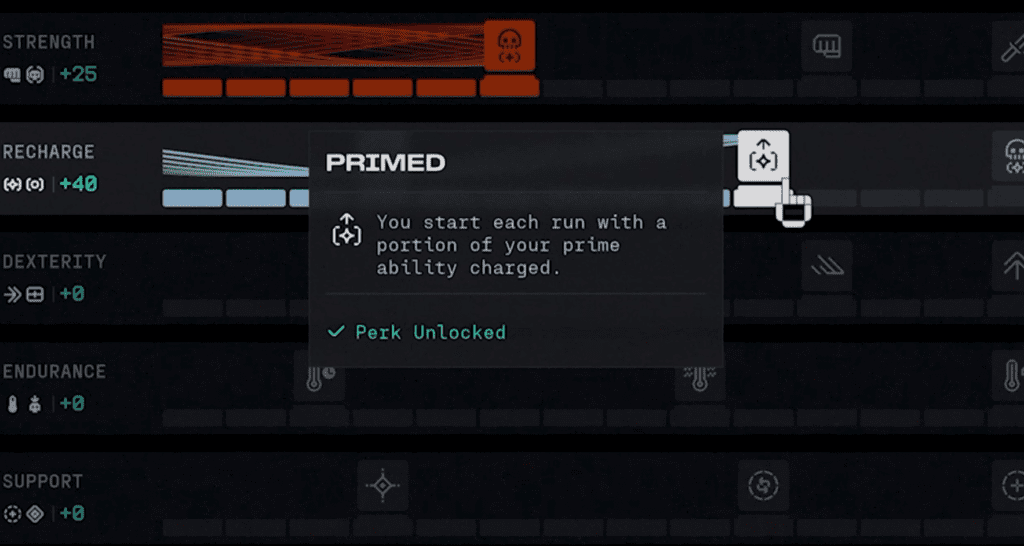
Inside the Cradle menu, you will find six stat categories to allocate your points across. Each one governs a distinct part of how your Runner performs on a run. Here is a breakdown of what each one does.
 Marathon: How to Enter Night Dire Marsh (Puzzles and Boss)Jun 4, 2026
 Acquire NuCal Employee ID from Infested Building in Columns in MarathonMar 2, 2026
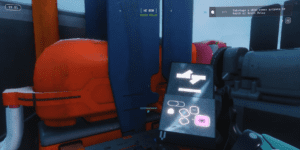 Marathon – Sabotage a UESC Comms Antenna in North or South RelayMar 1, 2026
- Strength increases your melee damage and improves your Finisher Syphon, which is the amount you recover when finishing off enemies. A solid pick for aggressive players who are constantly in close range fights.
- Recharge improves your Tactical and Prime ability recovery speed. If your playstyle revolves around using your Runner Shell’s abilities frequently, this is one of the more impactful stats to invest in early.
- Dexterity increases your overall Agility and the speed at which you loot containers and bodies. The looting speed bonus is more useful than it sounds, especially in high pressure situations where spending an extra second on a loot prompt can get you killed.
- Endurance improves your Fall Resistance and increases your Heat Capacity. Fall Resistance reduces the damage you take from drops, and Heat Capacity is your stamina bar. It determines how far you can sprint, slide, and jump before needing to recover.
- Support improves your Revive Speed and extends the duration of your Pings. Both of these are team focused benefits that become increasingly valuable the more you play with a coordinated squad.
- Resistance improves your Self-Repair speed and strengthens your Hardware and Firewall stats. This is the defensive stat of the six and is particularly strong on tankier Runner Shells like the Sentinel.

Perks
Alongside each stat line in the Cradle menu, you will also find icons sitting at certain points along the progression track. These are perks, which are essentially Runner upgrades similar to the ones that were previously locked behind the faction system in Season 1.
Getting to a specific upgrade you wanted before was a lot more tedious since it required grinding faction contracts and hoping your extractions went smoothly. Now it is much more straightforward. If there is a specific perk you want, you simply funnel your points into the relevant stat and work your way towards it directly without any of the friction the old system had.
Getting Cradle Points
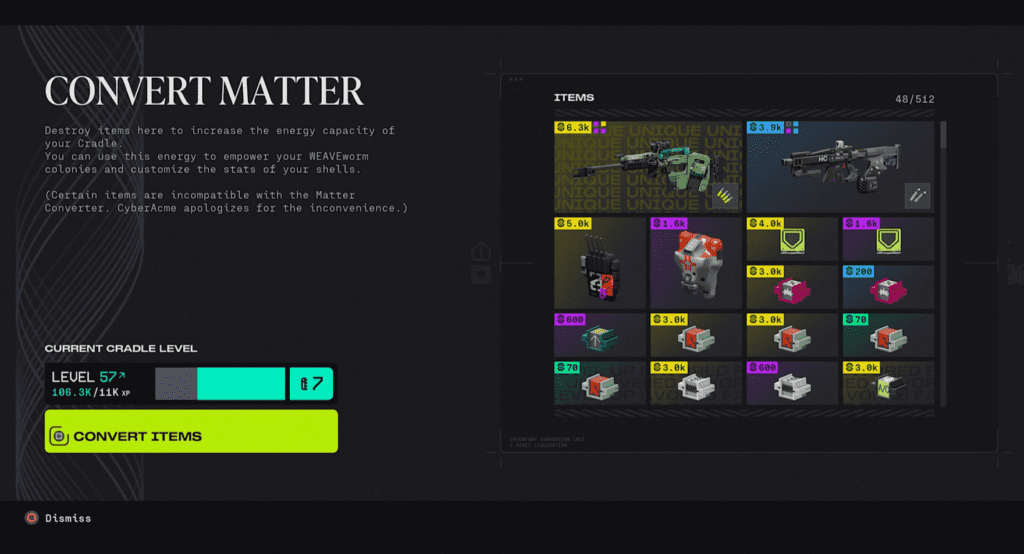
Now that you know what the Cradle offers, you are probably wondering how to actually earn the points to spend in it. That is where the “Convert Matter” system comes in. You can access it directly through your Vault.
The process is straightforward. Select the items you want to convert and the system will break them down into Energy, which is the currency used to progress your Cradle level and unlock skill points.
The rarer and higher quality the item you convert, the more Energy you get out of it. That gold weapon sitting in your Vault that you never actually use is suddenly a lot more valuable as Cradle fuel than it ever was as a backup loadout option.
This also changes how you think about looting during a run. Items that you might have previously ignored or left behind because they did not fit your current loadout are now worth picking up and extracting with. Everything has value in the Convert Matter system, so a successful extraction with high value loot you do not personally need is still meaningful progress towards your Cradle level.
Reallocation
One of the best things about the Cradle system is the reallocation flexibility. At any point during the season you can pull all of your invested points out and redistribute them however you want, completely free of charge with no penalties attached. Nothing is locked in permanently and there is no cost associated with changing your mind.
This makes the system genuinely forgiving to experiment with. If you invest heavily into one stat and decide the playstyle is not working for you, just reset and try something different. Want to shift from an aggressive Strength focused build to a more defensive Resistance setup for a specific run? Go ahead.
The freedom to respec at will means you can adapt your build to whatever content you are pushing without feeling like you made an irreversible mistake early on.
Best Stats To Focus on First
In terms of where to put your points first, my personal recommendation is to start by investing into Strength. Keep pushing points into it until you reach the point where your light attacks can one shot bosses. That is a significant power threshold that makes a noticeable difference to how quickly you can clear high value targets during a run.
After that I would shift focus to Endurance and Dexterity. Endurance makes your Runner faster and more mobile. It increases your Heat Capacity which is your stamina bar. A bigger bar means more sprinting, more sliding, and less downtime waiting to recover. You get to the action faster and stay in the fight longer.
Dexterity improves your movement and looting speed, which matters more than most people expect. Moving faster means better repositioning in fights and getting in and out of loot spots before other Runners do. Together they give you a solid foundation of survivability and mobility to build on top of the Strength investment.
Wrapping Up
The Cradle system is a genuine improvement over what Season 1 had. Tying progression to loot conversion rather than successful extractions means bad runs no longer feel like wasted time and more players can realistically push into the harder end game content without hitting a wall.
If you are looking for a solid place to put your newly built Runner to the test, check out my Night Dire Marsh Complex guide to take on the toughest content Season 2 has to offer.


Found another tip?
Share your extra strategy, correction, or question below. Helpful comments can make this guide better for everyone.