 46 articles
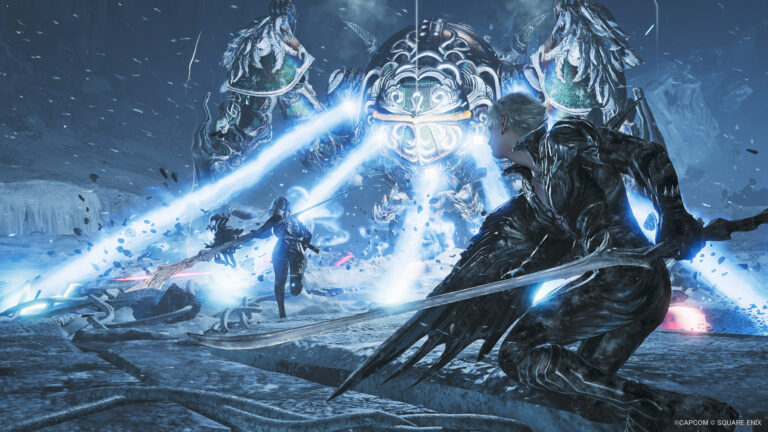
Omega Planetes is a tough crossover boss in Monster Hunter Wilds, especially if you’re fighting it in the “Planetes Protocol (Savage)” hunt. Hailing from Final Fantasy thanks to the crossover with Final Fantasy XIV, Omega is definitely not like the other monsters in the game. It’s a big robot that fires missiles and lasers nonstop, for one! But don’t worry. We’ll help you take down this challenging Savage boss.
Planetes Protocol (Savage) – Omega Planetes Boss | Monster Hunter Wilds Guide
Preparing for the Fight
Before we start the fight proper, here’s a quick “to-do” sort of list on things we recommend having before the fight:
- Have a high Fire Resistance. Omega Planetes’ most dangerous attacks are Fire, so decent resistances can help keep you from getting killed instantly.
- Have the Wide-Range skill. Ideally, everyone in the party should have this at the highest rank possible for their build. It really helps keep everyone alive throughout the fight by sharing buffs and heals.
- Players who use weapons that rely on blocking should make sure to have Guard Up 3.
- Speaking of blocking, having at least one player with a blocking-capable weapon is highly recommended.
- If you’re playing in a premade group, designate at least one of the players to maintain Enmity. We’ll go over what this means a bit more in detail later.
- Bring weapons that deal Thunder damage. That’s Omega Planetes’ weakness.
- Grab all the free items you get at the start of the hunt. As simple as that! You’ll need them.
With the prep done, let’s talk about key mechanics you need to be aware of when dealing with the Savage Omega Planetes.
Enmity Mechanic
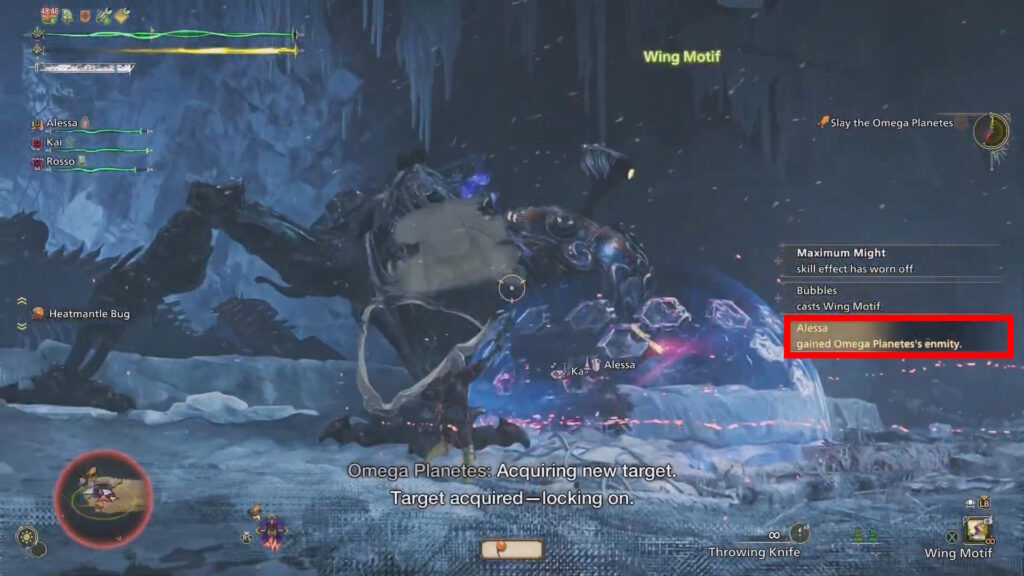
The first thing to keep in mind with the Omega Planetes fight is its Enmity mechanic. Omega will focus on a single player who earns its Enmity. There will be a pop-up for this on the right side of the screen when it happens.
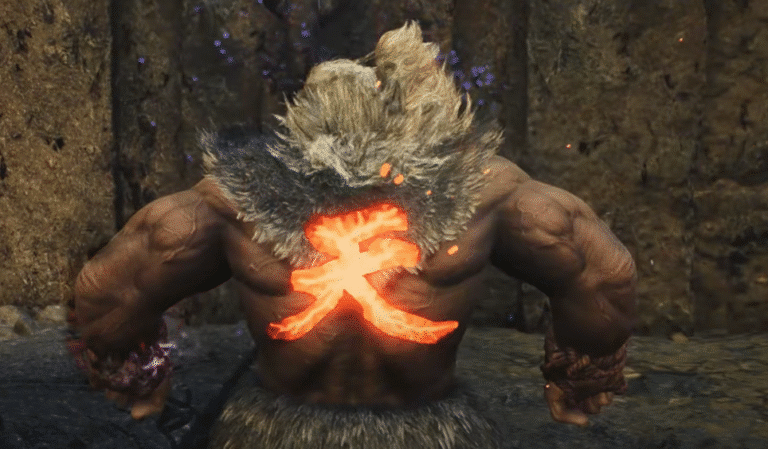
 Monster Hunter Wilds – How to Unlock AkumaMay 29, 2025
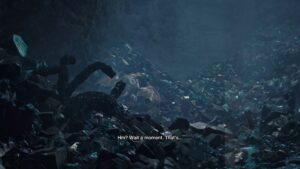 Monster Hunter Wilds: Monster Carcass LocationMay 29, 2025
 Guide to Leveling Dual Blades in Monster Hunter WildsMar 7, 2025
How the Enmity mechanic works fully is still not 100% clear, as the fight is pretty new. However, Enmity seems to be mainly given to the player who deals the most damage to Omega Planetes’ front within a certain period of time.
Ideally, the player who earns Enmity should be a tank. Anyone with a solid shielded weapon and Guard Up 3 should step up to this role! In a premade group, make sure to communicate so that non-tank players wind down their attacks until the designated tank earns Enmity again.
Players without Enmity are much less likely to be the target of Omega Planetes’ attacks. As such, they should focus instead on attacking Omega Planetes’ legs. They should be the DPS for this fight, basically. These players should also try to get and detonate Wounds on Omega’s legs, as that can temporarily stop it from moving.
Later on in the fight, Omega Planetes will also shoot unavoidable dark orbs at the player with Enmity. These will reduce the affected player’s max HP and the HP Penalty effect will not start to go away until that player loses Enmity.
So, ideally, you want to have an off tank who can take up Enmity when that happens. Swapping tanks back and forth can help mitigate the HP reduction effect without putting non-tank players at risk.
Use the Environment and Pictomancy
Now, when it comes to dealing damage, the environment in which the hunt takes place can be a lot of help. There are many traps, such as boulders and giant ice chunks. Dropping them on top of Omega can deal massive damage, speeding up the fight considerably.
Optimally, the player who has Enmity should try to draw Omega into these traps. Then, either that player or the other players can focus on activating the traps.
Similarly, make sure to use your Pictomancer spells during this fight! They can help deal a lot of damage, and they can even help get rid of the annoying weak adds that Omega Planetes summons. So, don’t ignore them.
Get Energy Shields
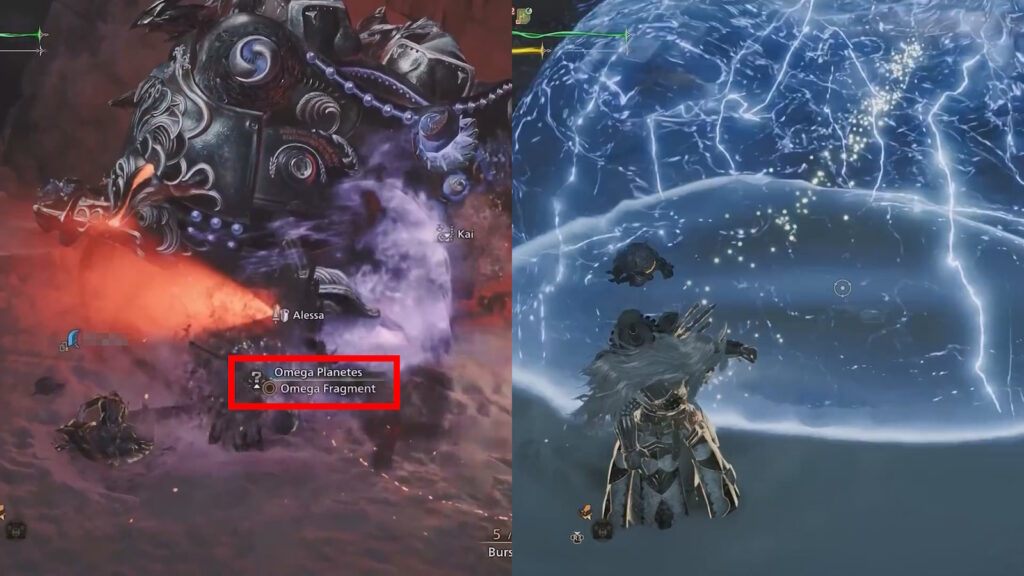
Speaking of using the environment, you can also sometimes find Omega Fragments on the ground during the fight. Make sure to pick these up, as they will give you access to the special Shield Generator ammo for your Slinger.
You can fire these Shield Generators at the ground to, as the name says, generate a shield. This shield will protect anyone within from many of Omega’s attacks, giving your team a window to either attack or use items.
Additionally, sometimes you’ll find special mini Omegas with a blue shine. Kill these before they explode on their own and they will generate an energy shield where they stood!
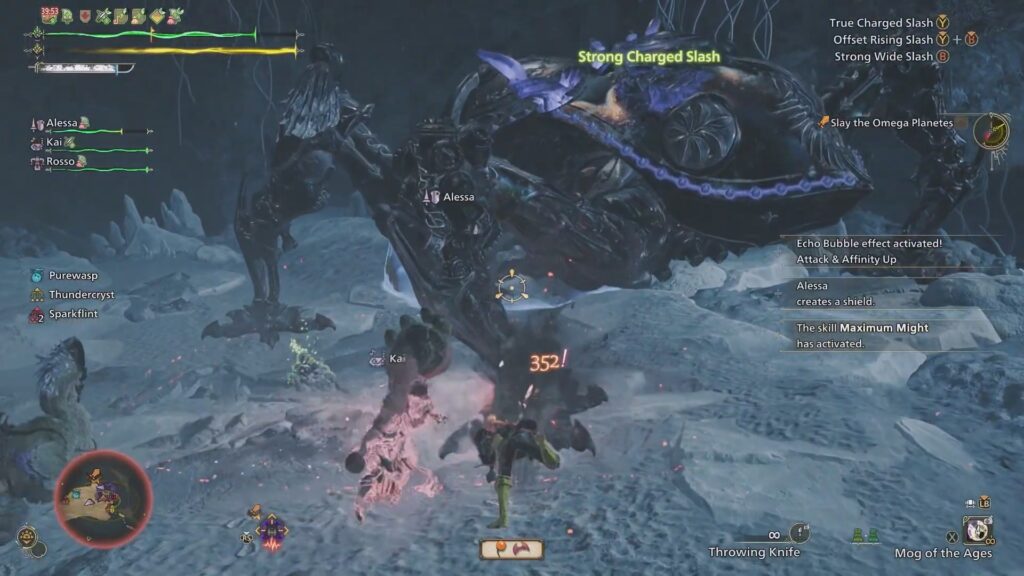
Lastly, you can also sometimes get an energy shield from Omega Planetes itself. If you see red sparks on its face, use a Focus Strike to deal decent damage and generate an energy shield upon contact. These sparks seem to mostly appear after specific attacks, such as Omega’s big white laser.
Don’t Ignore the Seikret
This is a bit of a simple, quick tip, but one that can nonetheless save your life. Make sure to call your Seikret and ride whenever you need to heal. The extra mobility it provides can greatly help keep you safe as you get your health back to full!
Most Dangerous Attacks and How to Avoid Them
Frost AoE
This is one of the trickiest attacks to deal with, especially since it doesn’t have a super obvious tell. You can see that Omega Planetes is doing this attack when it stands still and its underside glows white. After a short delay, it will fire off an area of effect blast of frost. If you get caught in this, you’ll most likely get Frostblight! This can easily lead to your death.
As soon as you notice the white glow below Omega, put your weapon away and run away! The area of effect isn’t too large, thankfully.
Mortar and MRV Missiles
One of Omega’s most frequent attacks is its Mortar Missiles. You can notice them when Omega fires missiles upward, which is shortly followed by orange rings that track the player with Enmity for a bit. To avoid them, walk out of the rings before the missiles land.
As the fight progresses, Omega Planetes will start firing off more and more volleys of missiles at once. The attack will also start being called out as MRV Missile. This can mean that the missiles will still be slowly raining down as Omega does other attacks! So, be extremely careful not to let this overwhelm you.
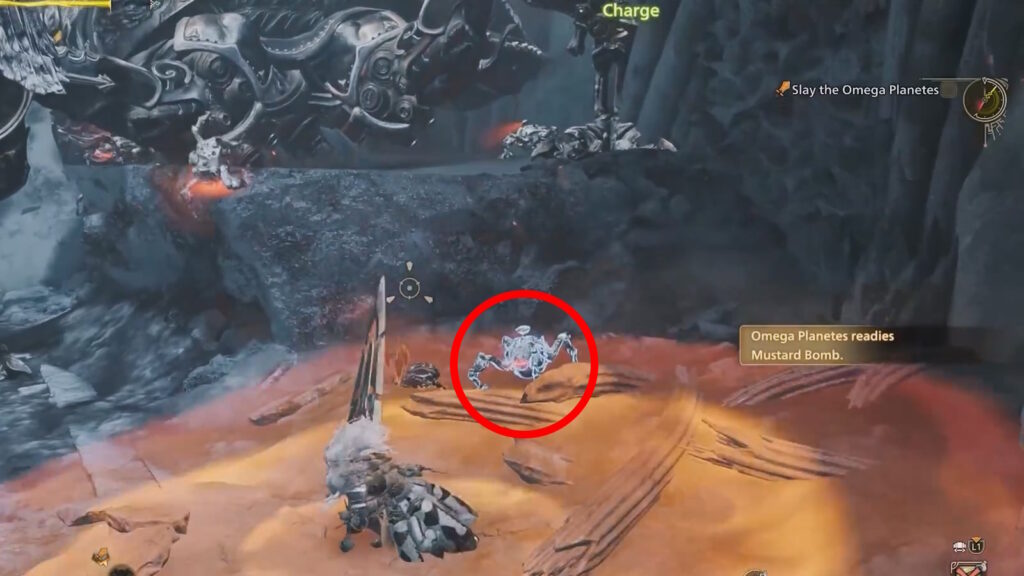
Mustard Bomb
Speaking of missiles, Omega Planetes can also fire a massive Mustard Bomb. This will track one player for a while, which will be denoted by a large orange ring at the player’s feet. After a delay, the bomb will fall where the ring is, causing huge damage. This also leaves the ground covered in fire, which deals damage over time for any player who stands on it.
Ideally, whoever gets targeted by this attack should focus exclusively on avoiding it. They should also make sure to run to the edge of the arena and away from their allies. Not only will this keep allies safe, it will also ensure that the fire left by the blast isn’t in an annoying spot.
Wave Cannon
One of the trickiest moves that Omega can do is the Wave Cannon. When Omega uses this attack, it does a 180 spin while firing an explosive laser to one side. To avoid the attack, you just need to stay on the opposite side of where Omega will fire.
It’s important to keep an eye out for this one, as it will either be the Larboard Wave Cannon or the Starboard Wave Cannon. These names let you know which side Omega will fire at! Larboard means Omega will fire to its left. Starboard means it will fire to its right.
Later on in the fight, Omega will start doing the Wave Cannon Surge variant. This one works mostly the same. The only difference is that it will do two consecutive spins and lasers instead of just a one-off. Both spins and lasers will be in the same direction, be it Larboard or Starboard. So, you can easily predict where Omega will attack if you just memorize what “Larboard” and “Starboard” mean here.
Rocket Punch
Another tricky attack that Omega can do is its Rocket Punch. Omega will fire a group of large metallic hands, with one chasing each player. To avoid this attack, it’s easiest to just hit the rocket hand. A single weak hit will make it disappear. Using Slinger shots is a great way to get rid of these hands safely, too.
Be very careful not to let this attack distract you too much, however. Omega Planetes will usually follow it up with another one of its attacks, giving you little breathing room.
Nerscylla Clone and Delta Attack
Once you reach Area 3 and deal some extra damage to Omega Planetes, it will fly away to charge its Delta Attack. At the same time, it will summon a Nerscylla Clone.
This is essentially a DPS race phase. You and your team need to kill the Nerscylla Clone fast, before Omega finishes charging its Delta Attack. Use everything you can to deal damage, including environmental traps such as the nearby Cactuars. However, don’t overdo it, as you do still need to keep yourself alive!
Fail to defeat the Nerscylla Clone in time and Omega will fire its Delta Attack. This is an instakill that can not be avoided by normal means! It will essentially wipe your party for failing the DPS check…
Manage to defeat the Nerscylla Clone, though, and it will drop an energy shield. Get inside this energy shield as soon as possible. It will protect you from the blast of Omega’s Delta Attack.
As a bonus tip here, the Mog of the Ages Pictomancer spell can be extremely helpful here. If all players make sure to save it until this point, Nerscylla Clone should go down quickly.
Survive this part of the fight and you’ll be taken to Area 4. At this point, you’ve seen everything that Omega can do. Its attacks will now be more erratic and frequent than before, but they’ll still be more or less the same in function. You’ll need to play more defensively to survive the onslaught… but persevere! Victory is almost yours!
That’s all you need to know to defeat the extremely challenging Omega Planetes boss in the “Planetes Protocol (Savage)” hunt in Monster Hunter Wilds. All we can do now is wish you the best of luck with this one.