28 articles
The Illuminate are one of the most dangerous enemy factions in Helldivers 2. Unlike the Automatons or Terminids, the Illuminate force players to adapt between aerial defense, crowd control, and anti-armor combat constantly.
What makes them especially dangerous is their variety. The faction ranges from zombie-like cannon fodder all the way up to gigantic tripodal robots that fire huge instakill lasers.
So if you want to survive Illuminate operations constantly, you need to know each enemy type and its specific weaknesses.
Well, you’re in luck. In this guide, we’ll tell you the exact weakness of every Illuminate enemy in Helldivers 2 and how to beat them with ease.
 Helldivers 2: Best Warbonds Tier ListDec 4, 2025
 Helldivers 2 – How to Farm Super Credits, Medals and Samples Fast (New Update)Sep 13, 2025
 Helldivers 2: Best 5 Weapon Combos for Illuminate InvasionMay 29, 2025
Illuminate Guide in Helldivers 2: Weakness & How to Beat Them
The Illuminate rely heavily on energy shields, plasma weaponry, mobility, and pressure tactics. Also, most encounters happen in dense urban environments. This limits visibility, and enemies can attack from multiple directions.
Their faction also includes different combat styles depending on the active subfaction. Some missions focus heavily on Voteless swarms, while others feature more armored Illuminate soldiers and mechanical units.
This makes balanced loadouts more important when facing the faction.
Voteless
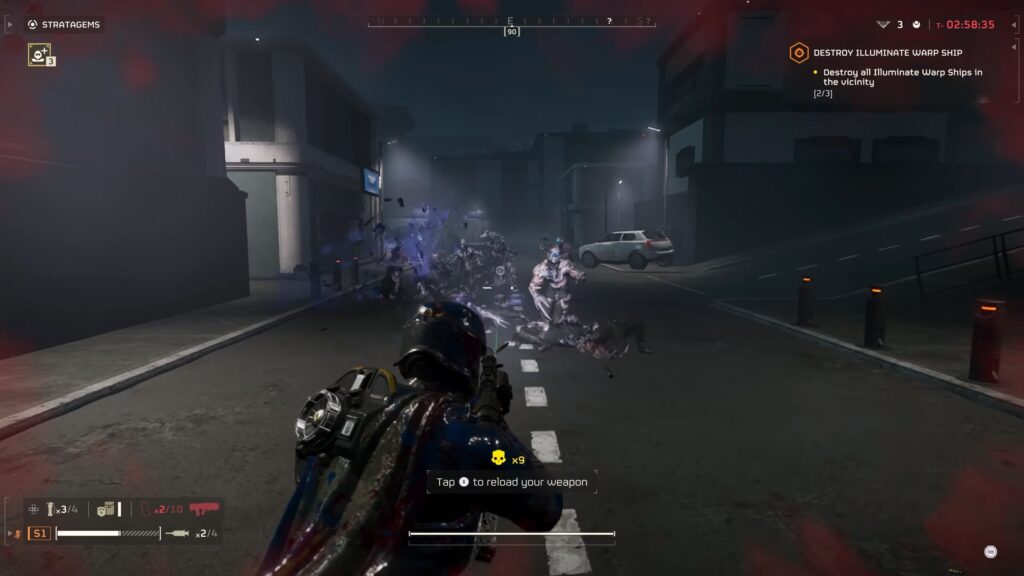
The Voteless are considered the foot soldiers of the Illuminate faction. These are basically just zombies that rush players in large groups. While they pose very little threat individually, they can easily overwhelm through sheer numbers.
Ideally, you should shoot them in the head to kill them faster without wasting too much ammo.
You should have no issue taking them down as long as you’re careful and keep an eye on your surroundings. Don’t let them overwhelm you or surround you. Shotguns, flamethrowers, and explosive crowd control stratagems work very well in this scenario.
You want to clear them quickly so you can have an opening to deal with Harvesters and Overseers.
Watcher
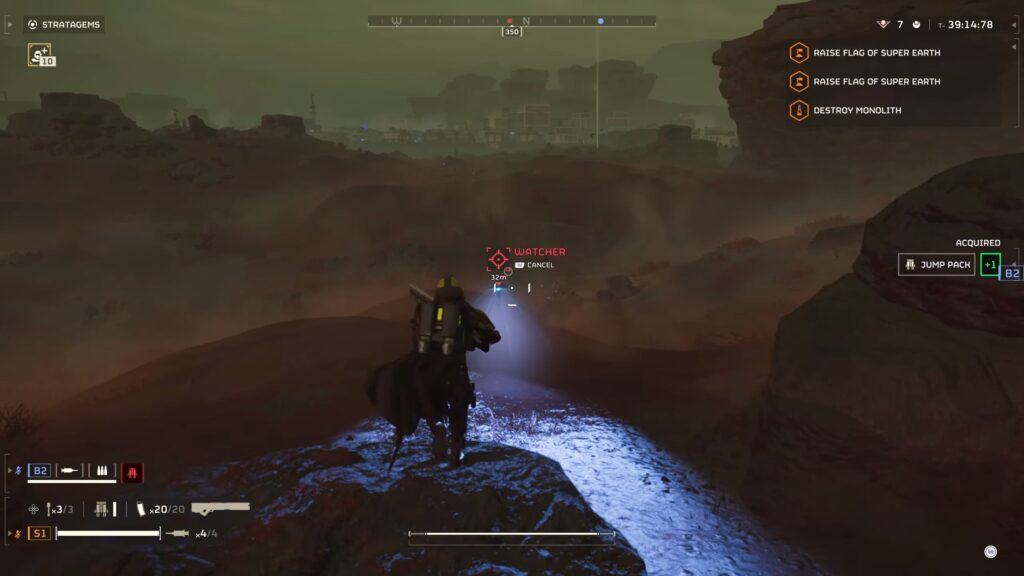
The Watchers are floating drones that act as scouts for the other Illuminate. They search areas and look for threats to the Illuminate, such as you. If they spot you, they will call upon other nearby Illuminates to attack you. They can also shoot flares to summon Warp Ships!
Thankfully, Watchers are very weak and should go down quickly with any weapon. However, while fragile, you shouldn’t ignore them as they can become a major problem as they’ll alert nearby enemies of your position.
As much as possible, avoid being spotted by them so they don’t call reinforcements. When spotted, do your best to take them out immediately before they can escalate the fight.
Make sure to watch out for their telltale cyan and magenta lights.
Also, Watchers’ remains explode when you take them out, which can damage you. Keep your distance when shooting them down.
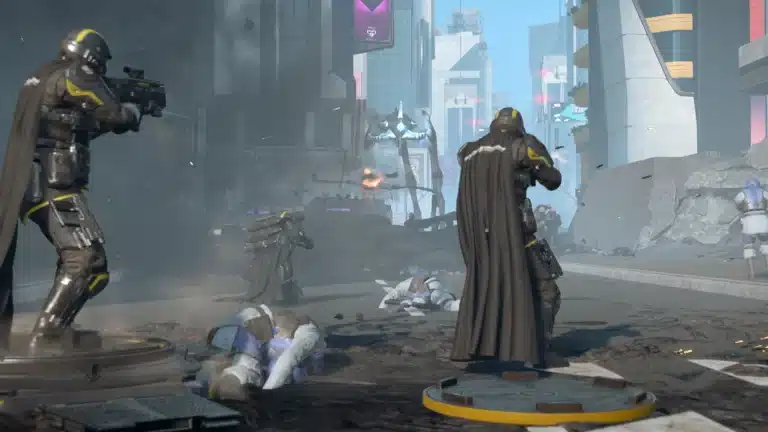
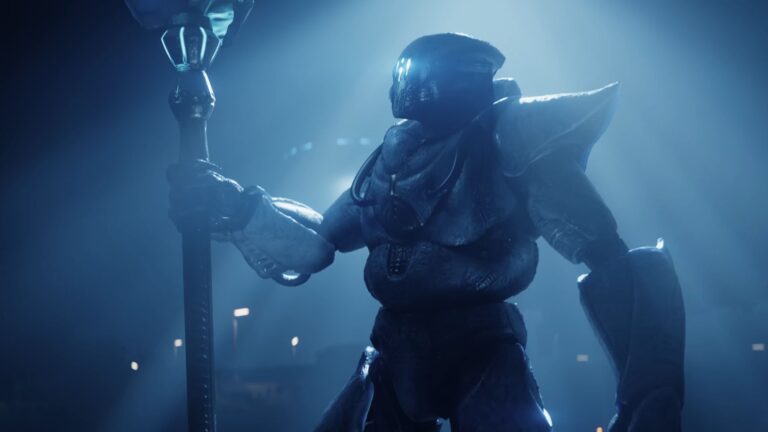
Overseer
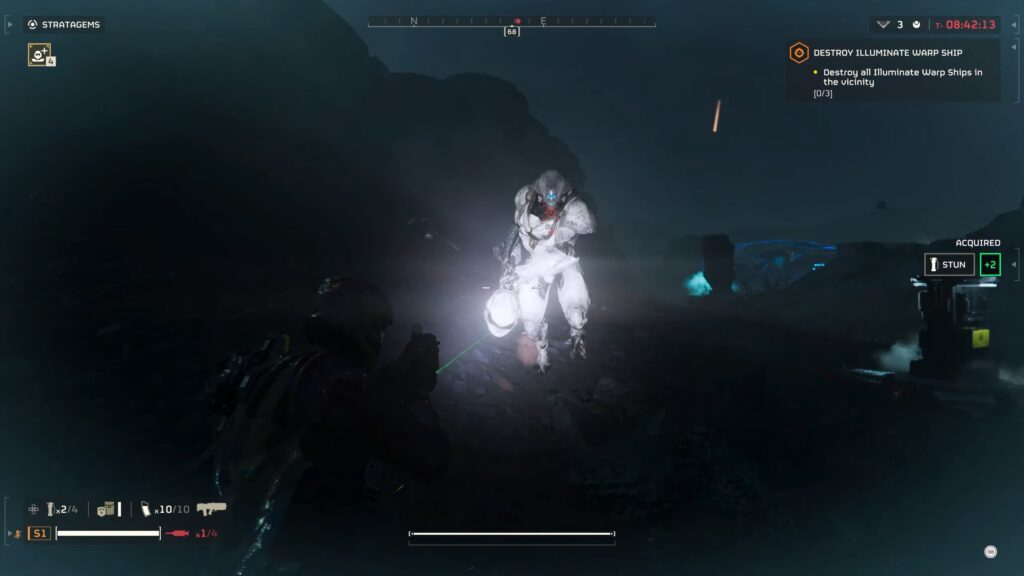
The Overseers are bulky brutes who excel at melee combat. They’re considered the faction’s primary combat units. They have large maces which can land devastating attacks, and they can also pull out an Energy Shield to block your attacks.
You’ll likely instantly die if they hit you with a strong swing of their mace, as it can knock you out and leave you defenseless for too long.
The best way to take them out is to simply keep your distance. Overseers are only a threat in melee range. Keep away and focus fire on them before they can close the gap and you’ll be fine!
The best strategy would be to break their shields and focus fire on their weak points to take them down. Armor-piercing rifles and precision weapons work best for this matter.
Elevated Overseer
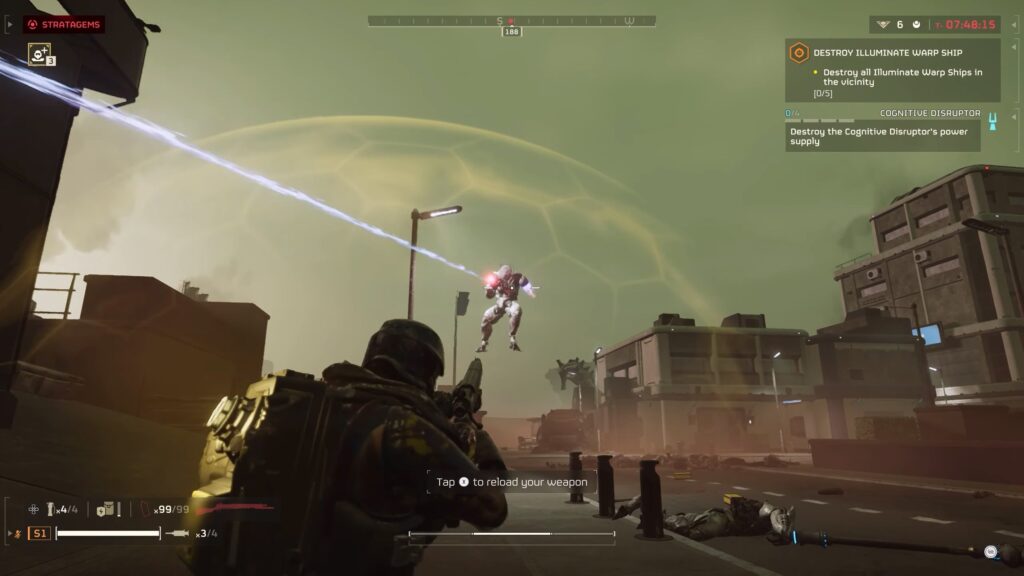
The opposite of the standard Overseers, Elevated Overseers are agile and focus on ranged combat. Elevated Overseers wear jetpacks that allow them to fly indefinitely. On top of that, they can fire projectiles and throw grenades at you.
If you’re feeling risky, you can grab the grenades and throw them right back at them!
Thankfully, Elevated Overseers aren’t quite as tanky as the regular Overseers. They don’t have an Energy Shield either. Their mobility can make them hard to hit, but they can’t take many hits before going down.
Also, their jetpack seems to be a weak spot if you manage to get behind them. Focusing fire on the jetpack can make it explode, killing the Elevated Overseer.
Just make sure to stay out of the blast range so you don’t take damage as well.
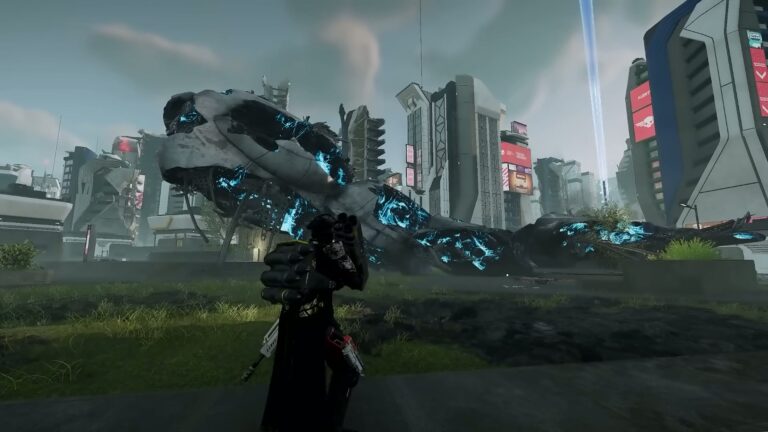
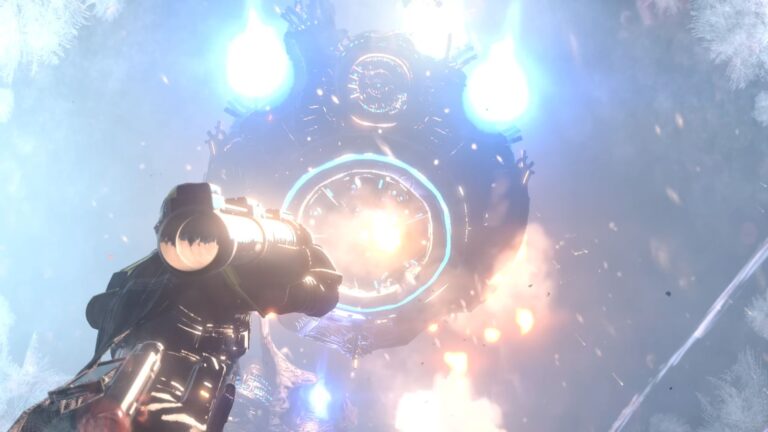
Harvester
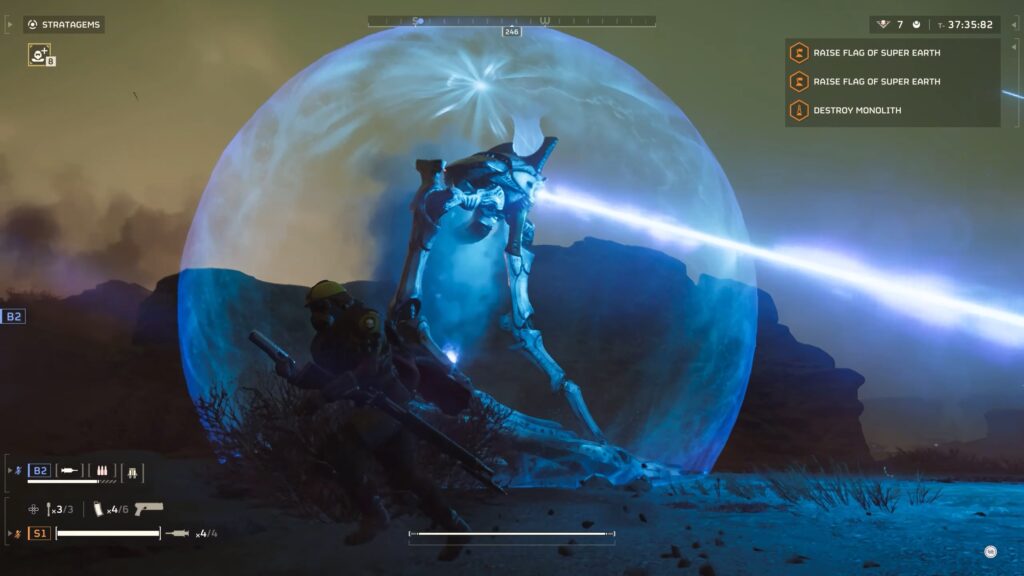
These are the faction’s signature heavy units, and they’re also one of the deadliest enemies in the game.
Harvesters are giant three-legged robots capable of dishing out massive damage. They can cover themselves with massive Energy Shields which will prevent them from taking damage. Also, they can fire huge lasers from their central eye, usually resulting in instakills.
The most annoying part of dealing with Harvesters is the Energy Shield.You have to bring it down by attacking it.
Heavy stratagems like Eagle airstrikes, Orbital Precision strikes, and anti-tank weapons are your most effective options for dealing with these units once their shields drop.
Do note that the Harvester can reactivate its shield after a short period, so taking them out quickly is necessary.
Alternatively, you can also get inside the shield to hit the Harvester directly without stripping the shield. We can’t recommend it, though, as you’ll take damage while doing so, but it’s still good to know!
Thankfully, Harvesters have 3 noteworthy weaknesses for you to exploit once their shield is down:
- First, the horn-like protrusion above their eye can be destroyed to prevent them from reactivating their shields.
- Second, the tendons connecting the legs to the main body are very weak.
- And lastly, the eye can be destroyed with strong weapons like the Quasar Cannon or Recoilless Rifle for quick kills.
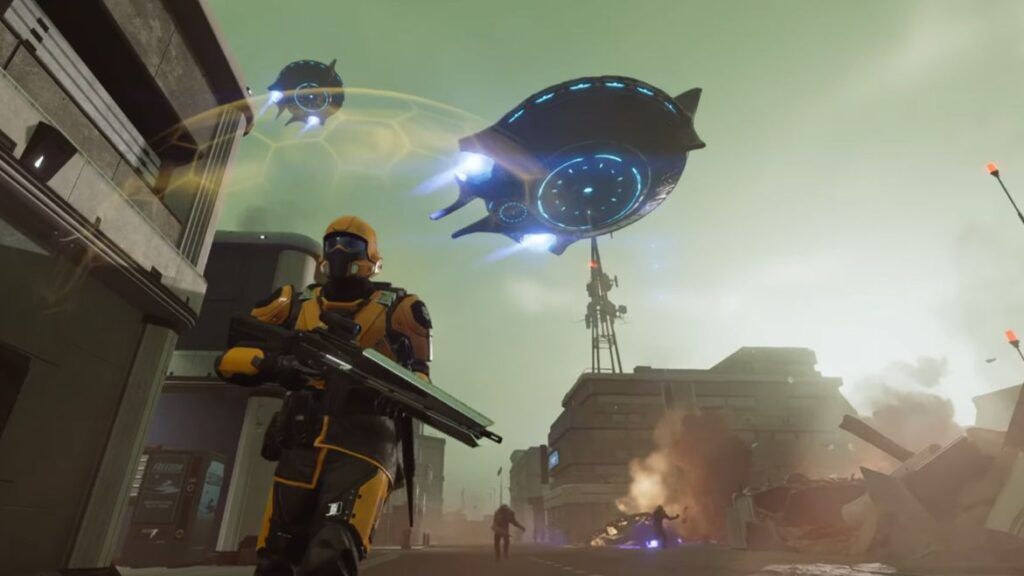
Interlopers and Leviathans
The Illuminate also field aerial threats that can quickly overwhelm unprepared squads.
Interlopers, likewise known as the Stingray jetfighter, can perform fast strafing runs with plasma weapons. They’re also notoriously difficult to hit due to their speed.
Meanwhile, Leviathans are these massive airborne support units capable of spawning additional enemies while bombarding players from above. You can take them out using anti-air weapons and coordinated squad fire.
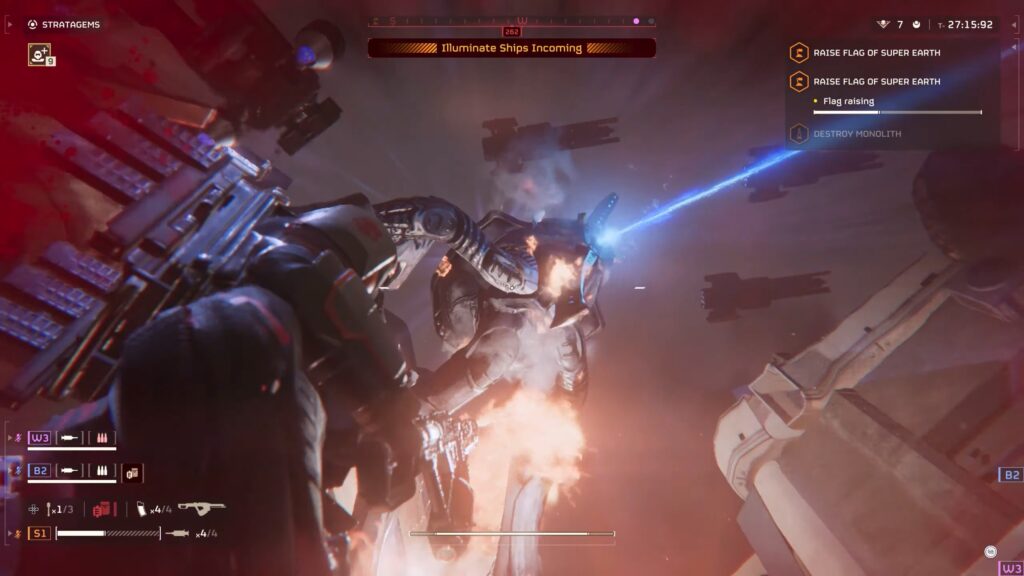
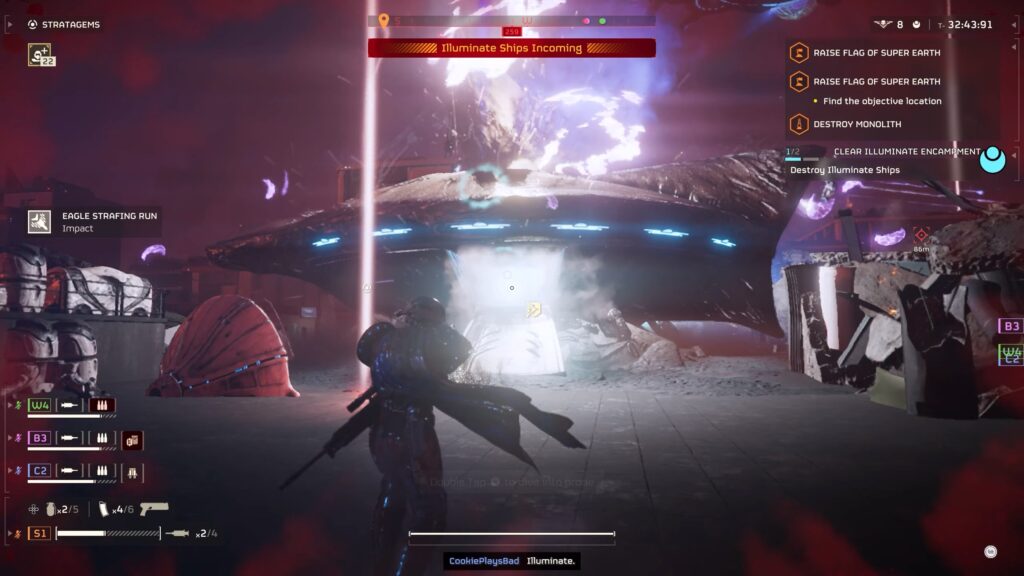
Warp Ship
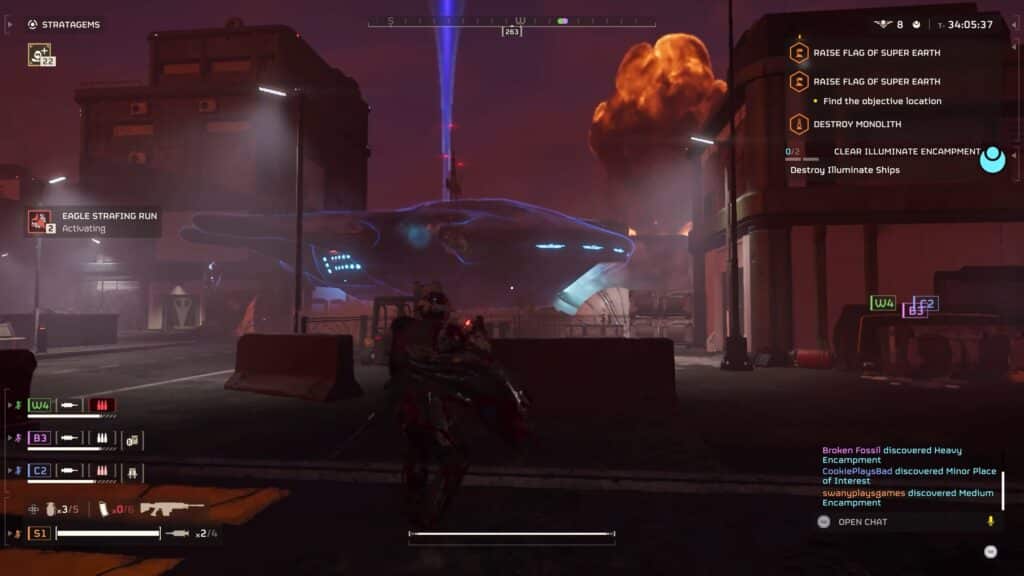
Last, but not least, are the Warp Ships. You’ll most often find these parked on the ground during missions. However, they can also appear flying in the sky, usually after a Watcher summons them.
These ships will spawn other Illuminate enemy types to attack you. When it comes to the grounded variants, they’re fairly easy to take out. Some Stratagems can take them out in a single hit.
These include the Orbital Laser, Orbital Gas Strike, and Eagle 500kg Bomb. These will even go through the ships’ shield for the instakill!
Alternatively, your second-best bet is to first strip the shield protecting the ship. You can do so easily with Stratagems such as the Eagle Airstrike and Eagle Strafing Run. Then position yourself in front of the ship’s open entryway and shoot explosives at it.
It can be a Frag Grenade, Gas Grenade, Explosive Crossbow shots, or a Grenade Pistol shot. This almost always destroys the Illuminate ship in one hit!
For the flying Illuminate ships, your best bet is the Orbital Gatling Barrage Stratagem. It can quickly overwhelm the ships and take them down within seconds.
Alternatively, use Anti-Tank weapons and Stratagems to shoot them down. The new Anti-Tank Emplacement works pretty well, for example.Thankfully, though, the flying Illuminate ships don’t have any shields.
They also generally fly away after dropping more Illuminate forces, so they aren’t too much of a threat themselves. However, taking them out before they spawn more enemies is always a good idea.
Best Strategies for Dealing with the Illuminates
When doing Illuminate missions, you don’t want to equip overly specialized loadouts. Instead, you need:
- Crowd control for Voteless
- Precision damage for Overseers
- Anti-armor tools for Harvesters
- Anti-air support for flying enemies
You can also bring weapons with sustained fire and good stagger potential. Flamethrowers have also become stronger after recent updates because burning enemies panic and slow down.
Movement is equally important. Do your best to stay mobile to prevent Overseers and Harvesters from locking down your squad with plasma fire.
That said, you have to target the right enemies during Illuminate missions. In most situations, you have to prioritize dealing with the Watchers first, then the Elevated Overseers, Harvesters, Voteless, and the remaining ground units in this exact order.
By dealing with support and ranged units first, it’ll be a lot easier to control the entire battlefield.
So, there you have it! That’s our guide on every Illuminate enemy type in Helldivers 2, their weakness, and how to beat them. For more help dealing with them, check out our Illuminate loadout guide as well!