28 articles
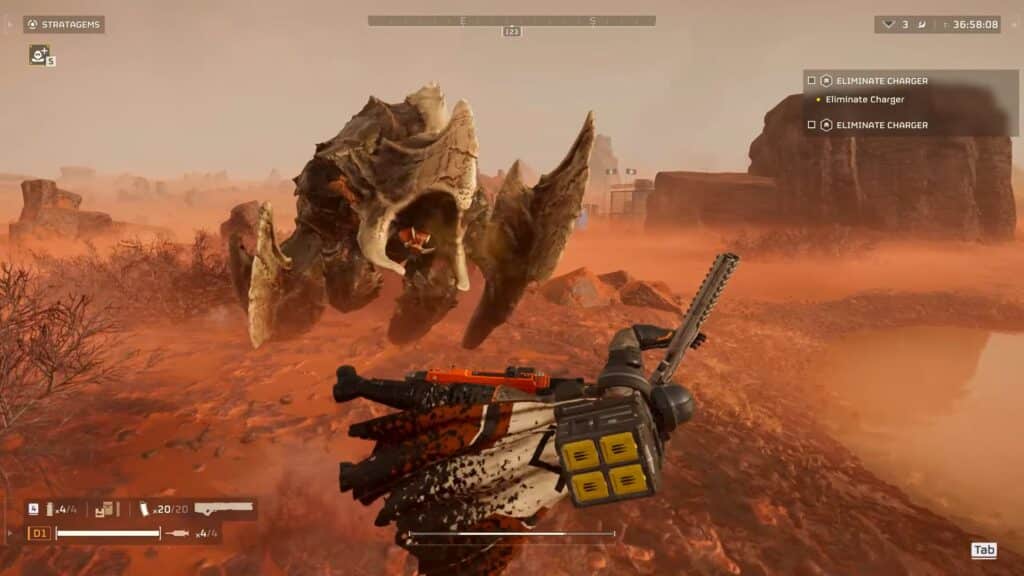
Chargers are one of the first big Terminids you will face off against in Helldivers 2, and it’s important to know how to kill them efficiently to reduce their risk.
These daunting bull-like bugs can feel impossible to deal with when they’re first introduced, but there’s a trick to them. Having the right strategy can make them completely harmless, honestly.
In this guide, we’ll tell you everything you need to know to kill Chargers efficiently so that you never need to fear them again!
How to Kill Chargers Efficiently
First, you need to understand the Chargers’ behavior.
 Helldivers 2: Best Warbonds Tier ListDec 4, 2025
 Helldivers 2 – How to Farm Super Credits, Medals and Samples Fast (New Update)Sep 13, 2025
 Helldivers 2: Best 5 Weapon Combos for Illuminate InvasionMay 29, 2025
They will charge at one player on your team, ignoring most things around them. They get some really bad tunnel vision, so they can be led to ram against large obstacles if you time your dives right.
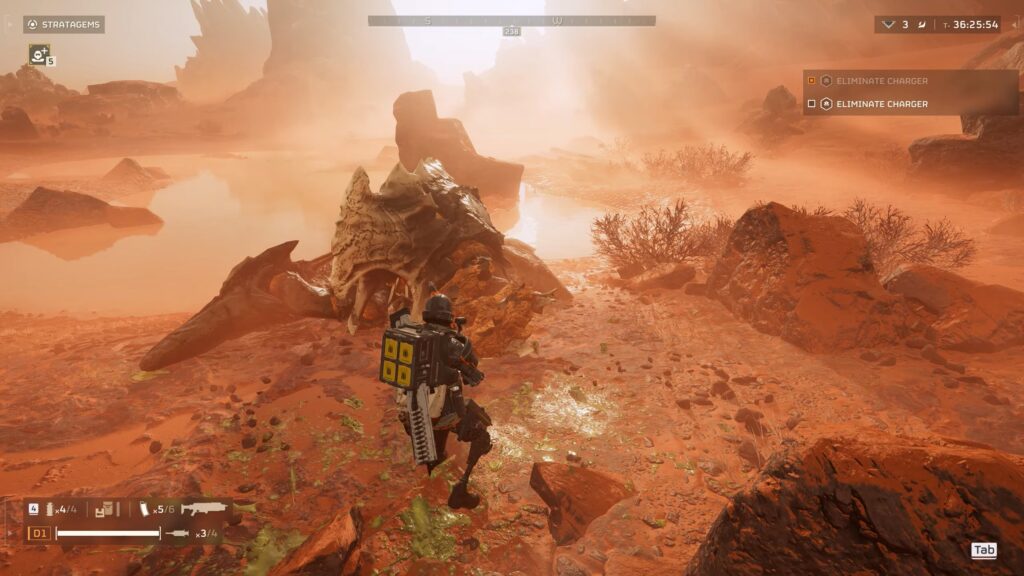
This will give you and your team a nice opening to shoot at the Chargers’ main weak spot: their rear.
You can also use certain Stratagems, like the Jump Pack, to get out of reach of the Chargers to shoot their exposed rear. They have no ranged attacks, so they can’t do anything to you if you get somewhere high!
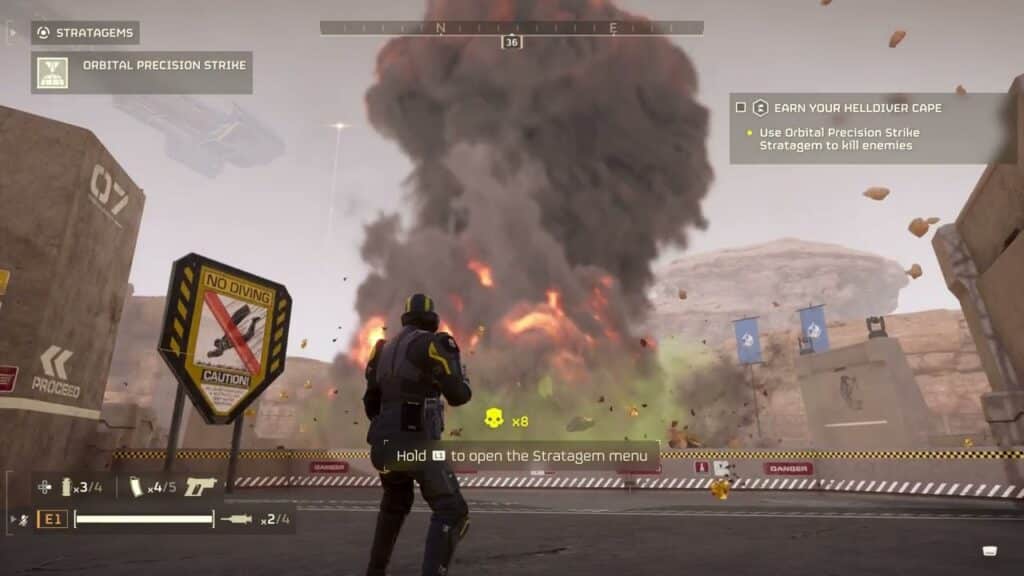
Another easy way to kill them in the early game is to try to hit them with an Orbital Precision Strike, though you need to be very careful with your timing. And make sure you get out of the blast zone, too.
However, sometimes all of that is easier said than done. Thankfully, Chargers have a secondary weak spot that can be easier to exploit: their legs. Sadly, though, their legs are protected by strong armor.
How to expose and exploit the Chargers’ legs
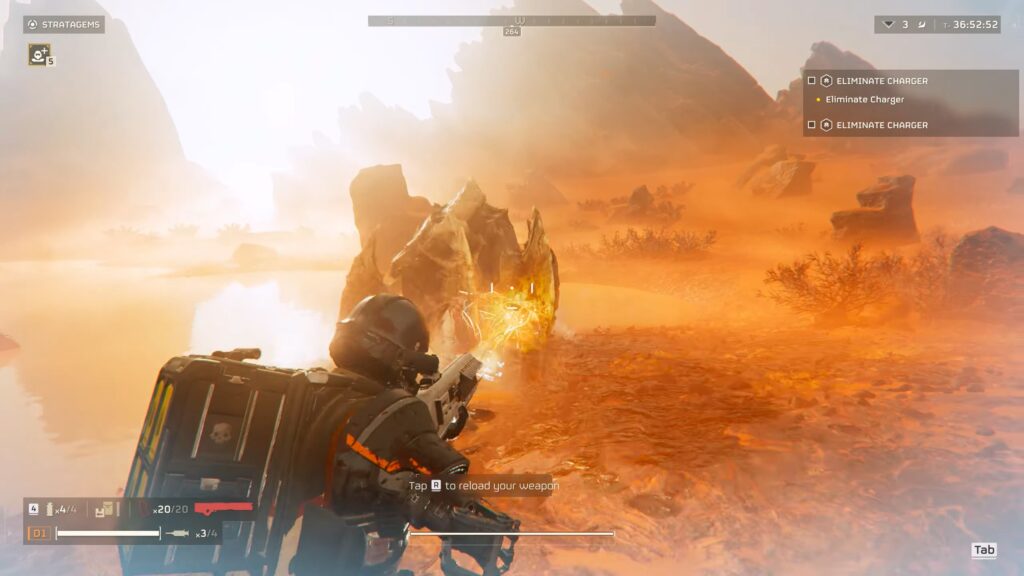
To shred their armor, you will need to rely on highly destructive and explosive equipment. The EAT-17 Expendable Anti-Tank and Recoilless Rifle Stratagems are great choices early on in the game!
Later in the game, your best bet would be the Railgun Stratagem. It’s easier to use and can shred the armor just as easily as the Anti-Tank missiles!
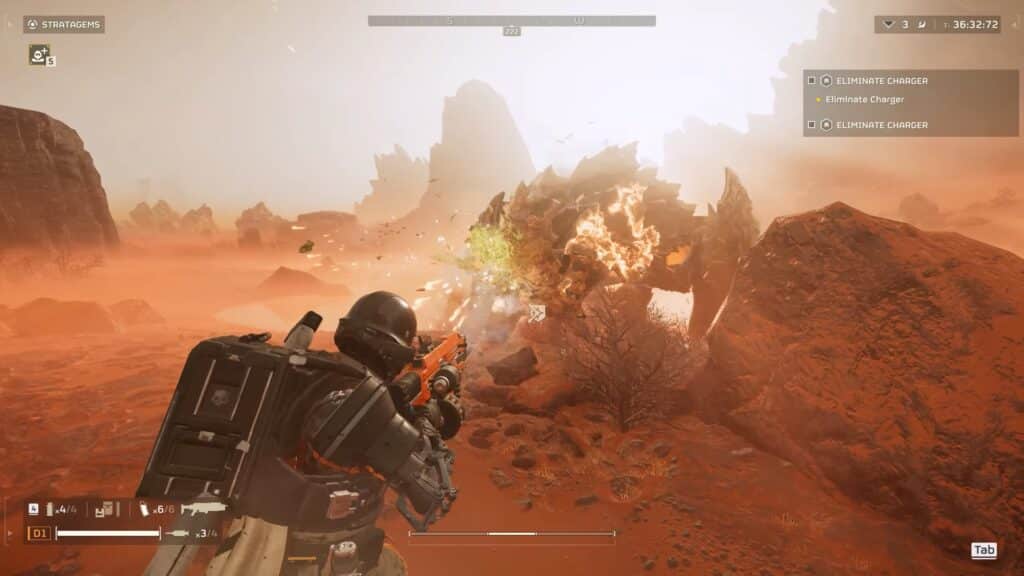
Once you expose the fleshy legs under the armor, switch over to a strong weapon such as a Shotgun, and blast away!
If you and your team concentrate fire on a single exposed leg, the Charger should go down extremely quickly. Just keep in mind that it can still retaliate after its leg is exposed and react accordingly.
So, in short, if you want to kill Chargers efficiently you just need to focus on the legs.
Bring explosives or other destructive equipment to get rid of the armor protecting the legs, then blast away with your strongest weapons to finish the bugger off!