52 articles
We all know that at times, playing as a lone player in an online video game may be the best option because, when you defeat a boss or legendary foe, you can hoard the loot and receive all the rewards, but other times, things get a little tougher and you must be more prepared with your gear and the best strategies to use.
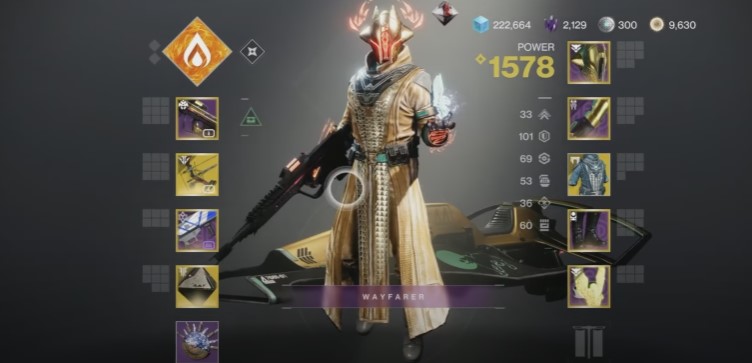
Today, we’re going to discuss loadouts and strategies for Destiny 2.
Destiny 2: Getting Ready! – Loadout and Modifiers
Concealed Void’s modifiers are quite mild, despite the fact that each encounter will involve a few Champions. Make sure you have weapons that can breach Solar and Void shields and that you can fight Champions of Overload and Barriers.
The best options are Adaptive Munitions or equivalent elemental weaponry. Consider carrying long-range weapons like Scout Rifles, Arbalest, and Linear Fusion Rifles to Concealed Void because the sightlines are long in this Lost Sector.
 How to Solo Flawless the Equilibrium Dungeon (Loadout & Traversal Guide)May 28, 2026
 Destiny 2 Guardian Games 2026 GuideMar 25, 2026
 Best Weapons for Renegades in Destiny 2Dec 4, 2025
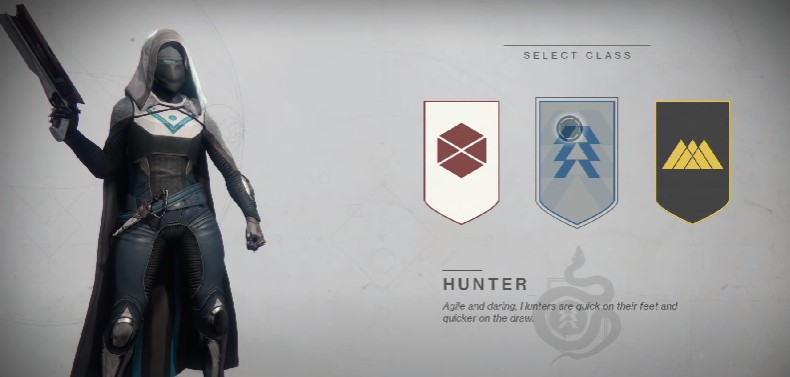
Gunslinger is a good option for this Lost Sector if you play as the Hunter Class. On all varying degrees of difficulty, Caliban’s Hand makes adding a breeze. Additionally, because the burn is Solar, your Solar ignites will do absurdly high damage.
To quickly defeat a Champion or do significant damage to the final boss, use Blade Barrage. Additionally, you have access to Radiant, an excellent damage enhancement that works well with Solar weapons to match the burn.
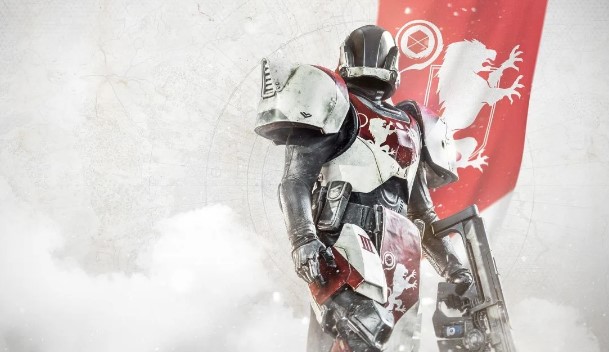
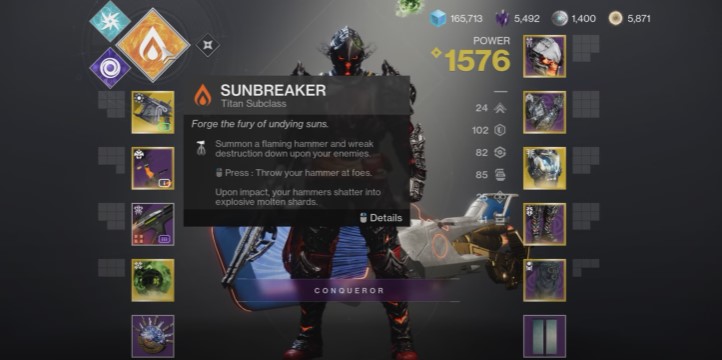
Furthermore, Sunbreaker is a solid choice if you’re using Titans. You can use Loreley Splendor to boost your survivability or Syntoceps to significantly increase your melee damage while getting health regeneration from sunspots. To navigate this Lost Sector with ease, spec for 100 Resilience and use Sunspots.
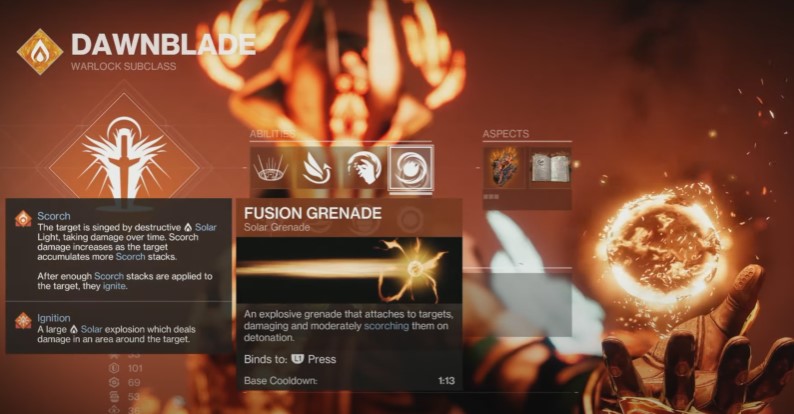
And ultimately, using Voidwalker, Warlocks may easily clear this Lost Sector. You will benefit from Constant Devour uptime in some areas, and Child of the Old Gods is excellent for the Explosive Shank section. Bring a Solar Heavy and a food Void primary to take down the champions and the boss quickly.
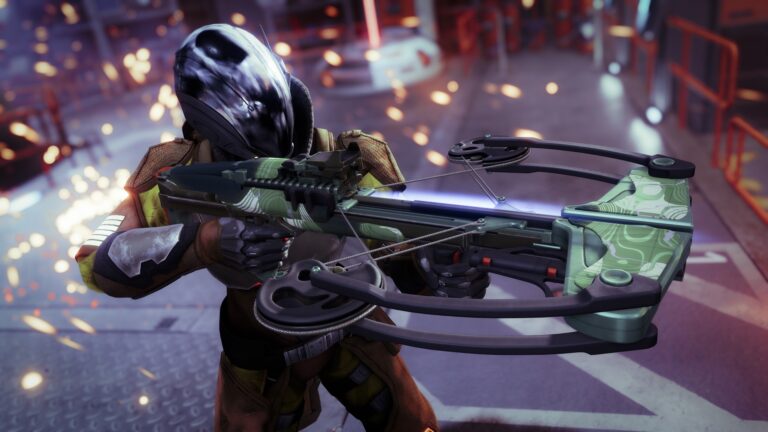
You might wish to carry a long-range weapon because Concealed Void truly combines close and long-range combat. This season, Scout Rifles are the ideal for this because they can do damage from a distance while piercing Barrier Champion shields.
To quickly defeat the Champions, bring Catalysmic for your Heavy or, if you don’t mind using your Exotic slot, something like Lament or Xenophage. To optimize your damage, you can attempt to match the Solar burn.
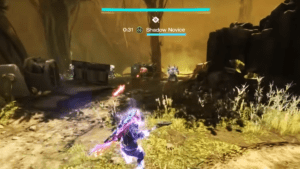
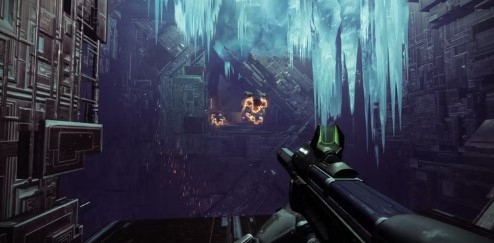
Into the Void: Entrance
Consequently, as we move towards the Concealed Void area, be on the lookout for the following foes:
- 1 Overload Captain
- 1 Barrier Servitor
- 1 Heavy Shank
- 2 Vandals
- Dregs
- Shanks
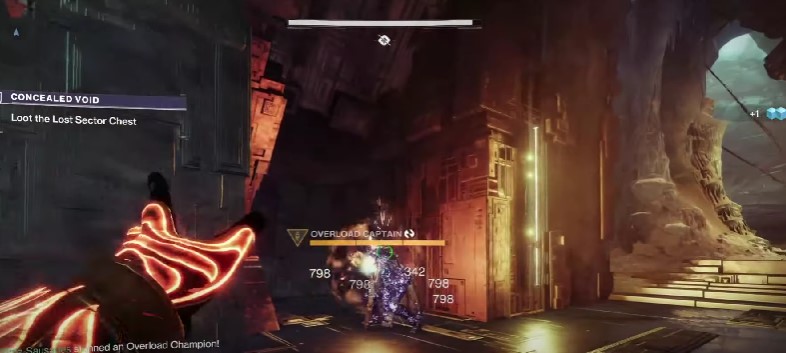
The first room in Concealed Void is the most challenging. Take out the first two Fallen Dregs by charging them. In a few seconds, a Shank and Dreg will be in front of you, generally followed by an Overload Captain. Take advantage of this chance to trouble the Overload Champion and defeat them. Fire a few rounds at the ground or damage it from the tiny slit to your right if the Overload Captain won’t raise its head.
Kill the two Vandals in the back by pushing up a little. You must now watch for the Barrier Servitor to rear up around a corner or in the direction of a suitable observation point. This is exceedingly difficult to accomplish because every adversary is protected by the Servitor.
The simplest method to accomplish this is to eliminate the two Vandals in the back of the room, which will cause them to move there.
When you can see it clearly shoot it with your Heavy or Special weapon a few more times until it raises its shield. Break them and destroy them. Destroy the Heavy Shank and any other Shanks in the room’s corner to move on.
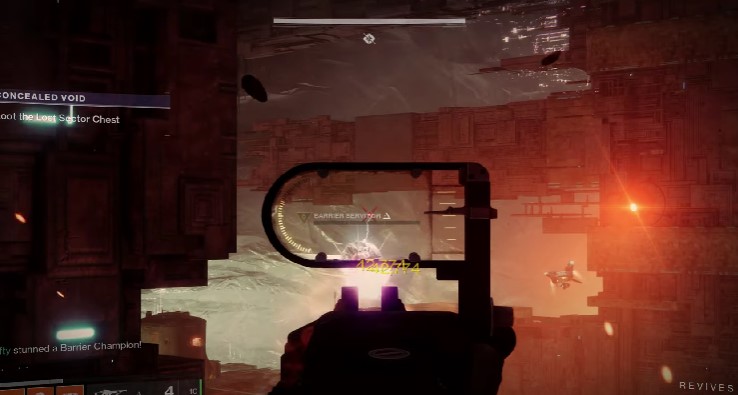
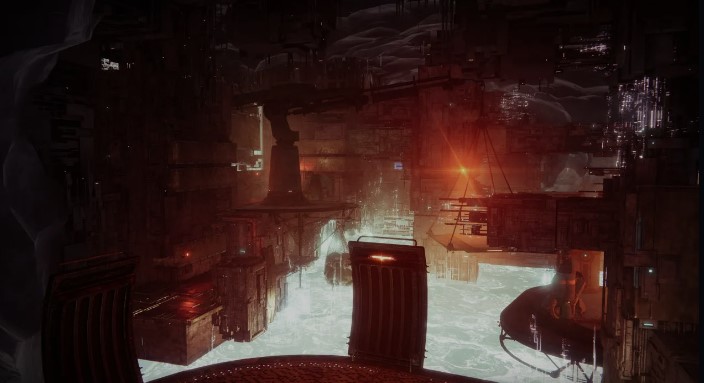
Into the Void: Radiolarian Pool
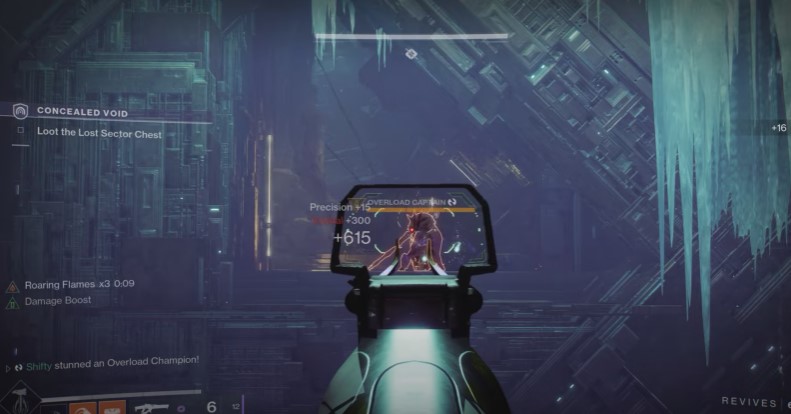
A Barrier Servitor will be visible to your left as you slide beneath the horizontal bar, and an Overload Champion will be directly ahead. Use your Primary weapon to eliminate as many rank and file adversaries as you can before tackling any Champions. Dealing with the Champions will become more simpler and less stressful as a result.
Before you cause damage, try to disrupt the Overload Captain if you can see it. Continue doing this until you have won. Next, pay attention to the Barrier Servitor in the room’s corner. The Barrier Champion should be treated the same as before, with any necessary shields destroyed. Take out the Heavy Shank from a distance, destroy any remaining red bars in that area of the room, and then push up.
By the way, here’s a hint for our fellow Destiny 2 players out there: if the Barrier Servitor is making the enemy invincible, take away 25% of their HP. The Servitor is consequently forced to set up its barrier. For a brief period, all immunity will be lost if its barrier is destroyed.
There will be a second Overload Captain and a sniper Vandal at the far end of the space. Before interrupting the Champion, take out the Vandal at the back of the room. You have two options: either approach the Champion and kill him or remain back and use your Heavy weapon to continuously deplete his health. To eliminate the energy field that leads to the following region, kill both enemies.
Into the Void: The Corridor
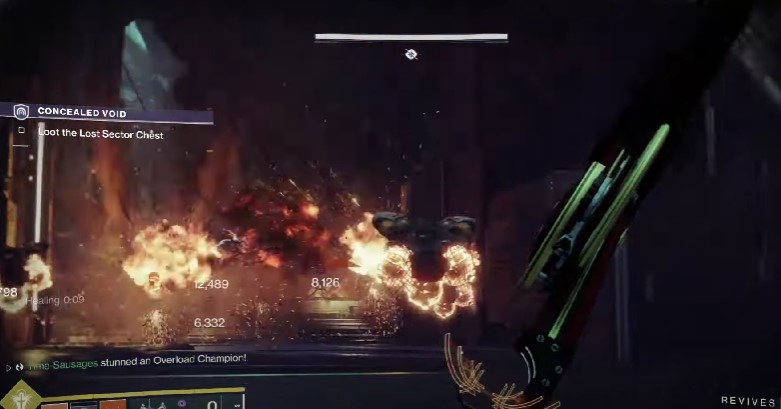
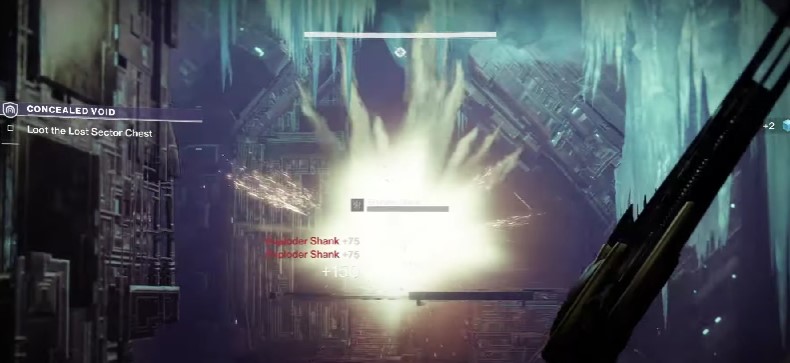
Once you get to this area of the map, a bunch of Wretches will spawn on this corridor. Kill them, leap across the gap, and both sets of Explosive Shanks will spawn close to you. Go back to where the Wretches were right away and eliminate the horde of Explosive Shanks. Recross the gap to confront the Champion duo of the Barrier and Overload.
Unless both Champions are separated from one another, you should concentrate on eliminating the Barrier Servitor first. If the Overload is bothering you, stun it as soon as the Servitor’s shields are broken to buy yourself a few seconds to attack the Barrier Champion. Before you descend to the final boss, eliminate both Champions as usual.
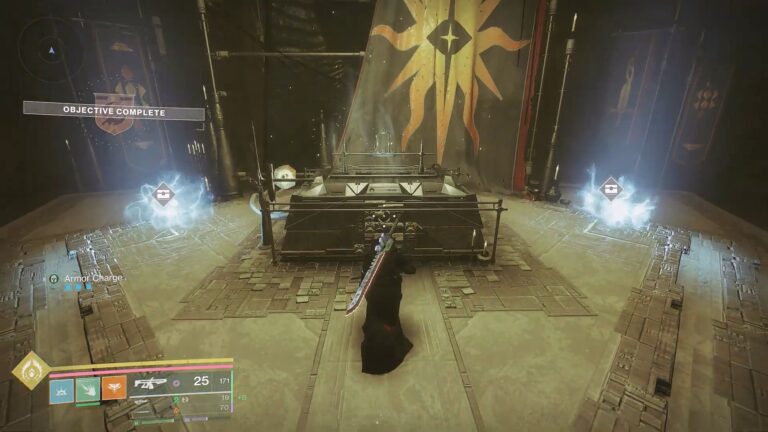
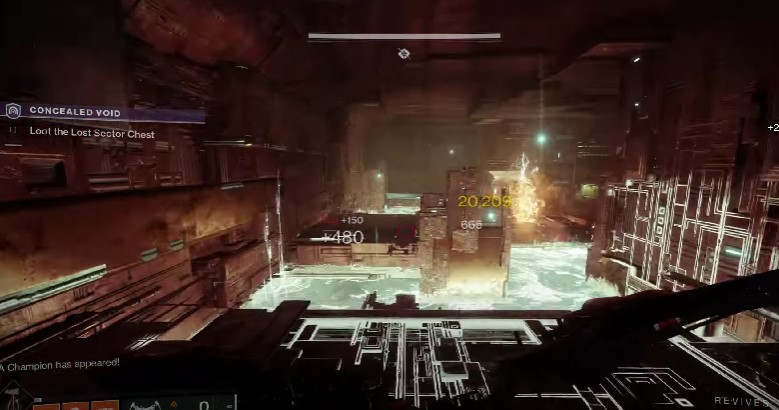
Into the Void: The Boss Fight!
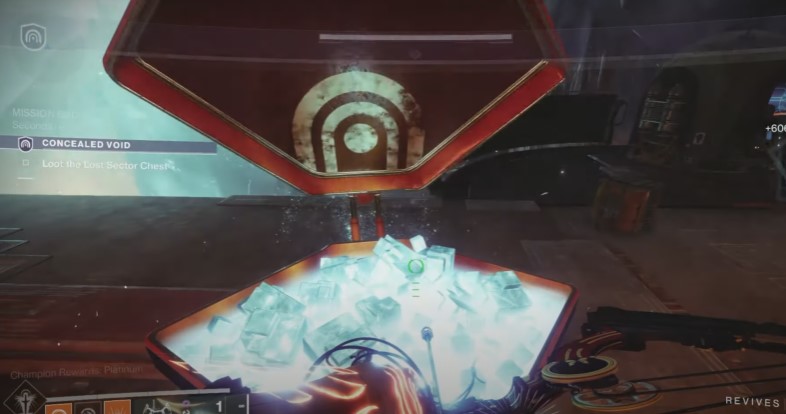
Taking on the ultimate boss at the crunch time! In the final boss battle, there are no Champions. Burst down the boss as quickly as you can if you have enough Heavy Ammo, then open the chest to finish the Platinum run. If not, stand back and take down the different Fallen that spawn by hanging back toward the room’s entrance.
Additionally, a new wave of Fallen will emerge alongside a Servitor to aid the boss and harass you every time it loses a third of its health bar. If you don’t have a Void weapon, these Servitors are a little difficult to defeat, but a well-placed ability or Heavy Weapon can do the trick. Trim the boss’s health bar until it is completely gone.
This shouldn’t take more than a minute if you are prepared with Heavy Ammunition or a Super. Open the chest to complete the run and get your winnings!
READ NEXT: EVERY Craftable Item in DayZ 2023 | All Crafting Recipe List