
 24 articles
The Nekomancer Wonder Weapon in the Kowakujo map is one of the most unique weapons in Black Ops 7 Zombies, and you can get it if you do all of the correct easter egg steps in Kowakujo.
Realistically speaking, this is actually a fairly “easy” Wonder Weapon to get. It’s not too much work, nor does it require tough encounters. However, it does require you to hunt down some very well-hidden items, as usual.
In this guide, I’ll help you easily unlock the Nekomancer for your arsenal.
Collect the Furin Bell

The first step of this easter egg will require you to look out for a hanging bell known as the Furin Bell. It’s quite small, so it’s easy to miss. It has 3 potential spawn locations, as well.
 Black Ops 7 Zombies: Free Ray Gun World At War Easter Egg GuideJun 28, 2026
 Black Ops 7 Zombies: Secret Takeo Easter Egg Guide | Reunion Dark OpsJun 28, 2026
 Black Ops 7 Zombies: Mech Samurai Suit Easter Egg Guide Maneki Mecha Dark OpsJun 27, 2026
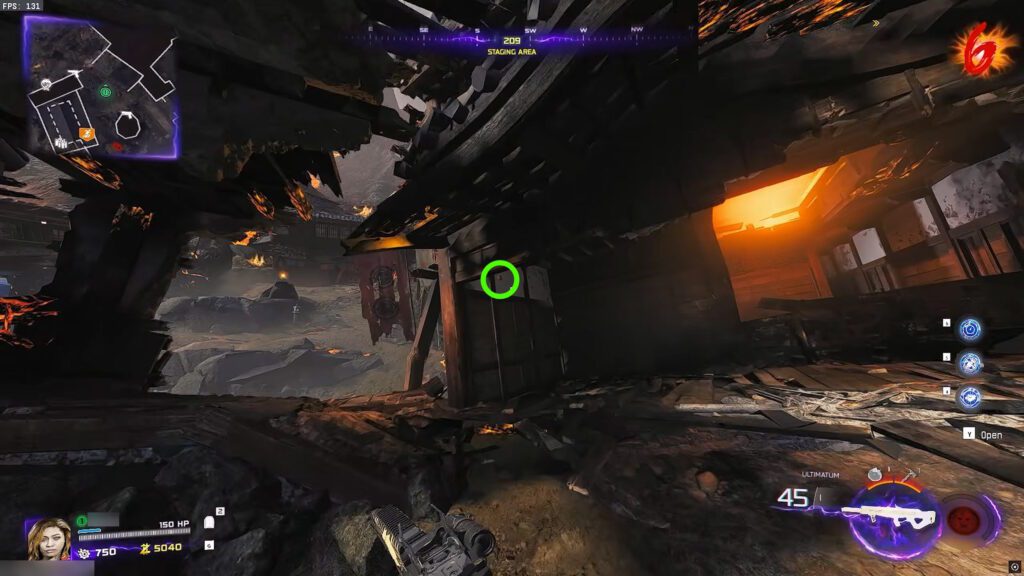
The first potential spawn location is on a beam of a house in the Staging Area. This is left of the initial spawn point, so it’s very easy to check.
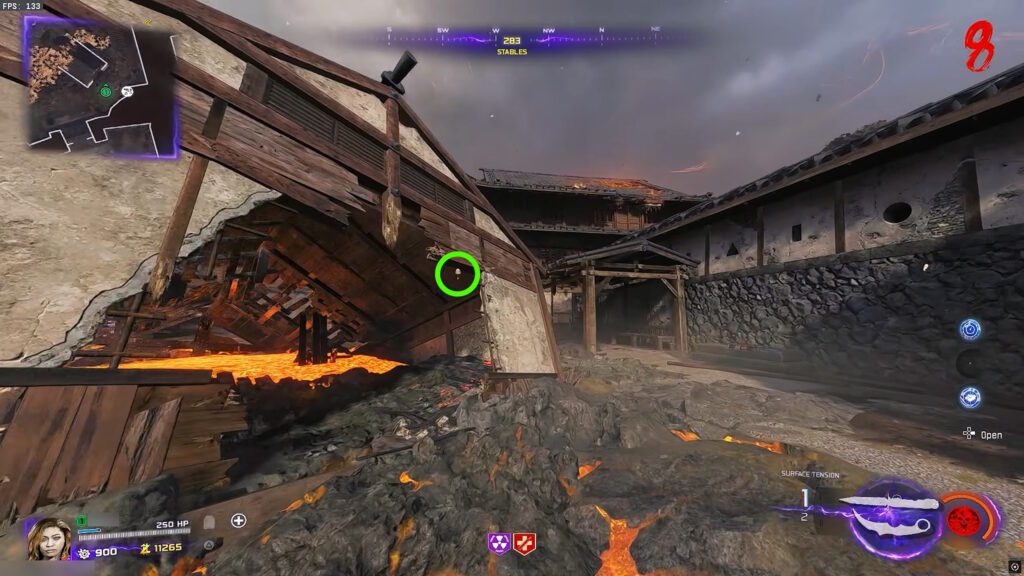
The second potential spawn location is at the Stables. It’s hanging from the entryway of the stable in the center, the one partially submerged in lava. Be careful not to get burned going for it!
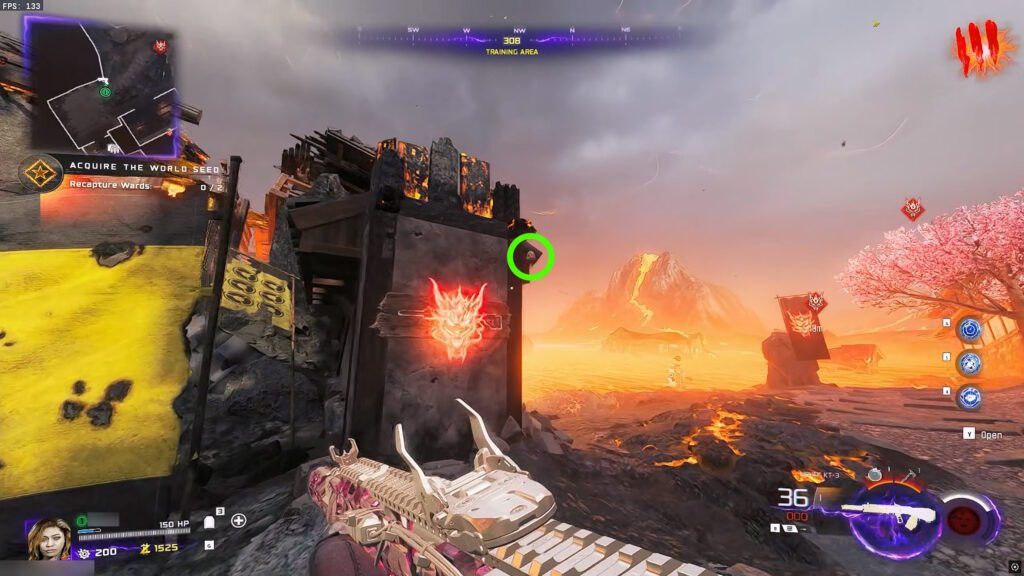
The third and final potential spawn location is at the Training Area. It’s to the right of the Warden 308 Wall-Buy, so it’s fairly easy to spot.
Collect the Karakuri Statue
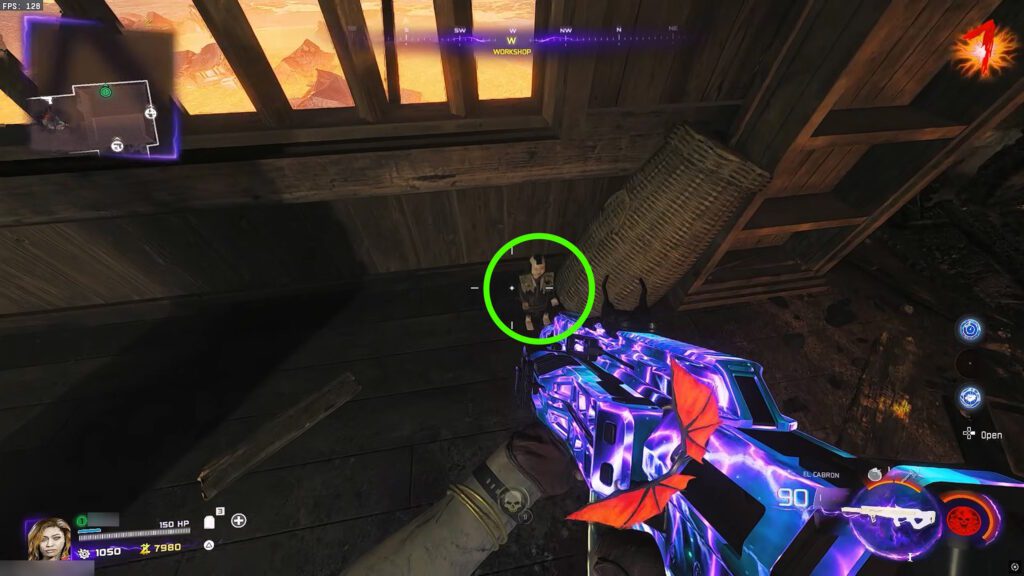
Next up, you’ll need to collect the Karakuri statue after turning the power on. This is a small doll resembling a man; you can see it close up in the image above for reference. Like the Furin Bell, this also has 3 random spawn locations.
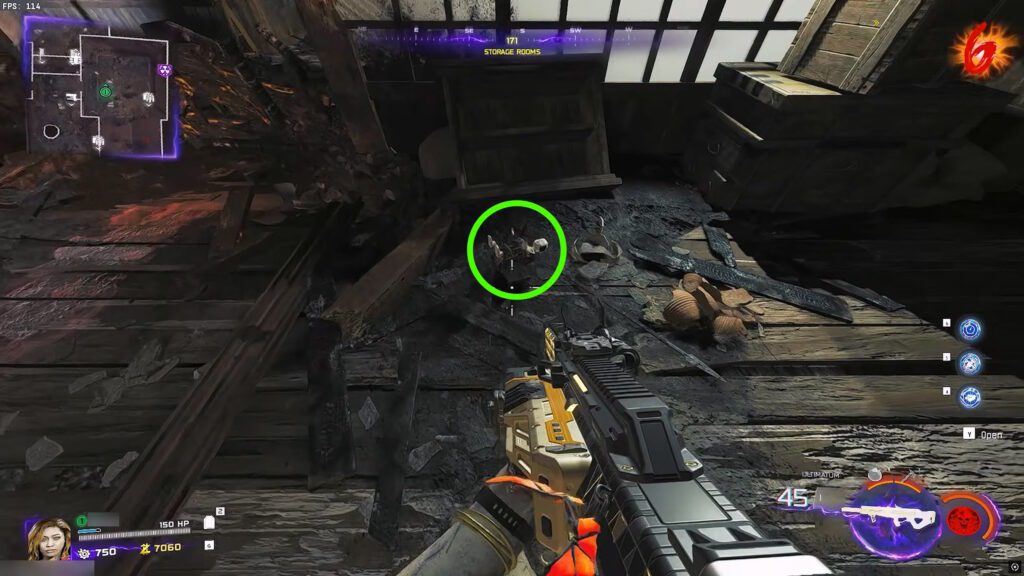
For the first potential location, check atop the pile of ashes and burnt wood near PhD Flopper in the Storage Rooms. The Karakuri might be there on the ground, thankfully not burnt completely.
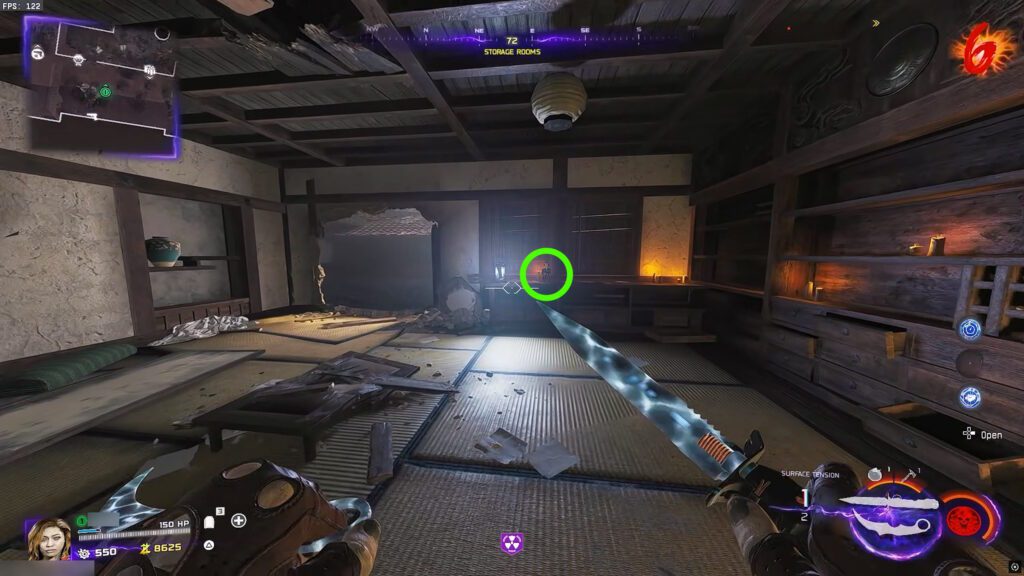
For the second potential spawn location, go north of PhD Flopper in the Storage Rooms. Go opposite of the MK.78 Wall-Buy and face east to spot the Karakuri atop a desk, next to a lantern.
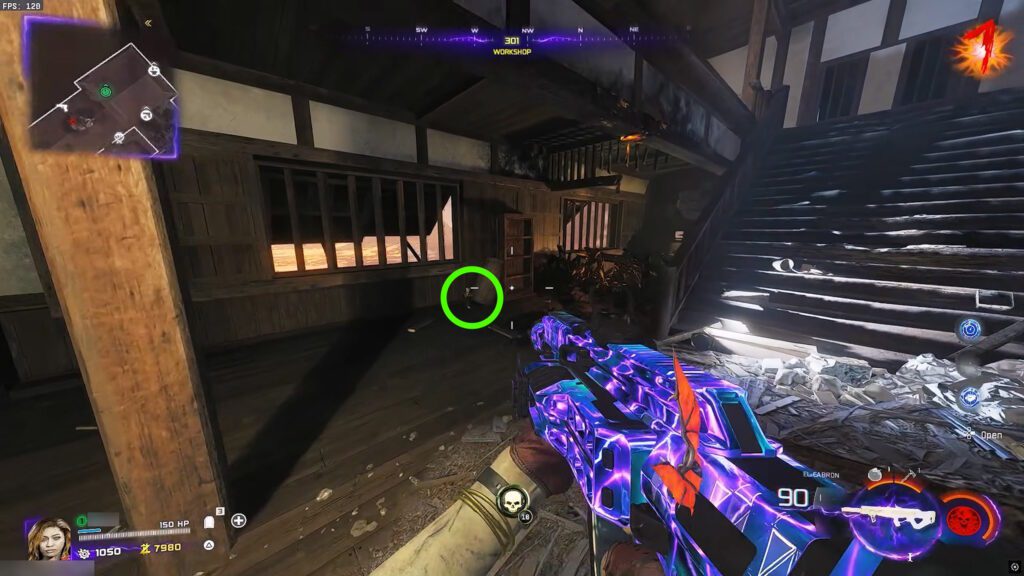
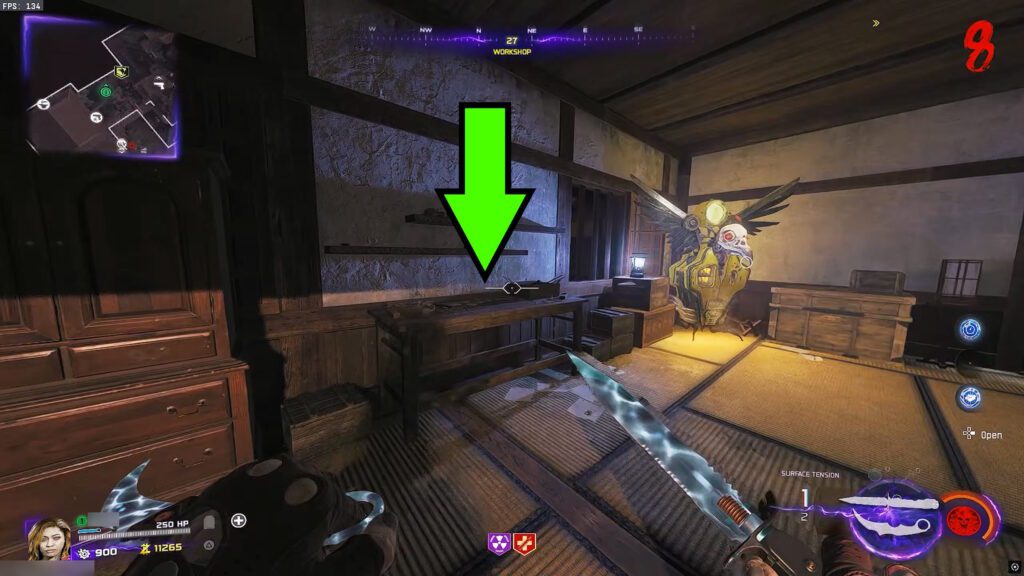
For the third and last potential location, go north of the MK.78 Wall-Buy and enter the Workshop area. Check the wall to your left before taking the stairs up, and you should spot the Karakuri there.
Collect the Maneki-neko Statue
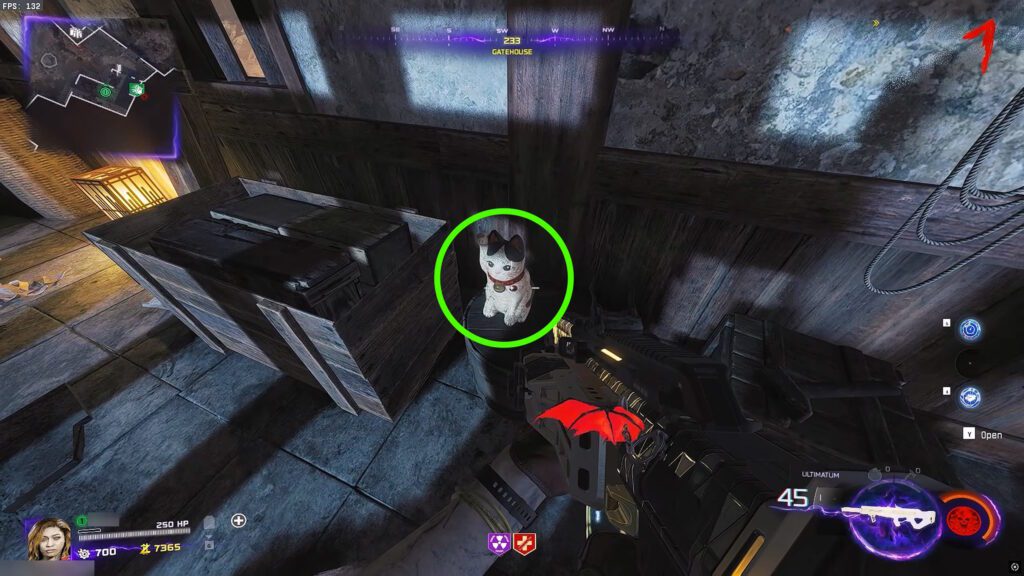
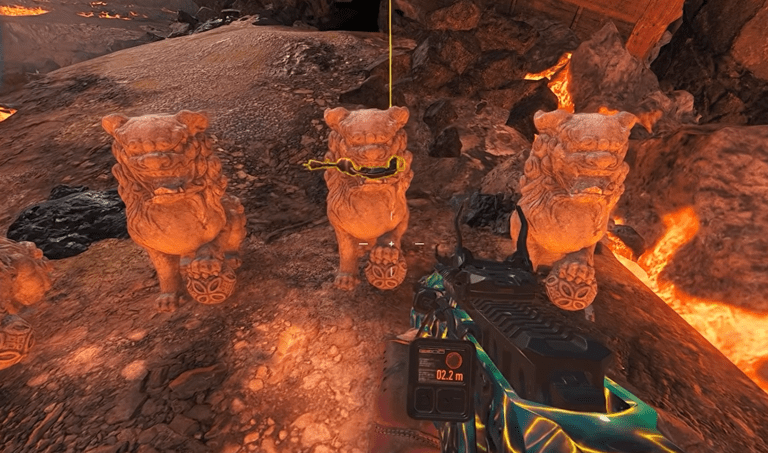
Much like the Karakuri and the Furin Bell, this is another item that has 3 random spawn locations. This one looks like a cat statue, as you can see above.
For the first potential spawn location, go to the Gatehouse. Enter the building next to the Speed Cola and check the barrel by the southwestern wall. The Maneki-neko statue should be on top of the barrel.
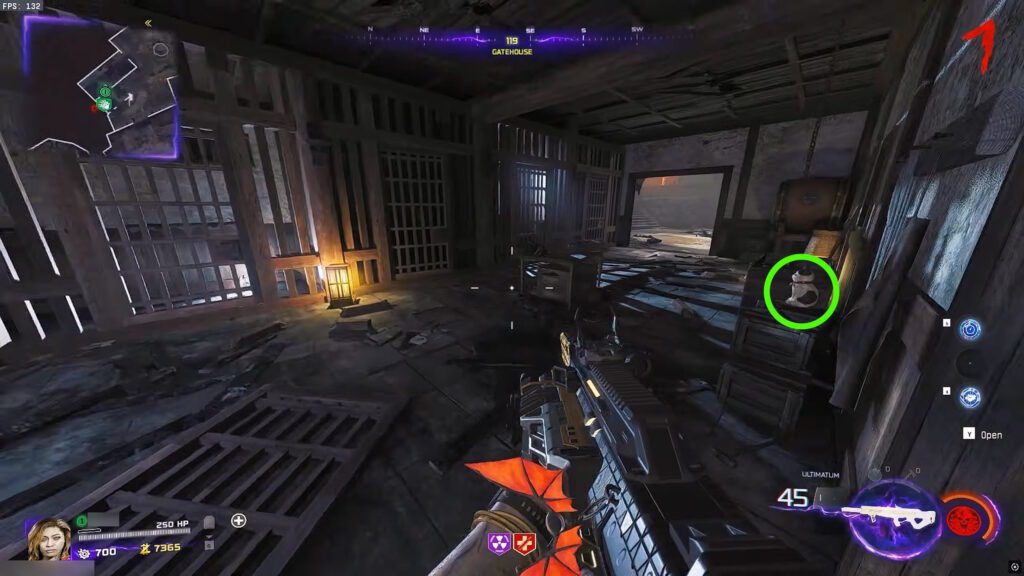
For the second potential spawn location, go to the Kitchens area. Go south of the Double Tap Root Beer and you might spot the Maneki-neko statue on a barrel there, next to the wooden support pillar.
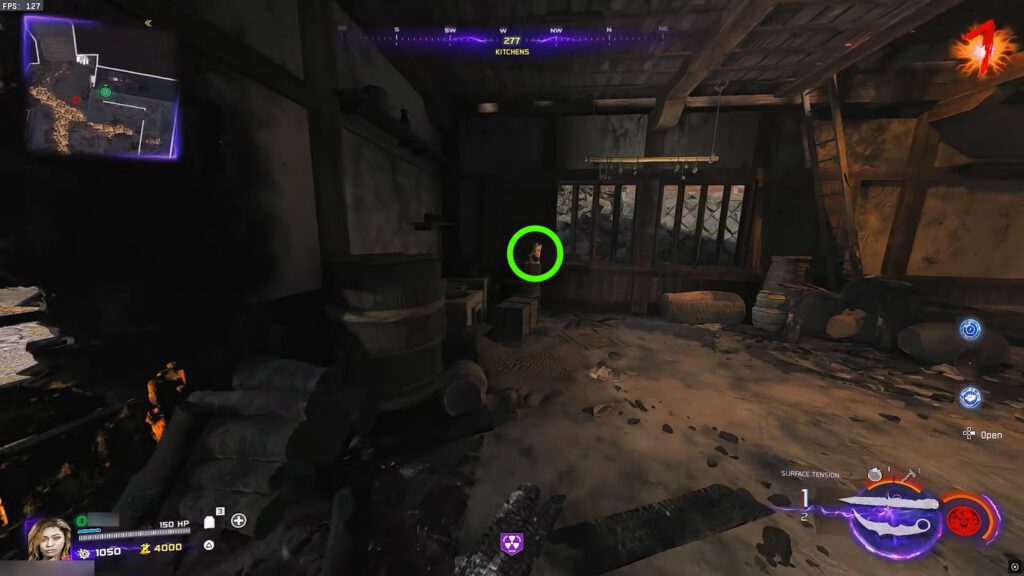
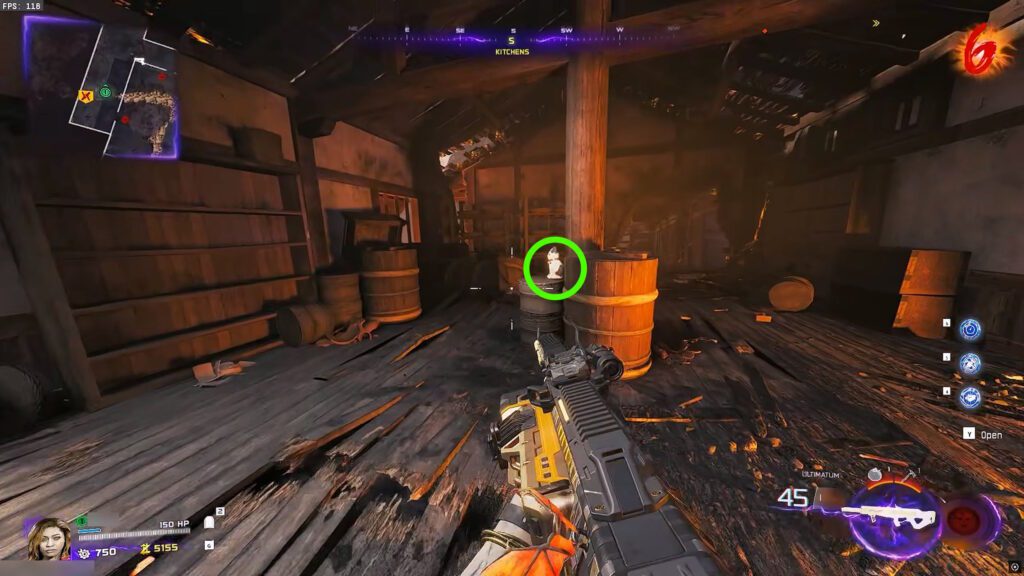
For the third and final potential spawn location, go to the westernmost house in the Kitchens area. The Maneki-neko statue might be on top of the barrel in the southwestern corner of the building, on the ground floor.
Craft the Maneki-Neko
Now that you’ve collected all of those 3 items, go to the Vulture-Aid in the Workshop area. You’ll find a special workbench next to it, as shown in the screenshot above.
Simply interact with that workbench to use the Furin Bell, Karakuri, and Maneki-neko statue you grabbed. You’ll create a brand new Maneki-Neko grenade. Do so and you’re done with this part of the easter egg!
Grab the Cat in the Cage
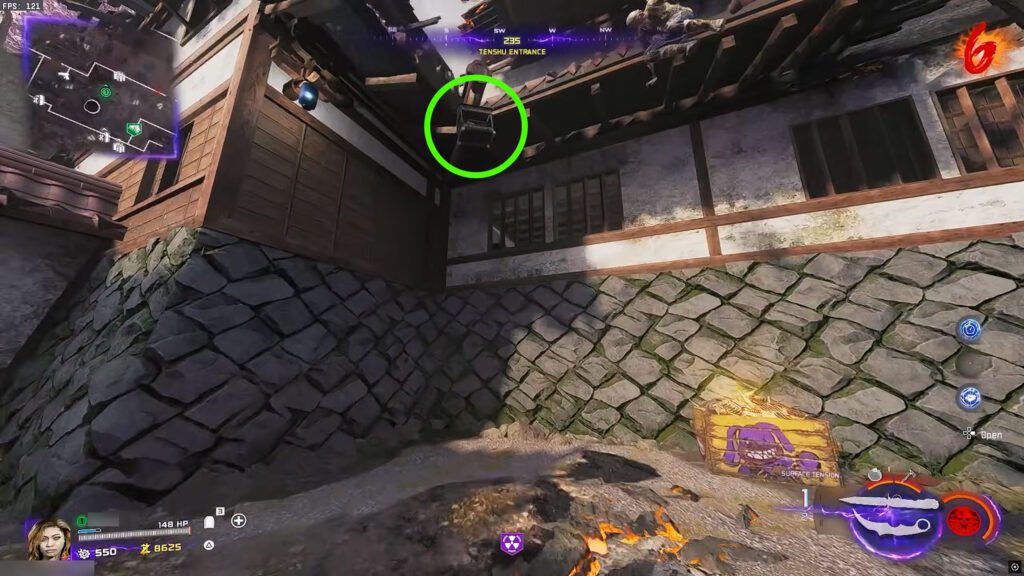
Moving on, you’ll need to go to the Tenshu Entrance area. You’ll spot a cat in a cage hanging off the northeastern side of the building there, as shown above. Use PhD Flopper to knock the cage down, then collect it.
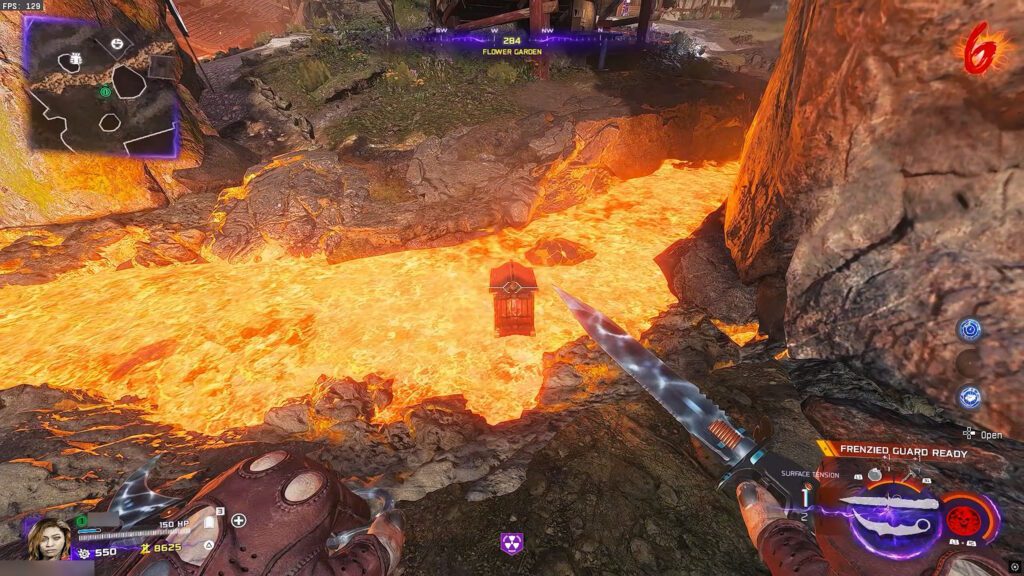
When you’ve collected the cage, take it to any pool or river of lava in the area. Drop the cage into the lava to break it. I’m sure the cat that was inside is alright, it looked kinda magical, right?
Follow the Paw Prints

Next up, you’ll need to uncover various cat paw prints at 4 different locations. To do that, you’ll need to kill zombies in specific areas. These are the places where you must kill zombies:
- Doorway connecting the Central Courtyard and the Kitchens.
- Doorway connecting the Kitchens and the Flower Garden.
- South of the Warden 308 Wall-Buy in the Training Area.
- Doorway connecting the Staging Area and the Stables.
When you’ve done that, you should see that the blood from the zombies reveals hidden cat paw prints. Look at the cat paw prints, then try to follow the direction they’re headed in.
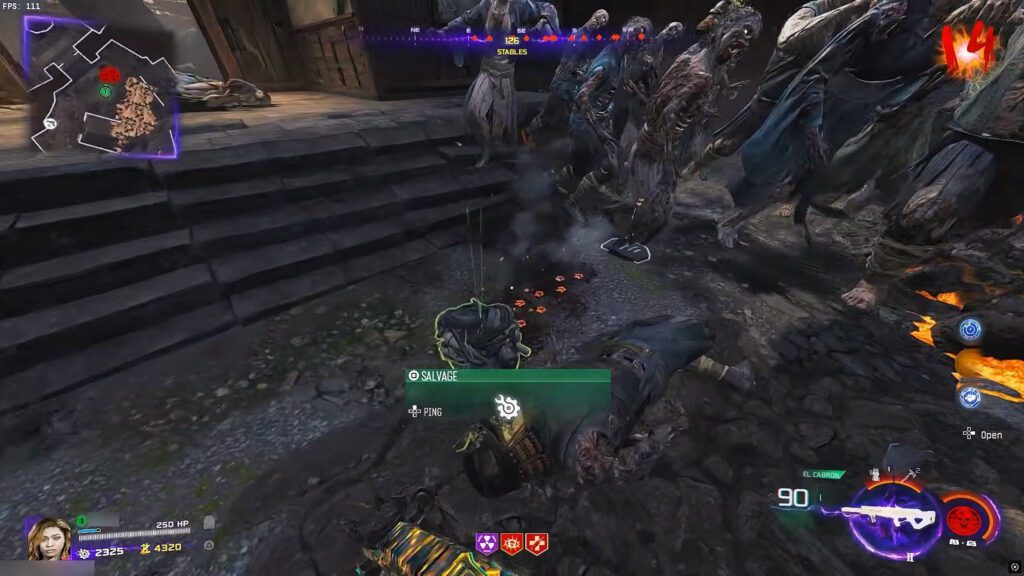
Go about five meters forward from where the cat paws lead to and kill another zombie there. This should reveal another set of cat paw prints.

Rinse and repeat this process until you reach a set of cat paw prints that form a circle. This should look somewhat like the example above, for reference.
When you reach this special set of cat paw prints, use the Maneki-Neko you crafted at the workbench earlier.
Now, the Maneki-Neko can potentially fail to work here. From what I can gather, it fails if there’s no flowing lava in the area. If that’s the case, go back to the Workshop and craft another Maneki-Neko. Then, repeat the caw paws process.
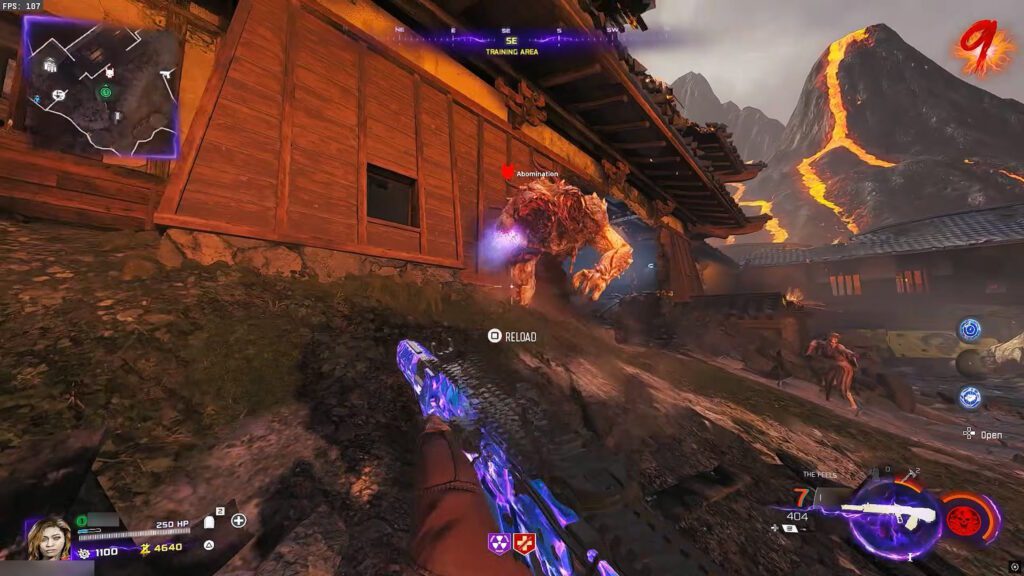
If things do work, however, an Abomination will spawn. Kill it to reveal a cat and you will have completed this arduous step of the easter egg!
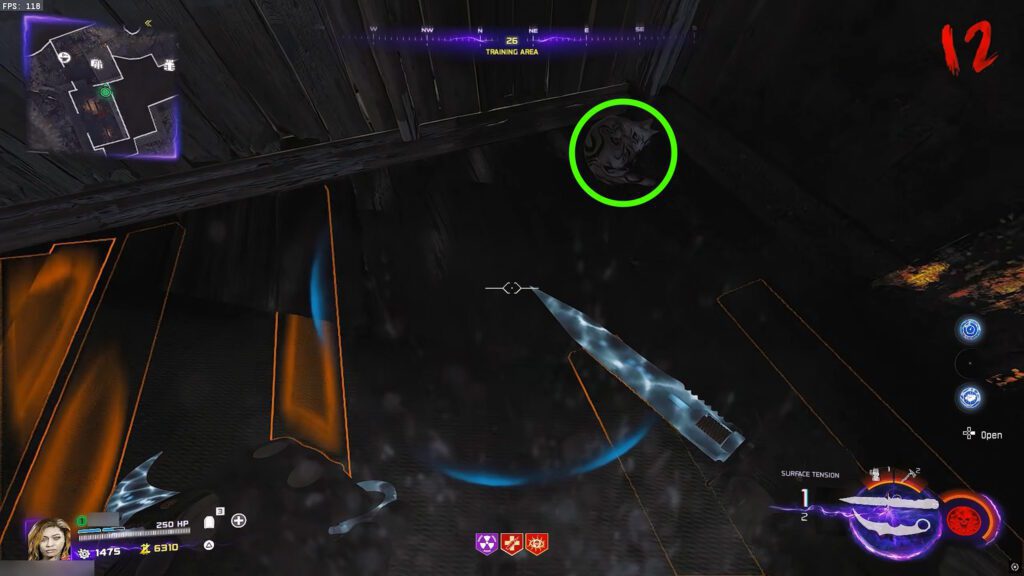
Find the Hidden Cat
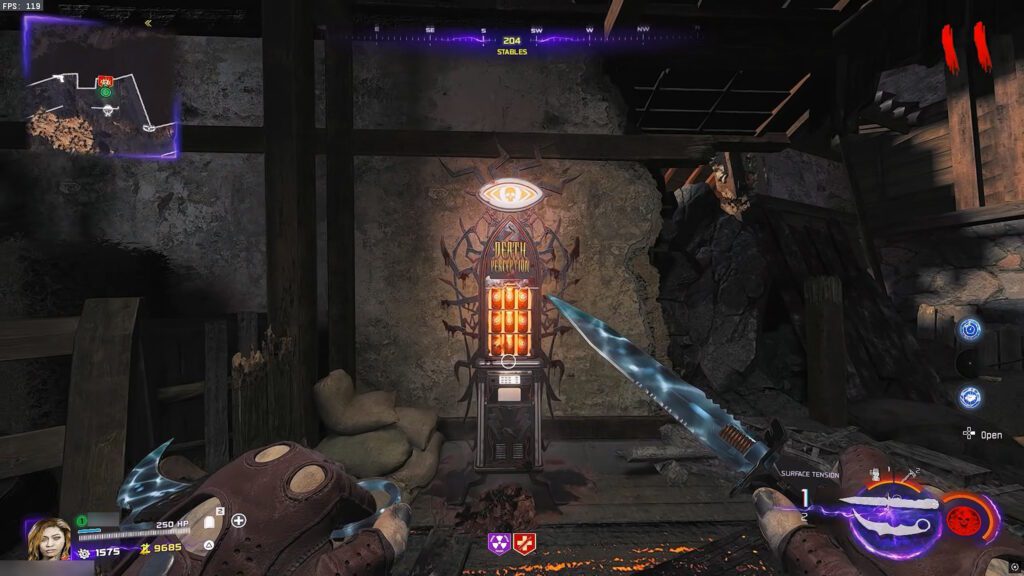
Next up, you’ll need to find a hidden cat somewhere in the map. First of all, though, make sure to get and use Death Perception. You can find it at the Stables.
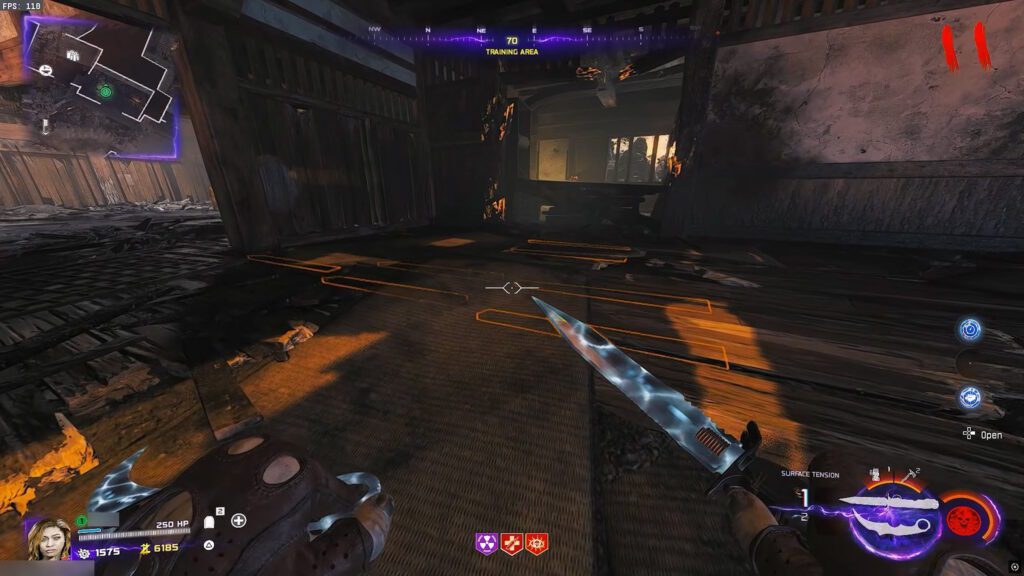
Now, having Death Perception will enable you to spot areas with special outlined floorboards like the one shown above. You can find 3 different locations like this in the following spots:
- To the right of the Double Tap in the Kitchens.
- In a corner near the Mystery Box spawn in the Kitchens.
- In the Training Area.
Once you encounter any of these areas, your goal is to approach the sleeping cat nearby. Avoid the floorboards so that you don’t wake it up. Then, just get close enough and interact with the cat to pick it up.
If you fail to do this correctly, you can try again on the following round. The location will most likely be different, and you’ll need Death Perception again. Regardless, keep trying until you catch that cat!
Return to the World Seed and Claim Nekomancer Wonder Weapon | Black Ops 7 Zombies: Kowakujo Map
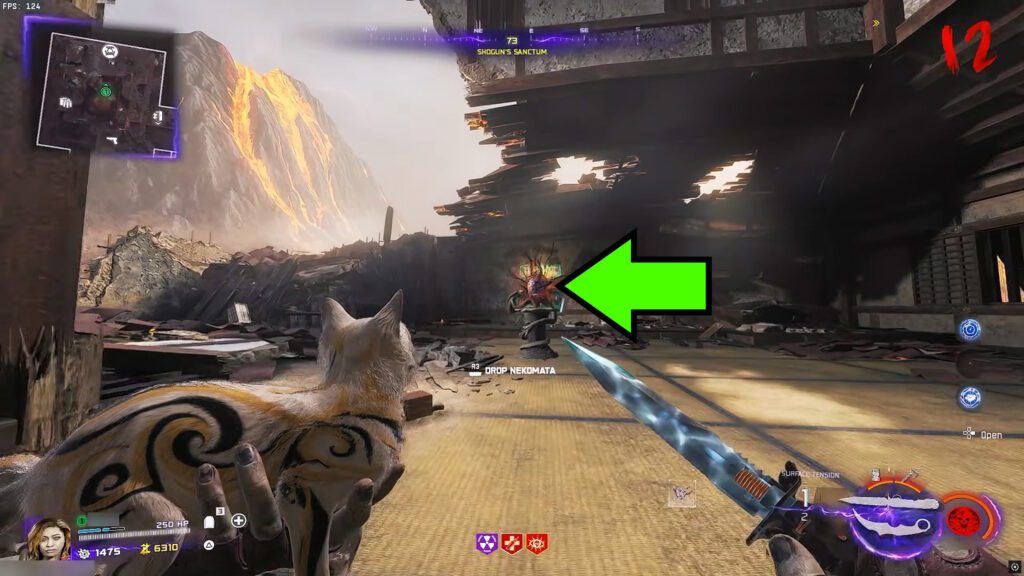
This is the final step for this easter egg, you’re almost there! You should now have the cat, the Nekomata, in your possession. Take it back to the World Seed at the Shogun’s Sanctum, shown above.
Place the Nekomata on the World Seed and the seed will start to emit a red energy pulse that deals damage. After the 5th pulse, you’ll have a brief window where you can approach the World Seed and melee it. Do that as soon as the opportunity presents itself!
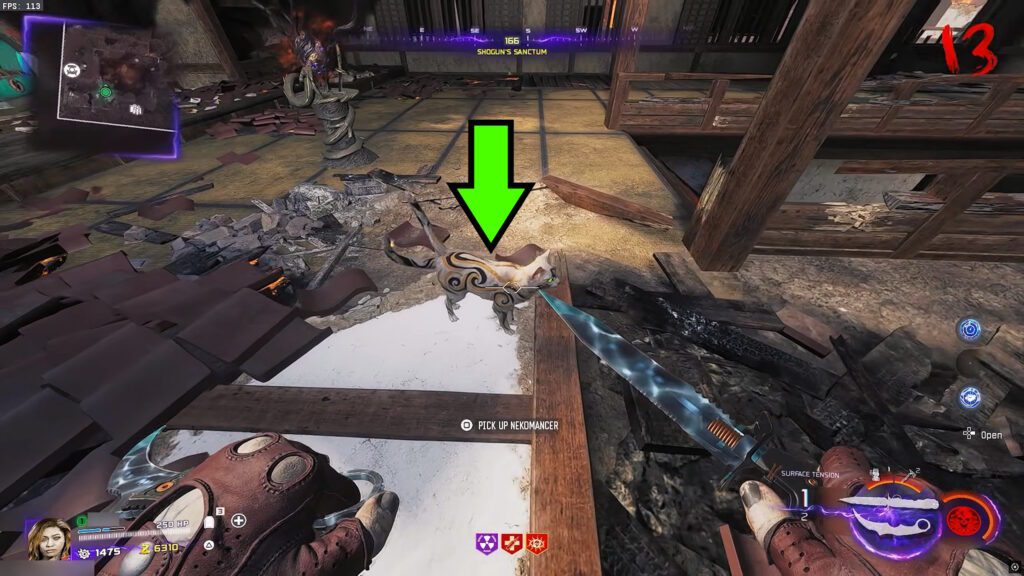
Do this correctly and the Nekomata will fall to the floor nearby. Approach it and you’ll see it has turned into the Nekomancer! Interact to grab it and you’ll be able to use it as a weapon from now on.
So, there you have it! That’s all of the correct steps required to get the Nekomancer Wonder Weapon in the Kowakujo map in Black Ops 7 Zombies. A cute and powerful weapon, perfect for obliterating hordes of monstrosities!
Want even more tools for your arsenal in Kowakujo? How about a special samurai-styled Rhino mech suit? Sounds good? Then, check out our guide on the Maneki Mecha Dark Ops.


Found another tip?
Share your extra strategy, correction, or question below. Helpful comments can make this guide better for everyone.