5 articles
Albion Online offers a variety of ways to make specific resources, like farming, PvP, dungeons, and so on, but one most efficient is gathering.
Many players overlook gathering because they lack the patience to travel the wide world and gather materials. With this Albion Online gathering guide, we will give you the best tips to make gathering easier.
Beginner’s Guide to Gathering in Albion Online
In Albion Online, gathering, along with crafting, is a crucial mechanic that is essential to the game’s economy as a whole. In the game, you can center your career and gameplay around being a full-time gatherer, or depend on it for some extra money, in contrast to your generic MMOs.
Gathering Resources

The choices you have as a gatherer will be most influenced by where you are on the map, but there aren’t necessarily “good & bad” possibilities. It all depends on your personal tastes and level of risk tolerance.
 Albion Online: Best SOLO Player Builds in 2024Jan 4, 2024
 Albion Online: How to Skin Better | Skinning GuideJul 15, 2022
 Albion Online: How to Build on Island?Feb 17, 2022
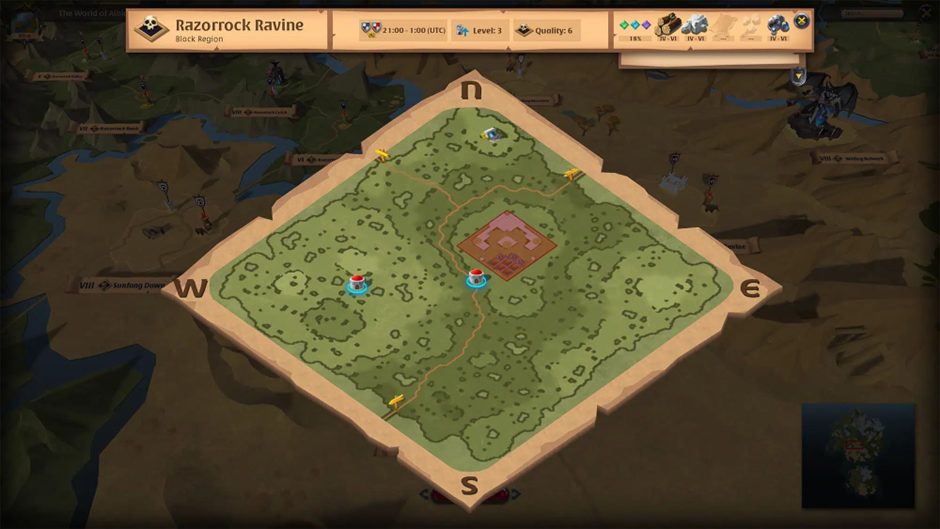
You will have access to all 4 zone types and all 8 zone tiers because all of them are approximately equally balanced for each biome.
The Zone Types are:
- Blue: Available from Tiers 1-4, these are the safest zones. You can only be attacked by other players if you are Faction Flagged.
- Yellow: This is only accessible in Tier 5 and is the second safest zone type. If you are Faction Flagged or they are PVP Flagged, you could be assaulted by other players.
- Red: From Tiers 6-7, full-loot is made available on death. Like the Yellow Zone Type, if you are Faction Flagged or they are PVP Flagged, you could be assaulted by other players.
- Black: From Tiers 5-8, full-loot is made available upon death. There is no way to Faction Flag, and you are open to attacks from any player without risking reputation damage.
Keep in mind that dying will reduce the durability of all your items by 5%. While dying in a Red or Black zone will render your body lootable unless you have the time to regenerate and respawn immediately, dying in a Blue or Yellow zone will allow you to respawn in the next Faction Outpost owned by your Faction.
When out in the full-loot zones, the loadout you use for gathering is extremely important! Your ability to harvest particular resources effectively and safely will depend on every item you are wearing and its tier.
Albion has a huge variety of weaponry, so we are only going to focus on a few that I have personally found effective for escaping even 10-man ganks. However, it is strongly encouraged to explore all the alternatives available to see which ones best suit your playstyle.
The following are recommended weapons:
- Bloodletter
- Double Bladed Staff
- Dual Swords
It is also highly recommended to only carry three tools that suit each biome:
- Highlands (Martlock): Stone Hammer, Pickaxe, Axe
- Forest (Lymhurst): Axe, Skinning Knife, Stone Hammer
- Mountain (Fort Sterling): Pickaxe, Stone Hammer, Sickle
- Swamp (Thetford): Sickle, Axe, Skinning Knife
- Steppe (Bridgewatch): Skinning Knife, Sickle, Pickaxe