 13 articles
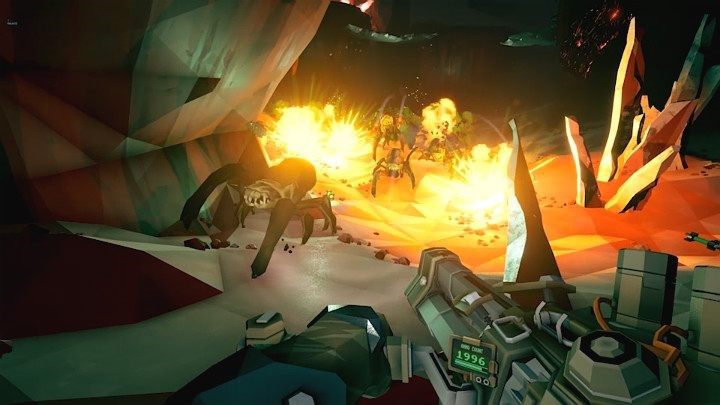
Welcome, miners of Deep Rock Galactic! As you brave the perilous depths of Hoxxes IV, knowing your Look, if you’ve died in the worst possible moment and screamed “WHY IS THAT SAND SHARK BACK?!”, then you need more than a pretty tier list.
You need context, threat intuition, and the kind of breakdown that makes you smarter before your next doom-stack wipe. That’s exactly what we’re doing here.
S-Tier: Threats You Immediately Prioritize
These enemies will ruin your mission if ignored. They dictate engagement order and often force repositioning mid-fight.
Acid Spitters
You see green spit? You’re already 50% dead.
Hard to hit from far, huge slowdown + ticks damage, and can chunk teammates fast if clustered.
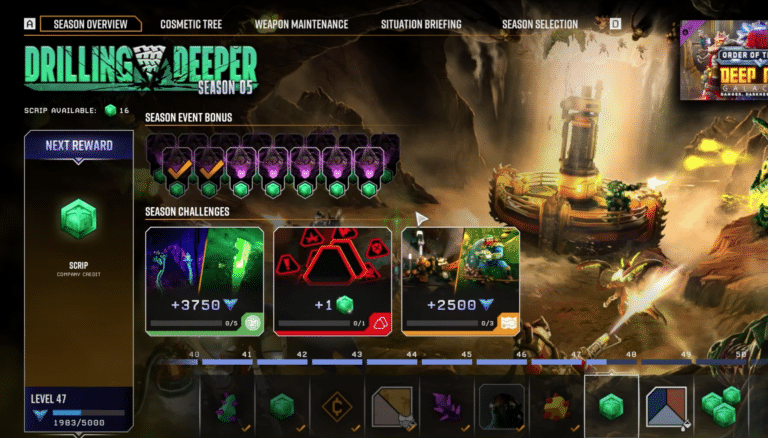
 Deep Rock Galactic: Complete Guide To Season 5 – Drilling DeeperJun 20, 2024
 Deep Rock Galactic: Deep Scan Mission Guide | Drilling Deeper Season 5Jun 20, 2024
 Deep Rock Galactic: Best Perks Tier ListNov 22, 2023
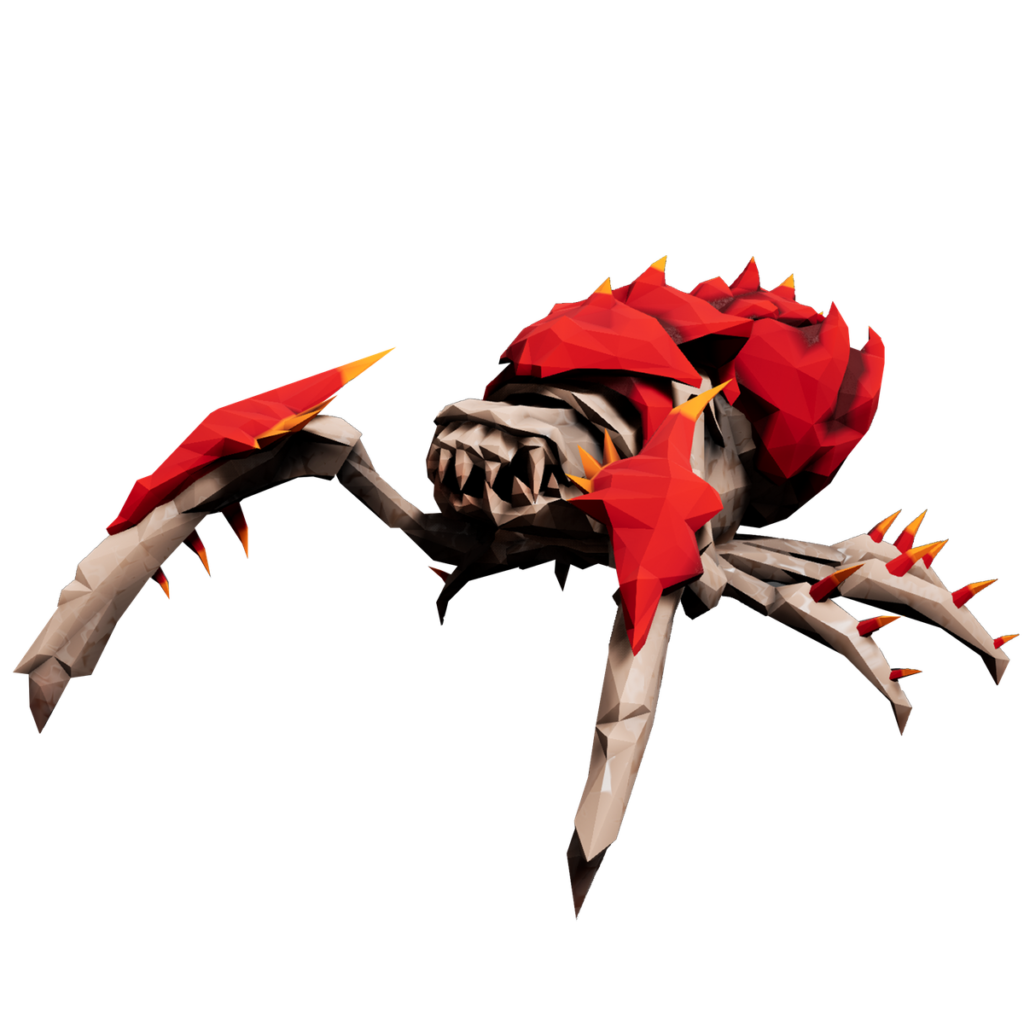
Praetorians (All Variants)
Tanky, explosive death blast, and their charge can one-shot without cover.
Their weak point is exposed — but you don’t get free aim in swarms.
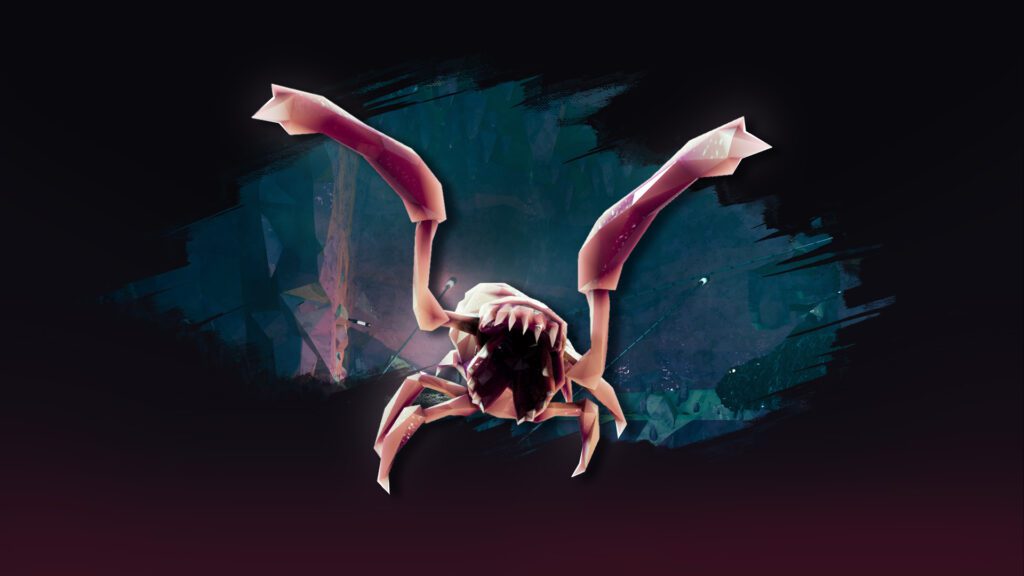
Stalker
Silent approach, massive burst damage, and it punishes inattentive teams.
Even experienced squads drop shields if a Stalker lands that first hit.
Why these are S-tier: sheer lethality + forced team focus. Ignore these and you’re feeding respawn screens.
A-Tier: Major Threats That Demand Respect
These aren’t insta-wipe enemies on their own, but they’ll cripple teams fast if mishandled.
Slashers
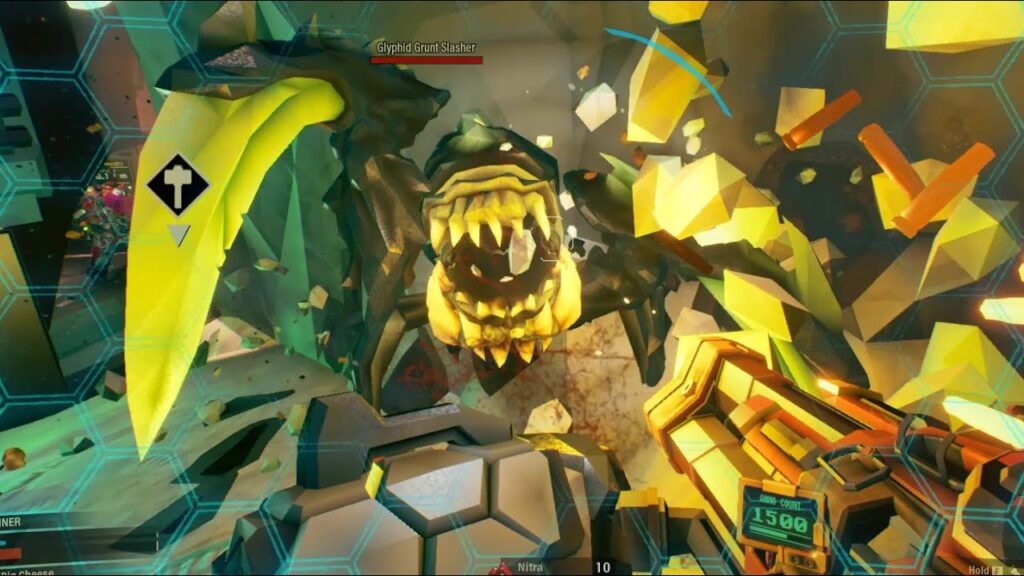
Hit hard, strip mobility, and their slash staggers you. If they chain, you’re pinned.
Sniper Turrets
One burst can down a full health Dwarf if you’re exposed. They force cover play.
Web Spitters
Not as lethal as acid spitters, but the insane slow + webbing can shred mobility in tight corridors.
Shellbacks
Armor plates absorb raw fire, forcing headshots or explosive solutions. Slow targets, but high damage soak.
Why A-tier: not top-tier solo threat, but they break formations and punish bad positioning.
B-Tier: Annoying, Situation-Dependent Threats
You should deal with these, but they don’t always deserve your split-second focus.
Glyphid Swarmers
Squishy little dudes, but in numbers they drain ammo and attention.
Menaces
They’re more annoying than lethal — bright, loud, and rarely get behind cover.
Exploders
They can catch you off-guard and blow you into a wall, but they’re slow and predictable.
Leeches
Tick damage is annoying, but mobility and focus firing make them manageable.
Why B-tier: manageable with teamwork and simple target choice.
C-Tier: Low Threat / Mostly Nuisance
These enemies exist to fill cave space and enforce situational awareness, not to steal your run.
Sand Sharks
Annoying physics shenanigans are rarely lethal unless paired with other threats.
Naedocyte Roes / Small Critters
They don’t hit hard and mostly distract.
Glowbugs
Zero damage purely ambiance (…except they attract bugs).
Why C-tier: minimal impact on mission outcome alone.
How Hazard Level Changes These Tiers
Here’s where players trip up: an enemy that’s tame at Hazard 2 can be a real pain at Hazard 5++.
- Wardens: meh on low hazard; on Haz5+ they force focus fire because their tankiness suddenly matters.
- Tier placement isn’t static: threat ranking shifts not just by enemy, but by mission modifiers, terrain, and team comp.
Tactical Priorities (Gamer-Real Advice)
This is the part no flat tier graphic tells you:
- Kill order inside swarms
- First: Acid spitters / Praetorians
- Second: Stalkers / Snipers
- Third: Web spitters / Slashers
- Fourth: Swarmers / Exploders
- Last: Nuisances
- Class angle matters
- Scout — thrives on mobility; treat slow enemies as higher threats.
- Gunner — can crowd-control masses; deprioritize swarmers if you already have suppression.
- Driller — can carve escape routes; prioritize hard hitters first.
Final Thoughts (Human Opinion, No BS)
A tier list should be more than letters it should give you a sense of danger economy.
Ignore the prettified graphic-only lists that feel empty. Players want reasoned threat insight that actually helps mid-fight.
If this feels too opinionated… good. That means it’s human. And honestly? The meta evolves. So your tier list should too.