 34 articles
Overwatch 2 is now climbing to be one of the top FPS games of the year. It caters to both players who casually love to play FPS games, and those that are looking for the competitive FPS itch to be the best players they can be.
However, the top players of any video game have top-of-the-line gear and have information enabled in-game that makes sure that they are currently on top performance. Information like how many FPS you currently have or how high Latency you have on the servers right now
Not everyone knows how to see these stats in-game, especially beginners. This guide will give you easy-to-follow steps on how to showcase your FPS and Latency on screen in Overwatch 2. Let’s get to it.
How to Show FPS and Latency?
To add FPS and Latency on the screen, you have to turn on certain settings in Options.
 How to Climb in OverwatchMay 21, 2026
 Overwatch 2: How to Change Hero SkinMar 22, 2023
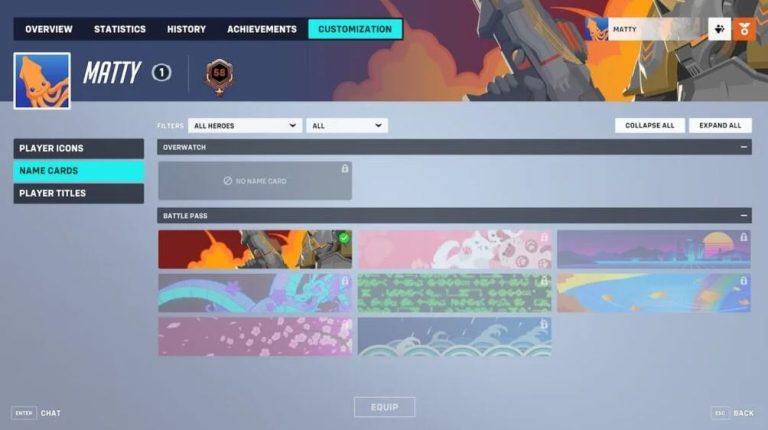
 Overwatch 2: How to Unlock and Equip Name CardJan 26, 2026
Once you’re in Options, go to Video then proceed to Details. In details, you will see the Stats. Under Stats, will be all the settings that you want to turn on to see the information that will affect your gameplay.
Turn on the Display Performance Stats, Show framerate, Show GPU Temperature, Show Vram Usage, Show network latency, Show network interpolation, and Display system clock.
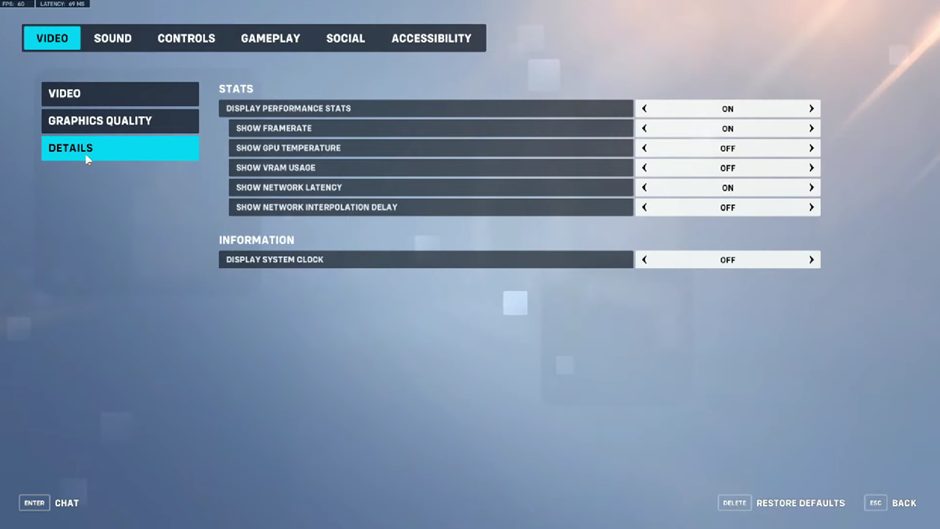
Turning on the Display system clock, Show network interpolation delay, and Vram usage is optional. But the rest are vital in trying to gather the necessary information to win Overwatch 2 games.
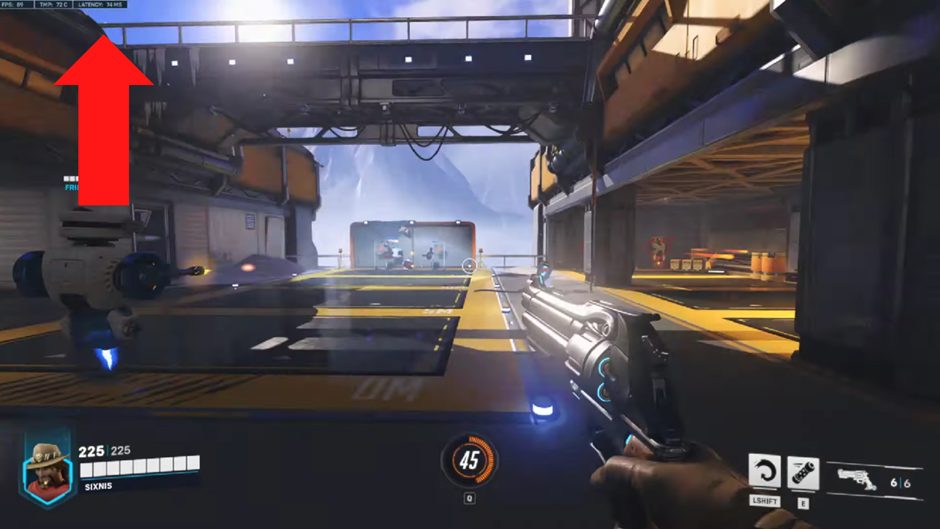
When you exit the menu, you will immediately notice on the upper left the new stats displayed on your screen the FPS, latency, and GPU temperature. So the next time you’re playing Overwatch 2, you can now make sure your latency and FPS are top-notch!